Introduction
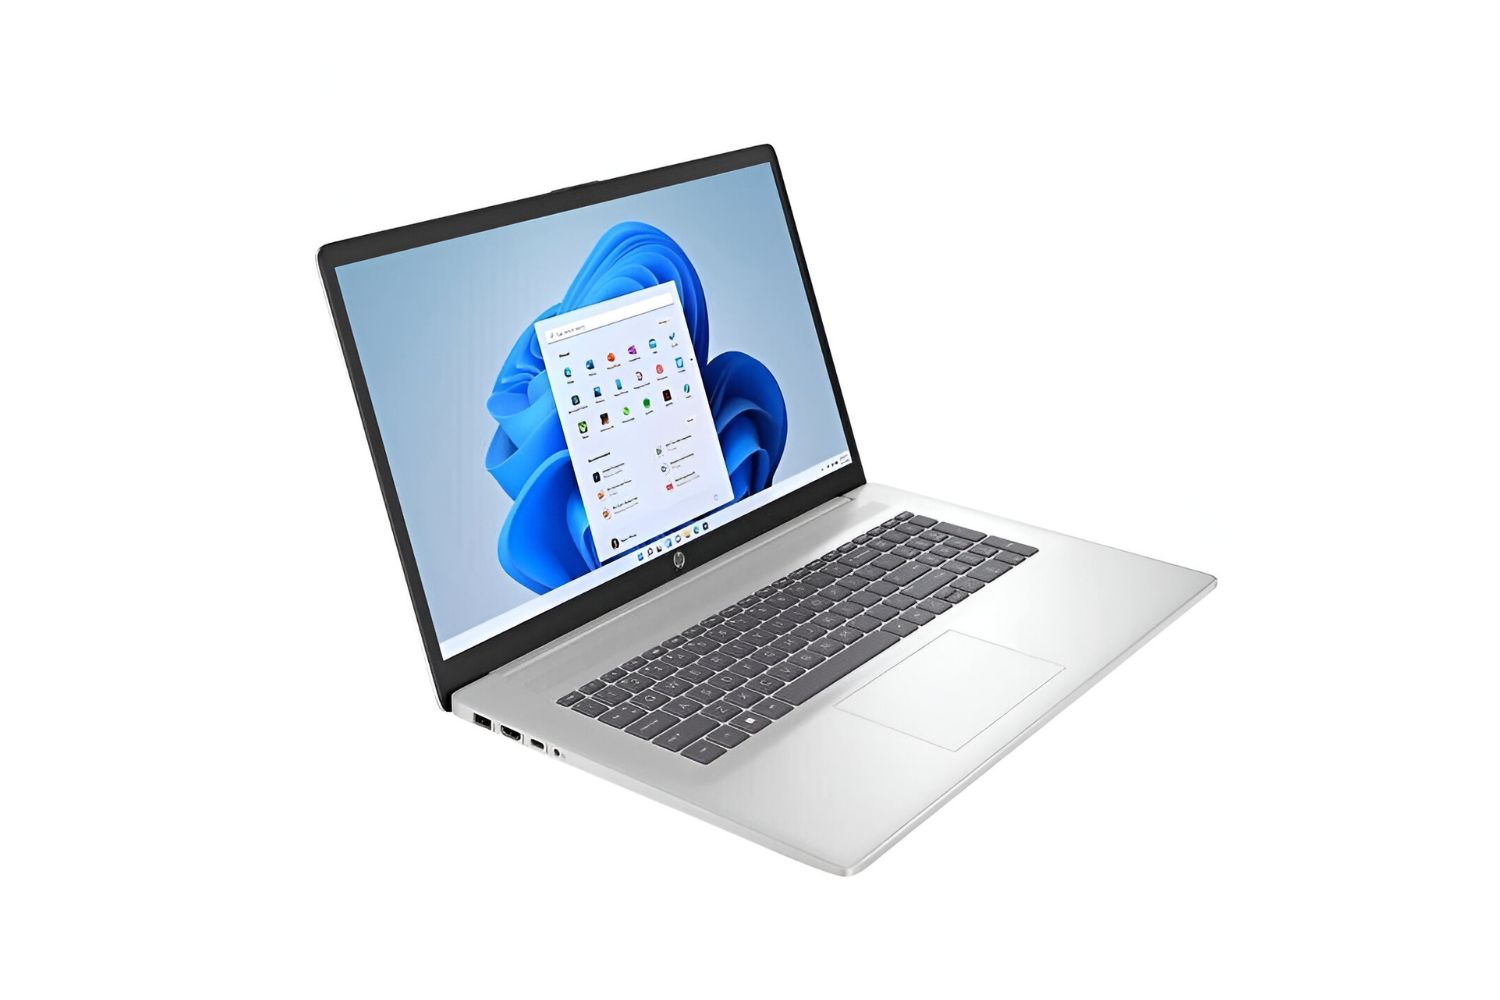
Welcome to the world of solid state drives (SSDs)! If your PC is struggling with slow boot times, sluggish performance, or inadequate storage capacity, then adding an SSD can be a game-changer. SSDs offer faster data access speeds, improved system responsiveness, and increased durability compared to traditional hard disk drives (HDDs). In this guide, we will explore the benefits of adding an SSD to your PC, discuss compatibility and requirements, guide you through the selection process, and provide step-by-step instructions for installation.
Gone are the days of waiting impatiently for your computer to start up or for applications to load. SSDs utilize flash memory technology, allowing them to read and write data at lightning-fast speeds. This means you’ll experience near-instantaneous boot times and rapid application launches. With an SSD, your computing experience will be smoother and more efficient, giving you more time to focus on what matters.
Aside from speed, durability is another key advantage of SSDs. Unlike traditional HDDs, which rely on moving mechanical parts that can fail over time, SSDs have no moving parts, making them more resistant to shocks, drops, and vibrations. This makes SSDs ideal for portable devices and laptops, where durability is crucial.
Another major benefit of SSDs is their compact form factor. They are significantly smaller and lighter than HDDs, allowing for easier installation and expansion. Additionally, SSDs generate less heat and consume less power, resulting in improved energy efficiency and longer battery life for laptops.
Before diving into the installation process, it’s important to determine the compatibility and requirements of your PC. Check if your motherboard and BIOS support SSDs and identify the available storage interface (typically SATA or NVMe) to ensure compatibility. Additionally, ensure that you have a free drive bay or M.2 slot available for installation.
In the next sections, we will guide you through the process of selecting the right SSD for your PC, backing up your data, preparing your PC for installation, installing the SSD, configuring it as the boot drive, and transferring your operating system and files. By the end of this guide, you’ll have a faster and more efficient PC, allowing you to unleash your productivity and enjoy a seamless computing experience. Let’s get started!
Benefits of Adding a Solid State Drive (SSD)
Adding a solid state drive (SSD) to your PC can revolutionize its performance and provide a host of benefits. Let’s explore some key advantages of incorporating an SSD into your system:
- Superior Speed: One of the most significant advantages of an SSD is its lightning-fast data access speed. Unlike traditional hard disk drives (HDDs) with mechanical parts that need to spin up, an SSD uses flash memory technology to access data almost instantaneously. This results in reduced boot times, faster application launches, and overall snappier system performance.
- Improved System Responsiveness: With an SSD, your PC will feel more responsive and seamless. Tasks such as file transfers, program installations, and system updates will be completed in a fraction of the time. You can say goodbye to the frustrating lag and delays that often accompany HDDs.
- Enhanced Multi-Tasking: SSDs excel at handling multiple tasks simultaneously. Thanks to their quick read and write speeds, you’ll experience smoother multitasking capabilities. Launching multiple applications, working with large files, and switching between programs will be effortlessly smooth, allowing you to boost your productivity.
- Energy Efficiency: SSDs consume less power than traditional HDDs, making them an excellent choice for laptops and other portable devices. Their lower power consumption not only conserves battery life but also generates less heat, resulting in improved cooling and reduced strain on the system.
- Durable and Reliable: Unlike HDDs that rely on moving mechanical parts, SSDs have no moving components. This makes them more resistant to physical shocks, vibrations, and accidental drops. With an SSD, you can have peace of mind knowing that your data is secure and your drive is less prone to failure.
- No Noise: HDDs can produce audible noise due to the spinning of their internal components. On the other hand, SSDs are completely silent as they have no moving parts. This makes SSDs a perfect choice if you value a quiet computing environment or if you use your PC in noise-sensitive settings.
- Compact Design: SSDs are incredibly compact and lightweight compared to bulky HDDs. This makes them an ideal choice for systems with limited space or for those looking to build a compact PC. Furthermore, the smaller form factor of SSDs allows for easy installation and flexibility when upgrading or expanding your storage capacity.
By adding an SSD to your PC, you can unlock its true potential and experience a significant boost in performance. Whether you’re a professional needing fast data access or a gamer seeking reduced loading times, an SSD will provide a noticeable improvement in your computing experience. Get ready to upgrade your PC and enjoy the benefits of speed, responsiveness, durability, and energy efficiency that an SSD brings!
Compatibility and Requirements
Before adding a solid state drive (SSD) to your PC, it’s essential to ensure that your system is compatible and meets the necessary requirements. This will help you avoid any compatibility issues and ensure a smooth installation process. Here are some key considerations:
- Motherboard Compatibility: Check if your motherboard supports SSDs and the specific form factor you plan to install, such as 2.5-inch SATA or M.2. Refer to your motherboard’s documentation or visit the manufacturer’s website to determine compatibility. Some older motherboards may not support certain newer SSD technologies like NVMe.
- Storage Interface: Identify the storage interface available on your motherboard. Most SSDs use either the Serial ATA (SATA) or Non-Volatile Memory Express (NVMe) interface. SATA SSDs are compatible with nearly all motherboards, while NVMe SSDs require specific motherboard support for the NVMe protocol and an NVMe-compatible M.2 slot.
- Available Drive Bays or M.2 Slots: Determine if you have free drive bays or M.2 slots available for the SSD installation. If you plan to add an internal 2.5-inch SATA SSD, make sure you have an empty drive bay. For an M.2 SSD, ensure you have an available M.2 slot on your motherboard. Refer to your motherboard documentation for the location and type of M.2 slots available.
- BIOS and Firmware Updates: It’s a good practice to update your motherboard’s BIOS to the latest version before installing an SSD. Manufacturers often release BIOS updates to improve compatibility and performance. Additionally, check for any firmware updates for the SSD itself, as these updates can provide enhancements and bug fixes.
- Power Supply: Verify that your power supply unit (PSU) has sufficient power connectors for the SSD. Most SSDs require a SATA power connector, while some M.2 SSDs may draw power directly from the motherboard’s M.2 slot. If necessary, consider purchasing a SATA power adapter or upgrading your PSU.
It’s important to research and gather the necessary information about your specific motherboard and system requirements. This will ensure that you select an SSD that is compatible with your PC and avoid any potential issues during installation. Take note of the interface type, form factor, and available slots to make an informed decision when choosing an SSD.
Now that you understand the compatibility and requirements for adding an SSD to your PC, it’s time to move on to the next section: selecting the right SSD for your needs.
Selecting the Right SSD for Your PC
When it comes to selecting the right solid-state drive (SSD) for your PC, there are several factors to consider. Understanding these factors will help you make an informed decision and choose an SSD that suits your needs and budget. Here are some key considerations to keep in mind:
- Capacity: Determine the amount of storage space you require. SSDs are available in various capacities, ranging from a few hundred gigabytes (GB) to multiple terabytes (TB). Consider the size of your operating system, applications, and files to select an appropriate capacity. Keep in mind that the prices increase with larger storage capacities, so it’s important to strike a balance between your needs and budget.
- Interface: Choose an SSD with the appropriate interface that is compatible with your motherboard. The most common interfaces are Serial ATA (SATA) and Non-Volatile Memory Express (NVMe). SATA SSDs are compatible with nearly all systems, while NVMe SSDs offer faster speeds but require specific motherboard support and an NVMe-compatible M.2 slot. If your motherboard supports NVMe, it’s worth considering for optimal performance.
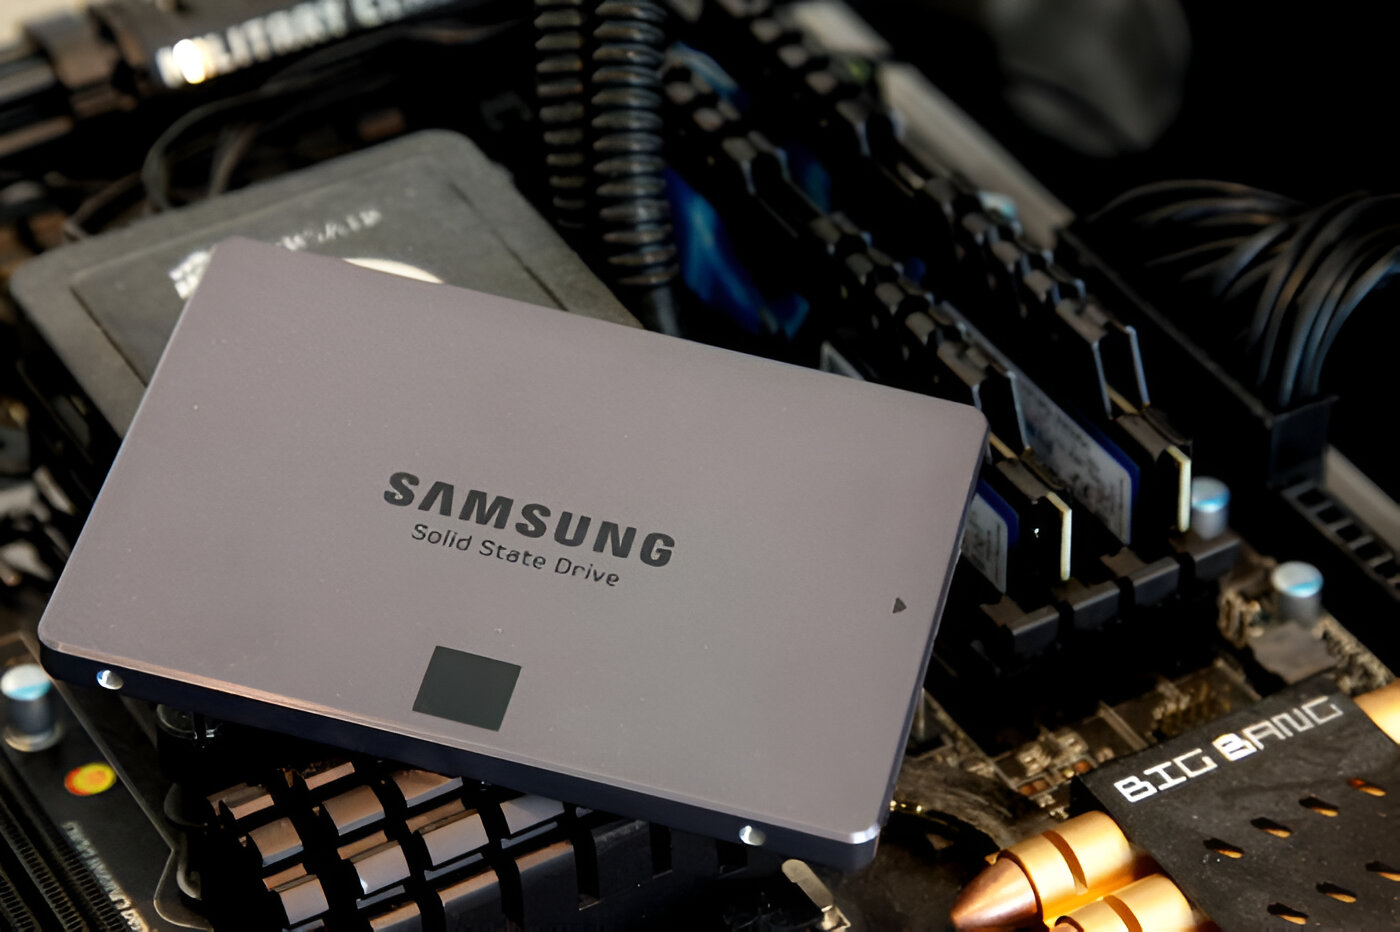
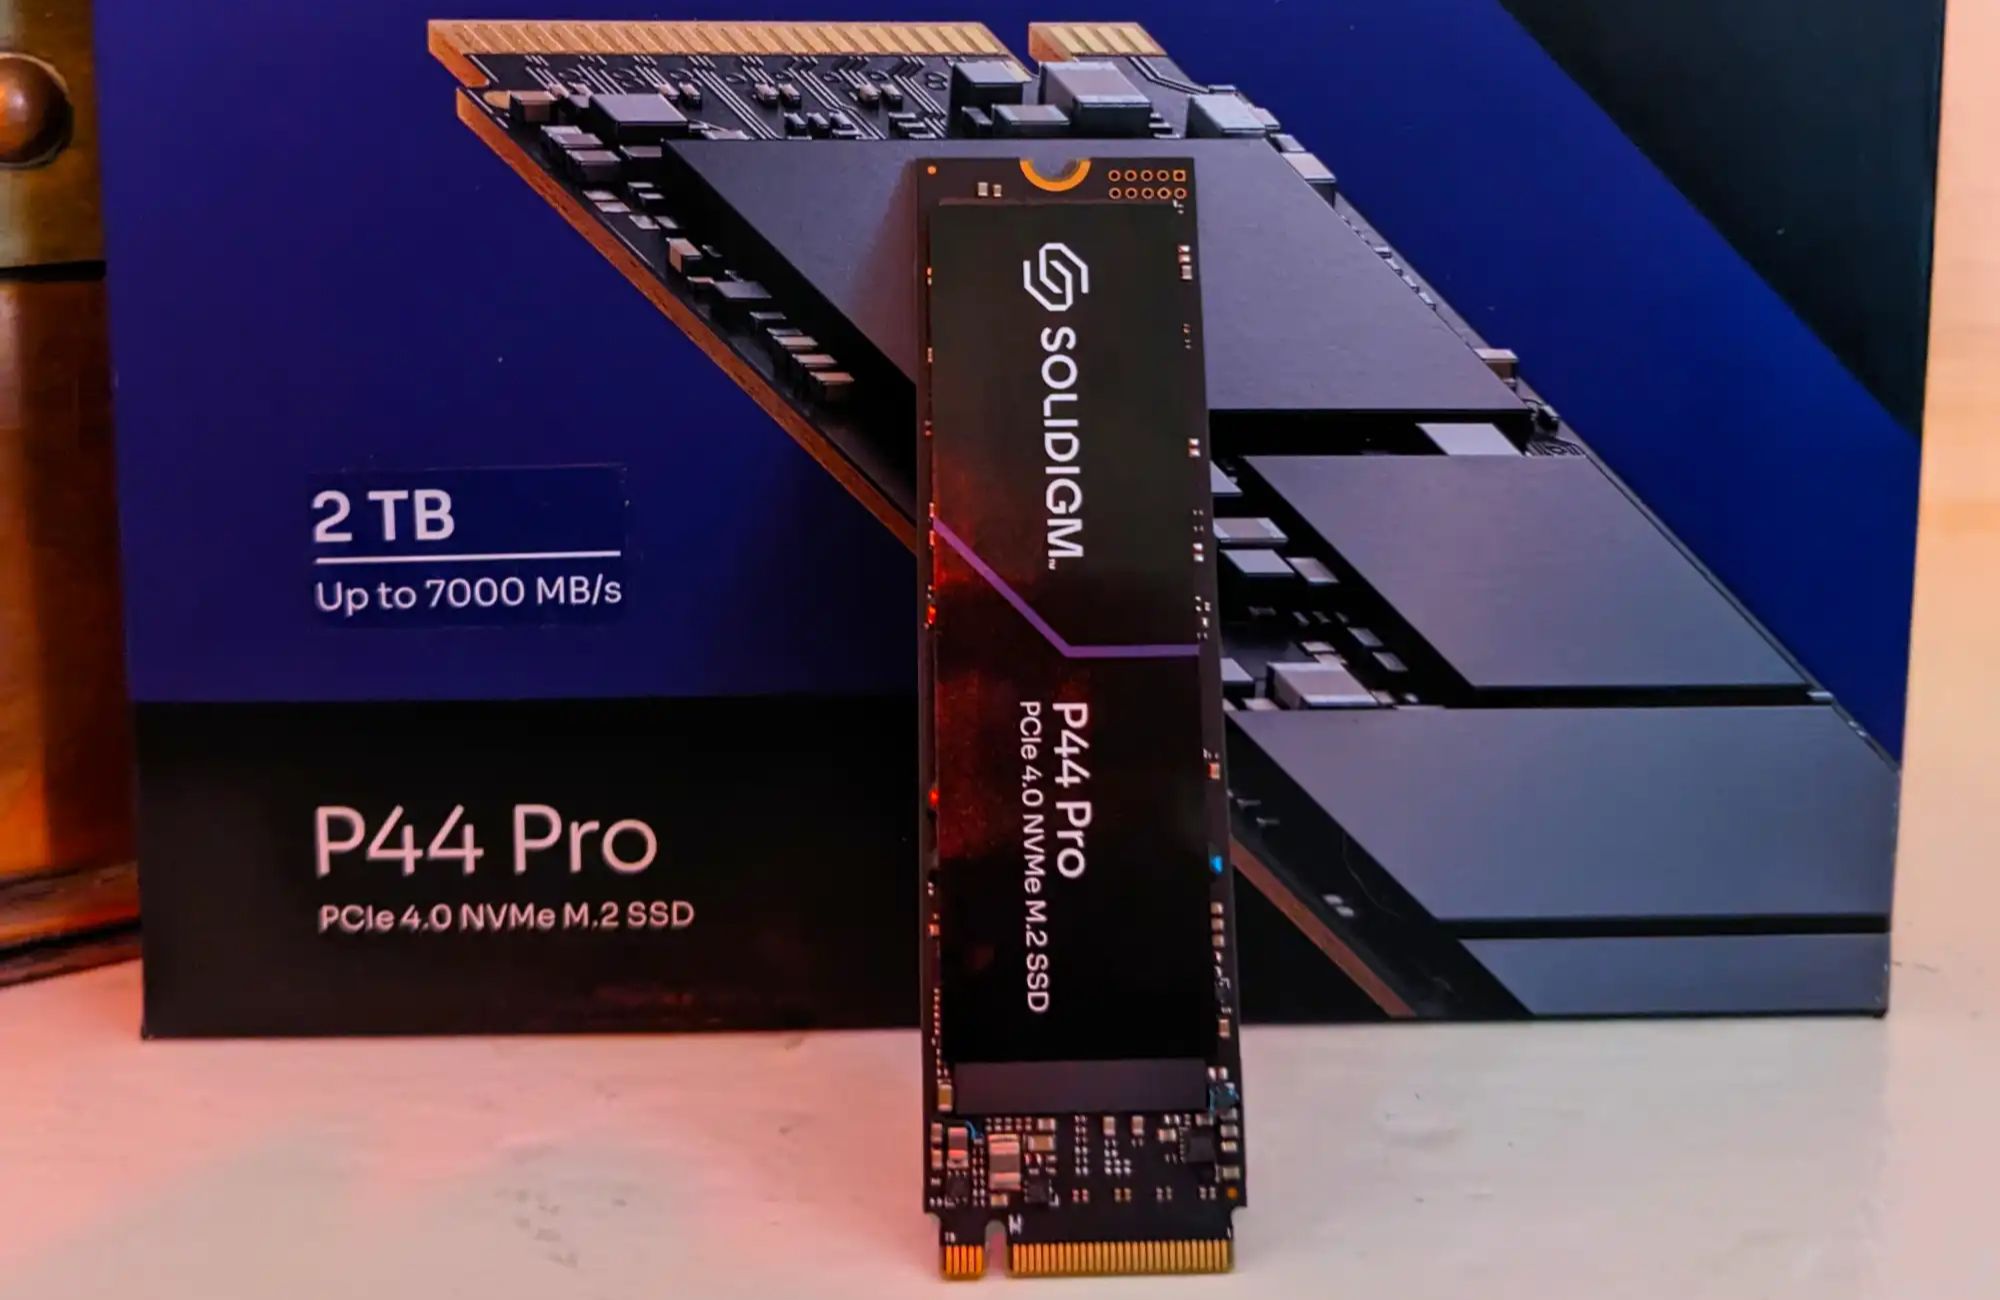
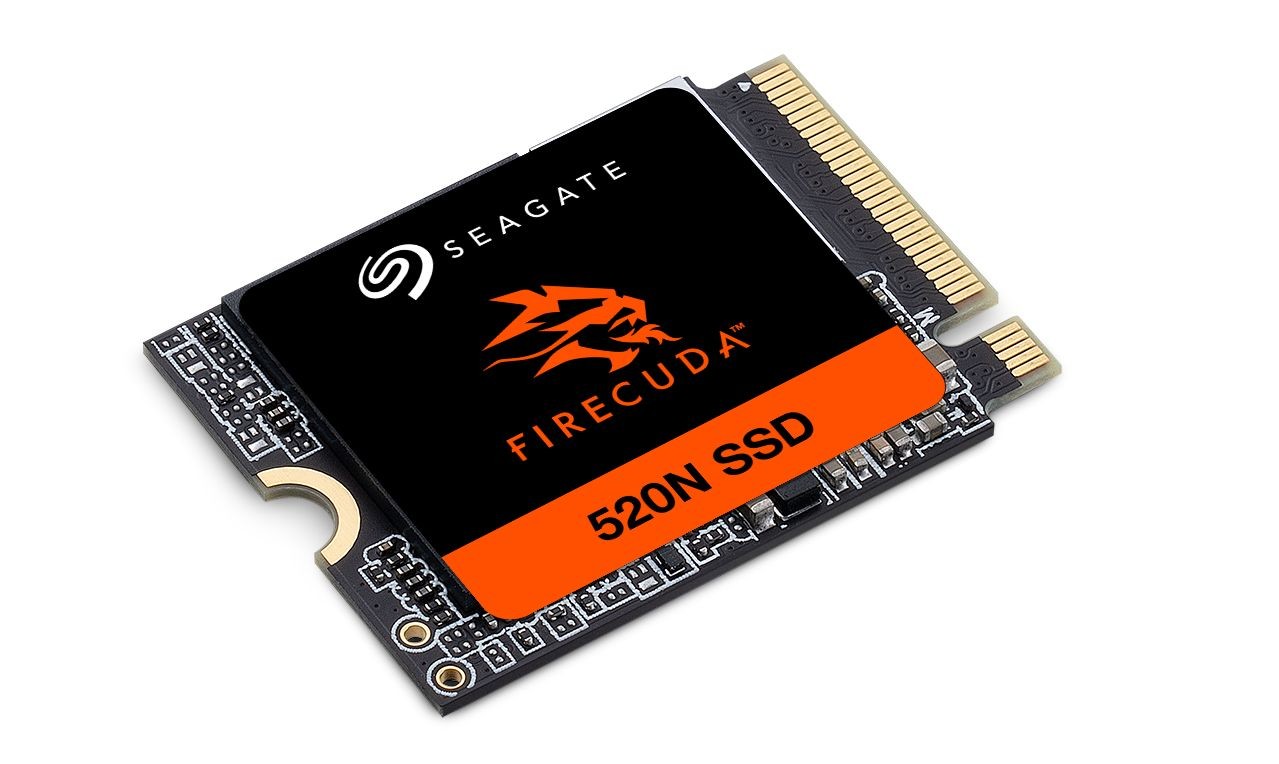
- Form Factor: SSDs come in different form factors, most commonly 2.5-inch SATA and M.2. The 2.5-inch SATA drives are similar in size to traditional hard drives, making them suitable for systems with adequate drive bays. M.2 SSDs, on the other hand, are smaller and typically connect directly to the motherboard, providing a sleeker and more compact solution.
- Performance: Consider the performance metrics of the SSD such as read and write speeds. Higher read and write speeds indicate faster data transfer, resulting in improved overall performance. However, it’s important to note that real-world performance differences between SSDs may not always be noticeable in everyday usage, especially for common tasks such as web browsing and document editing.
- Budget: Set a budget for your SSD purchase. Prices vary based on factors like capacity, interface, and performance. It’s important to find a balance between your budget and the required specifications. Consider the value for money and prioritize the features that are most important for your specific use case.
Researching and comparing different SSD models can help you make an informed decision. Read reviews, check the performance benchmarks, and consider user feedback to gain insights into the reliability and performance of different SSDs. Additionally, consider the warranty and customer support provided by the manufacturer.
By considering these factors and making an informed choice, you can select an SSD that meets your requirements and provides a significant improvement in your PC’s performance. Now that you have an understanding of selecting the right SSD, it’s time to move on to the next steps: backing up your data and preparing your PC for installation.
Backup Your Data
Before proceeding with the installation of a solid state drive (SSD) in your PC, it is crucial to backup your data to ensure its safety. Backing up your data helps protect against the risk of data loss during the installation process. Here are some important steps to follow:
- Identify Important Data: Take stock of the data that you consider important and crucial to backup. This may include documents, photos, videos, music, and any other personal or work-related files.
- Select Backup Options: Choose the backup method that suits your needs and preferences. You have several options available, such as using an external hard drive, cloud storage services, or backup software.
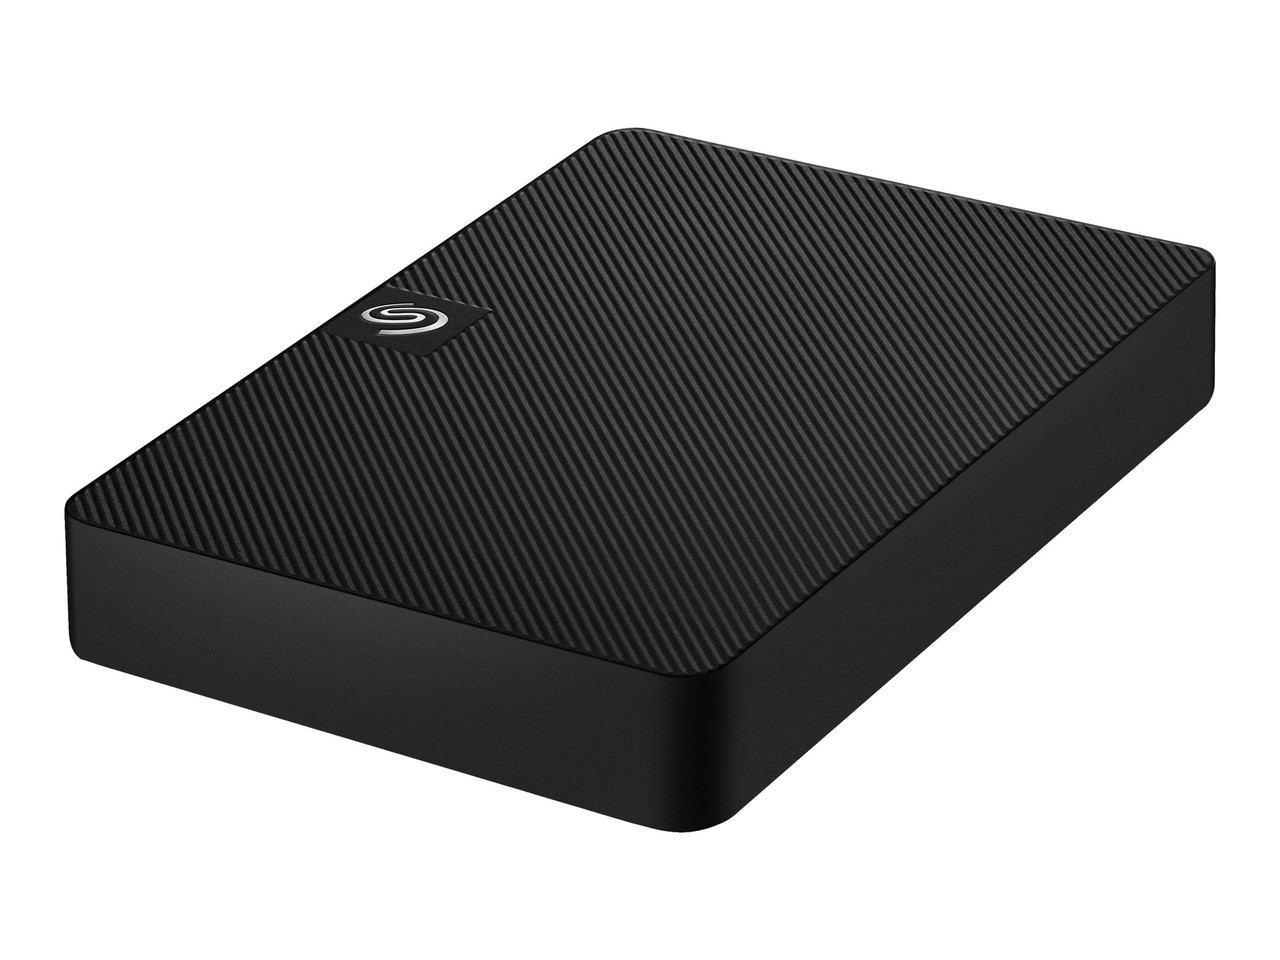
- External Hard Drive: Connect an external hard drive to your PC and create a backup using either the built-in backup and recovery tools provided by your operating system or through third-party backup software. Copy and paste or drag and drop your important files to the external hard drive.
- Cloud Storage: Utilize cloud storage services such as Google Drive, Dropbox, or Microsoft OneDrive. Upload your files to the cloud by either dragging and dropping them or using the sync features provided by these services. Ensure that your files are successfully uploaded by checking the sync status.
- Backup Software: Consider using specialized backup software that allows for easy and automated backups. These tools often provide options for scheduling backups, incremental backups (only backing up changed files), and even creating disk images for a complete system backup.
- Verify Backup Integrity: Once the backup process is complete, verify the integrity of your backups. Make sure that the files are accessible and in good condition. Double-check that all your important data has been successfully backed up and is ready for restoration if necessary.
Remember, backups are meant to safeguard your data, so it is vital to regularly update them to reflect any changes or additions to your files. It is also recommended to keep multiple backup copies and store them in different locations to further mitigate the risk of data loss.
By taking the time to backup your data before installing the SSD, you can have peace of mind knowing that your valuable files are safe and secure. In the next section, we will guide you through the process of preparing your PC for the installation of the SSD.
Preparing Your PC for Installation
Before diving into the installation process, it’s crucial to properly prepare your PC to ensure a smooth and successful transition to a solid-state drive (SSD). Here are the important steps to follow:
- Gather the Necessary Tools: Ensure you have all the tools necessary for the installation, such as a screwdriver, appropriate cables (SATA or NVMe), and any additional mounting brackets or adapters that may be required for your specific SSD and PC setup.
- Create a Recovery Drive: It is highly recommended to create a recovery drive or a bootable USB flash drive before the installation. This will allow you to restore your system in case any issues arise during or after the installation process.
- Disconnect Power and Peripherals: To prevent any electrical damage, shut down your PC and disconnect the power cable. Additionally, disconnect any peripherals connected to your PC, such as monitors, keyboards, mice, and external devices.
- Ground Yourself: Electrostatic discharge (ESD) can damage sensitive PC components. Before handling any internal components, ground yourself by touching a metal surface such as a doorknob or using an anti-static wristband. This helps to discharge any static electricity and protect your PC from potential damage.
- Locate the Drive Bays or M.2 Slots: Identify the drive bays in which you will install the SSD. In the case of a 2.5-inch SATA SSD, you will need an available drive bay. For an M.2 SSD, identify the correct M.2 slot on your motherboard, as there may be multiple slots with varying compatibility.
- Prepare the Drive Bay: If you are installing a 2.5-inch SATA SSD, ensure that the drive bay is clear of any obstructions or brackets. Some cases may require you to remove a front panel or cage before inserting the SSD. Refer to your PC’s manual or manufacturer’s instructions for specific steps.
- Prepare the M.2 Slot: If you are installing an M.2 SSD, determine if your motherboard requires a standoff or mounting screw to secure the SSD. Some motherboards come with pre-installed standoffs, while others may require you to install them manually. Consult your motherboard manual or manufacturer’s instructions for guidance.
By properly preparing your PC for the SSD installation, you will minimize the risk of encountering any complications or damaging your system. Take your time to familiarize yourself with your PC’s internal components and refer to the documentation provided by the manufacturer for detailed instructions specific to your system.
Once you have completed these preparation steps, you are ready to move on to the exciting part: the installation of the SSD itself. Stay tuned for the next section, where we will guide you through the process of installing the SSD in your PC.
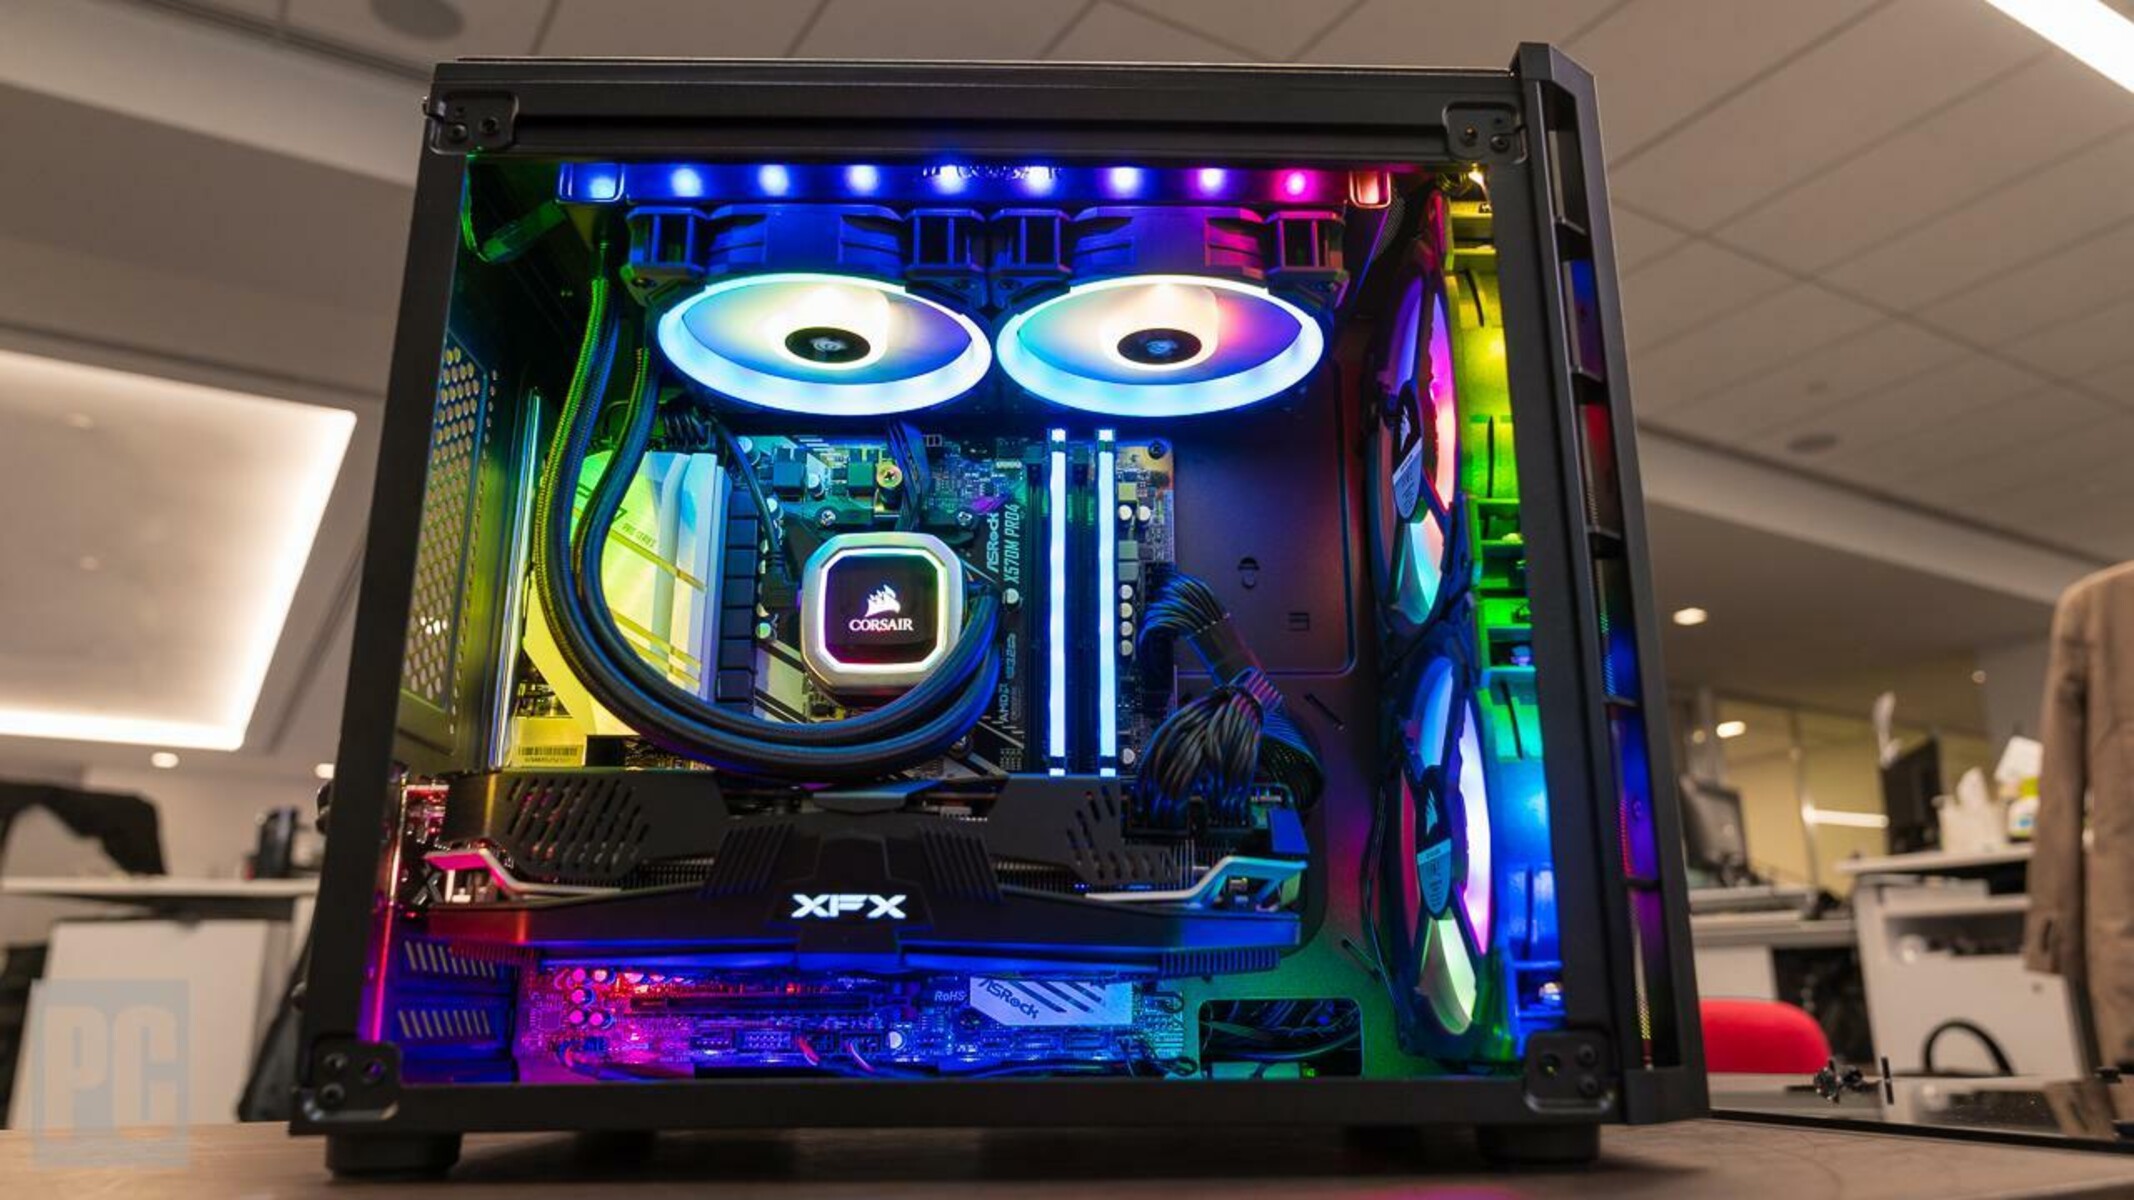
Installing the SSD
Now that you have prepared your PC, it’s time to install the solid-state drive (SSD) in your system. Whether you are installing a 2.5-inch SATA SSD or an M.2 SSD, follow these general steps for a successful installation:
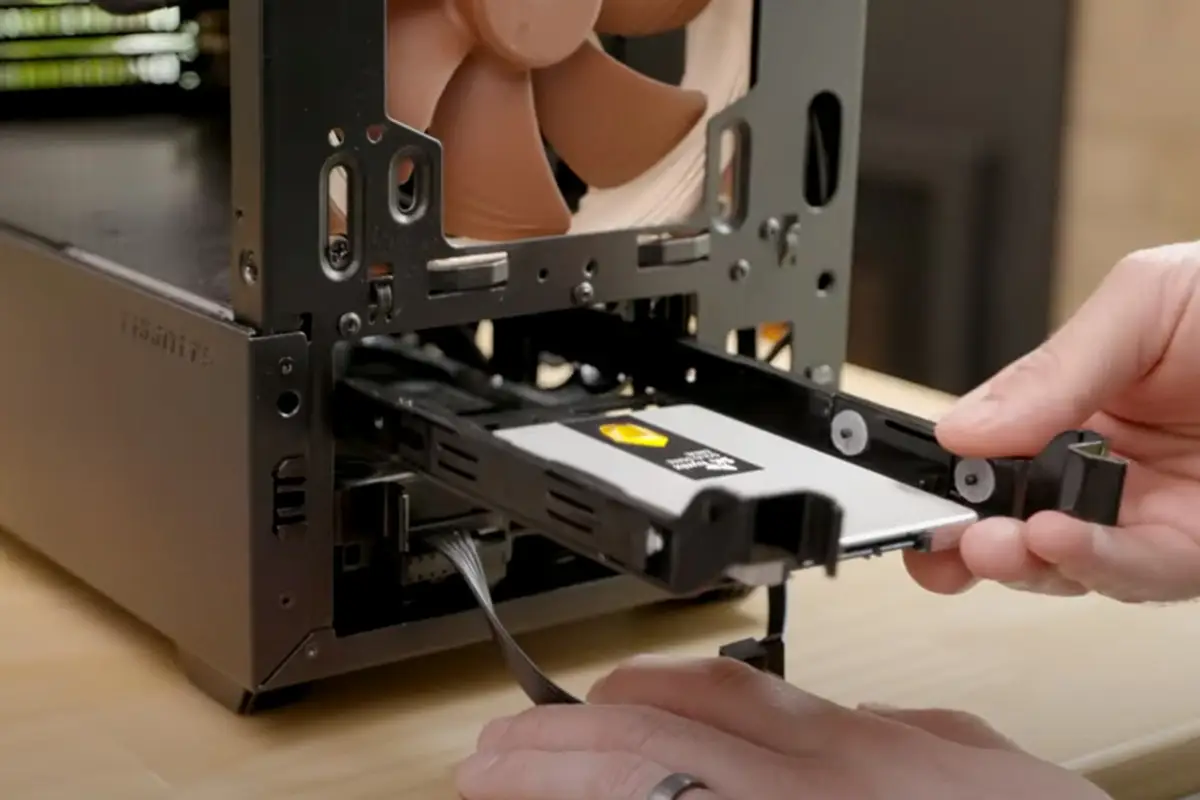
- 2.5-Inch SATA SSD Installation:
- Locate an available drive bay in your PC case where you will install the SSD.
- If necessary, remove any obstacles, brackets, or cages that may be blocking the drive bay.
- Take the 2.5-inch SATA SSD and gently align it with the connections in the drive bay, ensuring that the SATA power and data connectors are facing towards the back of the case.
- Secure the SSD in place using the screws provided or any mounting brackets that may be required.
- Double-check the connections to make sure they are tight and secure.
- M.2 SSD Installation:
- Locate the correct M.2 slot on your motherboard where you will install the M.2 SSD.
- If necessary, install the standoff or mounting screw in the designated hole on the motherboard to secure the M.2 SSD.
- Insert the M.2 SSD into the slot at a slight angle, lining up the keying notch on the SSD with the slot on the motherboard.
- Apply gentle pressure and push the M.2 SSD down until it is fully seated in the slot.
- Using the screw provided, secure the M.2 SSD in place by tightening the screw to hold it firmly.
Note: The exact installation process may vary depending on your specific PC case and motherboard. Refer to the documentation provided by your motherboard and PC case manufacturer for any additional instructions or specific details.
Once the SSD is securely installed, you can reconnect the power cable and any peripherals that were disconnected earlier. Ensure all connections are tight and secure.
Now that you have successfully installed the SSD in your PC, it’s time to move on to the next step: configuring the SSD as the boot drive. This will allow your system to start up using the newly installed SSD for improved speed and performance. Stay tuned for the next section, where we will guide you through this process.
Configuring the SSD as the Boot Drive
After installing the solid-state drive (SSD) in your PC, it’s important to configure it as the boot drive. This will ensure that your operating system and essential files are stored on the SSD, allowing for faster boot times and improved overall system performance. Follow these steps to configure your SSD as the boot drive:
- Enter BIOS/UEFI: Restart your computer and access the BIOS or UEFI settings. This is usually done by pressing a specific key (such as Delete, F2, or F12) during the boot process. Consult your motherboard’s manual or manufacturer’s website for the specific key to access the settings.
- Change Boot Order: In the BIOS/UEFI settings, navigate to the “Boot” or “Boot Order” menu. Locate the option that lists the boot devices and prioritize the SSD as the first boot device. This ensures that the PC boots from the SSD instead of any other connected storage devices.
- Save and Exit: Save the changes you made to the boot order and exit the BIOS/UEFI settings. This will restart your computer with the SSD now configured as the primary boot device.
- Verify Boot Priority: After the restart, confirm that your system is booting from the SSD. You can do this by checking the startup screen or accessing the BIOS/UEFI settings again and seeing if the SSD is listed as the first boot device.
- Transfer Operating System (Optional): If you want to transfer your operating system from your old storage drive to the new SSD, you can use specialized software like EaseUS Todo Backup, Acronis True Image, or Clonezilla. These tools will help you clone the OS and all your files to the SSD, ensuring a seamless transition without the need for a fresh installation.
- Set SSD as the Storage Drive: If you decided not to transfer the operating system, you can manually set the SSD as the storage drive. This involves reinstalling the operating system on the SSD and configuring it as the primary storage location for your files.
Keep in mind that the steps to configure the SSD as the boot drive may vary depending on your motherboard’s specific BIOS or UEFI interface. Refer to your motherboard’s manual or manufacturer’s website for detailed instructions tailored to your system.
By setting up the SSD as the boot drive, you will experience faster boot times, improved system responsiveness, and overall better performance from your PC. With the configuration complete, you’re ready to transfer your operating system and files to your new SSD. Stay tuned for the next section, where we will guide you through this process.
Transferring Your Operating System and Files
Now that you have successfully configured your solid-state drive (SSD) as the boot drive, it’s time to transfer your operating system and files from your old storage drive to the new SSD. This will allow you to enjoy the benefits of faster performance and improved responsiveness. Follow these steps to transfer your operating system and files:
- Choose a Data Migration Tool: There are several data migration tools available that specialize in transferring your operating system and files from one drive to another. Popular options include EaseUS Todo Backup, Acronis True Image, and Clonezilla. Choose the tool that best suits your needs and follow the instructions provided.
- Connect the SSD: If you are using a 2.5-inch SATA SSD, connect it to your PC using a SATA data cable and power cable. If you are using an M.2 SSD, ensure it is securely inserted into the M.2 slot on your motherboard.
- Open the Data Migration Tool: Launch the data migration tool you have chosen and follow the on-screen instructions to start the migration process.
- Select Source and Destination Drives: In the data migration tool, select your old storage drive as the source drive and the SSD as the destination drive. Ensure the SSD is correctly identified to avoid any data loss.
- Select Operating System and Files: Choose to transfer the operating system and any other files or folders you wish to migrate to the SSD. Make sure you have enough space on the SSD to accommodate the selected data.
- Start the Migration Process: Once you have reviewed and confirmed the settings, start the migration process. The tool will begin copying the selected data from the source drive to the SSD. This may take some time depending on the amount of data being transferred.
- Verify the Migration: After the migration is complete, restart your PC and enter the BIOS/UEFI settings to confirm that the SSD is listed as the boot drive. You should also ensure that your operating system and files are accessible on the SSD.
Remember to keep your old storage drive connected to your PC until you have verified that everything is working correctly on the SSD. This allows you to double-check that all your data has been successfully transferred and that your system is functioning as expected.
By successfully transferring your operating system and files to the SSD, you can now enjoy the improved performance and responsiveness of your PC. Take some time to organize and optimize your files on the SSD to fully maximize its benefits. Congratulations on completing the migration process!
Troubleshooting Common Issues
While the process of adding a solid-state drive (SSD) to your PC is generally straightforward, you may encounter a few common issues. Here are some troubleshooting tips to help you resolve these issues:
- Recognition Issues: If your SSD is not recognized by your system, ensure that it is securely connected. Check the SATA or M.2 connections and make sure they are properly inserted and tightened. Additionally, check the BIOS/UEFI settings to ensure the SSD is detected. If necessary, update your motherboard’s firmware to the latest version for better compatibility.
- Wrong Drive Detected as Boot Drive: If your PC continues to boot from your old storage drive instead of the newly installed SSD, access the BIOS/UEFI settings and verify the boot order. Ensure that the SSD is listed as the first boot device. In some cases, you may need to disable the old storage drive from the boot options entirely.
- Slow Performance: If you notice slower-than-expected performance after installing the SSD, ensure that you have enabled the AHCI mode in the BIOS/UEFI settings. This mode allows for optimal communication between your SSD and the system. Check that the SSD firmware is up to date and consider updating your operating system and drivers for better performance.
- Data Loss or Corruption: In rare cases, you may experience data loss or corruption during the installation or migration process. To prevent this, always back up your data before making any changes to your system. Verify the integrity of your backups and consider using reliable data migration tools that offer robust error-checking capabilities.
- Incompatibility Issues: If you experience compatibility issues between your SSD and other components or software, visit the manufacturer’s website for any available firmware updates or compatibility patches. Moreover, ensure that all drivers and operating system updates are installed and compatible with your SSD.
If you encounter any of these issues or other difficulties during the SSD installation or setup process, it can be helpful to consult online forums or contact the manufacturer’s technical support for further assistance. They can provide specific guidance tailored to your system and help you troubleshoot any unique challenges you may be facing.
Remember, patience and persistence are key when troubleshooting. By addressing these issues and finding resolutions, you can enjoy the improved performance and benefits that an SSD brings to your PC.
Conclusion
Congratulations! You have successfully learned how to add a solid-state drive (SSD) to your PC. By upgrading to an SSD, you have unlocked a world of improved performance, speed, and reliability.
We started by discussing the benefits of adding an SSD, such as faster data access speeds, enhanced system responsiveness, increased durability, and improved energy efficiency. We also explored the compatibility and requirements you need to consider before making your purchase.
We then delved into the process of selecting the right SSD for your PC, considering factors like capacity, interface, form factor, performance, and budget. With the right SSD chosen, we moved on to important steps like backing up your data to safeguard against any potential data loss and preparing your PC for installation by gathering the necessary tools and grounding yourself to prevent static discharge.
Next, we guided you through the installation process, whether it be for a 2.5-inch SATA SSD or an M.2 SSD. We also provided guidance on configuring the SSD as the boot drive, which allows your system to start up faster and take advantage of the SSD’s performance benefits.
Transferring your operating system and files to the SSD was the next step in the journey. We outlined the process of using data migration tools to seamlessly move your OS and files, ensuring a smooth transition without the need for a fresh installation.
Lastly, we addressed common troubleshooting issues, such as recognition and compatibility problems, slow performance, and data loss. By following the troubleshooting tips, you can overcome these obstacles and enjoy the full benefits of your SSD.
With your SSD successfully installed and configured, you can now experience a significant boost in performance, lightning-fast boot times, improved multitasking capabilities, and overall smoother computing experience. Take advantage of the durability, energy efficiency, and compact design that an SSD offers.
Remember to stay up to date with firmware updates for your SSD and keep regular backups of your important data. By practicing proper maintenance and care, your SSD can serve as a reliable and enduring component of your PC for years to come.
We hope this guide has been informative and helpful in your journey to add an SSD to your PC. Enjoy your faster and more efficient computing experience!