Introduction
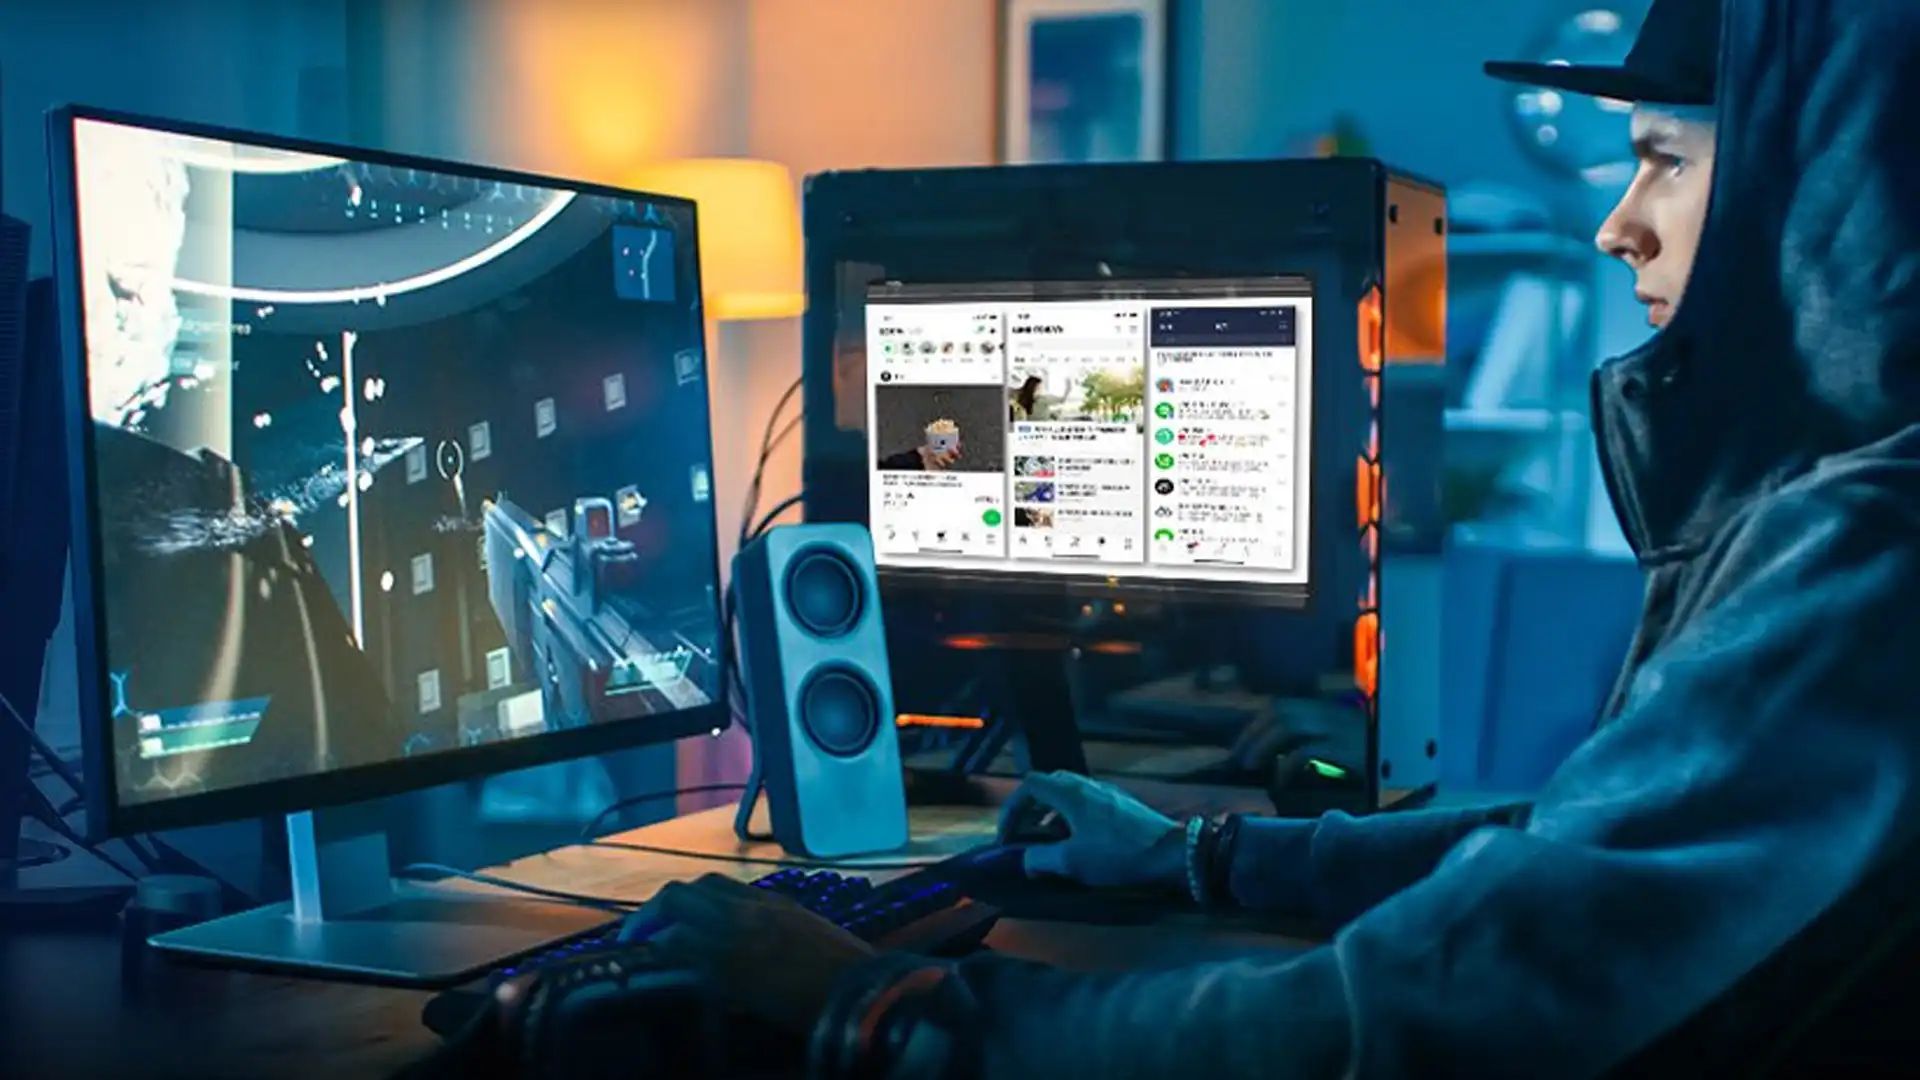
Adding a screen to a PC case can greatly enhance the functionality and visual appeal of your computer setup. Whether you’re a gamer wanting to immerse yourself in stunning graphics or a professional requiring an additional display for multitasking, the process of installing a screen onto your PC case is easier than you might think.
In this guide, we will walk you through the step-by-step process of adding a screen to a PC case. We will discuss the tools and materials you will need, as well as provide detailed instructions for each stage of the installation. By the end of this guide, you’ll have a fully functioning screen integrated into your PC case, ready to enhance your computing experience.
Before we dive into the installation process, it’s important to note that adding a screen to a PC case requires some basic knowledge of hardware and computer components. If you’re not familiar with these aspects, we recommend seeking assistance from a knowledgeable friend, a professional, or referring to manufacturer’s instructions specific to your PC case and screen.
Now, let’s gather the necessary tools and materials before we begin the installation process.
Tools and Materials Needed
Before you start the process of adding a screen to your PC case, make sure you have the following tools and materials on hand:
- PC case – Ensure that your case is compatible with adding a screen. Check the available space and any specific requirements for the screen installation.
- Screen – Choose a suitable screen that fits your needs and preferences. Consider factors such as size, resolution, and connectivity options.
- Measure tape – You’ll need this to accurately measure the dimensions of the screen and mark the case for cutting.
- Marker or pencil – Use a marker or pencil to mark the areas on the case where you’ll be making cuts for the screen.
- Jigsaw or Dremel tool – Depending on the material of your PC case, you’ll need a jigsaw or Dremel tool to cut out the hole for the screen.
- Screwdriver – This will be used to remove any necessary panels or screws from the PC case during the installation process.
- Adhesive or mounting brackets – Depending on the design of your screen and case, you may need adhesive or mounting brackets to secure the screen in place.
- Cables – Make sure you have the necessary cables to connect the screen to your PC. This may include HDMI, DisplayPort, or VGA cables.
- Antistatic wrist strap – It’s always a good idea to use an antistatic wrist strap while working inside your PC case to prevent any damage from static electricity.
- Multipurpose cleaner – You may need a cleaner to wipe down the case and screen once the installation is complete.
Having these tools and materials ready before you begin the installation process will ensure a smooth and efficient workflow. Now that you have everything you need, let’s move on to the step-by-step instructions for adding a screen to your PC case.
Step 1: Choose a Suitable Screen
The first step in adding a screen to your PC case is selecting a suitable screen that meets your requirements. Consider the following factors when choosing a screen:
- Size: Determine the size of the screen that will fit well within your PC case. Measure the available space and ensure that the screen dimensions are appropriate.
- Resolution: Decide on the desired resolution of the screen. Higher resolutions offer sharper images and more detailed visuals.
- Connectivity: Check the available ports on both the screen and your PC. Ensure that the screen has ports that match your computer’s outputs, such as HDMI, DisplayPort, or VGA.
- Refresh Rate: If you’re a gamer or work with fast-paced content, consider a screen with a higher refresh rate for smoother motion.
- Panel Type: Choose between different panel types, such as IPS, TN, or VA, depending on your needs for color accuracy, response time, and viewing angles.
- Additional Features: Consider any additional features that may be important to you, such as built-in speakers, adjustable stands, or USB ports.
Research and compare various screens to find one that suits your preferences and budget. Read reviews and specifications to ensure that the screen meets your specific needs. Additionally, consider the compatibility with your PC case and any potential limitations that may arise during the installation process.
Once you have chosen a suitable screen, take note of its dimensions and any specific requirements mentioned by the manufacturer. This information will be essential in the next steps of measuring and preparing your PC case.
Now that you have selected the perfect screen for your PC case, it’s time to move on to step two: measuring and marking the case for installation.
Step 2: Measure and Mark the Case
Now that you have your suitable screen, it’s time to measure and mark the case where the screen will be installed. Follow these steps:
- Ensure your PC case is powered off and disconnected from any power source.
- Measure the dimensions of the screen and determine the placement on the PC case. Consider factors such as visibility, accessibility, and the available space.
- Use a tape measure and carefully measure the length, width, and height of the screen.
- Mark the desired location on the PC case using a marker or pencil. Make sure the marks are clear and visible.
- Double-check your measurements and placement to ensure accuracy. Take into account any additional features or ports on the screen that may require specific positioning.
It’s important to be precise when marking the case to ensure a proper fit for the screen. Take your time and measure multiple times if needed. Keep in mind that it’s always better to cut a smaller hole first and then enlarge it if necessary, rather than cutting too large right away. This way, you can avoid any accidental damage to the case.
Once you have accurately marked the position for the screen, you’re ready to move on to the next step: cutting a hole in the case. This process must be done carefully to maintain the integrity of the case and ensure a clean installation for the screen.
Step 3: Cut a Hole for the Screen
With the PC case properly marked, it’s time to cut a hole for the screen. Follow these steps to ensure a clean and precise cut:
- Ensure your PC case is still powered off and disconnected from any power source.
- Identify the appropriate tools for cutting based on the material of your PC case. For metal cases, a jigsaw or Dremel tool with a metal-cutting blade is recommended. For plastic cases, a jigsaw or utility knife may be sufficient.
- Put on safety goggles and gloves to protect yourself during the cutting process.
- Using the marked location on the PC case as a guide, begin cutting the hole according to the dimensions needed for the screen. Take your time and use steady, controlled motions to ensure accuracy.
- For metal cases, apply minimal pressure to avoid creating excessive vibrations or damaging the case surface. Use slow, smooth cuts to prevent the blade from overheating.
- For plastic cases, be cautious not to exert too much force while cutting to prevent cracking or breaking the material.
- Periodically stop and check the progress of the cut to ensure you’re on track and not deviating from the marked dimensions.
- Once the hole is cut, carefully remove any burrs or sharp edges using a file or sandpaper. This will ensure a clean and safe installation for the screen.
Remember to take your time and work with precision when cutting the hole. Measure twice, cut once! It’s better to make smaller adjustments if needed rather than risking a larger cut that could compromise the structural integrity of the case.
Now that the hole is cut for the screen, you’re ready for the next step: preparing the screen for installation.
Step 4: Prepare the Screen
Now that the hole is cut in your PC case, it’s time to prepare the screen for installation. Follow these steps to ensure a smooth and secure setup:
- Read the manufacturer’s instructions for your screen carefully. Familiarize yourself with any specific requirements or recommendations for pre-installation preparation.
- Remove any protective film or covering from the screen to ensure a clear and unobstructed view.
- Inspect the screen for any visible damage or defects. If you notice any issues, contact the manufacturer or retailer for support or a replacement.
- If necessary, attach any mounting brackets or adapters provided with your screen to ensure a secure fit within the hole in the PC case. Follow the manufacturer’s instructions for proper attachment.
- If using adhesive to secure the screen, apply it to the edges of the screen according to the adhesive manufacturer’s instructions. Be sure to use an adhesive that is suitable for the materials of both the screen and the PC case.
- If your screen has adjustable positioning or tilt options, set it to the desired angle before installation.
- Double-check the connections on the screen and ensure they are clean and free from debris. Inspect cables for any damage or wear and replace if necessary.
- Prepare any additional cables or connectors that you’ll need to connect the screen to your PC. Ensure you have the correct cables and that they are of sufficient length to reach the appropriate ports on your PC.
By properly preparing the screen for installation, you’ll create a solid foundation for the next steps in securing and connecting it to your PC case.
Now that the screen is prepared, it’s time to move on to step five: securing the screen in place within the PC case.
Step 5: Secure the Screen in Place
With the screen prepared, it’s time to securely mount it within the hole in your PC case. Follow these steps to ensure a stable and reliable installation:
- Make sure your PC case is still powered off and disconnected from any power source.
- Place the screen carefully into the hole, aligning the edges with the markings on the case.
- If using mounting brackets, follow the manufacturer’s instructions to attach them securely to the screen and the case.
- Check for any gaps or unevenness between the screen and the case. Use additional adhesive or padding if necessary to fill in any spaces and provide a secure fit.
- Tighten any screws or fasteners provided by the manufacturer to secure the screen firmly in place.
- If your case has additional panels or covers that were removed during the installation process, reattach them to enclose the screen properly.
- Inspect the screen from different angles to ensure it is level and properly aligned within the case.
- Give the screen a gentle shake or tap to test its stability. If it feels loose or wobbly, check the mounting points and connections to ensure they are secure.
Ensuring that the screen is securely mounted in your PC case is crucial for its long-term functionality and durability. A stable installation will help prevent any accidental dislodging or damage while using your computer.
Now that the screen is securely in place, it’s time to move on to step six: connecting the screen to your PC.
Step 6: Connect the Screen to the PC
Now that the screen is securely mounted in your PC case, it’s time to connect it to your computer. Follow these steps to establish the necessary connections:
- Ensure your PC is powered off and disconnected from any power source.
- Identify the appropriate cables needed to connect the screen to your PC. This will depend on the available ports on both the screen and your computer.
- Connect one end of the cable to the corresponding port on the screen. Ensure a snug fit and that the connection is secure.
- Connect the other end of the cable to the appropriate port on your PC. Make sure it is firmly inserted.
- If using multiple screens, repeat the process to connect each additional screen, ensuring that they are connected in the desired order.
- Double-check the connections on both the screen and the PC to ensure they are secure and properly aligned.
Once the screen is connected to your PC, you’re one step closer to enjoying the enhanced display and functionality it offers. However, before powering on your PC, it’s essential to ensure that everything is properly set up and ready for use.
Now that the screen is connected, it’s time to move on to step seven: testing the screen to ensure it’s functioning correctly.
Step 7: Test the Screen
Now that the screen is connected to your PC, it’s important to test it to ensure that it’s functioning correctly. Follow these steps to perform a basic test:
- Ensure that your PC is powered off and disconnected from any power source.
- Turn on your PC and wait for it to boot up.
- Power on the screen using the provided power button or switch.
- Verify that the screen displays a signal from your PC.
- Check for any abnormalities in the display, such as flickering, distorted images, or missing pixels.
- Adjust the screen’s settings, such as brightness, contrast, and color calibration, to your preference.
- Test different functionalities of the screen, such as audio output (if applicable), touch capabilities (if applicable), and any other features specific to your screen.
- If you encounter any issues, double-check the cable connections and ensure they are properly inserted. Restart your PC if necessary, or consult the screen’s user manual or the manufacturer for troubleshooting guidance.
By thoroughly testing the screen, you can identify and address any potential issues early on. This step is essential to ensure a seamless viewing experience and to make any necessary adjustments to settings or connections.
If everything is functioning correctly, congratulations! You’ve successfully added and tested the screen in your PC case. However, if you encounter any issues, don’t hesitate to seek further assistance or consult with the manufacturer or a professional for additional support.
Now that the screen has passed the test, it’s time for the final touches and troubleshooting, which we’ll cover in the next step.
Step 8: Final Touches and Troubleshooting
Now that you have successfully tested the screen, it’s time to add the final touches and address any potential troubleshooting aspects. Follow these steps to complete the installation process:
- Ensure that your PC is powered off and disconnected from any power source.
- Inspect the screen and PC case for any fingerprints, smudges, or dust. Use a microfiber cloth or gentle cleaner to clean the surface of the screen and the surrounding area.
- Secure any loose cables or wires to prevent them from interfering with the screen or obstructing airflow within the PC case.
- Check the functionality of any additional features or buttons on the screen to ensure they are working as intended.
- Test the screen’s compatibility with different applications or software that you frequently use, such as games, video editing software, or productivity tools.
- If you encounter any issues or unexpected behavior, consult the screen’s user manual, the manufacturer’s website, or contact their customer support for troubleshooting assistance.
- Make a note of any adjustments you may need to make, such as color calibration or screen positioning, to further optimize your viewing experience.
- Consider organizing your desktop layout or adjusting your display settings to take full advantage of the added screen’s real estate.
By completing these final touches and troubleshooting steps, you’ll ensure that your screen is fully optimized and integrated into your PC setup. If you experience any persistent issues or concerns, it may be beneficial to seek assistance from a professional or reach out to the manufacturer for further support.
Congratulations on successfully adding a screen to your PC case! Enjoy the enhanced visual experience and increased productivity that the additional screen provides.
Conclusion
Adding a screen to your PC case can greatly enhance your computer setup, providing you with a larger display, increased productivity, and a more immersive multimedia experience. By following the step-by-step guide outlined in this article, you can successfully integrate a screen into your PC case.
Throughout the installation process, it’s important to carefully choose a suitable screen and measure your PC case to ensure a proper fit. Cutting a hole in the case should be done with precision and accuracy, followed by thorough preparation of the screen for installation. Securely mounting the screen and connecting it to your PC are crucial steps to establish a stable and reliable setup. From there, testing the screen ensures its functionality and allows for adjustments of settings as needed.
Remember to attend to the final touches, such as cleaning the screen and addressing any troubleshooting aspects. By taking the time to optimize your setup and address any issues, you can fully enjoy the benefits of your newly added screen.
If at any point during the process you encounter challenges or have concerns, don’t hesitate to seek assistance from a knowledgeable friend or professional, or refer to the manufacturer’s instructions for your specific PC case and screen model.
With your screen successfully integrated into your PC case, you can now enjoy an enhanced computing experience, whether it’s for gaming, work, or multimedia entertainment.
So go ahead, power on your PC, and take delight in the expanded visual capabilities and increased productivity that your newly added screen brings!


