Introduction
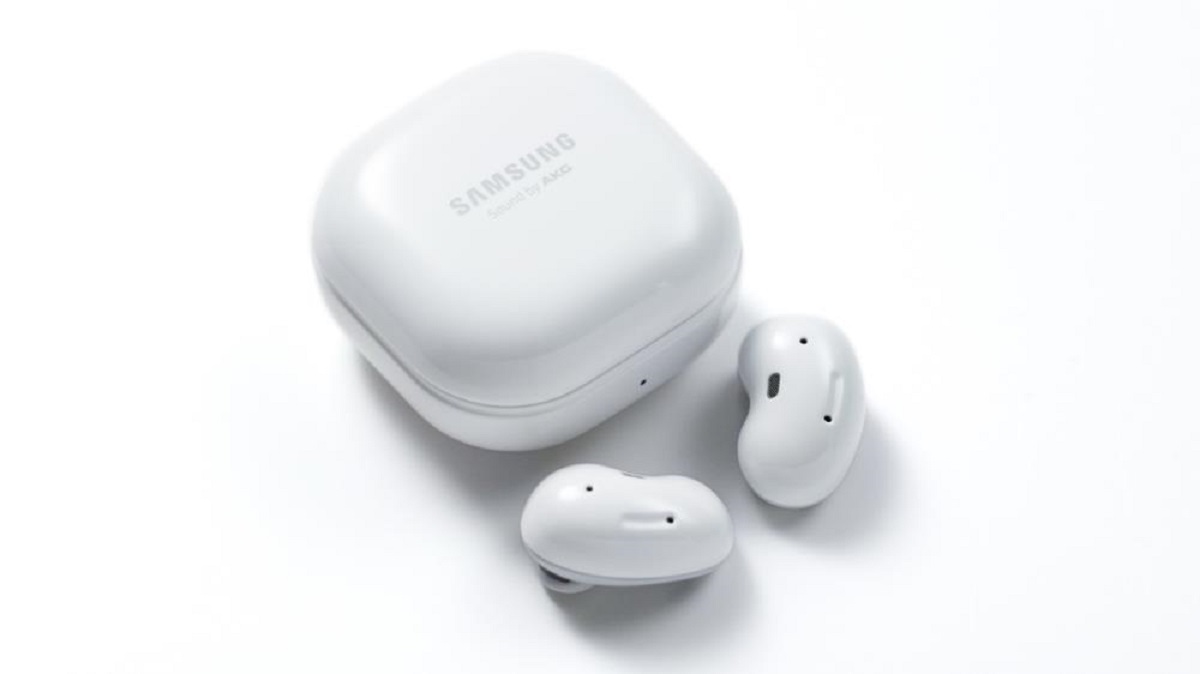
Welcome to our guide on how to activate noise cancellation on Galaxy Buds. If you’re tired of being disturbed by background noise while listening to your favorite music or making phone calls, noise cancellation can be a game-changer. Galaxy Buds, a popular wireless earbud option from Samsung, offers a noise cancellation feature that allows you to block out unwanted sounds and enjoy a more immersive audio experience.
With the increasing demand for noise-canceling headphones, Samsung has integrated this functionality into Galaxy Buds to enhance user satisfaction. Whether you’re commuting, working in a noisy environment, or simply wanting to enjoy your music in peace, activating noise cancellation on your Galaxy Buds can greatly improve your audio experience.
In this guide, we will walk you through the step-by-step process of enabling the noise cancellation feature on Galaxy Buds. We’ll also provide tips on customization and adjusting the noise cancellation level to suit your preferences.
So, if you’re ready to take control of your auditory environment and enjoy a more immersive sound experience with your Galaxy Buds, let’s dive in and explore how to activate noise cancellation.
Step 1: Ensure the Galaxy Buds are connected to your device
The first step to activate noise cancellation on your Galaxy Buds is to ensure that they are properly connected to your device. Whether you’re using a Samsung smartphone, a tablet, or any other device, make sure that your Galaxy Buds are successfully paired and connected via Bluetooth.
To connect your Galaxy Buds, follow these simple steps:
- Open the case of your Galaxy Buds and keep them close to your device.
- On your device, go to the settings and navigate to the Bluetooth menu.
- Toggle the Bluetooth setting to enable it.
- Within the Bluetooth menu, you should see the name of your Galaxy Buds listed. Tap on the name to initiate the pairing process.
- Once the pairing is successful, you will see a notification confirming the connection between your device and the Galaxy Buds.
It’s important to ensure a stable and reliable connection between your Galaxy Buds and your device to fully utilize the noise cancellation feature. By following these steps, you will have your Galaxy Buds connected and ready to activate noise cancellation.
Now that you have successfully connected your Galaxy Buds to your device, let’s move on to the next step and explore how to activate noise cancellation through the Galaxy Wearable app.
Step 2: Open the Galaxy Wearable app on your device
To activate noise cancellation on your Galaxy Buds, you’ll need to make use of the Galaxy Wearable app. This app allows you to access and customize various settings for your Galaxy Buds, including the noise cancellation feature.
Here’s how you can open the Galaxy Wearable app and get started:
- Locate the Galaxy Wearable app on your device. Depending on your device model and software version, the app may have a slightly different name, such as Galaxy Buds Manager or Galaxy Buds Plus.
- If you haven’t installed the app yet, you can download it from the Samsung Galaxy Store or the Google Play Store.
- Once you have located and opened the app, make sure your Galaxy Buds are connected to your device.
- The app will automatically detect your connected Galaxy Buds and display them on the main screen.
Opening the Galaxy Wearable app is your gateway to unlocking the full potential of your Galaxy Buds, including the noise cancellation feature. Now that you have the app open, let’s proceed to the next step and access the touchpad settings.
Step 3: Access the Touchpad settings
In order to activate noise cancellation on your Galaxy Buds, you’ll need to access the touchpad settings through the Galaxy Wearable app. The touchpad settings allow you to customize the functionalities of the touch and hold feature on your Galaxy Buds.
Follow these steps to access the touchpad settings:
- Open the Galaxy Wearable app on your device, ensuring that your Galaxy Buds are connected.
- Within the app, navigate to the section that is specific to your Galaxy Buds. This section may be named “Touchpad settings,” “Touch controls,” or something similar.
- Once you have located the touchpad settings, tap on it to access the configuration options.
By accessing the touchpad settings, you’ll be able to customize the gestures and actions performed when interacting with the touchpad on your Galaxy Buds. This includes enabling noise cancellation, among other features.
Now that you have accessed the touchpad settings, let’s move on to the next step and learn how to customize the touch and hold function to activate noise cancellation.
Step 4: Customize the touch and hold function
Customizing the touch and hold function on your Galaxy Buds is essential to activate noise cancellation. By assigning a specific action to the touch and hold gesture, you can easily toggle the noise cancellation feature on and off without needing to use your device.
Follow these steps to customize the touch and hold function:
- Within the touchpad settings on the Galaxy Wearable app, locate the option for “Touch and hold.”
- Tap on “Touch and hold” to access the customization options.
- Choose the action you want to assign to the touch and hold gesture. In this case, you’ll select the option for noise cancellation.
By customizing the touch and hold function, you ensure that activating noise cancellation on your Galaxy Buds is just a simple interaction away. With this customization in place, you’ll be able to effortlessly switch between noise cancellation and normal mode whenever you need to.
Now that you have successfully customized the touch and hold function, let’s move on to the next step and learn how to enable the noise cancellation feature.
Step 5: Enable noise cancellation
Now that you have customized the touchpad settings, it’s time to enable the noise cancellation feature on your Galaxy Buds. Enabling noise cancellation ensures that unwanted background noise is effectively minimized, allowing you to enjoy your audio content without distractions.
Follow these steps to enable noise cancellation:
- Put your Galaxy Buds in your ears and make sure they are connected to your device.
- Using the touchpad on either earbud, perform the assigned touch and hold gesture that you configured in the previous step.
- You’ll feel a slight vibration or hear a voice prompt confirming that noise cancellation is now enabled.
With noise cancellation enabled, you can now immerse yourself in your music, podcasts, or phone calls with a reduced level of background noise. This feature is particularly useful in noisy environments such as public transportation, offices, or busy streets.
If you ever want to disable noise cancellation and switch back to normal mode, simply repeat the touch and hold gesture on the earbud touchpad.
Now that you have successfully enabled noise cancellation on your Galaxy Buds, let’s move on to the next step to explore how you can adjust the level of noise cancellation to suit your preferences.
Step 6: Adjust the level of noise cancellation
One of the great features of Galaxy Buds is the ability to adjust the level of noise cancellation according to your personal preference and the surrounding environment. Whether you want to block out all external noise or allow some ambient sounds to pass through, you have the flexibility to fine-tune the level of noise cancellation.
Follow these steps to adjust the level of noise cancellation on your Galaxy Buds:
- Open the Galaxy Wearable app on your device.
- Navigate to the section that is specific to your Galaxy Buds.
- Look for the option labeled “Noise controls” or “Noise cancellation.” Tap on it to access the noise cancellation settings.
- Here you’ll find the option to adjust the level of noise cancellation. You can choose between different levels, such as high, medium, or low.
- Experiment with the different levels and select the one that suits your preferences and the environment you’re in.
By adjusting the level of noise cancellation, you can create a personalized listening experience that matches your needs. This feature is especially handy if you’re in an environment where you’d like to hear some external sounds, like when walking on the street or commuting.
Now that you have learned how to adjust the level of noise cancellation on your Galaxy Buds, let’s move on to the final step and learn how to test the noise cancellation feature.
Step 7: Test the noise cancellation feature
After configuring and adjusting the noise cancellation settings on your Galaxy Buds, it’s essential to test the feature to ensure it’s working effectively and providing the desired result. Testing the noise cancellation feature will help you determine if any further adjustments are needed or if you’re satisfied with the current settings.
Follow these steps to test the noise cancellation feature on your Galaxy Buds:
- Find a quiet and peaceful environment, such as a quiet room in your home or a serene outdoor location.
- Put your Galaxy Buds in your ears and ensure they are connected to your device.
- Play some audio content on your device, such as your favorite music, a podcast, or a phone call.
- Engage the noise cancellation feature by performing the touch and hold gesture on the assigned earbud touchpad.
- Pay attention to the reduction in external noise and how well the Galaxy Buds isolate and enhance the audio quality of your selected content.
- Move around or expose yourself to different external noises to see how effectively the noise cancellation feature adapts and blocks out unwanted sounds.
- Based on your experience, you can further adjust the noise cancellation settings or continue using the existing configuration.
Testing the noise cancellation feature is crucial to ensure that it meets your expectations and delivers the desired level of audio isolation. By carefully evaluating its performance in different environments, you can make informed decisions about the configuration that best suits your needs.
Congratulations! You have successfully tested the noise cancellation feature on your Galaxy Buds. Now you can enjoy a more immersive audio experience free from unwanted ambient noise.
Conclusion
Activating noise cancellation on your Galaxy Buds can significantly enhance your audio experience by allowing you to block out background noise and immerse yourself in your music, podcasts, or phone calls. With the help of the Galaxy Wearable app, you can easily customize and fine-tune the noise cancellation settings to suit your preferences and the surrounding environment.
In this guide, we walked you through the step-by-step process of activating noise cancellation on your Galaxy Buds. We started by ensuring that your Galaxy Buds are properly connected to your device. Then, we opened the Galaxy Wearable app to access the touchpad settings and customize the touch and hold function to enable noise cancellation.
Once noise cancellation was enabled, we explored how to adjust the level of noise cancellation, providing you with the flexibility to strike a balance between completely blocking out external noise and allowing in some ambient sounds.
Finally, we emphasized the importance of testing the noise cancellation feature in various environments to ensure its effectiveness. By following these steps, you can maximize the benefits of noise cancellation on your Galaxy Buds and enjoy a more immersive and enjoyable audio experience.
So, go ahead and activate noise cancellation on your Galaxy Buds, tune out the distractions, and indulge in a world of crystal-clear sound.