Introduction
Welcome to the world of Beats Fit Pro, the cutting-edge wireless earbuds designed to provide an immersive audio experience with unparalleled comfort. With the advancement of technology, Beats Fit Pro introduces the revolutionary feature of noise cancellation, allowing you to enjoy your favorite music or podcasts without the distractions of the outside world. Whether you’re traveling, working, or simply relaxing, activating noise cancellation on your Beats Fit Pro is a game-changer.
Noise cancellation works by using sophisticated audio technology to actively reduce external sounds, giving you the ability to focus on your audio content with clarity and precision. Whether it’s the hum of an airplane engine, the chattering of coworkers in the office, or the bustling background noise at a coffee shop, noise cancellation on Beats Fit Pro helps you create your own personal oasis of calm.
In this guide, we will take you through the step-by-step process of activating noise cancellation on your Beats Fit Pro. By following these simple instructions, you’ll be able to immerse yourself in your audio content and enjoy a truly exceptional listening experience.
Step 1: Put on your Beats Fit Pro
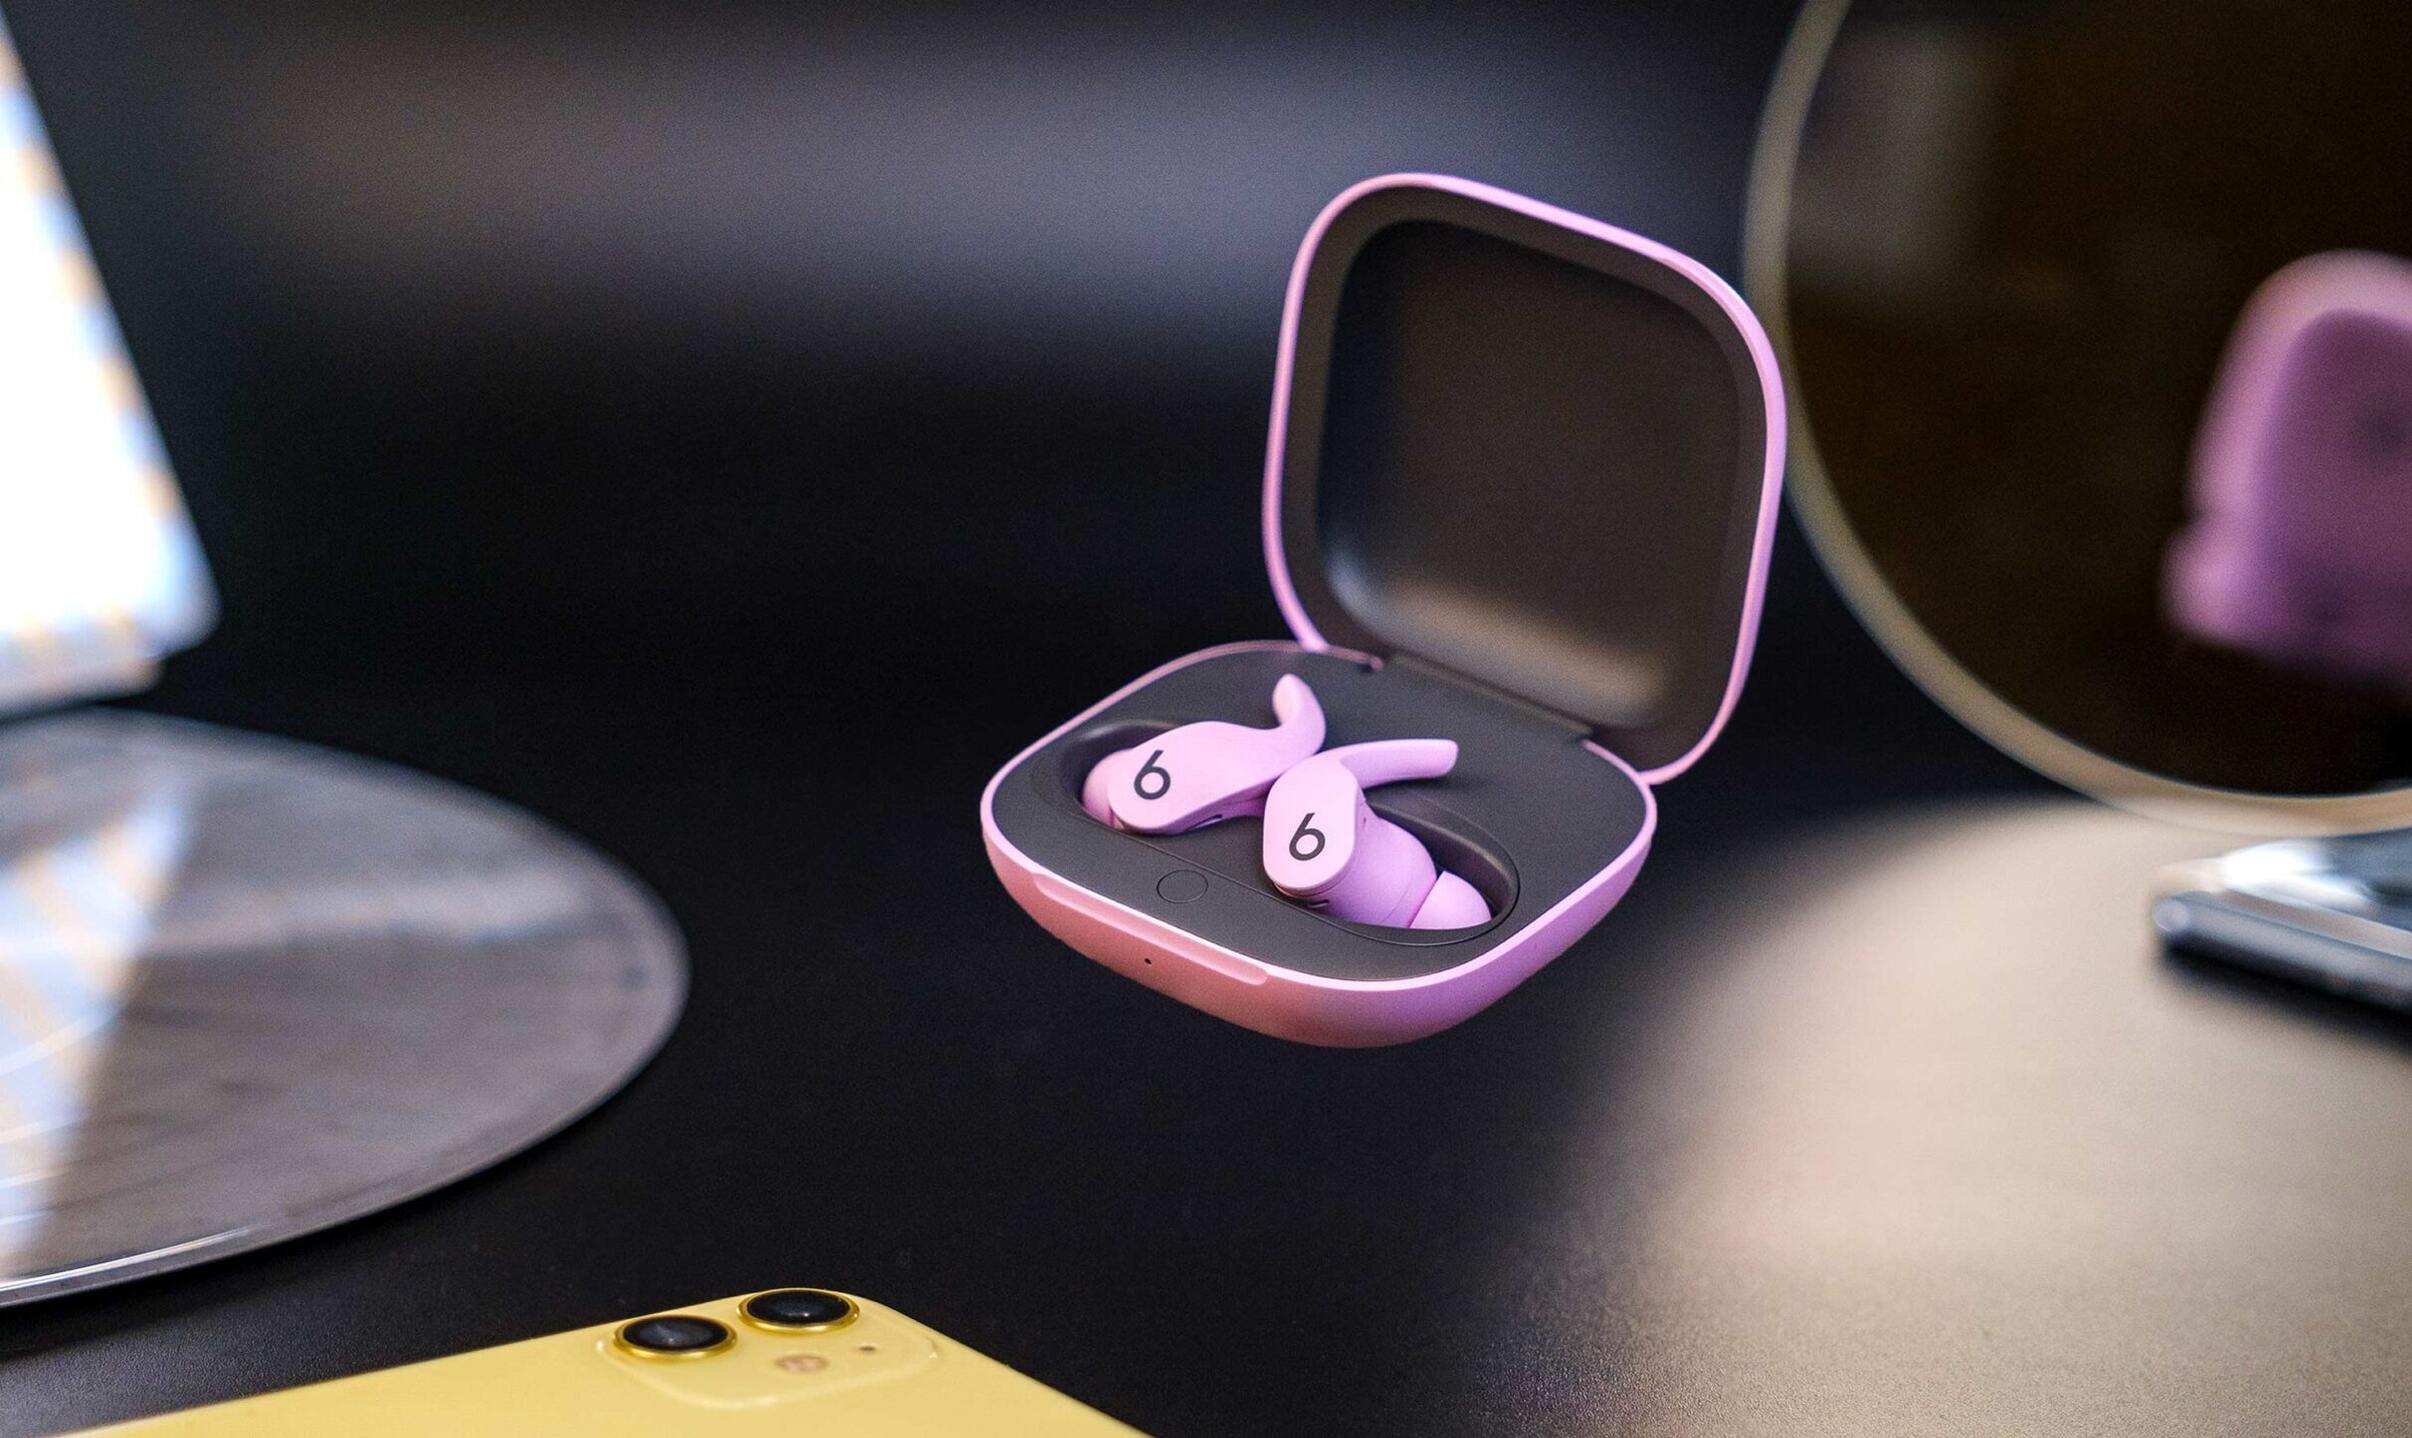
The first step to activating noise cancellation on your Beats Fit Pro is to put them on. Start by opening the charging case and taking out the earbuds. Ensure that the left and right earbuds are correctly identified.
Gently place the earbuds in your ears, making sure they fit securely and comfortably. The ergonomic design of the Beats Fit Pro ensures a snug and secure fit, allowing you to wear them for extended periods without any discomfort.
It’s important to position the earbuds correctly for optimal noise cancellation performance. The earbuds have an internal sensor that detects when they are in your ears. Once detected, the noise cancellation feature can be activated and calibrated to enhance your listening experience.
If you’re not sure whether the earbuds are positioned correctly, you can adjust them slightly or refer to the user manual for more detailed instructions on the correct placement.
Once the Beats Fit Pro earbuds are comfortably in your ears, you’re ready to move on to the next step of activating noise cancellation on your device.
Step 2: Open the Bluetooth settings on your device
In order to connect your Beats Fit Pro to your device and activate noise cancellation, you need to open the Bluetooth settings on your device. This step may vary slightly depending on the device you’re using, but the general process remains the same.
Unlock your device and navigate to the settings menu. Look for the Bluetooth option and tap on it to access the Bluetooth settings.
Once in the Bluetooth settings, you’ll generally see a list of available devices. Make sure your Beats Fit Pro is in pairing mode by pressing and holding the button on the back of the charging case until the LED light starts flashing. Your device will then scan for available devices.
When your Beats Fit Pro appears in the list of available devices, tap on it to initiate the pairing process. Depending on your device, you may be prompted to enter a passcode or confirm the pairing request. Follow the on-screen instructions to complete the pairing process.
Once your Beats Fit Pro is successfully connected to your device via Bluetooth, you can proceed to the next step to activate the noise cancellation feature.
Note: It’s important to ensure that your device has a stable and strong Bluetooth connection to optimize the performance of your Beats Fit Pro and the noise cancellation functionality.
Step 3: Connect to your Beats Fit Pro
Now that your Beats Fit Pro is successfully paired with your device, you need to establish a connection to activate the noise cancellation feature.
First, ensure that the Bluetooth connection between your device and the Beats Fit Pro is stable and active. Check the Bluetooth settings on your device to confirm the connection status.
If the connection is active, you’re ready to proceed. If not, try disconnecting and reconnecting the Beats Fit Pro by toggling the Bluetooth option on your device or restarting both your device and the earbuds.
Once the connection is stable, you can proceed to the next step of activating noise cancellation.
It’s worth noting that some devices may require you to manually select the Beats Fit Pro as the audio output device. This can typically be done in the audio settings or playback settings of your device.
If you encounter any difficulties or have any questions regarding the connection process, refer to the user manual for your specific device or reach out to Beats customer support for further assistance.
Now that your device is connected to the Beats Fit Pro, we can move on to the next step and explore how to activate the noise cancellation feature through the Beats app.
Step 4: Launch the Beats app
In order to access the noise cancellation settings and activate this feature on your Beats Fit Pro, you’ll need to launch the Beats app on your device.
If you haven’t downloaded the Beats app yet, visit the app store on your device and search for “Beats” to locate and download the official Beats app. Once downloaded, open the app to begin the setup process.
If you already have the Beats app installed, locate the app icon on your device’s home screen or app drawer and tap on it to open the app.
Upon launching the Beats app, you may be prompted to log in or create an account. Follow the on-screen instructions to log in with your Beats account credentials or create a new account if necessary.
Once you’re logged into the Beats app, you’ll have access to various settings and features for your Beats Fit Pro. This includes the noise cancellation feature.
Note that the functionality and layout of the Beats app may differ slightly depending on the version you are using and the specific device you have. However, the noise cancellation settings should generally be easily accessible within the app.
Now that you have successfully launched the Beats app, we can proceed to the next step, where we will explore how to navigate to the noise cancellation settings.
Step 5: Go to the Noise Cancellation settings
Once you have launched the Beats app on your device, it’s time to navigate to the noise cancellation settings to enable this feature on your Beats Fit Pro.
Depending on the version of the Beats app and your device’s operating system, the process to access the noise cancellation settings may vary slightly. However, the general steps remain the same.
Look for a menu or settings icon within the Beats app interface. This icon is typically located in the top-right or bottom-right corner of the screen. Tap on this icon to open the settings menu.
Within the settings menu, you should see a list of options related to your Beats Fit Pro. Look for the option labeled “Noise Cancellation” or “Audio Settings.” Tap on this option to access the noise cancellation settings.
Once you are in the noise cancellation settings, you may find additional customization options to enhance your listening experience. These options can include adjustable noise cancellation levels, transparency mode, or even an equalizer to fine-tune the sound.
Take some time to explore these settings and familiarize yourself with the available options. Adjust the noise cancellation level according to your preference and the environment you are in.
Now that you have successfully accessed the noise cancellation settings, we can move on to the next step and learn how to activate the noise cancellation feature on your Beats Fit Pro.
Step 6: Activate Noise Cancellation
Now that you’re in the noise cancellation settings within the Beats app, it’s time to activate this impressive feature on your Beats Fit Pro.
Look for a toggle switch or button labeled “Noise Cancellation” or “Activate Noise Cancellation” within the settings menu. This control allows you to turn the noise cancellation feature on or off.
Tap on the toggle switch or button to activate noise cancellation mode. You should see an indication on the screen or on the Beats Fit Pro itself, confirming that noise cancellation is now active.
Once activated, the Beats Fit Pro’s intelligent noise cancellation technology will kick in, actively analyzing and adjusting the audio output to reduce external noise.
Now, you can enjoy your audio content without interruptions from background noise. Whether you’re listening to music, watching a movie, or engaging in a phone call, noise cancellation will provide you with a more immersive and focused listening experience.
Remember that the effectiveness of noise cancellation may vary depending on the environment and settings you have configured. Some headphones even offer different levels of noise cancellation that you can adjust according to your preferences.
Experiment with different noise cancellation settings to find the optimal balance between noise reduction and audio transparency, allowing you to stay connected to your surroundings when needed.
With noise cancellation activated on your Beats Fit Pro, you’re all set to enjoy a distraction-free audio experience wherever you go.
Step 7: Enjoy your noise-free experience
Congratulations! You have successfully activated noise cancellation on your Beats Fit Pro. Now, it’s time to sit back, relax, and enjoy your noise-free audio experience.
Put on your Beats Fit Pro and immerse yourself in your favorite music, podcasts, or audiobooks. Feel the power of noise cancellation as it blocks out the sounds of the outside world, allowing you to focus and enjoy your content with incredible clarity.
Whether you’re traveling on a noisy train, working in a bustling office, or simply seeking tranquility in a busy environment, the noise cancellation feature on your Beats Fit Pro will help create your own personal oasis of sound.
Take a moment to appreciate the artistry of your favorite artists or the details of an engaging podcast episode without the distractions of background noise. With noise cancellation, you’ll hear every note, every word, and every nuance as intended by the creators.
It’s important to remember that noise cancellation is not just limited to audio playback. You can also experience the benefits of noise cancellation during phone calls. Enjoy crystal-clear conversations with reduced background noise, ensuring that both you and the person you’re talking to can communicate without difficulty.
When you’re finished using your Beats Fit Pro, don’t forget to turn off noise cancellation to conserve battery life. You can easily do this by going back to the noise cancellation settings in the Beats app and toggling the switch to deactivate noise cancellation.
Remember, your Beats Fit Pro is designed to enhance your audio experience with advanced features like noise cancellation. Make the most out of this innovative technology and enjoy a truly immersive, noise-free experience wherever you go.
Conclusion
Activating noise cancellation on your Beats Fit Pro is a simple yet powerful way to enhance your audio experience. By following the steps outlined in this guide, you can easily enable noise cancellation and enjoy a world of immersive sound.
No more distractions from background noise or external sounds. With noise cancellation, you can truly immerse yourself in your audio content, whether it’s music, podcasts, or phone calls. The intelligent technology of Beats Fit Pro actively reduces ambient noise, allowing you to focus on what matters most.
Remember to put on your Beats Fit Pro, open the Bluetooth settings on your device, connect to your earbuds, and launch the Beats app. From there, navigate to the noise cancellation settings and activate this incredible feature. Once enabled, enjoy a noise-free experience that elevates your audio to a whole new level.
Whether you’re a frequent traveler, a busy professional, or simply someone who appreciates high-quality audio, noise cancellation on your Beats Fit Pro will transform the way you listen. Immerse yourself in your content and enjoy the clarity, precision, and unparalleled sound that noise cancellation brings.
So, why settle for ordinary audio when you can have an exceptional listening experience with Beats Fit Pro? Activate noise cancellation today and reclaim your audio experience.