Introduction
Welcome to the world of baking with an electric pressure cooker. While pressure cookers are traditionally known for their ability to cook flavorful and tender meals in a fraction of the time, they can also work wonders when it comes to baking cakes. Yes, you heard that right—cakes! Baking a cake in an electric pressure cooker may sound unconventional, but it offers many benefits and can produce moist and delicious treats.
So why would you choose to bake a cake in an electric pressure cooker instead of a conventional oven? Well, there are a few reasons. First and foremost, using an electric pressure cooker saves time. The pressurized cooking environment speeds up the baking process significantly, allowing you to enjoy a fresh and homemade cake in no time. Additionally, pressure cooking retains more moisture in the cake, resulting in a moist and tender texture that is hard to achieve in a traditional oven.
Another advantage of using an electric pressure cooker for baking cakes is its versatility. Electric pressure cookers come with a range of programs and settings that allow you to precisely control the cooking conditions, including temperature, pressure, and cooking time. This means you can experiment with a variety of cake recipes and customize them to suit your preferences.
Now, you may be wondering how exactly the cooking time is affected when baking a cake in an electric pressure cooker. Unlike a regular oven, which typically bakes at a consistent temperature, pressure cookers work by building up high pressure to generate heat. The rapid and intense heat created by the pressurized environment reduces the cooking time significantly. However, it’s important to note that the cooking time can vary depending on several factors, including the recipe, cake size, and thickness.
Throughout this article, we will delve into the world of baking cakes in an electric pressure cooker. We will explore different recipes, discuss tips for preparing the cake batter, guide you through the cooking process, and help you troubleshoot common issues that may arise. So grab your apron and get ready to whip up some fabulous cakes using your trusty electric pressure cooker!
Benefits of using an electric pressure cooker for baking cakes
Baking a cake in an electric pressure cooker offers several benefits that make it worth considering for your next baking adventure. Let’s dive into some of the advantages:
1. Time-saving: One of the biggest advantages of using an electric pressure cooker for baking cakes is that it significantly reduces the cooking time. The pressurized environment inside the cooker accelerates the baking process, allowing you to enjoy a freshly baked cake in a fraction of the time compared to a traditional oven. So whether you have a last-minute craving or need to whip up a cake for a special occasion, using an electric pressure cooker can help you save precious time.
2. Moist and tender cakes: The unique cooking method of an electric pressure cooker helps retain moisture in the cake, resulting in a perfectly moist and tender texture. Unlike a conventional oven that can easily dry out the cake, the steam generated in the pressure cooker keeps the cake moist throughout the baking process. This is particularly beneficial for dense cakes like pound cakes or fruit cakes that can often be prone to dryness.
3. Even baking: Electric pressure cookers distribute heat evenly, ensuring that your cake bakes consistently from all sides. This helps eliminate any hot spots that you may encounter in a regular oven, where cakes can sometimes be overbaked on the edges while undercooked in the center. With an electric pressure cooker, you can expect a uniform and perfectly baked cake every time.
4. Versatile baking: Electric pressure cookers are equipped with a range of programs and settings, allowing you to experiment with different cake recipes and cater to various dietary preferences. Whether you’re baking a classic vanilla cake, a rich chocolate cake, or a gluten-free alternative, an electric pressure cooker can accommodate your needs. Additionally, pressure cookers can be used to bake other desserts like cheesecakes, puddings, and even bread!
5. Space and energy saving: If you have limited kitchen space or are conscious of your energy consumption, using an electric pressure cooker for baking cakes can be a game-changer. It takes up less space than a conventional oven, making it ideal for small kitchens or those living in apartments. Moreover, electric pressure cookers use less energy compared to ovens, which can help lower your electricity bills.
Baking a cake in an electric pressure cooker can unlock a whole new world of convenience and deliciousness. However, it’s important to understand the factors that can affect the cooking time to ensure you achieve the best results. In the following sections, we will explore these factors in more detail and guide you through the process of baking a cake in an electric pressure cooker.
Factors that affect the cooking time in an electric pressure cooker
When it comes to baking a cake in an electric pressure cooker, the cooking time can vary depending on several factors. Understanding these factors will help you adjust the cooking time and achieve perfect results. Let’s take a closer look at the key factors that can affect the cooking time in an electric pressure cooker:
1. Recipe: The specific recipe you are using plays a significant role in determining the cooking time. Different cake recipes have different ingredients, ratios, and textures, which can affect how the cake cooks under pressure. Generally, recipes specifically developed for electric pressure cookers will provide recommended cooking times. However, if you are using a traditional oven recipe, you may need to make adjustments to the cooking time to account for the faster cooking in an electric pressure cooker.
2. Cake size and thickness: The size and thickness of your cake will also impact the cooking time. A thicker cake will require more time to bake completely compared to a thinner cake. Additionally, larger cakes will generally take longer to cook than smaller ones. It’s important to consider the dimensions of your cake and adjust the cooking time accordingly. As a general guideline, check the recipe recommendations or start with a slightly longer cooking time for larger or thicker cakes.
3. Pressure level: Most electric pressure cookers allow you to adjust the pressure level, typically in the form of high or low pressure settings. Higher pressure levels will result in faster and more intense cooking, while lower pressure levels will take longer but may be suitable for delicate cakes. Depending on the recipe and desired outcome, you may need to experiment with different pressure levels to find the one that works best for your cake.
4. Altitude: If you live at a high altitude, it can affect the cooking time in an electric pressure cooker. Higher altitudes have lower atmospheric pressure, which can impact the cooking time and temperature. As a general rule, you may need to increase the cooking time slightly at higher altitudes to adjust for the lower pressure. However, it’s best to consult altitude-specific baking guidelines or recipes to ensure proper results in your specific location.
5. Initial temperature: The temperature of the cake batter at the start of cooking can also influence the cooking time. If the batter is colder, it will take longer to reach the desired internal temperature and may result in a longer cooking time. Ensure that your cake batter is at room temperature before cooking, as this will help facilitate even and efficient cooking in the electric pressure cooker.
By keeping these factors in mind and making necessary adjustments, you can ensure that your cake is cooked to perfection in the electric pressure cooker. In the next section, we will explore the different cake recipes that are suitable for pressure cooking and discuss tips for preparing the cake batter.
Understanding the different cake recipes suitable for pressure cooking
Baking a cake in an electric pressure cooker opens up a world of possibilities with a variety of cake recipes that are suitable for this cooking method. Understanding the types of cakes that work best in a pressure cooker will help you choose the right recipe and achieve delicious results. Here are some popular cake recipes that are ideal for pressure cooking:
1. Sponge Cakes: Sponge cakes are a great choice for pressure cooking as they are light and airy. The high pressure and moist environment inside the cooker help to create a moist and tender texture. Sponge cakes often rely on the volume and lightness of whipped eggs, so they benefit from the even heating and quick cooking provided by an electric pressure cooker.
2. Pound Cakes: Pound cakes are dense and rich, making them perfect candidates for pressure cooking. The high pressure generated in the cooker ensures that these cakes bake evenly and retain their moistness. The result is a decadent and velvety cake with a tender crumb that will satisfy any sweet tooth.
3. Fruit Cakes: Fruit cakes, filled with dried fruits, nuts, and spices, are well-suited for pressure cooking. The intense heat and moisture in the pressure cooker allow the flavors to meld together, resulting in a moist and delicious cake. Plus, the shorter cooking time in the pressure cooker helps to prevent the fruits and nuts from becoming overcooked or tough.
4. Cheesecakes: While not a traditional cake, cheesecakes are a popular dessert that can be successfully made in an electric pressure cooker. The moist and gentle heat produced by the pressure cooker creates a creamy and smooth texture without the risk of cracking or overcooking. Pressure cooking also eliminates the need for a water bath, making the process easier and more convenient.
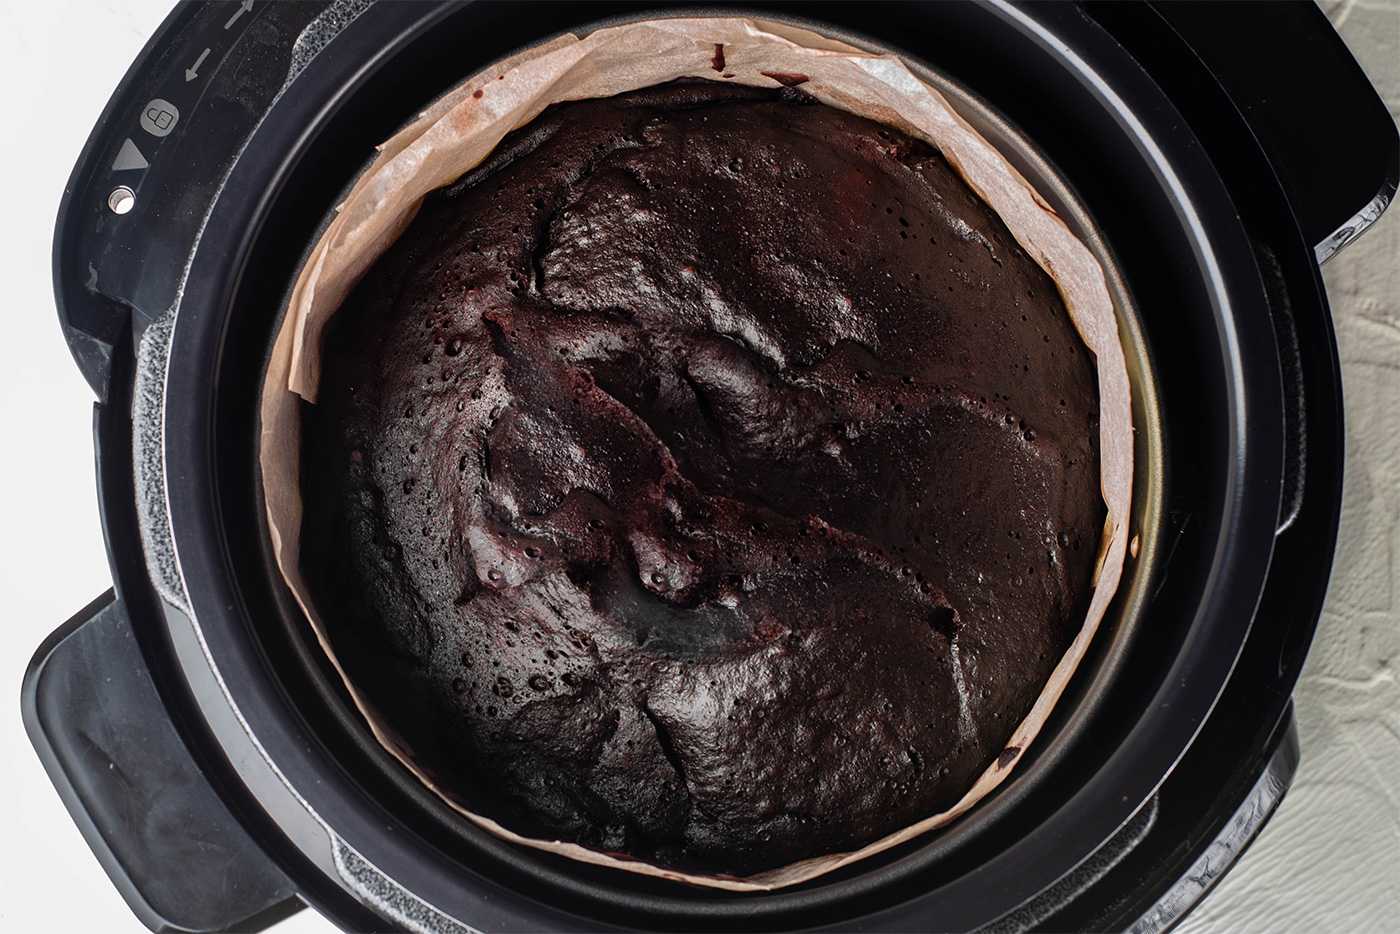
5. Chocolate Cakes: Chocolate lovers rejoice! Chocolate cakes can be successfully baked in an electric pressure cooker, resulting in a rich and decadent treat. The pressure cooker’s ability to retain moisture ensures that the chocolate cake remains fudgy and moist, delivering a melt-in-your-mouth experience.
When choosing a cake recipe for pressure cooking, look for recipes that are specifically developed or adapted for electric pressure cookers. These recipes will provide specific cooking times and instructions tailored to the unique characteristics of pressure cooking. Alternatively, you can experiment with converting traditional oven recipes to pressure cooker recipes by making necessary adjustments to the cooking time and temperature.
Now that we’ve explored the different cake recipes suitable for pressure cooking, let’s move on to the next section, where we’ll discuss important tips for preparing the cake batter for successful pressure cooking.
Tips for preparing the cake batter for pressure cooking
Preparing the cake batter properly is key to achieving a successful and delicious cake when using an electric pressure cooker. Here are some essential tips to keep in mind when preparing the cake batter for pressure cooking:
1. Follow the recipe: It’s important to closely follow the instructions provided in your chosen recipe. Pay attention to the measurements, mixing techniques, and any special instructions specific to pressure cooking. Following the recipe will ensure that you achieve the desired texture and taste of the cake.
2. Sift the dry ingredients: Sifting the dry ingredients, such as flour, baking powder, and cocoa powder, helps to remove any lumps and ensures an even distribution of ingredients. This step is particularly important for achieving a light and fluffy texture in cakes. Sift the dry ingredients into a separate bowl before incorporating them into the batter.
3. Use room temperature ingredients: Allow your eggs, butter, and other ingredients to come to room temperature before using them in the cake batter. Room temperature ingredients blend more easily and result in a smoother batter. Cold ingredients may not mix properly and can affect the texture of the cake.
4. Cream butter and sugar well: For cakes that require creaming butter and sugar together, make sure to do so thoroughly. Creaming incorporates air into the batter, resulting in a lighter texture. Use an electric mixer or a handheld whisk to cream the butter and sugar until light and fluffy.
5. Add wet and dry ingredients alternately: When incorporating the wet and dry ingredients into the cake batter, it’s best to add them alternately. Start and finish with the dry ingredients, making sure to mix each addition just until combined. This method helps to prevent overmixing, which can lead to a dense and tough cake.
6. Don’t overmix: Overmixing the cake batter can result in a dense and tough cake. Once the dry and wet ingredients are combined, mix the batter just until there are no more visible streaks of flour. Overmixing can lead to gluten development, resulting in a dense and chewy texture.
7. Grease and line the cake pan: To ensure easy release of the cake from the pan after pressure cooking, make sure to grease the pan properly using butter or cooking spray. Additionally, line the bottom of the pan with parchment paper to prevent the cake from sticking. This step will make it easier to transfer the cake onto a serving plate once it’s cooked.
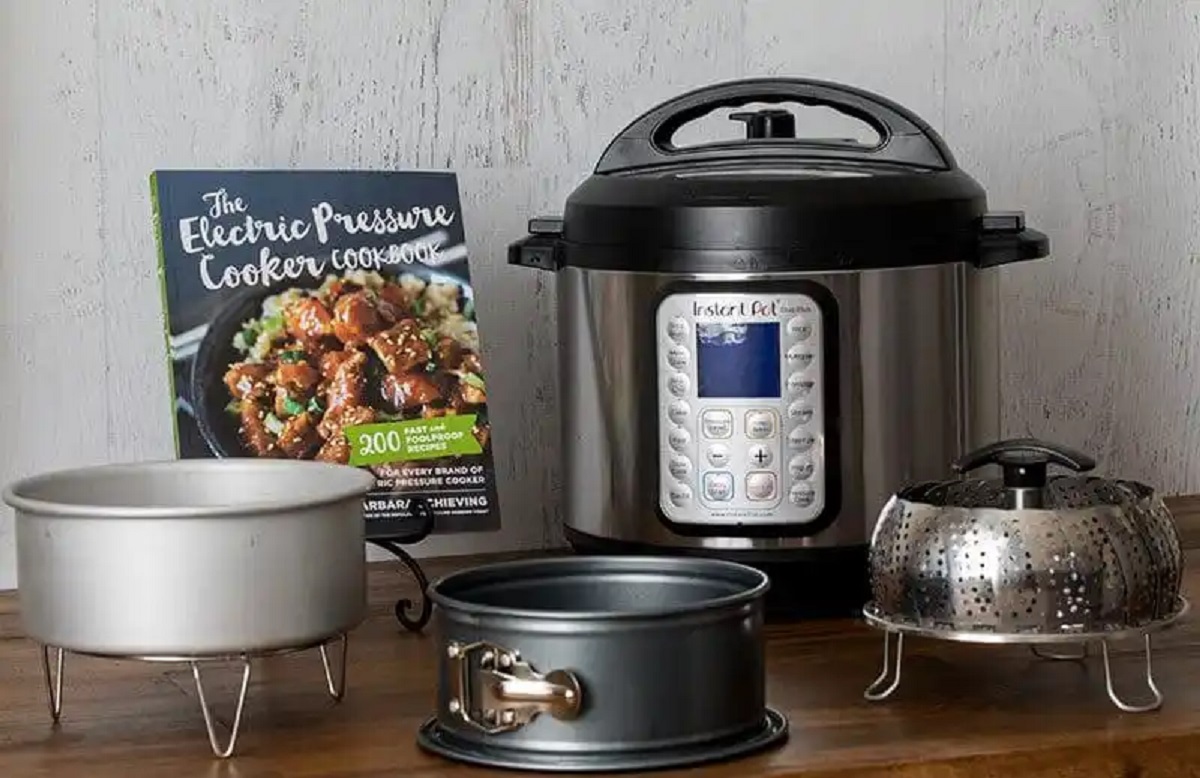
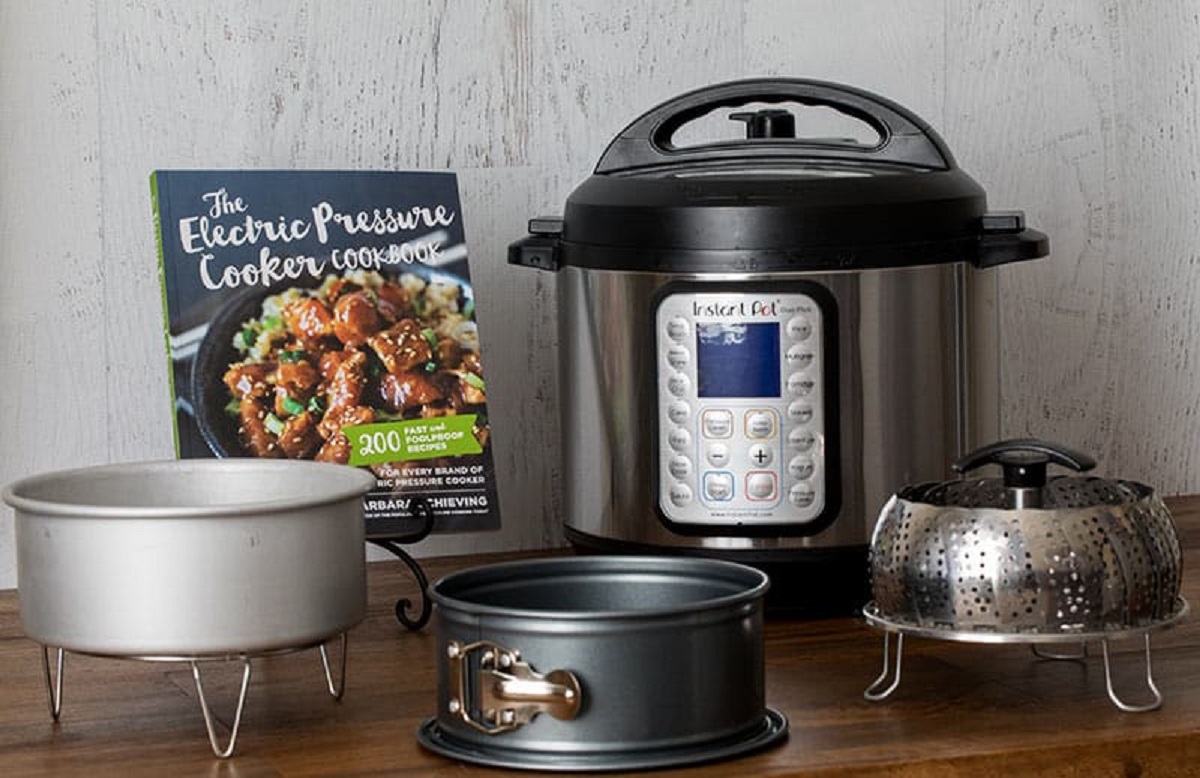
8. Consider using a different pan: Electric pressure cookers usually come with a trivet or a steaming rack, which can be used to elevate the cake pan. This helps to create a more even cooking environment and prevents the cake from sitting in any excess moisture that collects in the bottom of the cooker. Consider using a round or a springform pan that fits comfortably inside the pressure cooker.
By following these tips, you can ensure that your cake batter is well-prepared and ready for successful pressure cooking. In the next section, we will discuss how to adjust the cooking time for different cake sizes and thicknesses to achieve perfectly baked cakes every time.
Adjusting the cooking time for different cake sizes and thicknesses
When baking a cake in an electric pressure cooker, it’s important to adjust the cooking time based on the size and thickness of your cake. This will ensure that the cake is evenly cooked and perfectly baked. Here are some guidelines to help you adjust the cooking time for different cake sizes and thicknesses:
1. Consider the recipe: Start by referring to the recipe you are using for baking the cake in an electric pressure cooker. Many recipes specifically mention the cooking time for different cake sizes. Follow these recommendations as a starting point, but also be prepared to make adjustments based on the specific factors of your cake.
2. Cook for the recommended time: In general, most cake recipes for electric pressure cookers have a recommended cooking time that works well for an average-sized cake. It’s best to start by cooking for the recommended time and then check for doneness using a toothpick or cake tester. If needed, you can always cook the cake for a few minutes longer if it’s not fully cooked.
3. Adjust for smaller cakes: If you are baking a smaller cake, such as a half-size or quarter-size cake, you may need to reduce the cooking time. As a general rule, reduce the cooking time by about 5-10 minutes for each size reduction. Keep an eye on the cake as it cooks and check for doneness using a toothpick or cake tester at the recommended time to avoid overcooking.
4. Adjust for larger cakes: For larger cakes, such as a double-layer cake or a full-size sheet cake, you may need to increase the cooking time. Add 5-10 minutes to the recommended cooking time and check for doneness using a toothpick or cake tester. If the cake needs more time, continue cooking in increments of a few minutes until it is fully baked.
5. Adjust for thicker cakes: Thicker cakes, like pound cakes or fruit cakes, may require additional cooking time to ensure the center is fully cooked. Increase the cooking time by a few minutes to accommodate the thickness of the cake. Remember to check for doneness using a toothpick or cake tester inserted into the thickest part of the cake.
6. Check for doneness: Regardless of the size or thickness of the cake, it’s crucial to check for doneness before removing it from the pressure cooker. Use a toothpick or cake tester to insert into the center of the cake. If it comes out clean or with just a few crumbs clinging to it, the cake is done. If the toothpick comes out with wet batter, continue cooking for a few more minutes and retest until fully cooked.
It’s important to note that these guidelines are general recommendations, and the cooking time may vary depending on the specific recipe, ingredients, and even the brand or model of your electric pressure cooker. It’s always a good idea to closely monitor the cake as it cooks and make adjustments as needed to achieve the desired results.
Now that you understand how to adjust the cooking time for different cake sizes and thicknesses, let’s move on to the next section, where we’ll provide a step-by-step guide to cooking a cake in an electric pressure cooker.
Step-by-step guide to cooking a cake in an electric pressure cooker
Now that you’re ready to bake a cake in your electric pressure cooker, let’s walk through the step-by-step process to ensure a successful outcome:
Step 1: Prepare the cake batter: Start by preparing the cake batter according to your chosen recipe. Follow the instructions, incorporating the ingredients as directed and mixing until well combined. Make sure the batter is smooth, with no lumps or pockets of flour.
Step 2: Grease and line the cake pan: Grease the bottom and sides of your cake pan with butter or cooking spray. Then, line the bottom of the pan with parchment paper to ensure easy removal of the cake after cooking. This step will prevent the cake from sticking to the pan.
Step 3: Transfer the batter to the prepared pan: Pour the cake batter into the greased and lined cake pan. Use a spatula or the back of a spoon to spread the batter evenly, ensuring it reaches the edges of the pan. Smooth the top of the batter for an even surface.
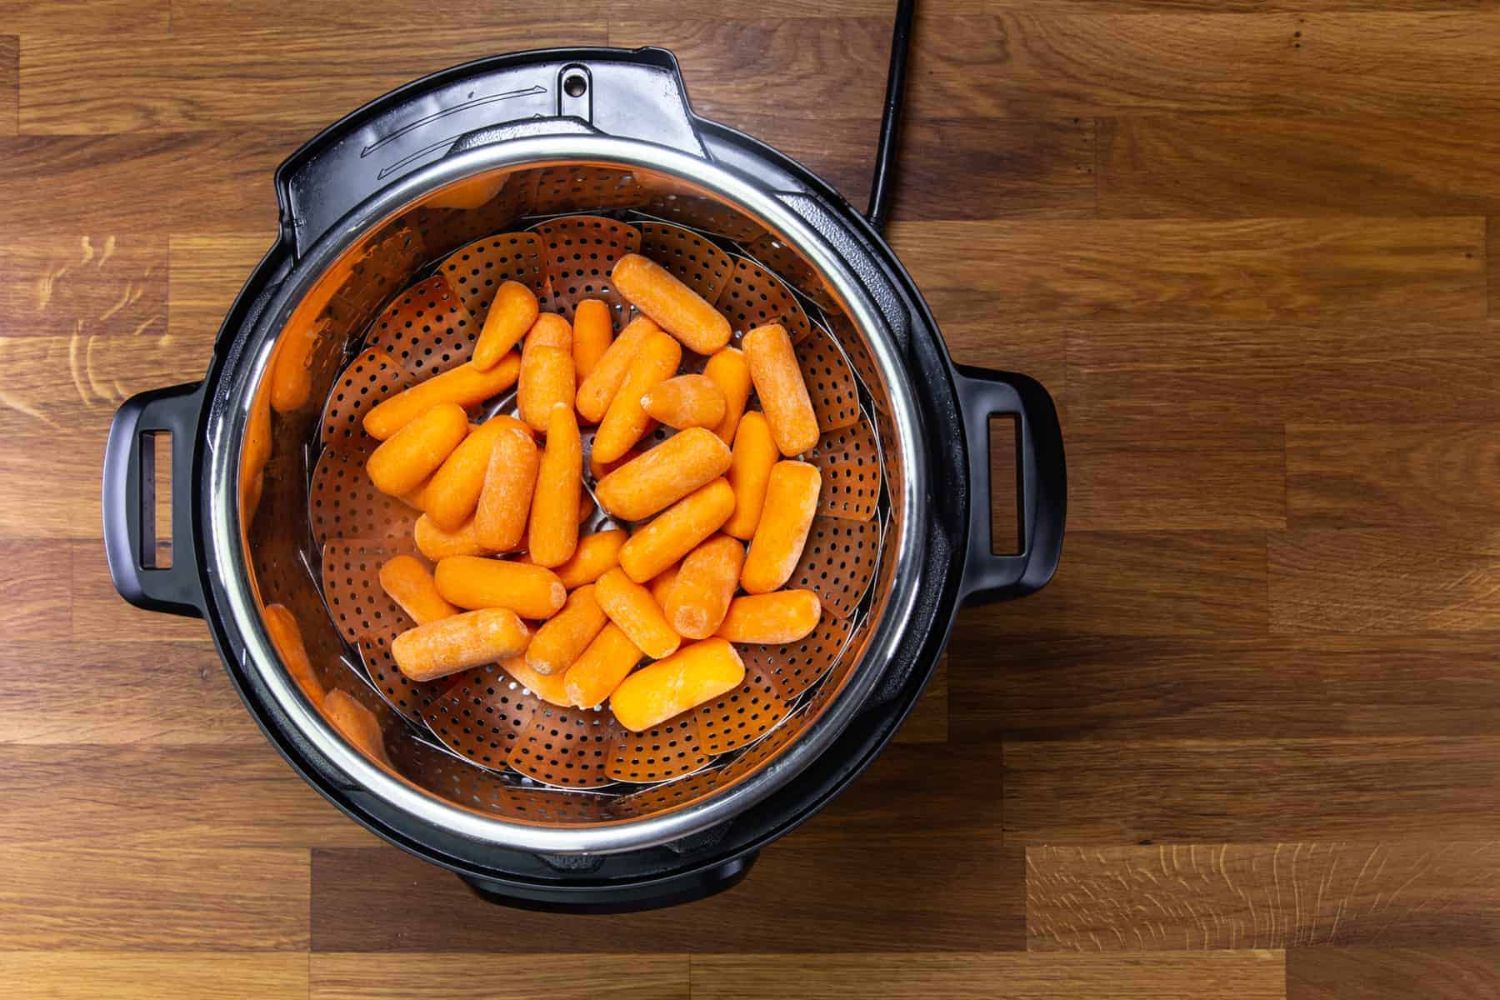
Step 4: Place the trivet in the pressure cooker: Insert the trivet or steam rack into the inner pot of your electric pressure cooker. Ensure it is placed securely and sits level. The trivet will elevate the cake pan, allowing steam to circulate evenly during cooking.
Step 5: Add water to the pressure cooker: Pour the required amount of water into the inner pot of the pressure cooker. The amount of water needed will vary depending on the specific model of your pressure cooker. Refer to the user manual for guidance on the minimum water requirement for your device.
Step 6: Place the cake pan in the pressure cooker: Carefully lower the prepared cake pan onto the trivet or steam rack in the pressure cooker. Place it gently to avoid splashing the batter or disrupting its level surface. Ensure that the cake pan is centered and not touching the sides of the pressure cooker.
Step 7: Close and lock the pressure cooker lid: Following the manufacturer”s instructions, securely close and lock the lid of the pressure cooker. Ensure the vent is set to the sealing position. This will allow the pressure to build up inside the cooker during the cooking process.
Step 8: Set the cooking time and pressure level: Select the appropriate cooking time and pressure level for your specific recipe. Consult the recipe you are using and adjust the settings accordingly. Set the time and pressure level using the controls on your pressure cooker’s panel.
Step 9: Start the cooking process: Once you have set the cooking time and pressure level, start the cooking process by pressing the appropriate button or setting on your pressure cooker. The cooker will build up pressure and begin the baking cycle. The display will indicate when the cooking cycle has started.
Step 10: Natural or quick release: After the cooking time is complete, you have two options for releasing the pressure: natural release or quick release. Natural release involves letting the pressure come down naturally over time, which can take anywhere from 10 to 20 minutes. Quick release involves carefully turning the steam valve to release the pressure immediately. Follow the recipe guidelines on which method to use.
Step 11: Check for doneness: Once the pressure has been released and it is safe to open the lid, check the cake for doneness. Insert a toothpick or cake tester into the center of the cake. If it comes out clean or with just a few crumbs clinging to it, the cake is done. If needed, you can cook the cake for a few more minutes to ensure it is fully cooked.
Step 12: Let the cake cool and remove from the pan: After confirming that the cake is fully cooked, remove the pan from the pressure cooker using oven mitts or silicone gloves. Allow the cake to cool in the pan for a few minutes before transferring it to a wire rack to cool completely. Once cooled, gently remove the cake from the pan, discarding the parchment paper if used.
There you have it—a delicious cake baked perfectly in an electric pressure cooker. Once the cake has cooled completely, you can frost or decorate as desired. Slice and serve your homemade creation to enjoy the delightful combination of convenience and taste that pressure cooker baking offers.
In the next section, we will discuss how to test the cake for doneness and troubleshoot common issues that may arise while baking a cake in an electric pressure cooker.
Testing the cake for doneness
Ensuring that your cake is cooked to perfection is crucial for achieving the best taste and texture. Here are some methods to test the cake for doneness when baking in an electric pressure cooker:
1. Toothpick or Cake Tester: Insert a toothpick or cake tester into the center of the cake. If it comes out clean or with just a few crumbs clinging to it, the cake is done. However, if the toothpick comes out with wet batter, it needs more time to cook. Close the pressure cooker lid and continue cooking for a few more minutes before retesting.
2. Touch Test: Gently press the top of the cake with your finger. If it springs back and leaves no indentation, it indicates that the cake is likely done. However, if the cake feels soft and the indentation remains, it requires more cooking time. Close the lid and continue cooking for additional minutes before testing again.
3. Visual Inspection: Look for signs that the cake is done by checking its overall appearance. A fully cooked cake should be golden brown on top, with the edges just beginning to pull away from the sides of the pan. Additionally, the cake should start to shrink slightly from the edges. If the cake looks undercooked or pale, it needs more time to bake.
4. Internal Temperature: For a more accurate indication of doneness, you can use an instant-read thermometer to measure the internal temperature of the cake. For most cakes, a temperature of around 210-212°F (99-100°C) indicates that it is fully cooked. Insert the thermometer into the center of the cake, avoiding contact with the pan, and ensure the reading reaches the desired temperature.
Keep in mind that the cooking time can vary depending on the specific recipe, cake size, and thickness. It is recommended to follow the recipe instructions as a starting point and then adjust the cooking time based on the above testing methods to achieve optimal results.
If the cake needs more time to cook, close the pressure cooker lid and continue cooking for a few minutes before retesting. Be mindful not to overcook the cake, as it may become dry or dense. It’s better to slightly undercook the cake and allow it to finish cooking through residual heat once removed from the pressure cooker.
By using the appropriate testing methods and ensuring that the cake is fully cooked, you can enjoy a perfectly baked cake with the desired texture and flavor.
In the next section, we will explore some common issues that may arise while baking a cake in an electric pressure cooker and provide troubleshooting tips to overcome them.
Troubleshooting common issues while cooking a cake in an electric pressure cooker
While baking a cake in an electric pressure cooker can yield delicious results, it’s not uncommon to encounter a few challenges along the way. Here are some common issues that may arise and troubleshooting tips to help you overcome them:
1. Cake sinking or collapsing: If your cake sinks or collapses in the middle after cooking, it may be due to underbaking. Ensure that the cake is cooked through by testing for doneness with a toothpick or cake tester. If the cake is still wet in the center, it needs more cooking time. Close the lid and cook for a few more minutes until fully cooked.
2. Cake sticking to the pan: If the cake sticks to the pan when you try to remove it, it may be due to insufficient greasing or improper lining. Make sure to thoroughly grease the pan with butter or cooking spray, and line the bottom with parchment paper. Additionally, allow the cake to cool slightly before attempting to remove it from the pan to avoid any sticking.
3. Cake not rising: If your cake doesn’t rise as expected, it could be due to several reasons. Ensure that you are using fresh and properly measured ingredients. Check the expiration date of the baking powder or yeast if used. Also, verify that the batter is well-mixed and evenly distributed in the pan. Properly preheating the pressure cooker and ensuring the batter is at room temperature can also help with achieving the desired rise.
4. Uneven cooking: If your cake is cooking unevenly, with one side or part significantly darker or more cooked than the rest, it may be due to an uneven distribution of heat in the pressure cooker. To prevent this issue, ensure that the cake pan is centered on the trivet or steam rack and not touching the sides of the pressure cooker. Also, consider rotating the cake pan halfway through the cooking process to promote even cooking.
5. Cake coming out dry: If your cake is turning out dry, it may be overcooked. Refer to the recipe instructions and make sure to follow the recommended cooking time. Overcooking can lead to dryness, so be mindful of the cooking time and check for doneness using a toothpick or cake tester. If the cake is done but still dry, you can try adding a simple syrup or fruit syrup to moisten it after baking.
6. Cracked or overcooked edges: If the edges of your cake are cracking or becoming overcooked while the center remains undercooked, it may be due to a thin or lightweight pan. Consider using a heavier, more insulated pan or wrapping the outside of the cake pan with foil to protect the edges from direct heat. Also, ensure that the pressure cooker is preheated properly to prevent uneven cooking.
7. Burning on the bottom: If you are experiencing burning or scorching on the bottom of your cake, it may be due to inadequate water or excessive heat. Ensure that you are using the recommended amount of water in the pressure cooker to create enough steam. Additionally, follow the recipe instructions for the cooking time and pressure level to prevent excessive heat and burning.
By troubleshooting these common issues and making the necessary adjustments, you can overcome challenges and achieve a perfectly baked cake in your electric pressure cooker. Remember to follow the recipe instructions, adjust the cooking time based on testing for doneness, and make any additional modifications specific to your pressure cooker and cake pan.
In the next section, we will wrap up our discussion and provide some final thoughts on baking cakes in an electric pressure cooker.
Conclusion
Baking cakes in an electric pressure cooker opens up a whole new world of convenience and deliciousness in the realm of home baking. The benefits of using an electric pressure cooker, including time-saving, moist and tender results, and versatile baking options, make it a worthwhile tool to explore for cake lovers. By understanding the factors that affect the cooking time, choosing the right cake recipes, and following essential tips for preparing the cake batter, you can achieve fantastic results.
Adjusting the cooking time for different cake sizes and thicknesses ensures that your cakes bake evenly and avoid overcooking or undercooking. Testing the cake for doneness using toothpicks, touch tests, and visual inspection helps you determine when the cake is perfectly cooked. Troubleshooting common issues such as sinking or collapsing cakes, sticking to the pan, and uneven cooking can be overcome with proper greasing, testing for doneness, and making adjustments to the cooking process.
Baking cakes in an electric pressure cooker requires some experimentation and adjustments to suit your specific recipe, cooker, and preferences. Don’t be discouraged if you encounter challenges along the way. With practice and experience, you will master the art of baking cakes in this unconventional and rewarding method.
So, whether you’re craving a moist and delicious sponge cake, a rich and decadent chocolate cake, or a flavorful fruit cake, consider utilizing your electric pressure cooker to achieve quick and impressive results.
Get ready to delight your taste buds and impress your friends and family with your newfound ability to bake beautiful cakes in your trusty electric pressure cooker. So, go ahead, gather your ingredients, preheat your pressure cooker, and embark on the journey of creating delectable cakes with this innovative cooking method. Happy baking!


