Introduction
Welcome to this guide on how to cook a brisket in an electric pressure cooker! If you’re a fan of tender, juicy, and flavorful brisket, then you’re in the right place. Cooking brisket can be a time-consuming process, but with the help of an electric pressure cooker, you can significantly reduce the cooking time without compromising on taste and tenderness.
Brisket is a popular cut of beef known for its rich flavor and melt-in-your-mouth texture. Traditionally, it is cooked low and slow in a smoker or oven for several hours to break down the tough connective tissues and achieve that perfect tenderness. However, not everyone has the time or equipment to dedicate hours to cooking a brisket.
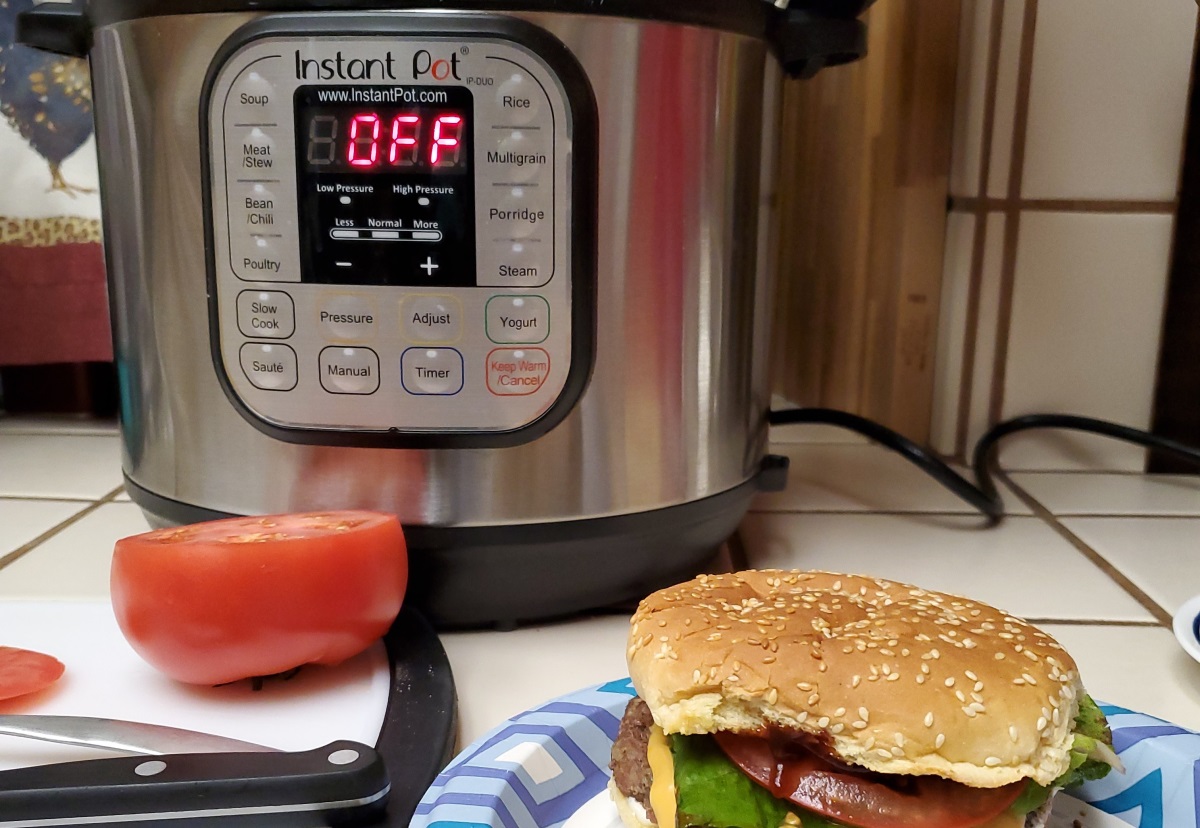
An electric pressure cooker, also known as an Instant Pot, is a versatile kitchen appliance that allows you to cook a variety of meals in a fraction of the time compared to conventional cooking methods. In addition to saving time, it also helps to seal in the flavors and retain the moisture of the brisket, resulting in a delicious final product.
In this guide, we will walk you through the step-by-step process of cooking a mouthwatering brisket in an electric pressure cooker. From selecting the right cut of brisket to seasoning and marinating, setting up the pressure cooker, and cooking to perfection, we will cover everything you need to know to create a tender and flavorful brisket.
So, whether you’re a seasoned cook looking to explore new cooking techniques or a novice in the kitchen wanting to impress your family and friends with a delicious brisket, let’s dive into the world of cooking brisket in an electric pressure cooker!
What is an Electric Pressure Cooker?
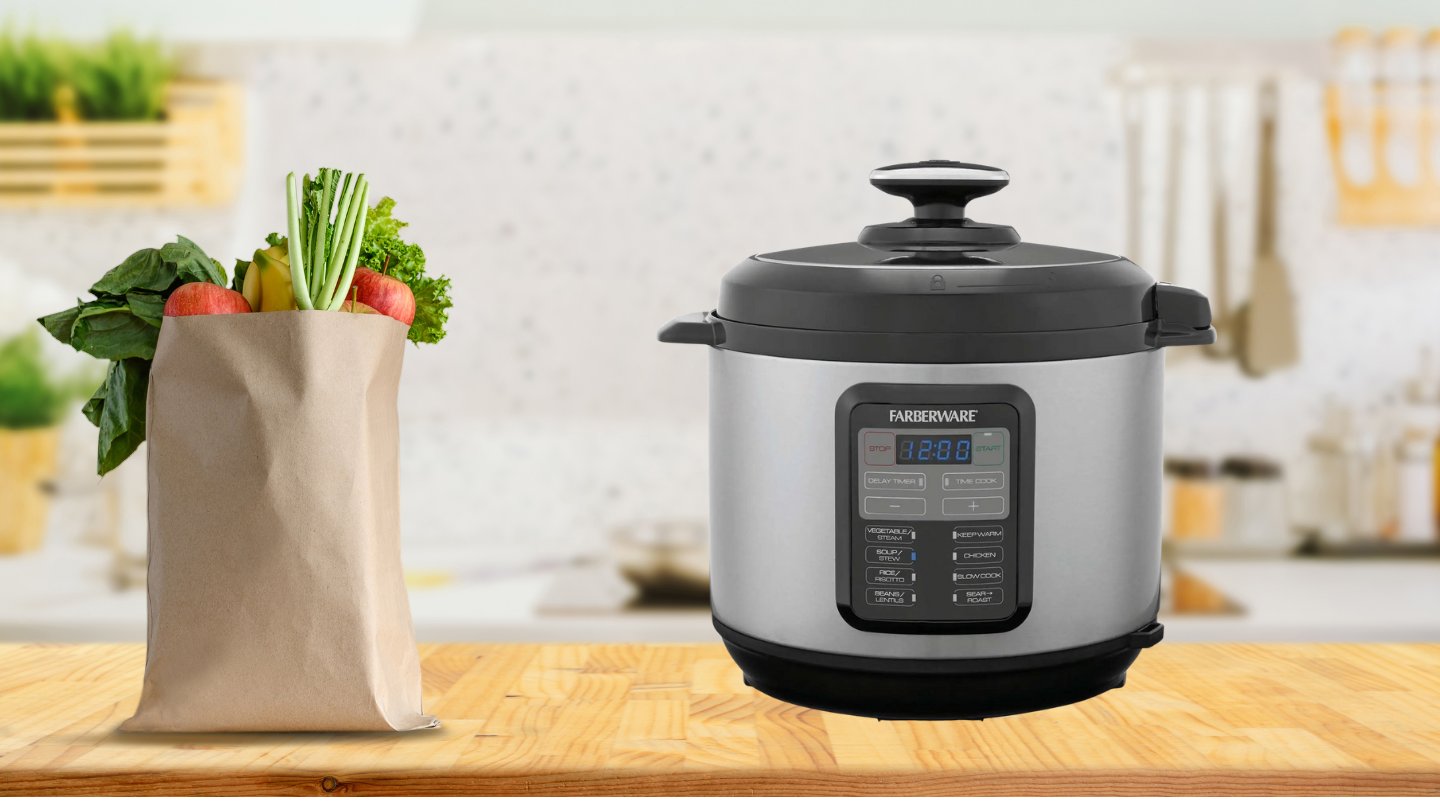
An electric pressure cooker is a modern kitchen appliance that uses high pressure and steam to cook food quickly and efficiently. It is a versatile and time-saving device that has gained popularity in recent years for its convenience and ability to prepare a wide range of dishes.
Unlike traditional stovetop pressure cookers, electric pressure cookers are equipped with built-in heating elements and digital controls, making them easier to use and providing more precise cooking options. They typically have multiple cooking modes, such as pressure cooking, slow cooking, sautéing, and steaming, allowing you to prepare various recipes all in one appliance.
The main feature of an electric pressure cooker is its ability to create high pressure inside the cooking pot, which raises the boiling point of water and speeds up the cooking process. The increased pressure also helps to tenderize tough cuts of meat, like brisket, in a shorter amount of time.
Electric pressure cookers are designed with safety features, such as locking lids and pressure release valves, to prevent accidents and ensure a secure cooking experience. They also have programmable timers and adjustable pressure settings, giving you control over the cooking time and pressure level based on your recipe’s requirements.
One of the advantages of using an electric pressure cooker is its energy efficiency. Compared to conventional cooking methods like using an oven or stovetop, electric pressure cookers consume less electricity and generate less heat in the kitchen, making them a more eco-friendly option for your cooking needs.
Electric pressure cookers have gained popularity among busy individuals, families, and home cooks who want to prepare delicious meals in a shorter amount of time. They have revolutionized the way we cook, bringing convenience and efficiency to our kitchens.
Now that we’ve covered the basics of what an electric pressure cooker is, let’s explore why it’s the perfect appliance for cooking brisket.
Why Cook Brisket in an Electric Pressure Cooker?
Cooking brisket in an electric pressure cooker offers several advantages that make it an enticing option for both experienced cooks and beginners. Here are some reasons why you should consider using this kitchen appliance to cook your brisket:
Time-saving: One of the biggest advantages of using an electric pressure cooker is the significant reduction in cooking time. Traditional methods of cooking brisket can take several hours, but with a pressure cooker, you can prepare a tender and flavorful brisket in a fraction of the time.
Tenderness and Moisture: The high pressure and steam created inside the pressure cooker help to break down the tough connective tissues in the brisket, resulting in a tender and juicy final product. The sealed environment of the pressure cooker also helps to retain the moisture in the meat, preventing it from drying out.
Flavor infusion: Cooking brisket in an electric pressure cooker allows for the flavors to penetrate deeper into the meat. The pressure cooker effectively infuses the brisket with the seasonings and marinades, resulting in a delicious and flavorful end result.
Convenience: Electric pressure cookers are designed to simplify the cooking process. With their programmable timers and pre-set cooking modes, you can set it and forget it, allowing you to multitask or attend to other preparations while the brisket cooks.
Versatility: Electric pressure cookers are not limited to just pressure cooking. They often come with additional cooking modes, such as sautéing and slow cooking, allowing you to prepare a variety of dishes using the same appliance.
Consistency: Unlike conventional cooking methods where temperature and pressure can vary, electric pressure cookers provide consistent and controlled cooking conditions. This ensures that each time you cook a brisket, you can expect consistent and reliable results.
Overall, cooking brisket in an electric pressure cooker provides a convenient and efficient way to achieve tender, flavorful, and perfectly cooked meat, all in a fraction of the time compared to traditional cooking methods. With the benefits it offers, it’s no wonder that electric pressure cookers have become a popular choice for home cooks and busy individuals alike.
Selecting the Right Cut of Brisket
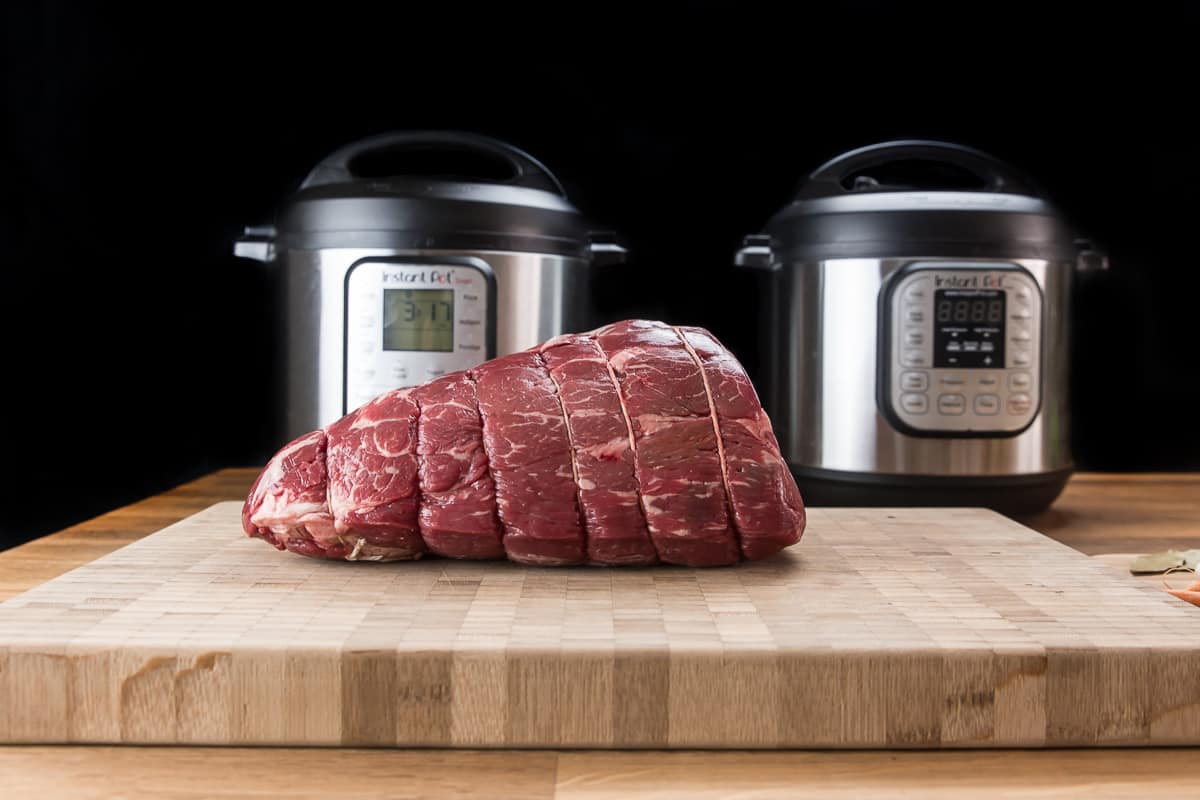
When it comes to cooking brisket, selecting the right cut of meat is essential for a successful and delicious outcome. Brisket is a cut of beef that comes from the lower chest of the cow and consists of two distinct muscles: the flat and the point.
The first step in selecting the right cut of brisket is determining whether you want to cook the whole brisket or just a specific portion. The whole brisket, also known as a packer’s cut, includes both the flat and the point muscles, while smaller portions, such as the flat cut or the point cut, can be used for different cooking methods.
The flat cut, also called the “first cut” or “thin cut,” is leaner and typically easier to handle. It has a uniform thickness and a relatively even fat cap, making it ideal for slicing and presentation. The flat cut is often preferred for dishes where the texture and tenderness are the main focus.
On the other hand, the point cut, also known as the “second cut” or “deckle,” has more marbling and is inherently more flavorful and juicy. It is generally thicker and has a higher fat content, which makes it perfect for dishes like burnt ends or shredded beef. The point cut requires longer cooking times to break down the collagen and render the fat, resulting in a rich and succulent end product.
When selecting a brisket, it’s important to consider the overall quality and characteristics of the meat. Look for briskets that have a good amount of marbling, as this will contribute to the tenderness and flavor of the cooked brisket. The meat should also have a bright red color, indicating freshness.
Another important factor to consider is the thickness of the fat cap. A thicker fat cap can provide more moisture and flavor during the cooking process, while a thin fat cap may result in a drier brisket. However, make sure the fat is evenly distributed throughout the meat to avoid uneven cooking or overly fatty sections.
It’s worth noting that the size of the brisket will also affect the cooking time. Larger briskets may require more cooking time to reach the desired level of tenderness, whereas smaller cuts will cook faster.
Ultimately, the choice between the flat cut and the point cut depends on personal preference and the desired outcome of your brisket dish. Consider the cooking method you plan to use, the texture you want to achieve, and the flavors you want to infuse in the meat, and select the cut of brisket accordingly.
With the right cut of brisket in hand, you’re now ready to move on to the next step: preparing the brisket for pressure cooking.
Preparing the Brisket for Pressure Cooking
Before you start pressure cooking your brisket, it’s important to properly prepare the meat to ensure optimal flavor and tenderness. Here are some essential steps to follow when preparing your brisket for pressure cooking:
Trimming the Brisket: Begin by trimming any excess fat from the brisket. While some fat is necessary to add flavor and moisture, too much can lead to a greasy end result. Trim the fat down to a desirable thickness, keeping in mind that a thin layer of fat can help enhance the overall taste and texture of the cooked brisket.
Removing the Silverskin: The silverskin is a layer of tough connective tissue on the surface of the brisket. It’s best to remove this before cooking to improve tenderness. Use a sharp knife to carefully separate the silverskin from the meat, taking care not to remove too much of the meat along with it.
Piercing the Meat: Brisket is a thick and dense cut, so it’s a good idea to pierce the meat with a fork or a meat tenderizer. This will help the flavors penetrate deep into the meat and ensure even cooking throughout.
Brining or Marinating: Brining or marinating the brisket can add incredible flavor and tenderness. You can prepare a simple brine or marinade using a combination of your favorite seasonings, such as salt, pepper, garlic powder, and Worcestershire sauce. Place the brisket in a large zip-top bag or a container, pour the brine or marinade over it, and let it sit in the refrigerator for at least a few hours or overnight to allow the flavors to infuse.
Bringing the Brisket to Room Temperature: Before pressure cooking, it’s important to allow the brisket to come to room temperature. This helps to ensure even cooking and prevent the meat from toughening up during the pressure cooking process.
Patting the Brisket Dry: Before placing the brisket in the pressure cooker, make sure to pat it dry with a paper towel. Removing excess moisture from the surface will help achieve better browning and caramelization during cooking, resulting in a more flavorful and visually appealing end result.
By following these steps, you can ensure that your brisket is properly prepared and ready for the pressure cooker. With the brisket prepped and seasoned, it’s now time to set up your electric pressure cooker for cooking.
Seasoning and Marinating the Brisket
Seasoning and marinating the brisket is a crucial step in enhancing its flavor and tenderness. By carefully choosing the right combination of seasonings and allowing the meat to marinate, you can create a delicious and well-seasoned brisket. Here’s how to season and marinate your brisket for optimum results:
1. Dry Rub: A dry rub is an excellent way to infuse flavor into the brisket. Create your own dry rub by combining a variety of spices and herbs such as salt, black pepper, paprika, garlic powder, onion powder, and brown sugar. Generously coat the entire surface of the brisket with the dry rub, ensuring that every inch is covered. The dry rub will create a flavorful crust on the meat during cooking.
2. Wet Marinade: If you prefer a more intense flavor profile, you can also opt for a wet marinade. Prepare a marinade by combining ingredients such as soy sauce, Worcestershire sauce, mustard, apple cider vinegar, and any additional spices or herbs of your choice. Place the brisket in a sealable plastic bag or a container and pour the marinade over it. Make sure the brisket is fully submerged in the marinade and allow it to marinate in the refrigerator for at least a few hours or overnight. This will allow the flavors to penetrate the meat and ensure a well-seasoned brisket.
3. Injection Method: Another technique to enhance the flavor and juiciness of the brisket is the injection method. Prepare a flavorful injection liquid using ingredients like beef broth, Worcestershire sauce, and your preferred seasonings. Use a meat injector or a marinade syringe to inject the liquid into different parts of the brisket, allowing the flavors to distribute evenly throughout the meat.
Whether you choose to use a dry rub, wet marinade, or injection method, it’s important to let the seasoned or marinated brisket sit for some time before pressure cooking. This will give the meat enough time to absorb the flavors and develop a richer taste.
Keep in mind that the seasoning and marinating process is highly customizable, and you can experiment with different flavor combinations and spices based on your personal preferences. Just remember to maintain a balance of flavors and not overpower the natural taste of the brisket.
Now that your brisket is seasoned and marinated to perfection, it’s time to set up your electric pressure cooker for cooking.
Setting Up the Electric Pressure Cooker for Cooking
Once you have prepared and seasoned your brisket, it’s time to set up your electric pressure cooker for cooking. Follow these steps to ensure a successful pressure cooking experience:
1. Check the Sealing Ring: Before starting, make sure the sealing ring is properly in place in the lid of your pressure cooker. This ring is essential for maintaining a tight seal and preventing steam from escaping during cooking.
2. Add Liquid: Most electric pressure cookers require a minimum amount of liquid to create the necessary steam and pressure. Check the manufacturer’s instructions to determine the recommended amount of liquid for your specific model. The liquid can be water, broth, or a combination of both, and it helps to create steam and prevent the brisket from drying out during cooking.
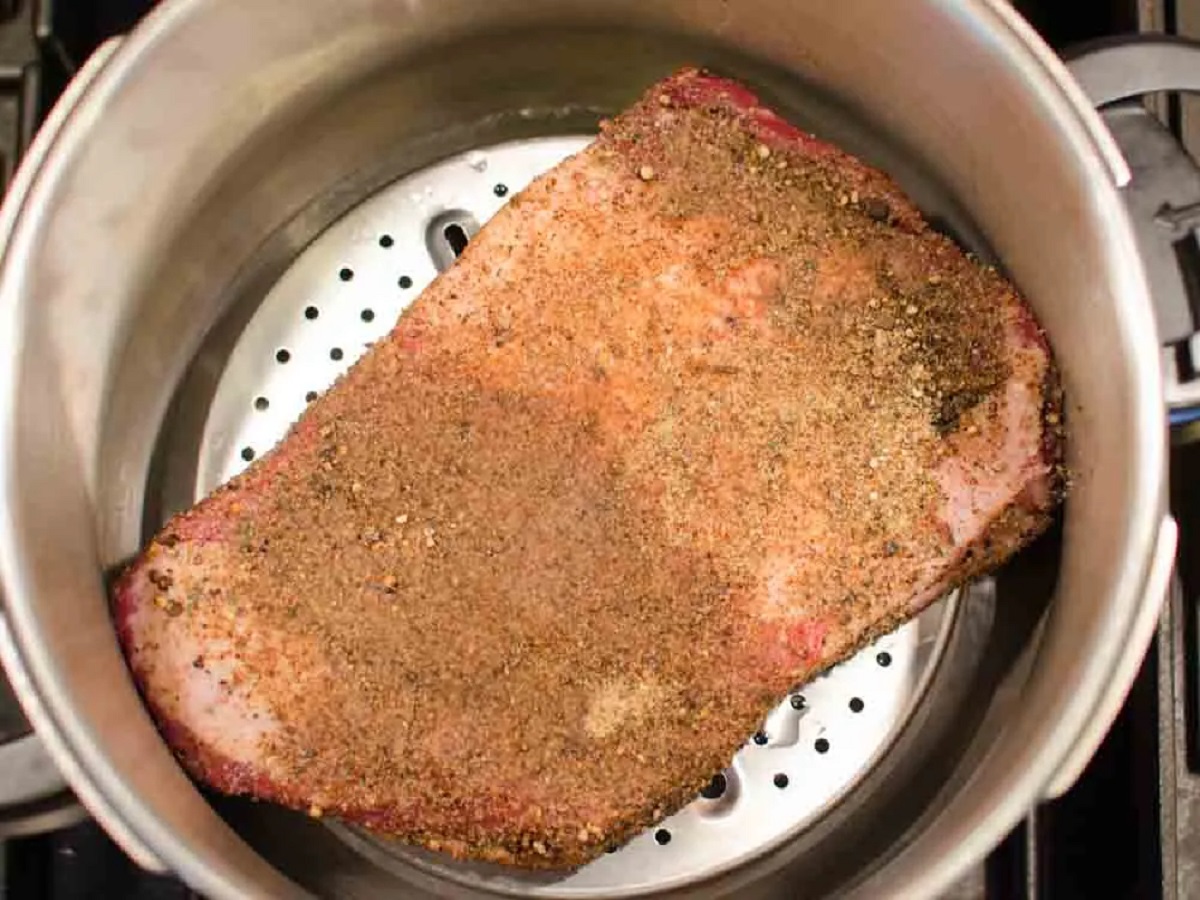
3. Place the Trivet: Many electric pressure cookers come with a trivet or a rack to elevate the food from the liquid. This is especially useful when cooking large cuts of meat like brisket. Place the trivet or rack inside the pressure cooker, ensuring it is stable and secure.
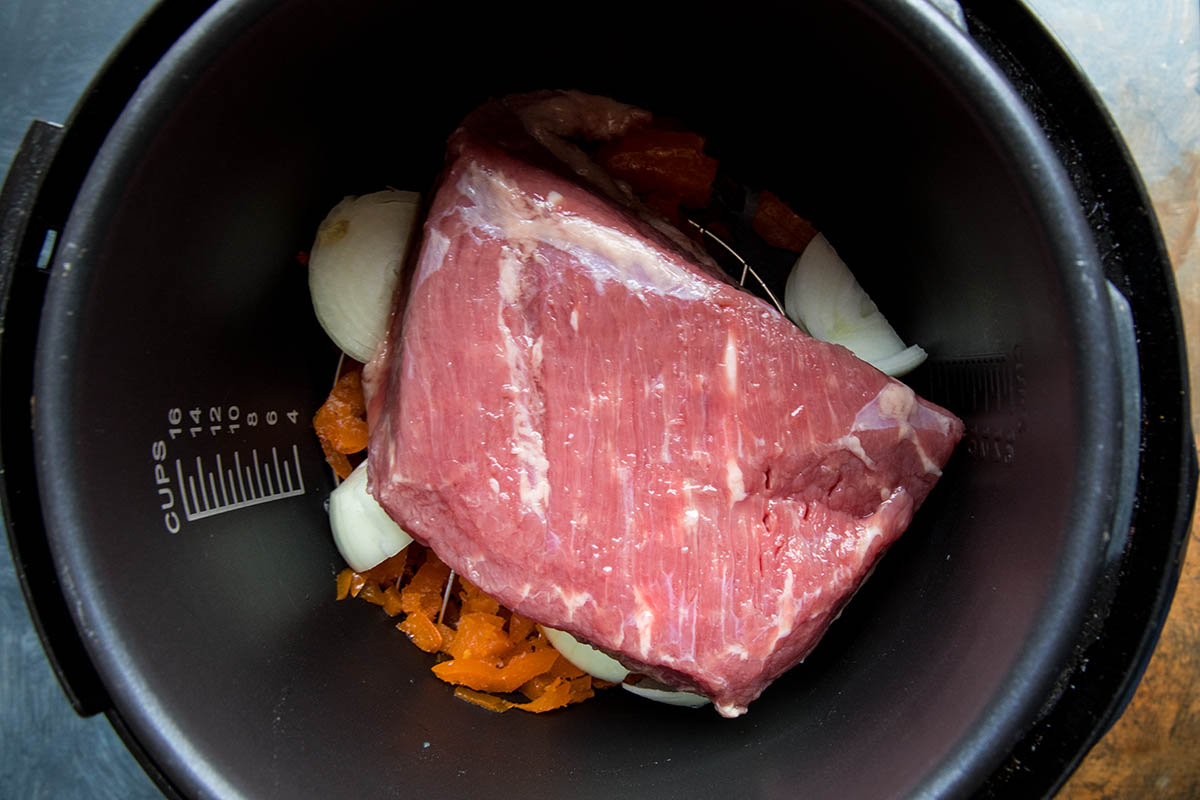
4. Add Flavor Enhancers: For additional flavor, you can add flavor enhancers like onions, garlic, herbs, or spices to the cooking liquid. These aromatics will infuse into the meat during the pressure cooking process, enhancing the overall taste of the brisket.
5. Place the Brisket in the Pressure Cooker: Carefully place the seasoned and marinated brisket on top of the trivet or rack inside the pressure cooker. Ensure that the brisket is not submerged in the cooking liquid, as this can result in overcooked and mushy meat. The goal is to elevate the brisket and allow the steam to cook it evenly.
6. Secure the Lid: Place the lid on the pressure cooker and ensure that it is properly locked in place. Different models of electric pressure cookers have different locking mechanisms, so refer to your specific appliance’s manual for instructions on sealing and securing the lid.
7. Set the Cooking Time and Pressure Level: Refer to your recipe or the cooking guidelines for brisket to determine the appropriate cooking time and pressure level. Electric pressure cookers usually have pre-set cooking modes for different types of food, including meats. Select the appropriate mode or manually adjust the time and pressure settings based on your recipe’s recommendations.
8. Start the Pressure Cooking Process: Once you have set the desired cooking time and pressure level, start the pressure cooking process by pressing the appropriate buttons on your electric pressure cooker. The cooker will begin to build up pressure, and the cooking time will start once the desired pressure is reached.
By following these steps, you can properly set up your electric pressure cooker for cooking your seasoned and marinated brisket. Now, it’s time to let the pressure cooker work its magic and cook the brisket to perfection.
Cooking the Brisket in an Electric Pressure Cooker
Once your electric pressure cooker is set up and ready, it’s time to begin cooking your brisket. Follow these steps to ensure a successful and flavorful outcome:
1. Start the Pressure Cooking: Once you’ve set the desired cooking time and pressure level, start the pressure cooking process by initiating the cooking mode on your electric pressure cooker. The cooker will begin to build up pressure, and the cooking time will commence once the desired pressure is reached.
2. Allow the Pressure to Build: It will take some time for the pressure to build inside the cooker. This can range from a few minutes to about 15 minutes, depending on your specific model. During this time, you may hear a hissing sound as the pressure builds, and the float valve on the lid will rise to indicate that the desired pressure has been reached.
3. Cooking Time: The cooking time will vary depending on the size and thickness of your brisket, as well as the pressure setting and desired level of tenderness. As a general guideline, cooking a brisket in an electric pressure cooker can take around 60 to 90 minutes. However, it’s important to follow a trusted recipe or cooking guidelines specific to your model for more accurate timing.
4. Natural Release vs. Quick Release: After the cooking time is complete, you have two options for releasing the pressure: natural release or quick release. Natural release involves simply allowing the pressure inside the cooker to naturally dissipate, which can take about 10 to 20 minutes. This is recommended for large cuts of meat like brisket as it allows for a more gradual and gentle release of pressure, preventing the meat from overcooking or becoming tough. Quick release, on the other hand, involves manually venting the pressure by moving the release valve to the “Venting” position. This method can be used for cuts that are less sensitive to overcooking or when you’re short on time. However, be cautious as the steam released during quick release is extremely hot, so always use oven mitts or kitchen towels to protect your hands.
5. Check the Doneness: Once the pressure has been released, carefully open the lid of the pressure cooker. Use a meat thermometer to check the internal temperature of the brisket. The ideal temperature for a tender brisket is around 195°F to 205°F (90°C to 96°C). The thermometer should glide in easily and the meat should be fork-tender. If the brisket is not fully cooked, you can continue pressure cooking for additional time, taking care to bring the pressure back up to the desired level.
6. Rest the Brisket: After cooking, it’s important to allow the brisket to rest for 10 to 15 minutes before slicing. This allows the juices to redistribute throughout the meat, resulting in a juicier and more flavorful brisket.
By following these steps, you can successfully cook your brisket in an electric pressure cooker, achieving a tender and flavorful result in a fraction of the time compared to traditional cooking methods.
Natural Release vs. Quick Release
When cooking brisket in an electric pressure cooker, the method of releasing the pressure after cooking plays a crucial role in achieving the perfect texture and tenderness. Understanding the difference between natural release and quick release can help you make the right choice for your cooked brisket. Let’s explore both methods:
Natural Release: Natural release involves allowing the pressure inside the cooker to naturally dissipate. After the cooking time is complete, you simply leave the pressure cooker untouched and wait for the pressure to naturally drop. This process typically takes around 10 to 20 minutes, but can vary depending on the specific model of your electric pressure cooker and the amount of pressure built up during cooking.
Natural release is often recommended for cooking large cuts of meat like brisket. It allows the meat to continue cooking gently in the residual heat and helps to prevent overcooking or drying out. The slow release of pressure also allows the meat fibers to relax and the juices to redistribute, resulting in a more tender and flavorful brisket.
Quick Release: Quick release, also known as manual release, involves manually venting the pressure from the electric pressure cooker. Once the cooking time is complete, you carefully move the pressure release valve, typically located on the lid, to the “Venting” position. This allows the steam and pressure inside the cooker to rapidly escape, quickly dropping the pressure within a few minutes.
Quick release is a convenient method when you’re short on time or cooking cuts of meat that are less sensitive to overcooking. However, it’s important to exercise caution when performing a quick release, as the steam released is extremely hot and can cause burns. Always use oven mitts or kitchen towels to protect your hands and keep your face and body away from the venting steam.
It’s worth noting that certain recipes may recommend a combination of natural and quick release. This is called a “hybrid” release and involves releasing the pressure naturally for a set amount of time and then using a quick release to release any remaining pressure. This method can be beneficial when you want to achieve a slightly faster release of pressure without compromising the overall tenderness of the brisket.
The choice between natural release and quick release ultimately depends on your preferences and the recipe you’re following. If tenderness and moisture retention are your priorities, opt for natural release. However, if you’re pressed for time or the recipe suggests quick release, it can be a suitable option.
Whichever method you choose, ensure that you carefully follow the instructions for releasing the pressure to avoid any accidents and to obtain the desired results for your cooked brisket.
Checking the Internal Temperature of the Brisket
Checking the internal temperature of the brisket is a crucial step to ensure that it is cooked to the desired level of tenderness and doneness. This is especially important when using an electric pressure cooker, as the cooking time can vary based on the size, thickness, and pressure setting of your specific model. Here’s how to accurately check the internal temperature of your brisket:
1. Use a Meat Thermometer: A meat thermometer is an essential tool for determining the internal temperature of your brisket. Instant-read or digital thermometers are ideal, as they provide quick and accurate readings.
2. Location for Temperature Check: The thickest part of the brisket, typically the center of the flat cut or the point cut, should be used to check the internal temperature. This ensures that the densest part of the meat is fully cooked.
3. Insert the Thermometer: Insert the probe of the meat thermometer into the thickest part of the brisket, avoiding contact with any bones or fat deposits. Ensure that the probe is inserted deep enough to reach the center of the meat.
4. Wait for Accurate Reading: Leave the thermometer in place for a few seconds until the reading stabilizes. Some thermometers may have a “hold” button that allows you to lock in the temperature reading for easy viewing.
5. Ideal Temperature for Brisket: The ideal internal temperature for a tender brisket typically ranges from 195°F to 205°F (90°C to 96°C). At this temperature range, the collagen in the meat breaks down, resulting in a more tender and melt-in-your-mouth texture. However, personal preferences may vary, and some people prefer their brisket slightly firmer or well done. It’s important to check the recommended internal temperature based on your specific recipe or desired level of doneness.
6. Adjust Cooking Time if Necessary: If the brisket has not reached the desired temperature, and additional cooking time is required, gently close the pressure cooker and allow it to come back up to pressure. Cook for the additional time needed, taking care to avoid overcooking the brisket.
By checking the internal temperature of your brisket, you can ensure that it is cooked to perfection, tender and juicy. Remember that the final internal temperature is more important than the cooking time, as each brisket is different. Once the desired temperature is reached, it’s time to remove the brisket from the pressure cooker and let it rest before serving.
Resting and Serving the Cooked Brisket
After the brisket is cooked to perfection in the electric pressure cooker, it’s important to allow it to rest before serving. Resting allows the meat to reabsorb its juices, resulting in a more flavorful and tender final product. Follow these steps to properly rest and serve your cooked brisket:
1. Remove from the Pressure Cooker: Carefully remove the cooked brisket from the pressure cooker using tongs or a meat fork. Be cautious as the brisket will be hot and tender, so it’s important to handle it gently to prevent it from falling apart.
2. Place on a Cutting Board: Transfer the brisket to a clean cutting board and let it rest for about 10 to 15 minutes. This resting period allows the temperature of the brisket to even out and the juices to distribute throughout the meat. Covering the brisket loosely with aluminum foil during the resting period can help retain the heat and further enhance the tenderness.
3. Slice Against the Grain: When you’re ready to serve, it’s essential to slice the brisket against the grain. Cutting against the grain means slicing perpendicular to the natural lines or muscle fibers of the meat. This ensures that each slice is tender and easier to chew.
4. Thickness of Slices: The thickness of the slices can vary depending on personal preference. Thin slices are ideal for sandwiches or tacos, while thicker slices can be served as main course portions. Use a sharp knife or an electric slicer to achieve clean and even slices.
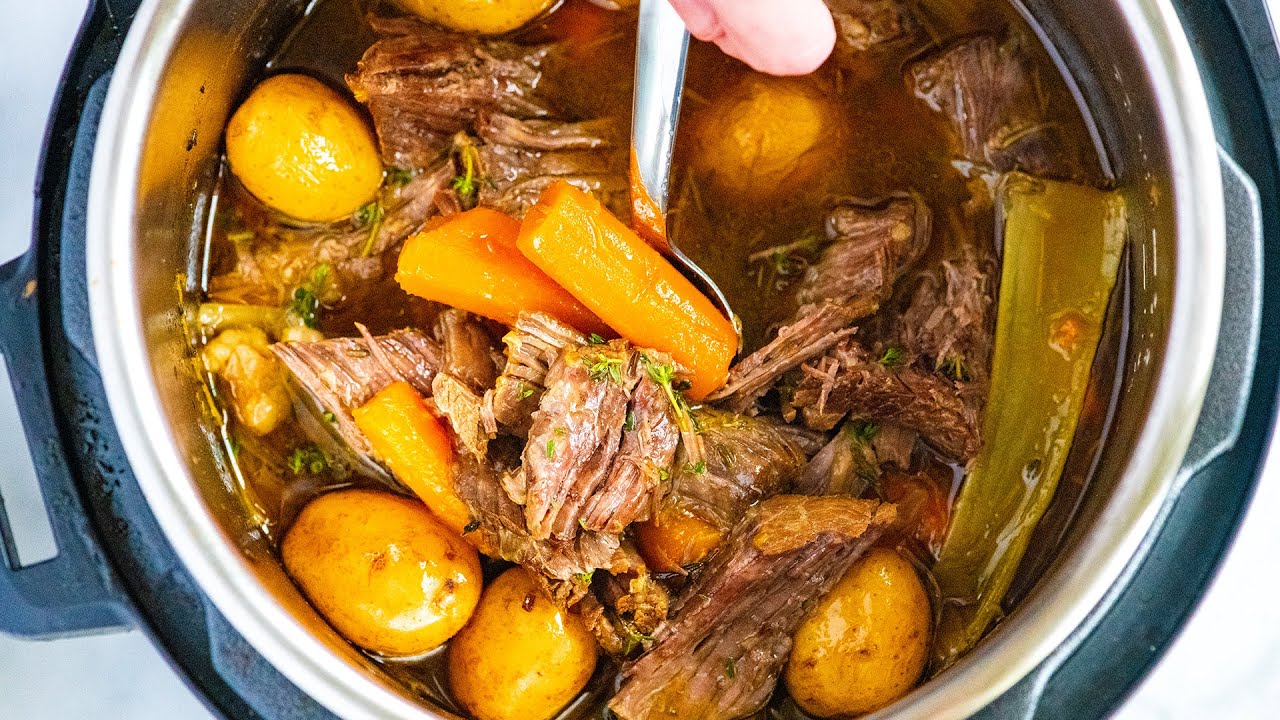
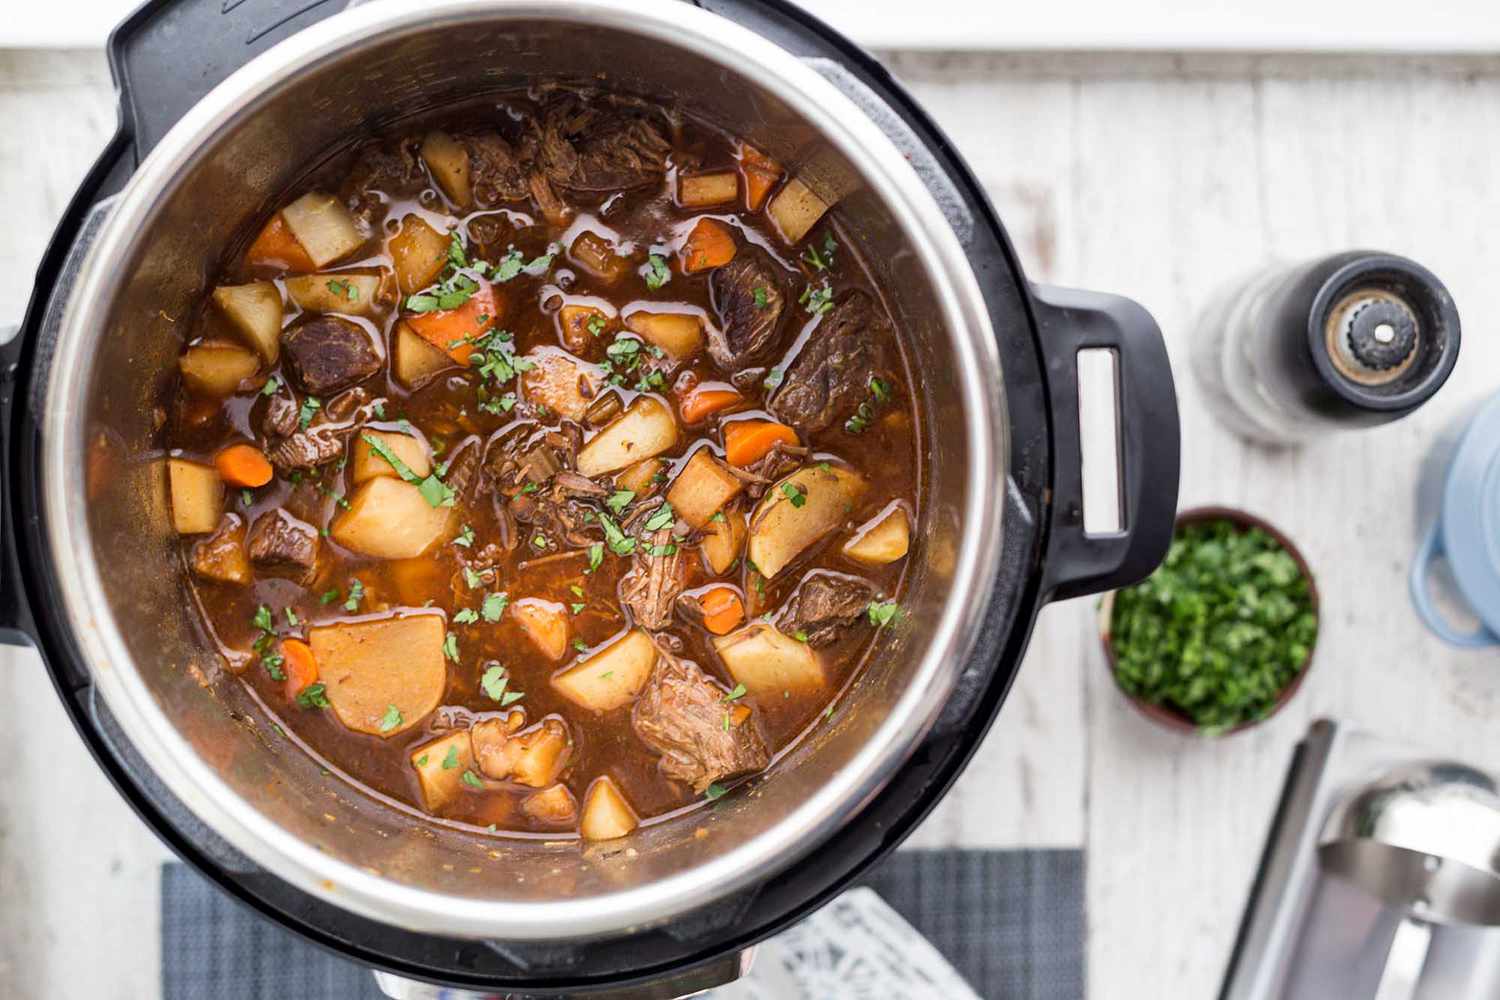
5. Serve and Enjoy: Once the brisket is sliced, it’s ready to be served and enjoyed! You can serve it as it is, or pair it with your favorite barbecue sauce, gravy, or other desired accompaniments. Brisket is often served alongside classic barbecue sides such as coleslaw, cornbread, or potato salad. The rich and tender meat pairs well with a variety of flavors and side dishes.
By allowing the cooked brisket to rest and then slicing it properly, you can ensure that each bite is juicy, tender, and full of flavor. Remember to adjust your serving size based on the preferences and appetites of your guests.
Enjoy your deliciously cooked brisket and savor the fruits of your labor!
Conclusion
Cooking brisket in an electric pressure cooker is a game-changer for anyone who craves tender and flavorful meat without spending hours in the kitchen. The convenience and efficiency of the electric pressure cooker allow you to achieve mouthwatering brisket in a fraction of the time compared to traditional cooking methods. By following the steps outlined in this guide, you can create a delicious brisket that will impress your family and friends.
From selecting the right cut of brisket and preparing it with proper trimming and seasoning, to setting up the electric pressure cooker and cooking the brisket to perfection, each step contributes to the overall success of your dish. Remember to pay attention to the release methods, whether it’s natural release or quick release, and check the internal temperature of the brisket to ensure optimum tenderness.
Resting the cooked brisket allows the flavors to fully develop and the juices to redistribute, resulting in a melt-in-your-mouth texture. Finally, slicing the brisket against the grain ensures the tenderness of each bite when served.
So why not give it a try? With an electric pressure cooker and the skills you’ve learned in this guide, you can create a delectable brisket that will have everyone coming back for seconds. Whether it’s for a family meal, a special occasion, or a backyard barbecue, cooking brisket in an electric pressure cooker is a fantastic way to enjoy this classic dish with less time and effort.
Get ready to savor every tender and flavorful bite of your electric pressure cooker brisket, and don’t forget to experiment with different seasonings and rubs to tailor the dish to your taste. Enjoy the journey of cooking and the satisfaction of serving a mouthwatering brisket that will be a hit every time!