Introduction
Resin 3D printing is a revolutionary technology that has gained immense popularity in recent years. Unlike traditional 3D printing, which uses filament, resin 3D printing utilizes a liquid photopolymer resin that is solidified layer by layer to create intricate and detailed objects. One of the key steps in the resin 3D printing process is the curing stage, where the printed object is exposed to specific wavelengths of light to harden and solidify the resin.
Understanding the curing process is essential for achieving optimal results in resin 3D printing. The curing time plays a crucial role in determining the strength, durability, and overall quality of the printed objects. It is essential to strike the right balance between adequate curing time and avoiding over-curing or under-curing the resin.
In this article, we will explore the concept of resin curing, the factors that affect curing time, how to determine the ideal curing time, and provide solutions for under-cured and over-cured resin. Additionally, we’ll share some tips to speed up the resin curing process, allowing for faster turnaround times without compromising print quality.
Whether you are a beginner or an experienced resin 3D printer enthusiast, understanding the intricacies of resin curing will empower you to create stunning and durable 3D printed objects. So let’s delve deeper into the fascinating world of resin 3D printing and the art of resin curing.
What is Resin 3D Printing?
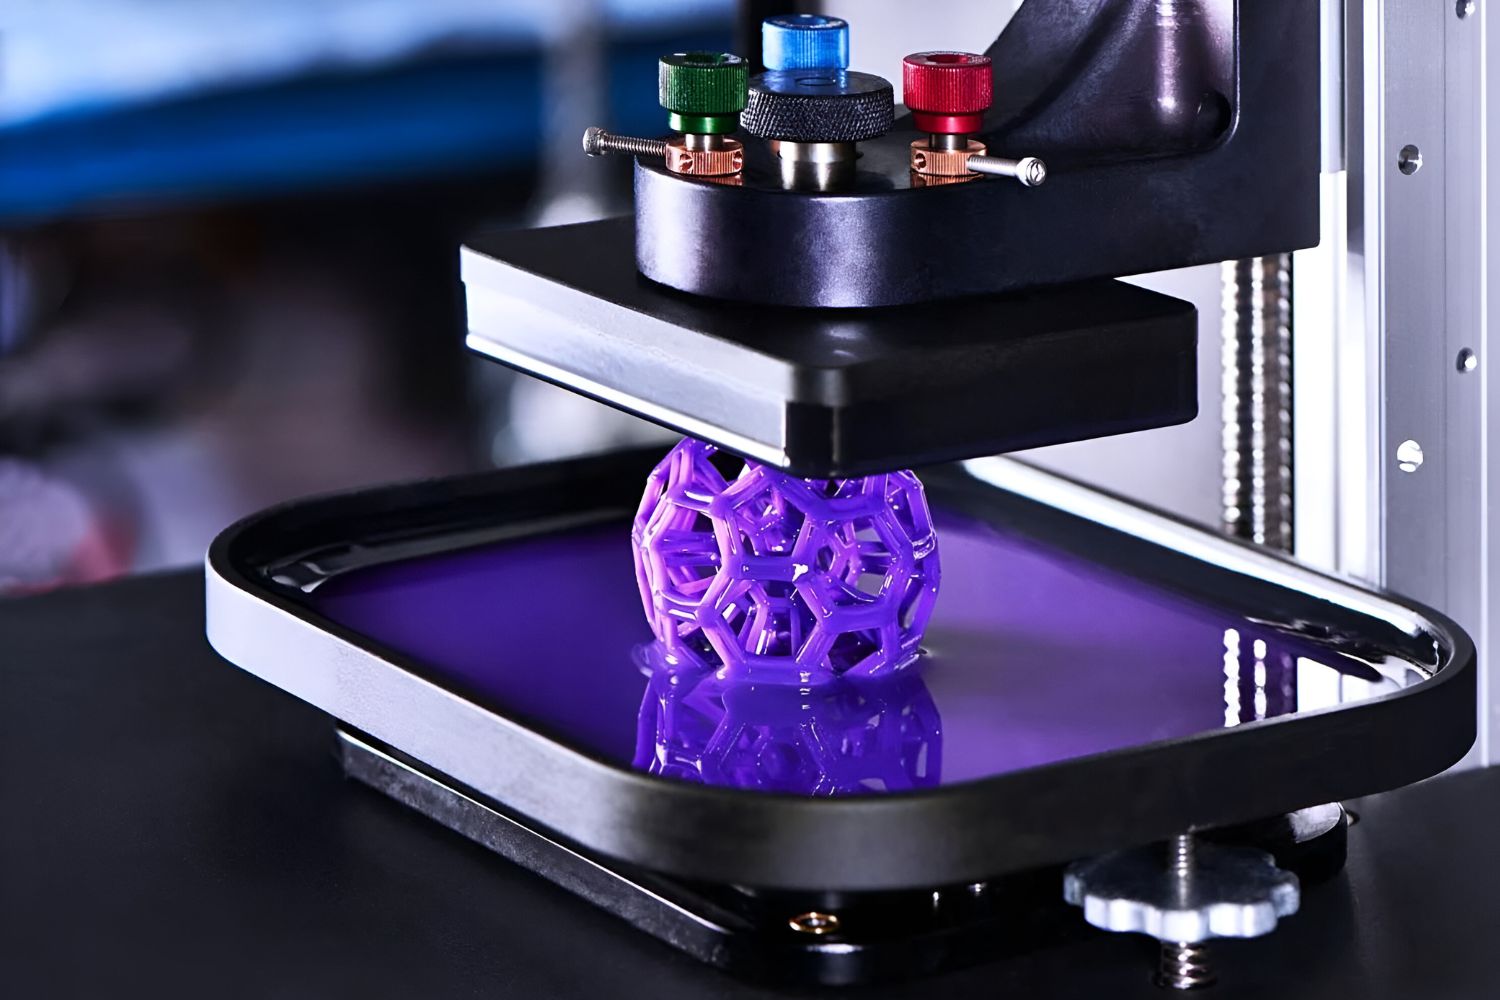
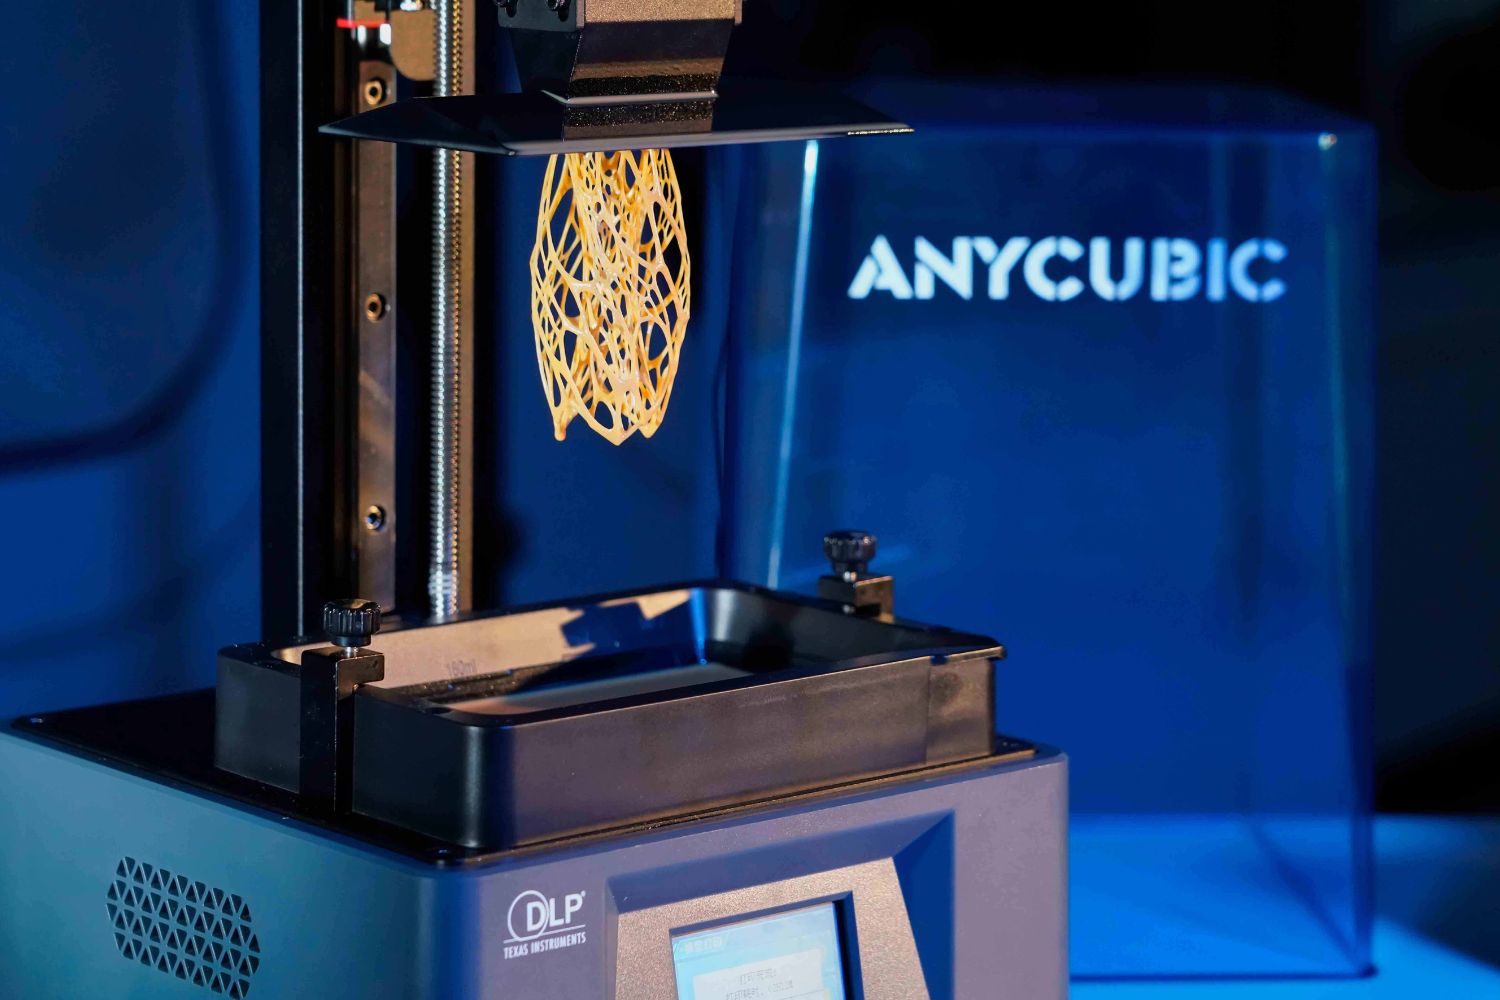
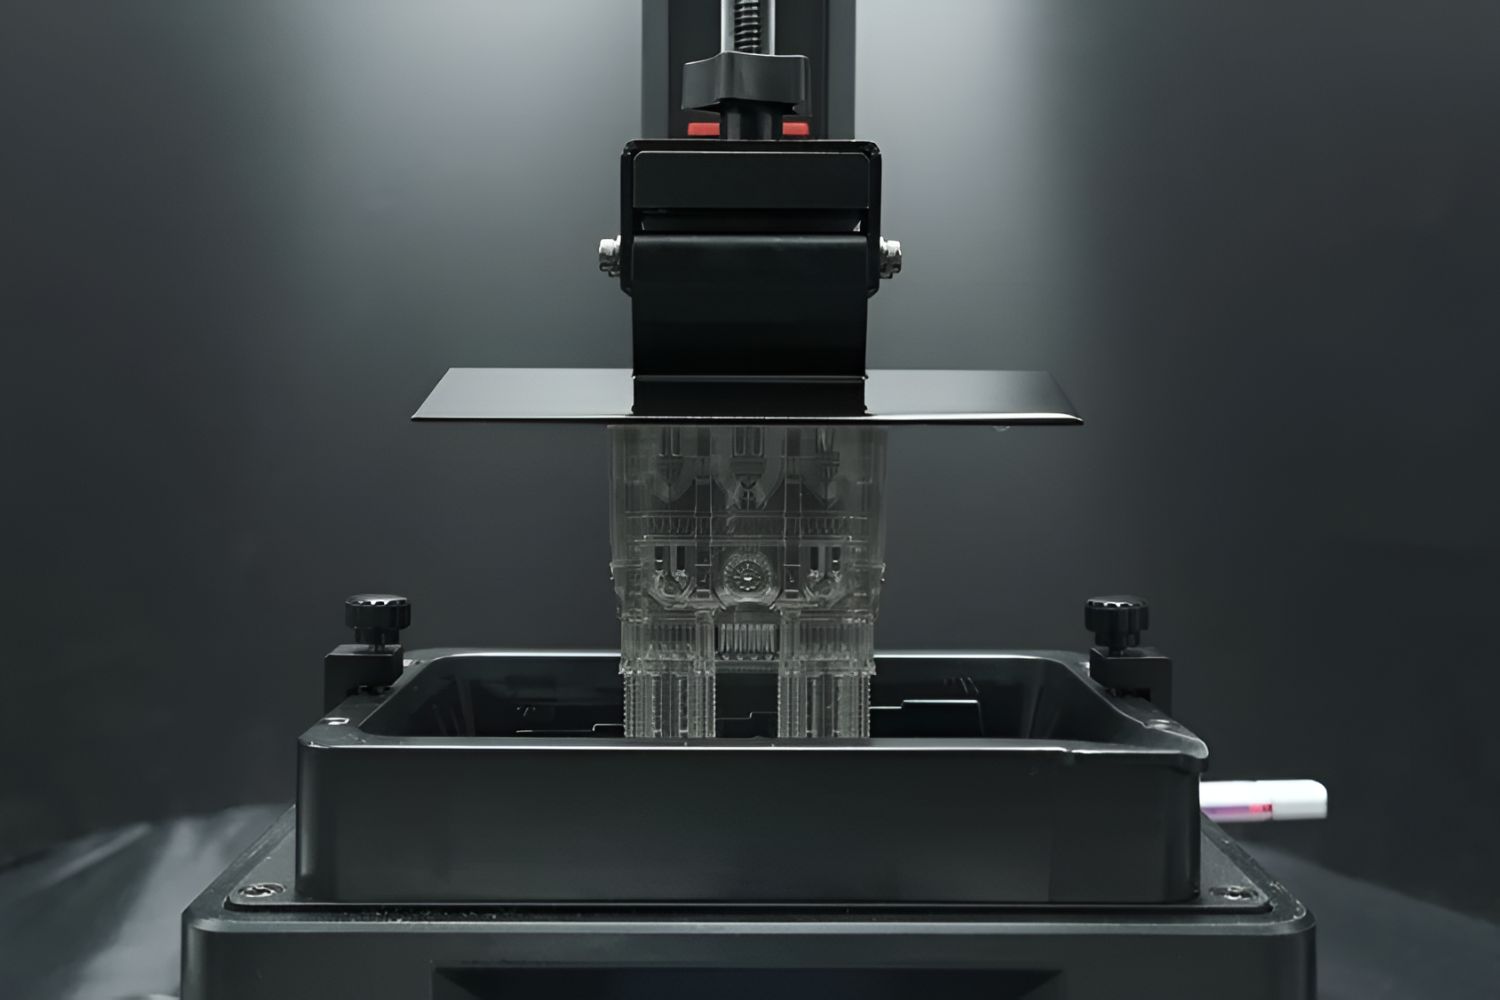
Resin 3D printing, also known as stereolithography or SLA printing, is a cutting-edge additive manufacturing technique that allows for the creation of highly detailed and intricate objects. Unlike traditional filament-based 3D printing, which melts and extrudes plastic to build layers, resin 3D printing relies on a liquid photopolymer resin that is cured layer by layer using specific wavelengths of light.
The process begins with a 3D model created using computer-aided design (CAD) software. The model is then sent to a resin 3D printer, which uses a laser or an LCD screen to selectively solidify the liquid resin. The printer’s build plate gradually raises the object out of the resin tank, layer by layer, until the final object is complete.
Resin 3D printing offers several advantages over traditional 3D printing methods. First and foremost, it allows for unparalleled precision and detail. The ability to print objects with intricate features, such as fine textures, sharp edges, and intricate geometries, makes resin 3D printing ideal for applications such as jewelry making, dental prosthetics, and miniatures for tabletop gaming.
Furthermore, resin 3D printed objects have exceptional surface finish and smoothness, eliminating the need for post-processing tasks like sanding or polishing. The cured resin has a translucent or transparent appearance, allowing for the creation of objects with translucent or light-scattering properties, such as glass-like figurines or light diffusing components.
Another advantage of resin 3D printing is its ability to print objects with excellent structural integrity. The cured resin is typically stronger and more durable than objects printed using filament-based printers. This makes resin 3D printing suitable for functional prototypes, art pieces, and even end-use parts that require high strength and precision.
While the initial cost of a resin 3D printer and the resin materials may be higher compared to filament-based printers, the exceptional print quality and capabilities of resin 3D printing make it a worthwhile investment for individuals, professionals, and businesses looking to produce high-quality, detailed objects.
In the next section, we will dive deeper into the fascinating process of resin curing and its importance in resin 3D printing.
How Does Resin Cure?
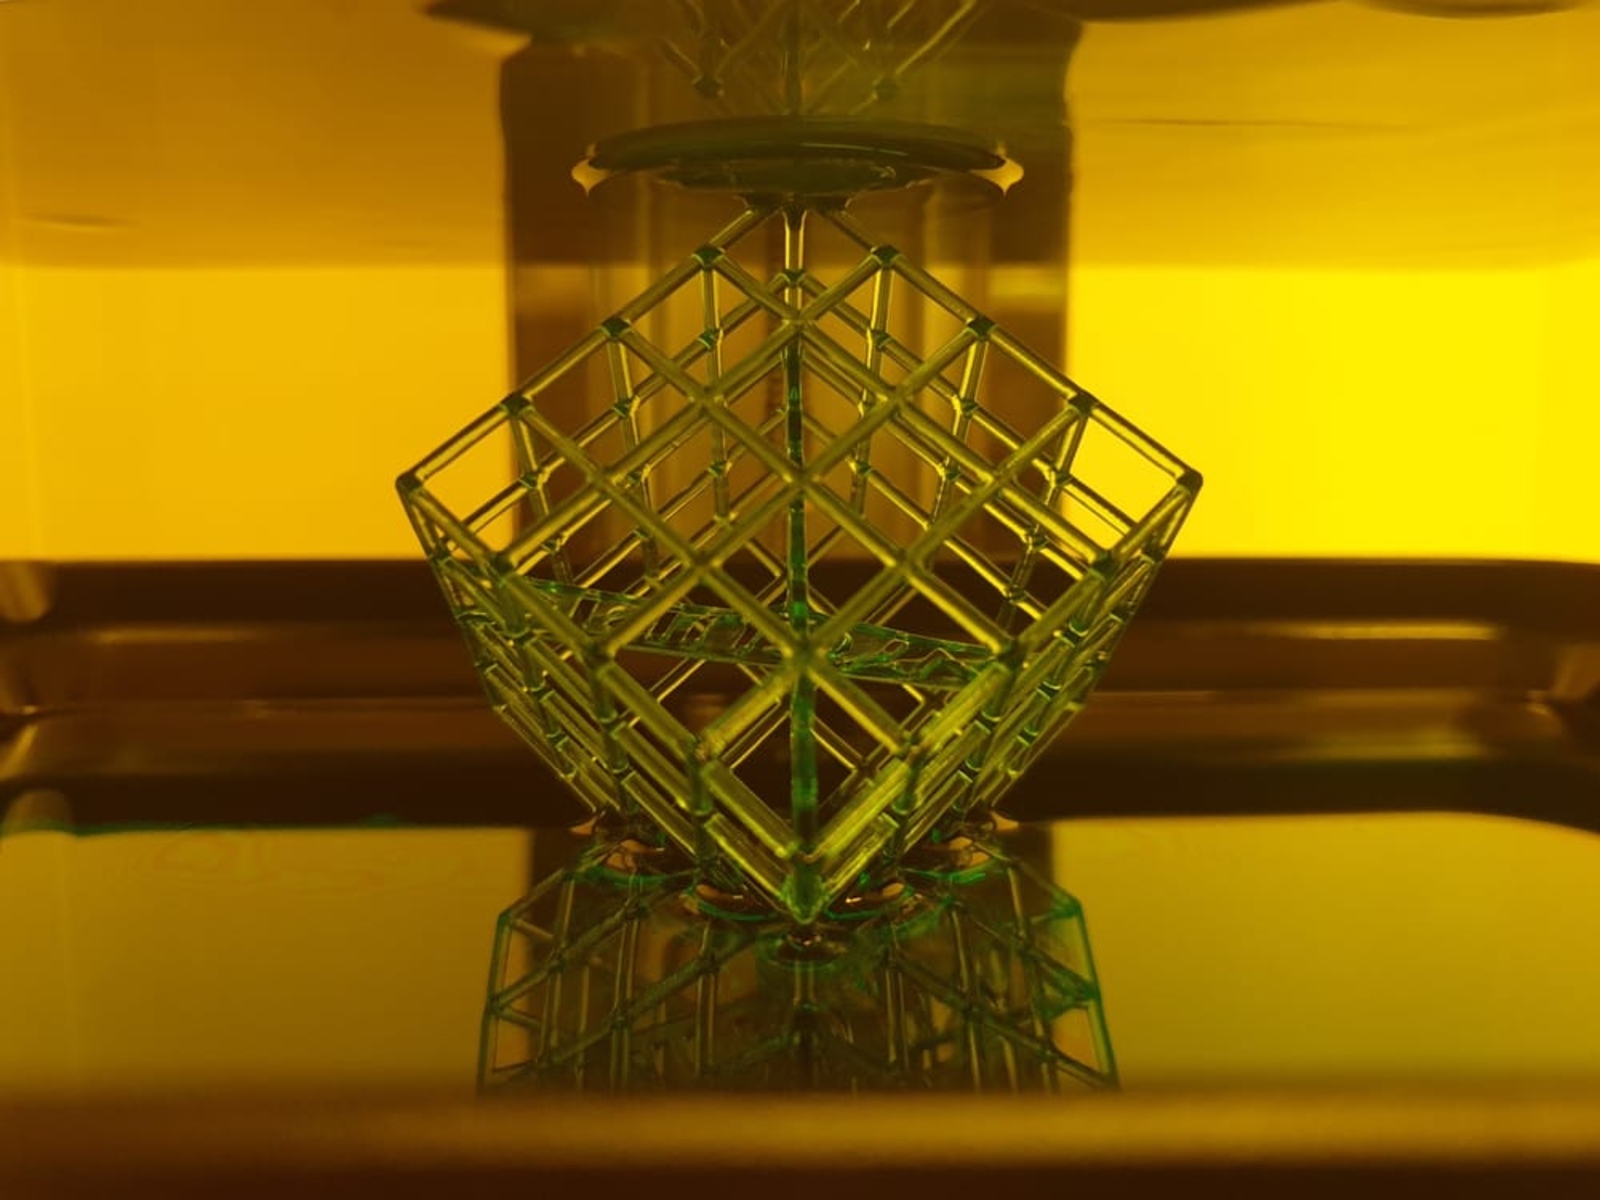
The resin curing process is a crucial step in resin 3D printing that transforms the liquid photopolymer resin into a solid and durable object. Curing is the process of inducing a chemical reaction known as polymerization, which causes the resin molecules to bond together and form a solid structure.
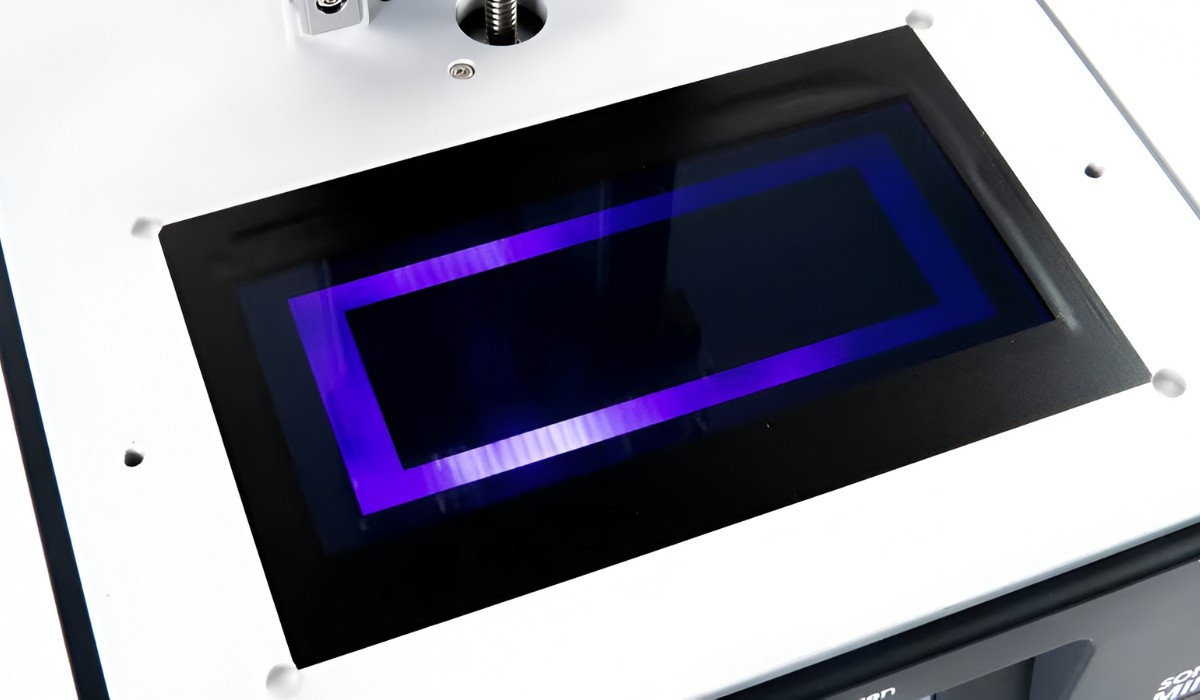
The curing process in resin 3D printing is initiated by exposing the liquid resin to specific wavelengths of light. This light triggers a photochemical reaction in the resin, causing it to undergo polymerization. The most common light source used for resin curing is ultraviolet (UV) light, as the resin is specifically formulated to react to UV wavelengths.
When the resin is exposed to UV light, the photoinitiators present in the resin molecules absorb the light energy and become energized. This energy triggers a chain reaction that leads to the cross-linking of the resin molecules, creating a solid three-dimensional network. As this process repeats for each layer of the printed object, it gradually builds up a fully cured and solid structure.
The curing process in resin 3D printing can take varying amounts of time, depending on factors such as the resin formulation, the type and intensity of the light source, and the thickness of each layer being cured. It is crucial to find the optimal balance between curing time and achieving the desired strength and quality of the printed object.
As the resin cures, it undergoes a transition from a liquid state to a solid state. This transformation results in the hardening and solidification of the resin, giving the printed object its structural integrity and dimensional stability. The curing process also affects the mechanical properties of the printed object, such as its stiffness, flexibility, and impact resistance.
Next, we will explore the various factors that can influence the curing time in resin 3D printing and how to determine the ideal curing time for different types of resins and objects.
Factors Affecting Curing Time
The curing time in resin 3D printing can vary based on several factors. Understanding these factors is essential for achieving optimal curing results and ensuring the quality and strength of the printed objects.
Resin Formulation: The composition and formulation of the resin play a significant role in the curing time. Different resins have different photoinitiators and additives that react to specific wavelengths of light. Some resins may require longer exposure to achieve complete curing, while others may cure faster with shorter exposure times.
Layer Thickness: The thickness of each layer in the 3D printed object can affect the curing time. Thicker layers may require longer exposure times to ensure complete curing throughout the entire layer. Thinner layers, on the other hand, may cure more quickly due to the shorter distance the light needs to travel to reach all the resin molecules.
Light Source Intensity: The intensity of the light source used for resin curing can significantly impact the curing time. Higher intensity light sources can provide more energy to the resin, leading to faster polymerization and curing. However, it is essential to ensure that the light source is not too intense, as it can cause overheating and potential damage to the printed object or the resin itself.
Temperature and Environmental Conditions: The ambient temperature and environmental conditions can affect the curing time. Higher temperatures generally accelerate the curing process, while lower temperatures may slow it down. It is important to maintain a controlled and consistent temperature during the curing process to achieve consistent results.
Object Size and Geometry: The size and geometry of the printed object can influence the curing time. Objects with complex geometries or intricate details may require longer curing times to ensure thorough curing in hard-to-reach areas. On the other hand, simpler objects with fewer details may cure more quickly.
Slicing and Printing Parameters: The settings used during the slicing and printing process can impact the curing time. Parameters such as exposure time per layer, layer height, and curing settings can be adjusted to optimize the curing time for specific resins and object requirements.
By considering these factors and making appropriate adjustments, it is possible to achieve the desired curing time for resin 3D printed objects. In the next section, we will explore how to determine the ideal curing time for different types of resins and objects.
Determining the Ideal Curing Time
Determining the ideal curing time for resin 3D printing is essential to ensure the strength, durability, and quality of the printed objects. While there is no one-size-fits-all approach, there are some guidelines to help you find the optimal curing time for different types of resins and objects.
Manufacturer Recommendations: The resin manufacturer often provides guidelines and recommendations for the ideal curing time. These recommendations are based on extensive testing and optimization, so it is a good starting point to follow their instructions.
Testing and Iteration: Conducting a series of tests with different curing times can help you determine the ideal time for your specific resin and object. Starting with the manufacturer’s recommended curing time, gradually increase or decrease the exposure time and evaluate the results. Pay attention to factors such as surface finish, strength, and any signs of under-curing or over-curing.
Visual Inspection: Visual inspection can provide valuable insights into the curing progress. Check the printed object after each curing cycle to see if the surface appears tacky or sticky. If it does, it may indicate that the curing time is insufficient. Conversely, if the object appears brittle or discolored, it may be a sign of over-curing.
Flexibility Test: Flexibility testing can help determine the ideal curing time for flexible or elastomeric resins. Gently bend or twist the cured object to see if it maintains its shape without cracking or breaking. Adjust the curing time based on the desired level of flexibility and resilience.
Functional Testing: If the printed object has a specific functional requirement, such as load-bearing capacity or impact resistance, perform functional tests to determine the optimal curing time. This may involve subjecting the object to stress or impact to assess its performance and adjust the curing time accordingly.
Feedback from Peers or Online Communities: Engaging with fellow resin 3D printing enthusiasts and online communities can provide valuable insights and feedback on curing times. Sharing experiences and learning from others’ successes and failures can help you fine-tune the curing time for your specific needs.
Remember that finding the ideal curing time may require some trial and error. It is crucial to document your experiments and observations to track the progress and refine your curing process for future prints.
In the next sections, we will explore the effects of under-cured and over-cured resin and provide solutions for each scenario. Stay tuned!
Under-cured Resin: Effects and Solutions
Under-cured resin in the context of 3D printing refers to resin that has not been cured for a sufficient amount of time or with adequate exposure to the curing light source. This can result in several undesirable effects on the printed objects.
Weakness and Lack of Structural Integrity: Under-cured resin may lack the necessary strength and durability expected from a cured object. The insufficient polymerization and bonding of resin molecules can lead to weak and brittle parts that are prone to breaking or cracking under minimal stress.
Soft or Tacky Surface: An under-cured resin object can have a soft or tacky surface, which can make post-processing, such as sanding or polishing, a challenging task. The resin may also be more susceptible to fingerprints and smudging, affecting the overall aesthetic appeal of the print.
Poor Dimensional Accuracy: Insufficient curing can result in warping or distortion of the printed object. This can lead to dimensional inaccuracies, where the final print may deviate from the intended measurements and specifications.
To address under-cured resin, several possible solutions can be implemented:
Increasing Curing Time: Gradually increasing the curing time for each layer can help ensure that the resin is fully cured and properly hardened. Increasing the exposure time by small increments and evaluating the results can help find the optimal curing time for the specific resin and object.
Adjusting Light Source Intensity: If under-curing persists even with increased curing time, adjusting the intensity of the light source may provide a solution. Increasing the intensity of the light source or moving the print closer to the light can provide more energy to the resin and promote better polymerization.
Improving Environmental Conditions: Maintaining a controlled and consistent temperature during the curing process can also play a role in addressing under-curing. Ensure that the temperature in the curing environment is within the recommended range for the particular resin being used.
Revising Slicing Parameters: Adjusting the slicing parameters in the 3D printer software can also help address under-curing. Parameters such as exposure time per layer, layer height, and curing settings can be fine-tuned to optimize the curing process and improve the curing results.
Avoiding under-cured resin is essential for achieving strong and durable prints with optimal quality. By understanding the effects of under-curing and implementing appropriate solutions, you can improve the overall success rate and reliability of your resin 3D prints.
In the following section, we will explore the effects and solutions for over-cured resin. Stay tuned!
Over-cured Resin: Effects and Solutions
In resin 3D printing, over-cured resin refers to a situation where the resin is cured for an excessive amount of time or exposed to an intense curing light source for too long. This can lead to a variety of issues in the final printed object.
Brittleness and Fragility: Over-cured resin can result in a print that is overly brittle and prone to breaking. The excessive polymerization and cross-linking of resin molecules can lead to an object with reduced flexibility and increased fragility.
Discoloration or Yellowing: When resin is over-cured, it can develop a yellowish or brownish tint, which can negatively affect the appearance of the printed object. This discoloration can detract from the intended design and visual appeal.
Loss of Detail and Surface Quality: Over-curing can cause a loss of fine details and result in a rougher surface finish. The excessive heat generated during over-curing can cause the resin to shrink or warp, leading to distortions in the object’s shape and surface texture.
To remedy over-cured resin, certain solutions can be implemented:
Reducing Curing Time: In cases of over-curing, reducing the curing time can help prevent excessive polymerization. Gradually decreasing the exposure time for each layer and evaluating the results can help identify the optimal curing time for the specific resin and object.
Lowering Light Source Intensity: If over-curing persists, lowering the intensity of the light source is recommended. This can be achieved by adjusting the settings on the 3D printer or using a light source with a lower power output. By reducing the energy input during the curing process, the risk of over-curing can be mitigated.
Optimizing Environmental Conditions: Maintaining optimal environmental conditions, such as temperature and humidity, can play a role in preventing over-curing. Keeping the curing environment within the recommended range for the specific resin being used can help control the curing process and minimize the risk of over-curing.
Refining Slicing Parameters: Adjusting the slicing parameters in the 3D printer software can also help combat over-curing. Fine-tuning parameters such as exposure time per layer and curing settings can provide more control over the curing process and prevent excessive polymerization.
By addressing over-cured resin, you can ensure the durability, aesthetics, and dimensional accuracy of your resin 3D prints. It is important to find the right balance and optimize the curing process for each specific resin and object type.
In the next section, we will share some tips on how to speed up the resin curing process without compromising the quality of your prints. Stay tuned!
Tips to Speed Up Resin Curing
Resin 3D printing offers great advantages in terms of precision and detail, but sometimes you may want to speed up the curing process without compromising the quality of your prints. Here are some tips to help you accelerate resin curing:
Use High Power Light Sources: Using a higher power light source, such as a higher wattage UV lamp or a more intense LED, can reduce the overall curing time. Be cautious not to exceed the resin’s recommended exposure limits to avoid over-curing or damaging the print.
Optimize Layer Thickness: Thinner layers cure faster than thicker layers. Consider reducing the layer thickness in your slicer settings to speed up the overall curing process. However, keep in mind that extremely thin layers may require adjustments to other printing parameters to maintain print quality.
Increase Light Source Intensity: If possible, adjust the light source’s intensity settings. Increasing the intensity will provide more energy to the resin, promoting faster polymerization. However, be careful not to set the intensity too high, as it can lead to over-curing or overheating.
Preheat the Resin: In some cases, preheating the resin to a slightly elevated temperature can help accelerate the curing process. This can be done by using a heated build chamber or placing the resin container in a warm water bath. Keep in mind that not all resins respond well to preheating, so check with the manufacturer’s guidelines.
Ensure Proper Ventilation: Adequate ventilation of the curing area can help dissipate excess heat generated during curing. This can prevent overheating and potential deformation of the printed object. Additionally, proper ventilation can also help remove any fumes or odors emitted during the curing process.
Post-Cure with Intense Light: After the initial print is complete, consider giving it a post-curing session with a more powerful light source. This additional exposure to intense UV light can help ensure complete curing of the resin and enhance its overall strength and durability.
Optimize Resin Formulation: Explore different resin formulations designed for faster curing times. Some manufacturers offer resins specifically formulated for quick curing, and utilizing these resins can significantly reduce the overall curing time without compromising print quality.
It is important to note that while these tips can help speed up resin curing, it is crucial to maintain a balance between curing speed and resin quality. Experimentation and careful monitoring of the curing process are essential to achieve optimal results.
With these tips in mind, you can achieve faster resin curing times and increase efficiency in your resin 3D printing workflow.
Conclusion
Resin 3D printing has revolutionized the world of additive manufacturing, allowing for the creation of intricate, detailed, and high-quality objects. The curing process in resin 3D printing is a crucial step that determines the strength, durability, and overall quality of the printed objects.
Understanding the factors that affect curing time, such as resin formulation, layer thickness, light source intensity, and environmental conditions, is essential for achieving optimal results. Fine-tuning the curing time through testing, visual inspection, and functional testing can help determine the ideal curing time for each specific resin and object.
It is important to address under-cured resin, which can result in weak structures, soft surfaces, and poor dimensional accuracy. Solutions such as increasing curing time, adjusting light source intensity, and optimizing environmental conditions can help rectify under-curing issues.
Similarly, over-cured resin can lead to brittle prints, discoloration, and loss of detail. Reducing curing time, lowering light source intensity, and refining slicing parameters can help mitigate over-curing effects.
If you need to speed up the resin curing process, using high-power light sources, optimizing layer thickness, and ensuring proper ventilation are effective strategies. Additionally, exploring resin formulations designed for faster curing times can significantly enhance efficiency without sacrificing print quality.
By developing a deep understanding of resin curing, implementing appropriate strategies, and leveraging the tips provided in this article, you can create resin 3D prints that exhibit exceptional strength, durability, and visual appeal.
So, embrace the fascinating world of resin 3D printing, experiment with curing times, and let your creativity soar as you bring your designs to life with resin 3D printing!