What Is Resin for 3D Printing
Resin for 3D printing, also known as photopolymer resin, is a liquid material used in the process of stereolithography (SLA) or digital light processing (DLP) 3D printing. Unlike traditional filament-based 3D printing, resin printing utilizes a liquid resin that is cured or solidified layer by layer to create intricate and detailed models.
Resin for 3D printing is composed of two primary components: a polymer and a photosensitive material. The polymer acts as the backbone of the resin, providing its physical attributes like hardness, flexibility, or transparency. The photosensitive material, such as a photoinitiator, reacts to the UV light emitted by the 3D printer, causing the liquid resin to solidify.
This technology allows for the creation of highly detailed and precise models with smooth surface finishes, making it ideal for applications such as jewelry making, dentistry, and prototyping.
There are various types of resin available for 3D printing, each with its own unique characteristics and uses. These resins can be classified into different categories based on their properties, such as flexibility, durability, color, and transparency.
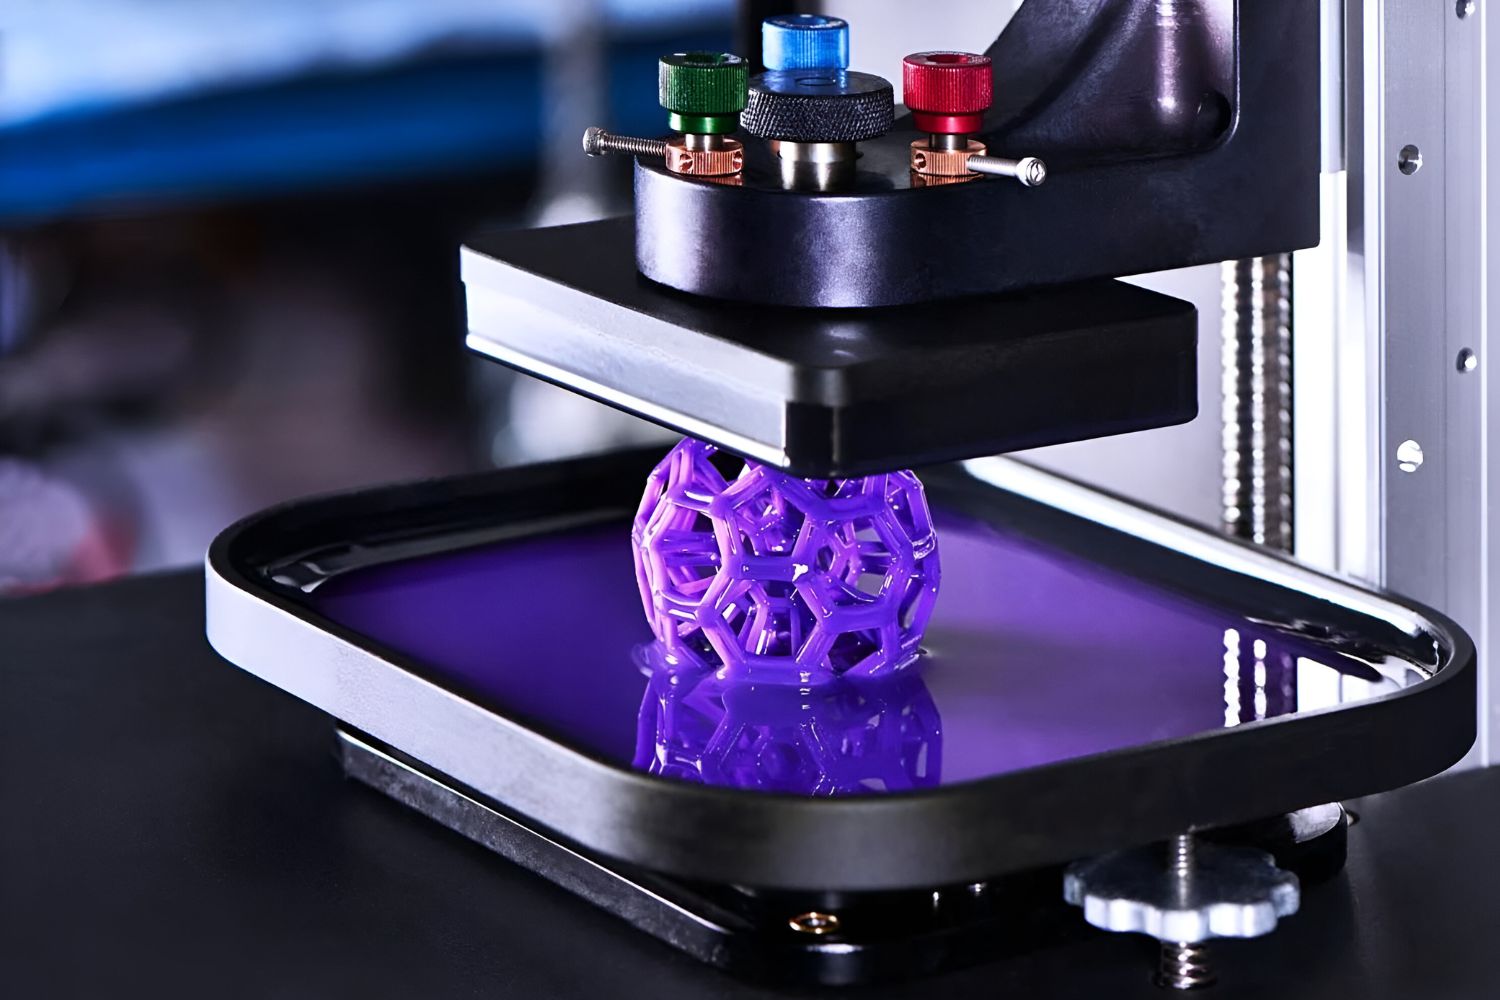
Resin 3D printing works by using a light source, typically a UV or LED light, to selectively cure the liquid resin layer by layer. The 3D printer projects the light onto the surface of the liquid resin, solidifying it according to the digital model being printed. Once a layer is cured, the build platform moves down slightly, and the process repeats until the entire print is complete.
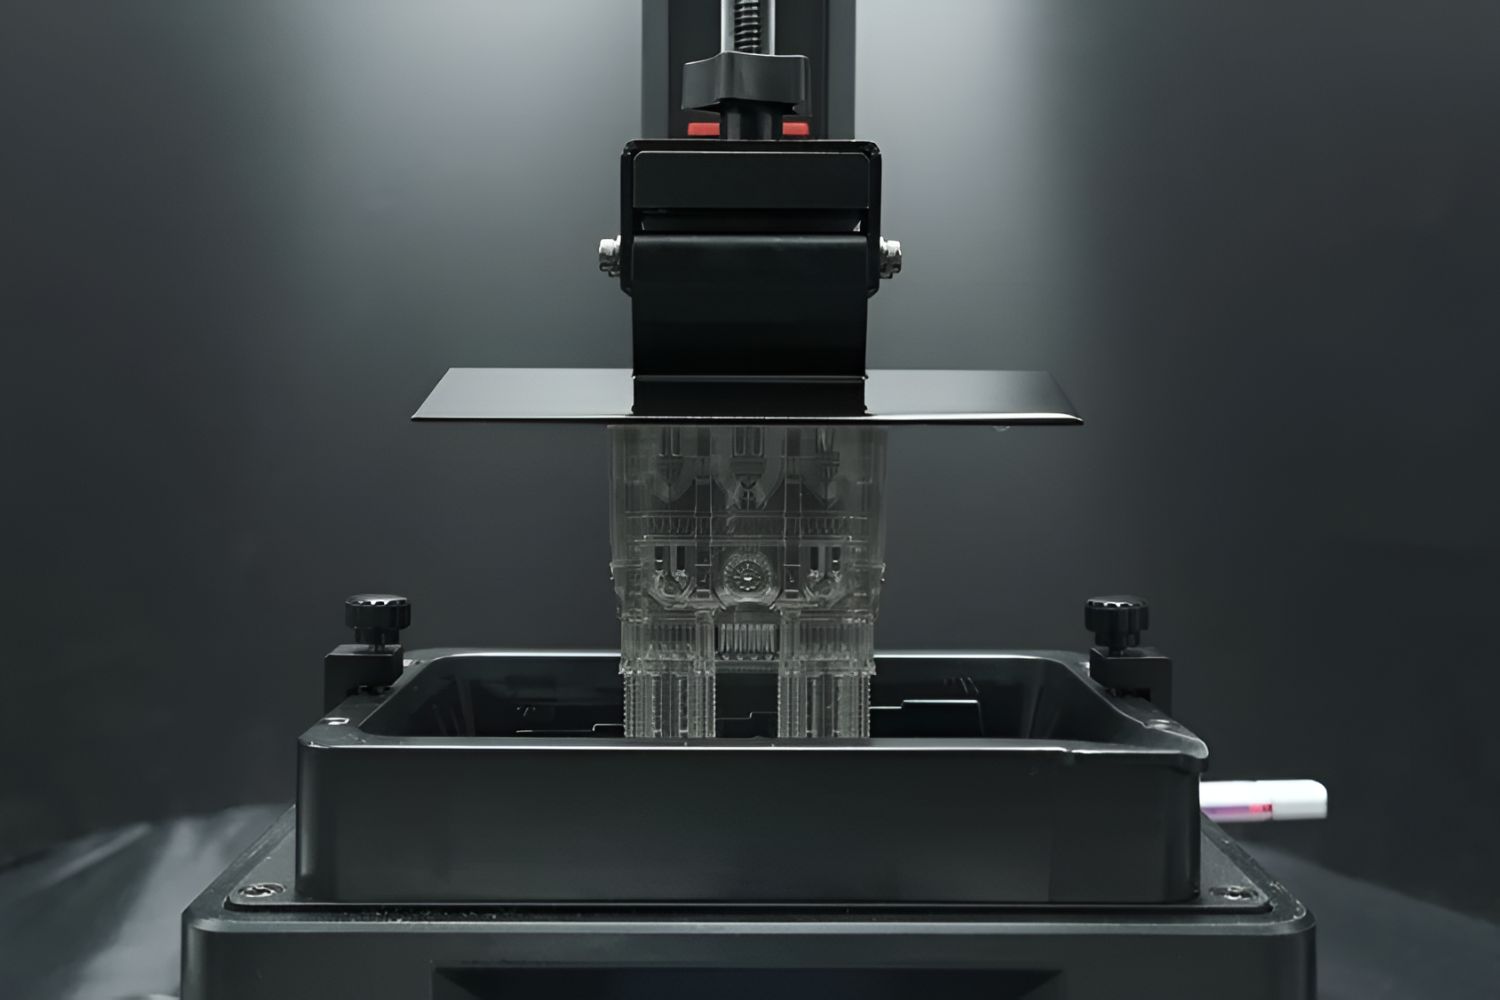
One of the advantages of resin 3D printing is its ability to produce highly detailed and intricate designs that may not be possible with traditional filament-based printers. The layer resolution can be as low as a few microns, resulting in smooth surfaces and fine details that are perfect for intricate models and small-scale objects.
However, resin 3D printing also has its limitations. The printing process can be slower compared to filament-based printing due to the curing time required for each layer. Additionally, resins can be more expensive than filaments, and the handling and post-processing of resin prints require certain precautions and safety measures.
In the next section, we’ll delve into the different types of resin available for 3D printing, discussing their properties and applications in more detail.
How Does Resin 3D Printing Work
Resin 3D printing, also known as stereolithography (SLA) or digital light processing (DLP), is a unique additive manufacturing process that creates solid objects from liquid photopolymer resin. This process involves several steps that transform a digital design into a physical, three-dimensional object.
The first step in resin 3D printing is preparing the digital design. Using 3D modeling software, a three-dimensional model or CAD file is created. This design determines the shape, size, and intricacies of the final printed object. The digital design is then exported as an STL (Standard Tessellation Language) file, which is compatible with most 3D printers.
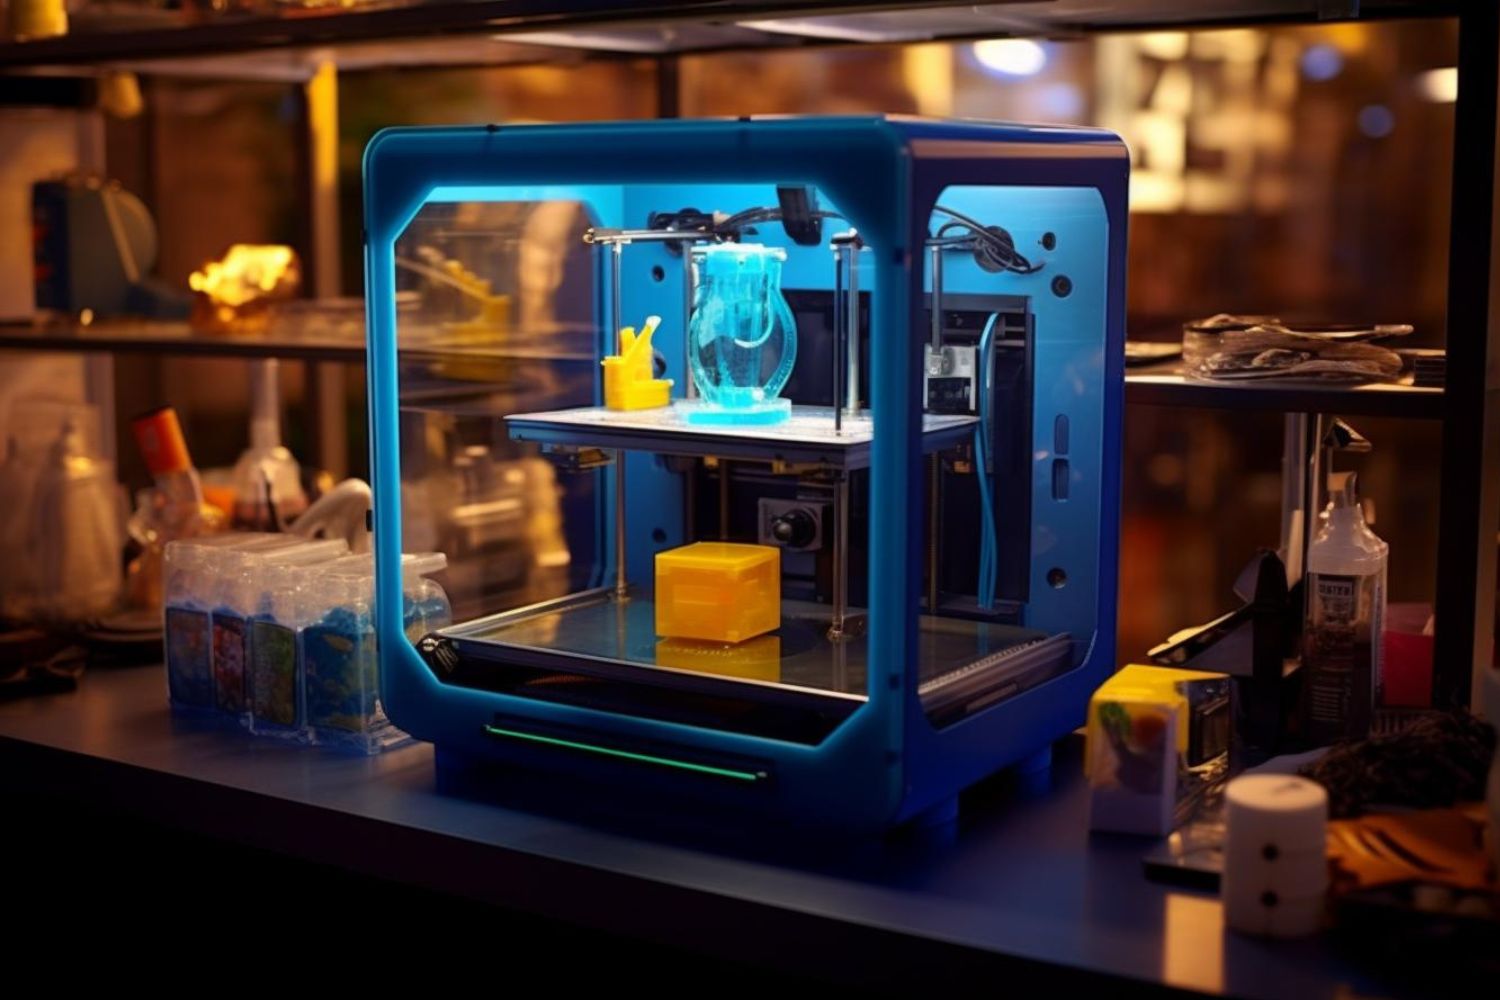
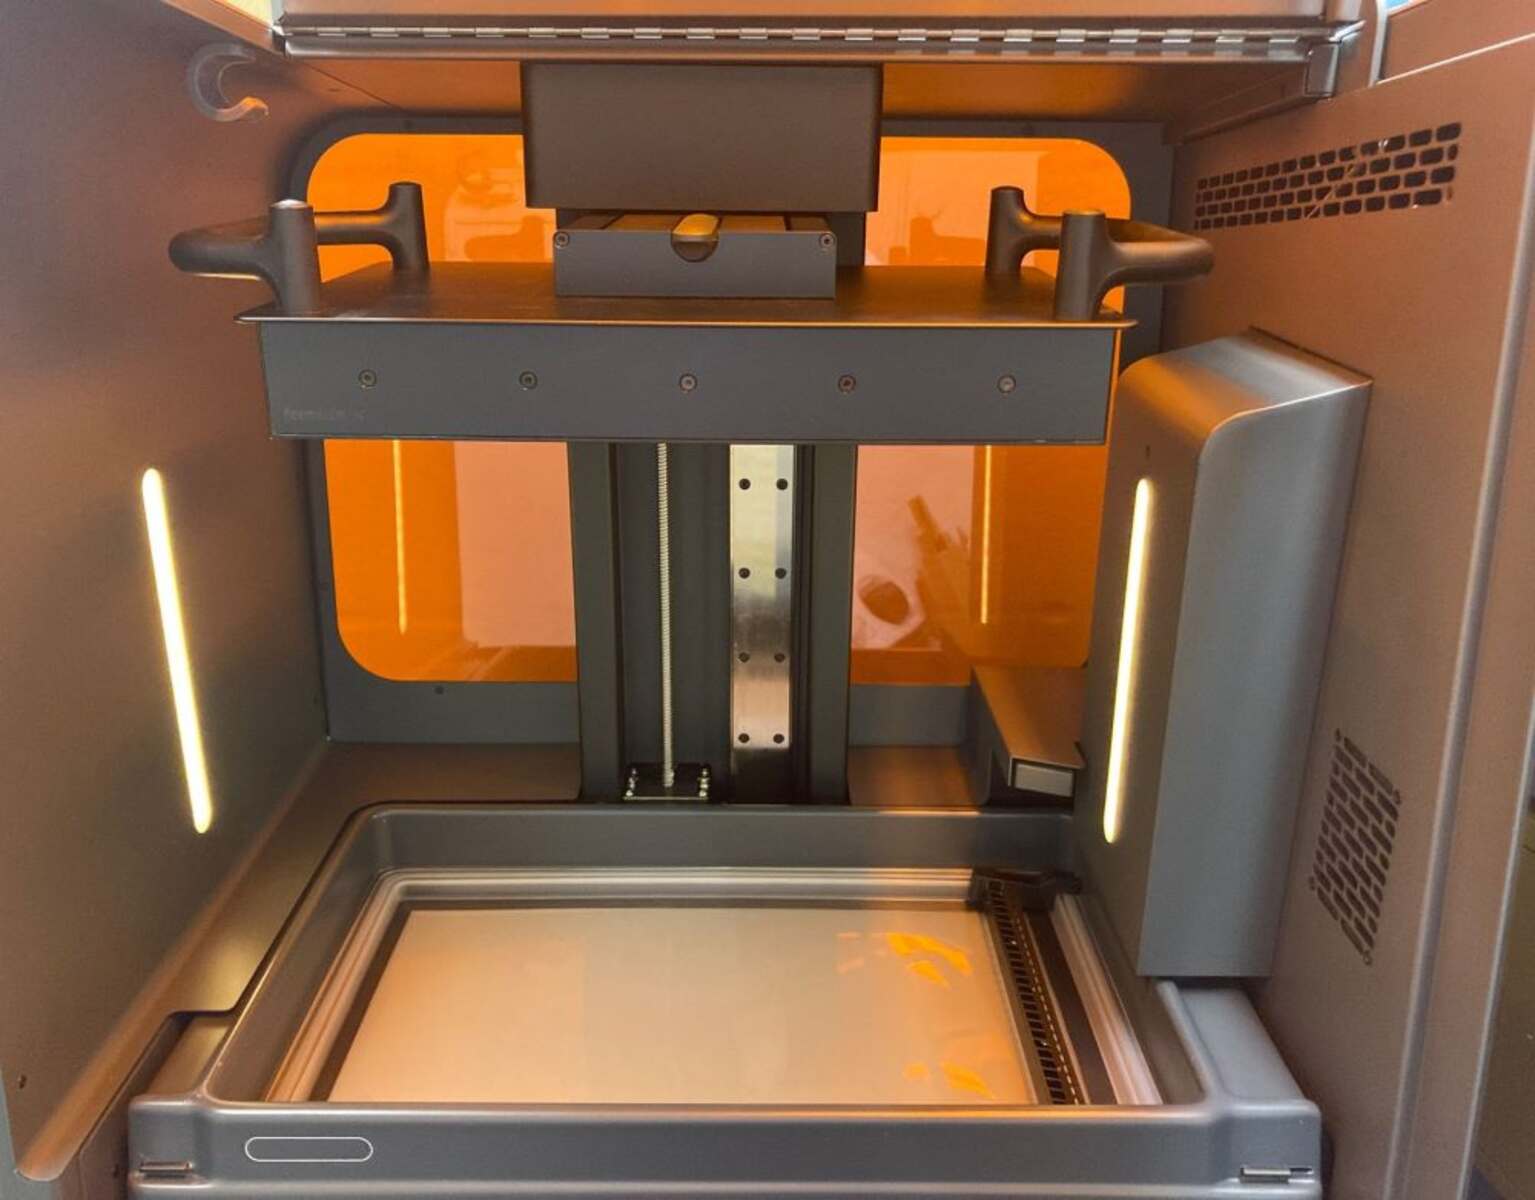
Once the digital design is ready, the next step is to prepare the printer and the resin. Resin 3D printers typically consist of a build platform, a resin tank, and a light source, usually a UV or LED light. The resin is poured into the resin tank, and the tank is placed in the printer. It’s essential to ensure that the printer and the resin are clean and free from any debris or contamination to achieve the best print results.
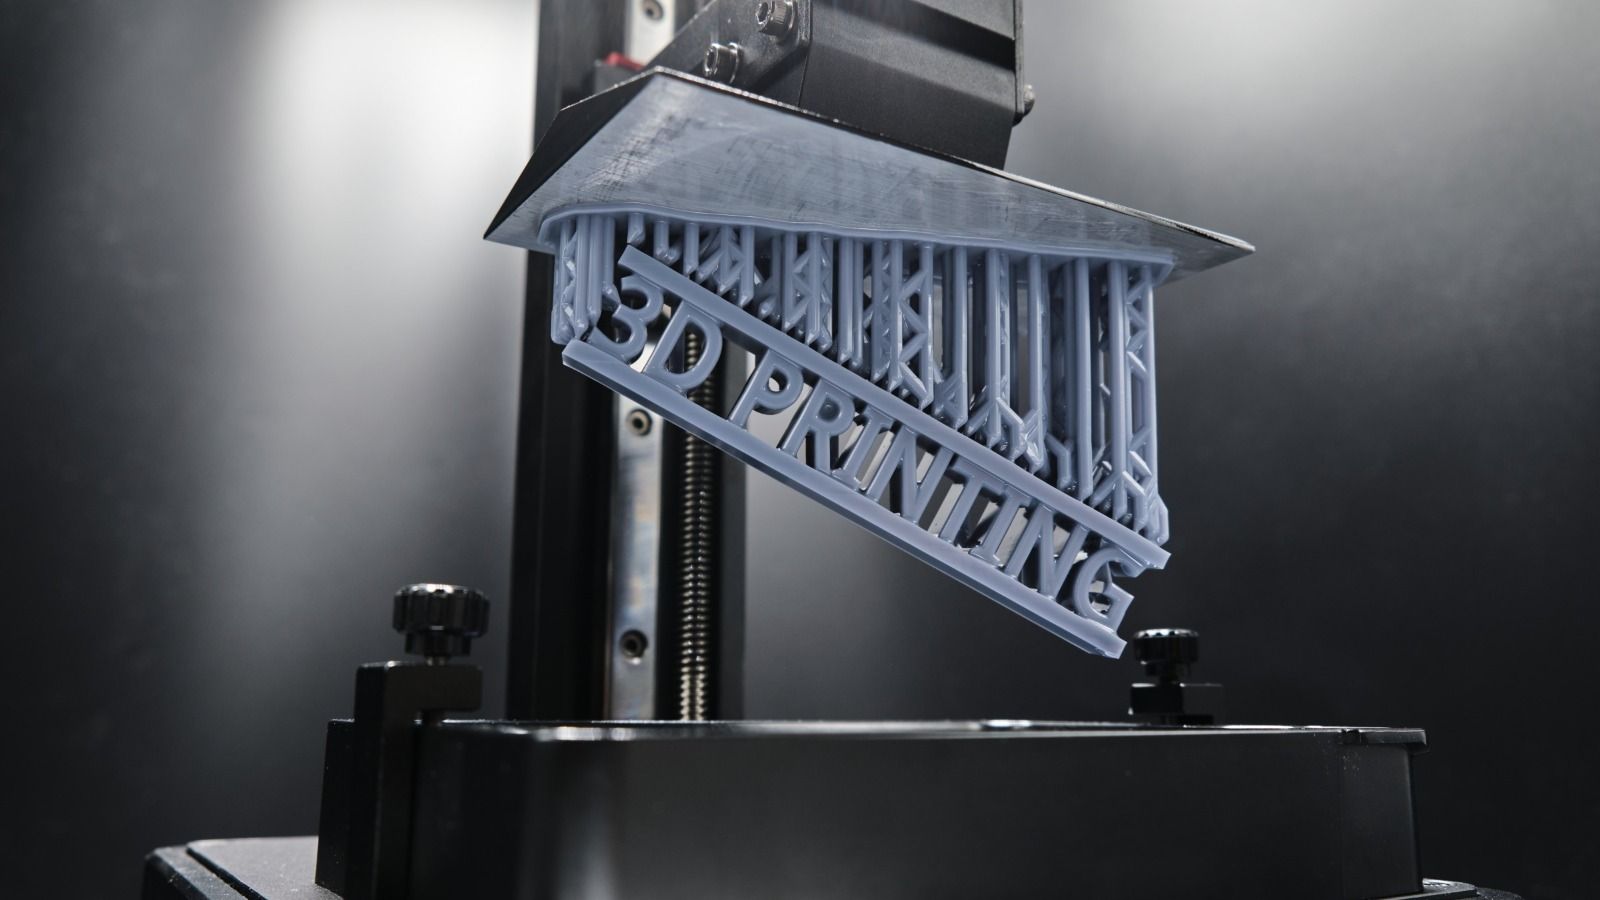
After the printer and the resin are prepared, the printing process begins. The printer starts by lowering the build platform into the resin tank, submerging it just below the surface of the liquid resin. The first layer of the object is then exposed to the UV or LED light, which causes the resin to solidify or cure selectively. The solidified layer adheres to the build platform.
Once the first layer is cured, the build platform moves slightly upward, creating space for the next layer. The printer then exposes the new layer to the light source, solidifying the resin and bonding it to the previous layer. This process repeats layer by layer until the entire object is formed.
After the printing process is complete, the printed object is removed from the resin tank. However, the object is still covered in uncured resin. To remove excess uncured resin, the object is often rinsed in a solvent or alcohol bath. This step is crucial for ensuring the final print is clean and free of any uncured resin residue.
Once the object is rinsed and cleaned, it may require further post-processing. Depending on the desired outcome, post-processing techniques may include sanding, polishing, or applying additional finishes to achieve a desired texture or appearance. Post-processing is a critical step to refine the printed object and bring out its full potential.
Overall, resin 3D printing is a complex but fascinating process that allows for the creation of intricate, high-resolution objects. Whether for prototyping, jewelry making, or other applications, resin 3D printing provides a powerful tool for turning digital designs into tangible objects.
Types of Resin for 3D Printing
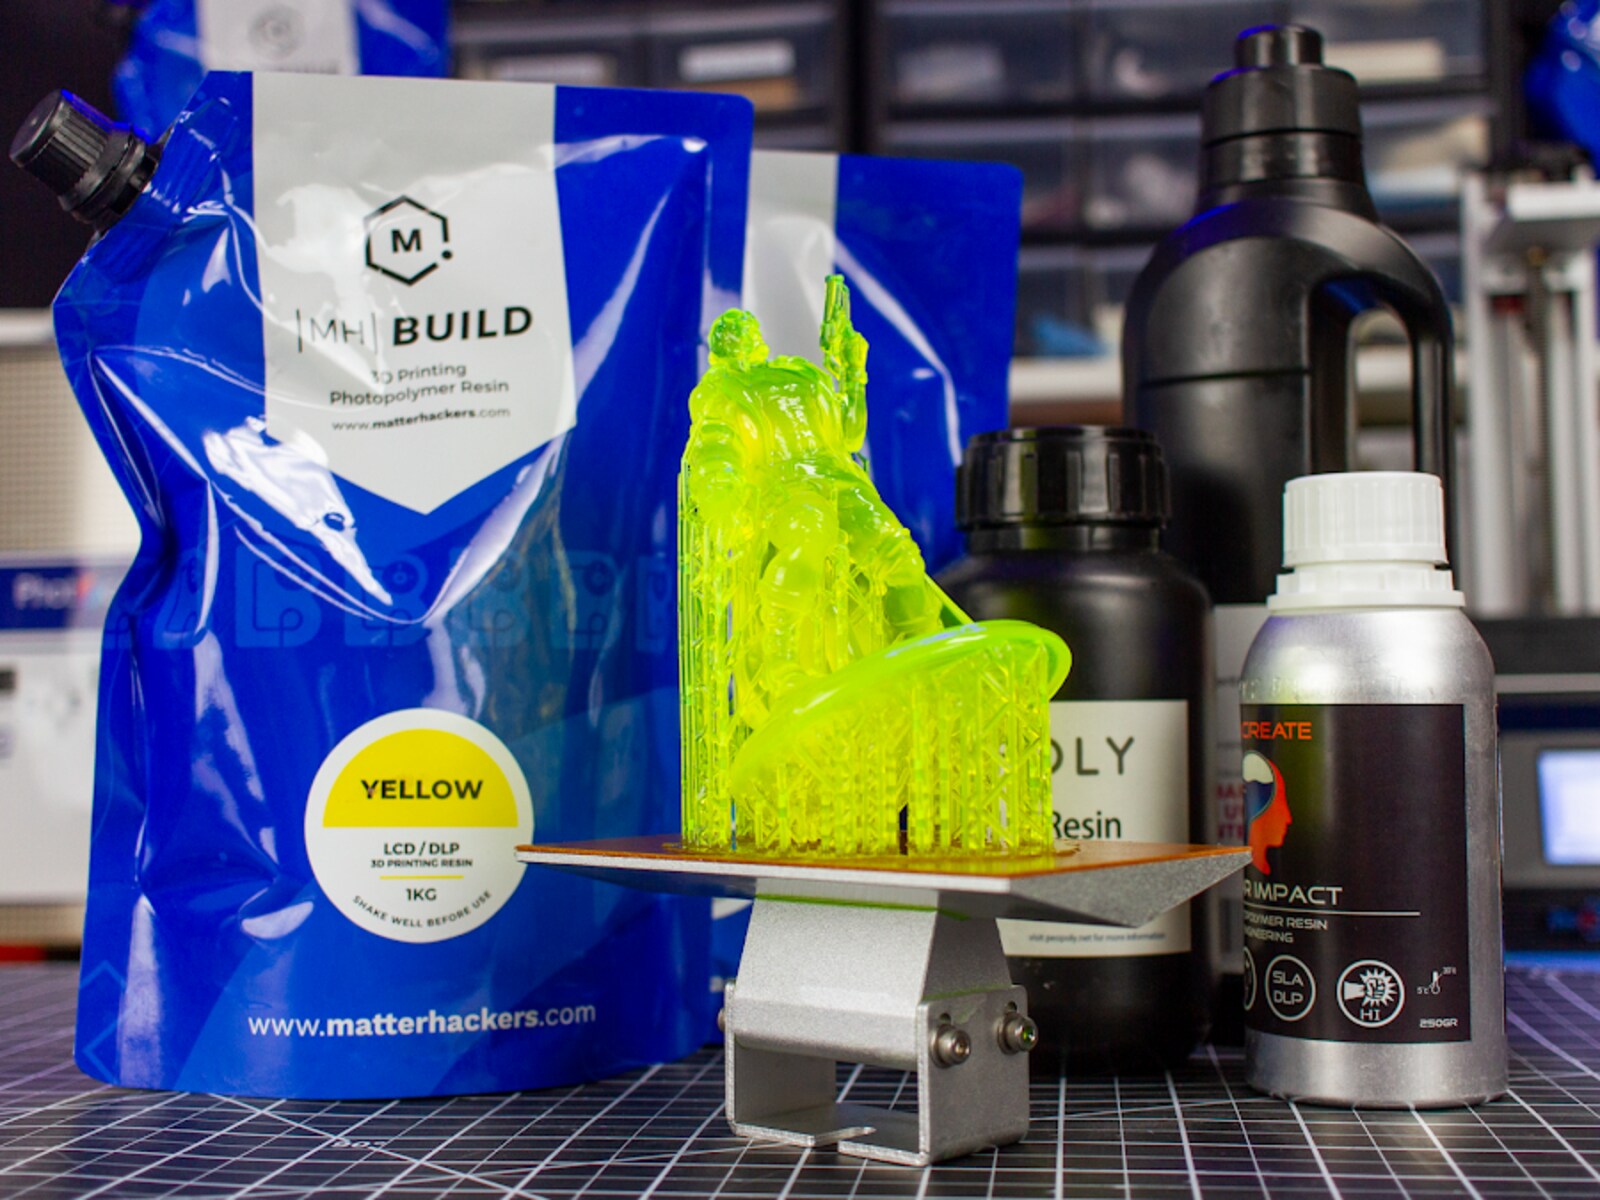
Resin for 3D printing comes in a variety of types, each with its own unique properties and applications. The choice of resin depends on the specific requirements of the project, such as flexibility, durability, color, and transparency.
One common type of resin used in 3D printing is Standard Resin. It is a versatile resin that is suitable for a wide range of applications. Standard Resin offers moderate flexibility and durability, making it ideal for general prototyping, figurines, and functional parts that do not require specific material properties.
For projects that require greater strength and toughness, Engineering Resin is a popular choice. Engineering Resin offers enhanced mechanical properties, such as high impact resistance and heat resistance. This type of resin is commonly used in functional prototypes, jigs, and fixtures.
If you’re looking for a resin that mimics the appearance and properties of specific materials, such as rubber or silicone, Flexible Resin is a great option. Flexible Resin offers elasticity and deformation capabilities, making it suitable for creating rubber-like parts, gaskets, and wearables.
Translucent Resin is a type of resin that allows light to pass through, resulting in semi-transparent or translucent prints. This resin is commonly used for creating light diffusers, decorative items, and artistic pieces that require a certain level of translucency.
For intricate and highly detailed prints, such as jewelry or dental models, Castable Resin is often used. This resin is specifically designed for investment casting, allowing the printed object to be used as a pattern for creating metal parts through the lost-wax casting process. Castable Resin burns away cleanly during the casting process, leaving no residue behind.
There are also specialized resins available for specific applications, such as Dental Resin for dental models and aligners, and Biocompatible Resin for medical and prosthetic applications. These resins are formulated with specific properties to meet the stringent requirements of their respective industries.
It’s important to note that different 3D printers may have specific resin requirements. Some printers are only compatible with certain types of resin, so it’s essential to check the printer’s specifications and recommended materials before selecting a resin type.
By understanding the different types of resin available for 3D printing and their respective properties, you can choose the right resin to suit your project’s needs and achieve the desired results.
Pros and Cons of Resin 3D Printing
Resin 3D printing offers a range of advantages and disadvantages that are important to consider when deciding on the right printing method for your project. Let’s take a closer look at the pros and cons of resin 3D printing.
Pros:
- High level of detail: Resin 3D printing provides exceptional detail and accuracy, allowing for the creation of intricate and complex designs that may not be achievable with other printing methods.
- Smooth surface finish: Resin prints have a smooth surface finish, requiring minimal post-processing compared to other printing methods.
- Wide range of material properties: Resin offers a wide variety of material properties, including flexibility, strength, transparency, and heat resistance, allowing for diverse applications.
- Fast turnaround time: Resin 3D printing can produce objects quickly, with some printers capable of completing prints in a matter of hours.
- Supports overhangs and intricate structures: Resin prints can handle complex geometries, including overhangs and intricate structures, without the need for additional supports.
Cons:
- Higher cost: Resin printing can be more expensive compared to filament-based printing due to the cost of the resin material and the specialized equipment required.
- Safety precautions: Handling and working with resin require adherence to strict safety measures, including the use of gloves, goggles, and proper ventilation due to the potential risk of skin and eye irritation from uncured resin.
- Limited build volume: Resin 3D printers typically have smaller build volumes compared to filament-based printers, restricting the size of the objects that can be printed.
- Longer print time: Resin prints can take longer to complete due to the curing process that occurs for each layer, which can extend the overall print time compared to other printing methods.
- Post-processing requirements: Resin prints often require additional post-processing steps, such as cleaning, rinsing, and curing, to remove uncured resin and achieve the desired final result.
Considering these pros and cons can help you determine whether resin 3D printing is the right choice for your project. If intricate detail, smooth surface finish, and diverse material properties are vital to your application, resin 3D printing may be the ideal solution. However, it’s essential to weigh the cost, safety considerations, and other factors to make an informed decision.
Choosing the Right Resin for Your Project
Choosing the right resin for your 3D printing project is crucial to achieve the desired results. With the wide variety of resins available, it’s essential to consider several factors when making your selection.
1. Application: Determine the specific application of your project. Are you creating prototypes, functional parts, jewelry, or artistic pieces? Different applications may require different material properties, such as strength, flexibility, or transparency.
2. Material Properties: Consider the desired material properties for your printed object. Do you need high impact resistance, heat resistance, or flexibility? Understanding the required attributes will help you narrow down your resin options.
3. Print Resolution: Evaluate the level of detail required for your project. Some resins are designed for high-resolution prints, while others may be better suited for larger, less detailed prints. Consider the minimum layer height and resolution capabilities of the resin you’re considering.
4. Color and Transparency: Determine if the color or transparency of the printed object is important for your project. Resins come in a variety of colors, including transparent options. Consider the desired appearance and aesthetic of the final product.
5. Printer Compatibility: Ensure that the resin you choose is compatible with your 3D printer. Different printers have specific requirements for resin types, so it’s crucial to check the manufacturer’s guidelines and specifications.
6. Safety Considerations: Take into account any safety precautions associated with the resin. Some resins may require additional safety measures during handling and post-processing due to the use of chemicals or potential skin and eye irritations.
7. Budget: Consider your budget constraints when selecting a resin. Some resins may be more expensive due to their unique properties or specialized applications. Evaluate the cost of resin per volume and assess whether it aligns with your project’s budget.
8. Reviews and Recommendations: Read reviews and seek recommendations from other users. This can provide insights into the quality, performance, and reliability of different resin brands and types.
By considering these factors, you can make an informed decision when choosing the right resin for your 3D printing project. Experimentation and testing may also be necessary to find the perfect resin that meets your specific requirements and delivers the desired results.
Precautions and Safety Measures for Handling Resin
When working with resin for 3D printing, it is crucial to prioritize safety and follow appropriate precautions. Resin can be potentially hazardous if mishandled, so it’s essential to take the necessary measures to protect yourself and ensure a safe working environment. Here are some precautions and safety measures to consider:
1. Personal Protective Equipment (PPE): Always wear appropriate personal protective equipment when handling resin. This includes disposable gloves, safety goggles, and a lab coat or protective clothing to prevent direct contact with skin and eyes. The PPE should be chemical-resistant to protect against any potential irritations or allergic reactions.
2. Ventilation: Work in a well-ventilated area or use local exhaust ventilation to minimize exposure to resin fumes. Resin emits volatile organic compounds (VOCs) during the printing process, which can be harmful when inhaled. Consider using a fume hood or having a dedicated 3D printing area with proper airflow to ensure adequate ventilation.
3. Storage and Handling: Store resin in labeled containers and ensure they are tightly sealed when not in use. Resin should be stored in a cool, dry place away from direct sunlight. Follow the manufacturer’s guidelines for safe storage and handling to prevent degradation and contamination.
4. Spill Containment: In the event of a resin spill, have a spill containment kit readily available to quickly and effectively contain the spill. This will help prevent the resin from spreading and causing further safety hazards. Immediately clean up any spills using appropriate absorbent materials and dispose of them properly.
5. Proper Disposal: Dispose of resin and any waste materials according to local regulations and guidelines. Do not pour resin down the drain or dispose of it with regular household waste. Contact a local waste management facility to determine the proper disposal methods for resin and its byproducts.
6. Restricted Access: Keep resin and 3D printing equipment out of reach of children and unauthorized individuals. Restrict access to the printing area to minimize the risk of accidental exposure and prevent misuse of the equipment or materials.
7. First Aid Procedures: Familiarize yourself with first aid procedures for resin-related incidents. In the event of skin or eye contact, rinse affected areas with plenty of water for at least 15 minutes and seek medical attention if necessary. If resin is ingested, do not induce vomiting and seek immediate medical assistance.
8. Education and Training: Ensure that anyone working with resin is properly trained on handling procedures and safety protocols. This includes understanding the risks associated with resin, knowing how to operate the 3D printer safely, and being aware of emergency response procedures in case of accidents or injuries.
By following these precautions and safety measures, you can minimize the potential risks associated with resin handling and create a safer working environment for yourself and those around you.
Post-Processing Techniques for Resin Prints
After printing a resin model, post-processing is often necessary to achieve the desired final result. Post-processing techniques can improve the appearance, surface finish, and functionality of resin prints. Here are some common post-processing techniques used for resin prints:
1. Cleaning: Start by cleaning the printed object to remove any excess uncured resin. This can be done by rinsing the print in a solvent, such as isopropyl alcohol (IPA). Gently agitate or brush the print during the rinsing process to ensure thorough cleaning. This step is critical to remove any residue that may affect the surface finish and clarity of the print.
2. Support Removal: If the print was created with supports, remove them carefully using flush cutters or a similar tool. Take care not to damage the print during support removal, especially in delicate areas.
3. Curing: Depending on the resin used, additional curing may be required to fully solidify the print. This can be done using UV light in a curing chamber or by exposing the print to sunlight. Follow the manufacturer’s recommendations for the appropriate curing time and method for the specific resin.
4. Sanding: Sanding can help smooth out the surface of the print and remove any visible layer lines or imperfections. Start with a coarse grit sandpaper and gradually work your way to a finer grit for a smoother finish. Take care not to sand too much and lose fine details or damage the print.
5. Polishing: For a glossy finish, polish the print using a polishing compound or a fine-grit pad. This can enhance the visual appearance of the print and give it a smooth, shiny surface. Be sure to clean the print thoroughly after polishing to remove any residue.
6. Painting or Coloring: Resin prints can be painted or colored to achieve the desired look. Use acrylic paints or specialized resin dyes to add color to the print. Ensure that the print is clean and dry before applying paint or dye for better adhesion and durability.
7. Additional Finishing Techniques: Depending on the desired outcome, additional finishing techniques can be employed. This may include applying a clear coat for added protection, adding decals or stickers, or even using a resin-compatible filler to repair any defects or gaps in the print.
8. Quality Check: Finally, perform a thorough quality check on the finished print. Inspect the surface finish, examine the details, and ensure that the print meets your expectations. If necessary, make further adjustments or perform additional post-processing steps to achieve the desired result.
Remember to follow any specific instructions provided by the resin manufacturer for post-processing techniques. Each resin may have different requirements and recommendations. Experimentation and practice can also help you refine your post-processing techniques and achieve the best results with resin prints.
Troubleshooting Common Issues with Resin Printing
Resin 3D printing can sometimes present challenges and issues that may affect the quality of the prints. Understanding and troubleshooting these common issues can help you achieve better results. Here are some common issues and their troubleshooting solutions:
1. Failed Adhesion: If your print is not adhering properly to the build platform, ensure that the build platform is clean and level. Make sure that the platform is securely tightened and leveled before each print. Additionally, adjusting the exposure time for the first few layers can help improve adhesion.
2. Stringing and Resin Drips: Stringing and resin drips can occur when excess resin is not properly cured or removed from the print during the printing process. To minimize stringing, ensure that the print is properly supported, and consider increasing the lift and retract speeds in your slicer settings to reduce the chance of resin drips.
3. Layer Lines and Inconsistencies: Layer lines and inconsistencies in the print can be caused by various factors, such as improper leveling, inadequate exposure settings, or insufficient support structures. Ensure that the printer is properly calibrated and that the exposure settings are appropriate for the resin being used. Adding more supports or optimizing their placement can also help reduce layer lines and inconsistencies.
4. Incomplete Curing: If your prints are not fully cured or have sticky and flexible areas, it may be due to insufficient exposure time or low power from the light source. Double-check the recommended exposure settings for the resin you are using and ensure that your curing equipment is functioning properly.
5. Warping and Distortion: Warping and distortion can occur when the print experiences excessive heat during the curing process. Ensure that your printer’s curing settings are appropriate for the resin being used, and consider using a cooling fan to prevent overheating. Additionally, using supports to distribute the stress and strain on the print can help minimize warping.
6. Cloudy or Hazy Prints: Cloudy or hazy prints can be caused by improper curing or post-processing techniques. Ensure that your prints are properly cured according to the recommended settings. After curing, clean and wash the print thoroughly to remove any uncured resin or residue that may be causing cloudiness.
7. Unsuccessful Supports: If your supports are failing or causing issues with the print, check your slicer settings for support density, thickness, and contact point placement. Increasing the density or adjusting the support settings can help create more robust and effective supports.
8. Resin Viscosity Issues: Viscosity issues can occur when the resin is too thick or too thin. Follow the manufacturer’s guidelines for resin storage and temperature requirements to ensure that the resin is at the optimal viscosity. If the resin is too thick, consider gently warming it to improve flowability, or if it is too thin, let it sit and settle to thicken before use.
Remember to consult the troubleshooting guides provided by your printer manufacturer or resin supplier for specific solutions to common issues. Taking the time to identify and address these issues will help you achieve successful resin prints with improved quality and accuracy.
Tips for Successful Resin 3D Printing
Resin 3D printing can produce highly detailed and intricate prints, but achieving consistent success requires attention to various factors. Here are some helpful tips to ensure successful resin 3D printing:
1. Leveling the Build Plate: Proper leveling of the build plate is essential for successful prints. Ensure that the build plate is leveled correctly before each print to achieve optimal adhesion and layer consistency.
2. Calibration: Regularly calibrate your resin 3D printer to maintain accuracy. Calibrating the printer’s settings, such as exposure time and lift height, can significantly impact print quality. Refer to the manufacturer’s guidelines for calibration instructions.
3. Resin Stirring: Before starting a print, stir or mix the resin thoroughly to ensure even distribution of particles. This will help prevent any settling or separation within the resin during printing.
4. Support Structures: Design and place support structures strategically to ensure proper stability and minimize deformation during the printing process. Proper support structures are crucial to maintain the integrity of the print.
5. Print Orientation: Experiment with different print orientations to optimize performance. Adjusting the orientation can help minimize supports and reduce the need for post-processing, leading to smoother and more efficient prints.
6. Optimal Layer Thickness: Consider the layer thickness when slicing your models. Thinner layers can produce finer details but may increase printing time. Finding the right balance between detail and speed is important for efficient resin printing.
7. Temperature Control: Maintain a stable and controlled environment to prevent resin from overheating or cooling too quickly during the printing process. Extreme temperatures can affect resin properties and lead to print issues.
8. Minimize UV Exposure: Keep your resin away from direct UV light to prevent unnecessary curing. UV exposure can cause premature curing, leading to resin hardening inside the bottle or tank and affecting print quality.
9. Regular Cleaning and Maintenance: Clean and maintain your resin 3D printer regularly to prevent any buildup or contamination. Regularly clean the vat and build plate, as well as inspect and replace consumables like filters or resin tanks when necessary.
10. Patience and Experimentation: Lastly, be patient and persistent. Resin 3D printing can involve a learning curve, and not every print may turn out perfectly. Take the time to experiment with different settings, materials, and techniques to find what works best for your specific needs.
By following these tips and continuously refining your resin 3D printing process, you can significantly improve the quality and success rate of your prints. Don’t be afraid to experiment, learn from failures, and implement the best practices that work for you.
Conclusion
Resin 3D printing is a remarkable technology that allows for the creation of highly detailed and intricate objects. With its ability to produce smooth surface finishes and fine details, resin printing has gained popularity in various industries, including prototyping, jewelry making, and dentistry.
Understanding the fundamentals of resin 3D printing, such as the types of resin available, how the printing process works, and the necessary precautions and safety measures, is crucial for successful and safe printing. By choosing the right resin for your specific project and following proper handling techniques, you can achieve the desired results and optimize the printing process.
It is important to be aware of and troubleshoot common issues that may arise during resin printing, such as failed adhesion, stringing, or incomplete curing. Implementing appropriate post-processing techniques, including cleaning, curing, and finishing, can enhance the quality and appearance of resin prints.
To achieve successful resin 3D printing, following tips like leveling the build plate, optimizing support structures, and controlling temperature are essential. Regular maintenance and calibration of the printer, as well as patient experimentation, are also key to refining the resin printing process and achieving better results.
Resin 3D printing continues to advance and offers exciting possibilities for creators and manufacturers alike. By staying informed, practicing safe handling, and leveraging the tips and techniques outlined in this guide, you can unlock the full potential of resin 3D printing and bring your ideas to life with precision and detail.