Introduction
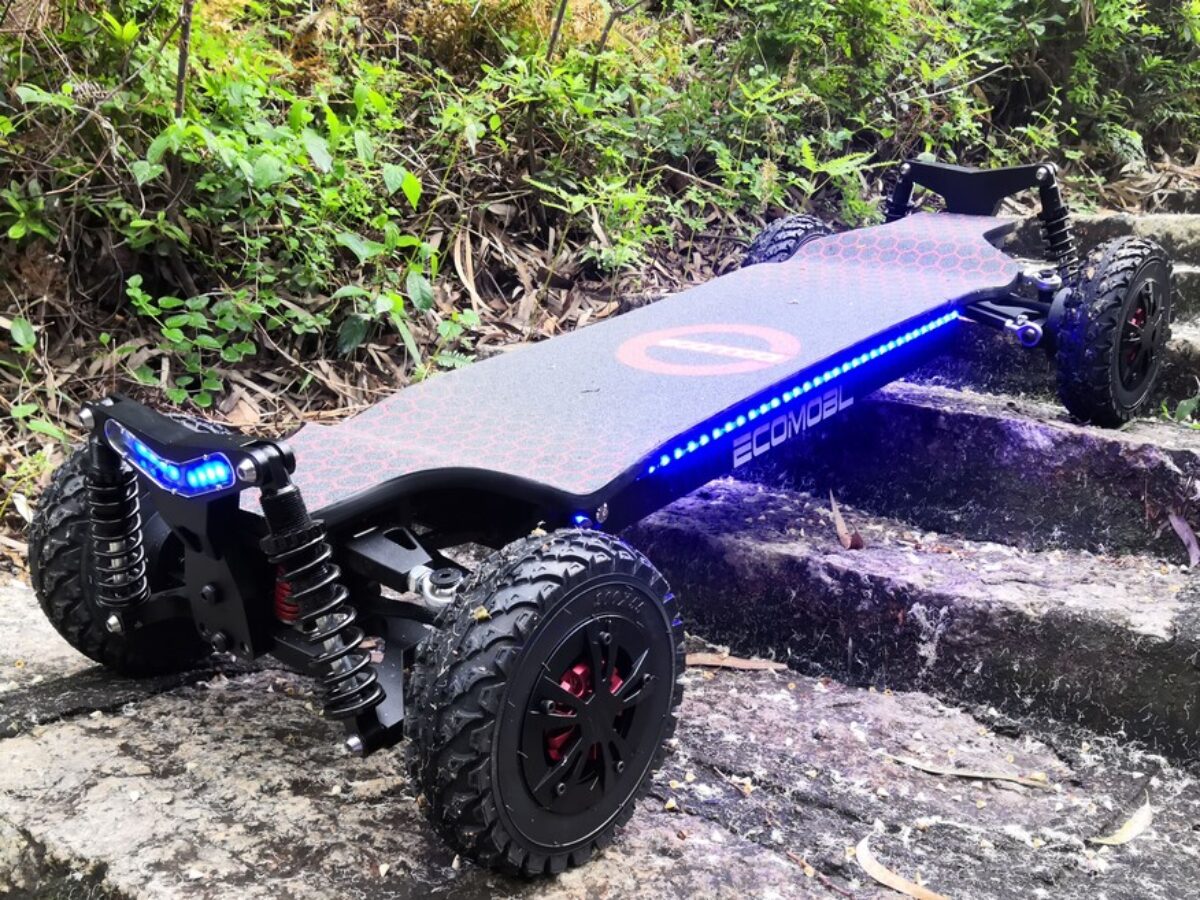
An electric skateboard is a fun and convenient mode of transportation that has gained popularity in recent years. With its sleek design and powerful motor, it provides a unique riding experience for both beginners and experienced riders. However, if you’re new to electric skateboards, you might be wondering how to turn one on. In this article, we will walk you through the step-by-step process of turning on an electric skateboard and getting ready for an exhilarating ride.
Before we dive into the details, it’s important to note that different models of electric skateboards may have slight variations in their power-on procedures. However, the general principles remain the same, and we will cover the basic steps that apply to most electric skateboards.
Whether you’re gearing up for a quick commute or hitting the streets for a joyride, knowing how to turn on your electric skateboard is crucial. So, let’s get started with the first step: checking the battery level.
Step 1: Check the Battery Level
Before you hop on your electric skateboard, it’s essential to check the battery level. The last thing you want is to start your ride only for the battery to die halfway through. Most electric skateboards come with an LED indicator that displays the battery level. It’s usually located near the power button or on the remote control.
To check the battery level, simply press the power button or take a glance at the LED indicator. It will typically show a range of colors or a numerical value indicating the remaining battery life. A fully charged battery will display a green light or a high percentage, indicating that you have enough power for an extended ride. However, if the light is red or the percentage is low, it’s best to charge your skateboard before proceeding.
Keep in mind that the battery life can vary depending on factors such as your weight, terrain, and speed. If you plan on going on a long ride, it’s wise to have a spare battery or consider charging your skateboard before heading out to ensure an uninterrupted adventure.
Once you’ve confirmed that the battery has enough charge, you’re ready to move on to the next step: pressing the power button.
Step 2: Press the Power Button
Now that you have checked the battery level and ensured that it has enough charge, it’s time to press the power button to turn on your electric skateboard. The power button is typically located near the front or back of the board, depending on the model.
To turn on your electric skateboard, locate the power button and press it. You might need to hold it down for a few seconds until you see the board’s LED indicator light up or hear a beep sound, depending on the model. These indicators signify that the skateboard is powered on and ready to go.
It’s important to note that some electric skateboards might not have dedicated power buttons. In such cases, the skateboard may automatically power on when you step on the board or start moving it. Refer to your skateboard’s user manual for specific instructions on how to turn it on.
After pressing the power button, take a moment to ensure that all the lights on your skateboard are functioning properly. This includes the LED indicators, battery status lights, and any other visual cues that your skateboard may have. If you notice any issues or inconsistencies with the lights, it’s best to consult the user manual or contact the manufacturer for assistance.
With your electric skateboard powered on, it’s time to move on to the next step: getting on the skateboard.
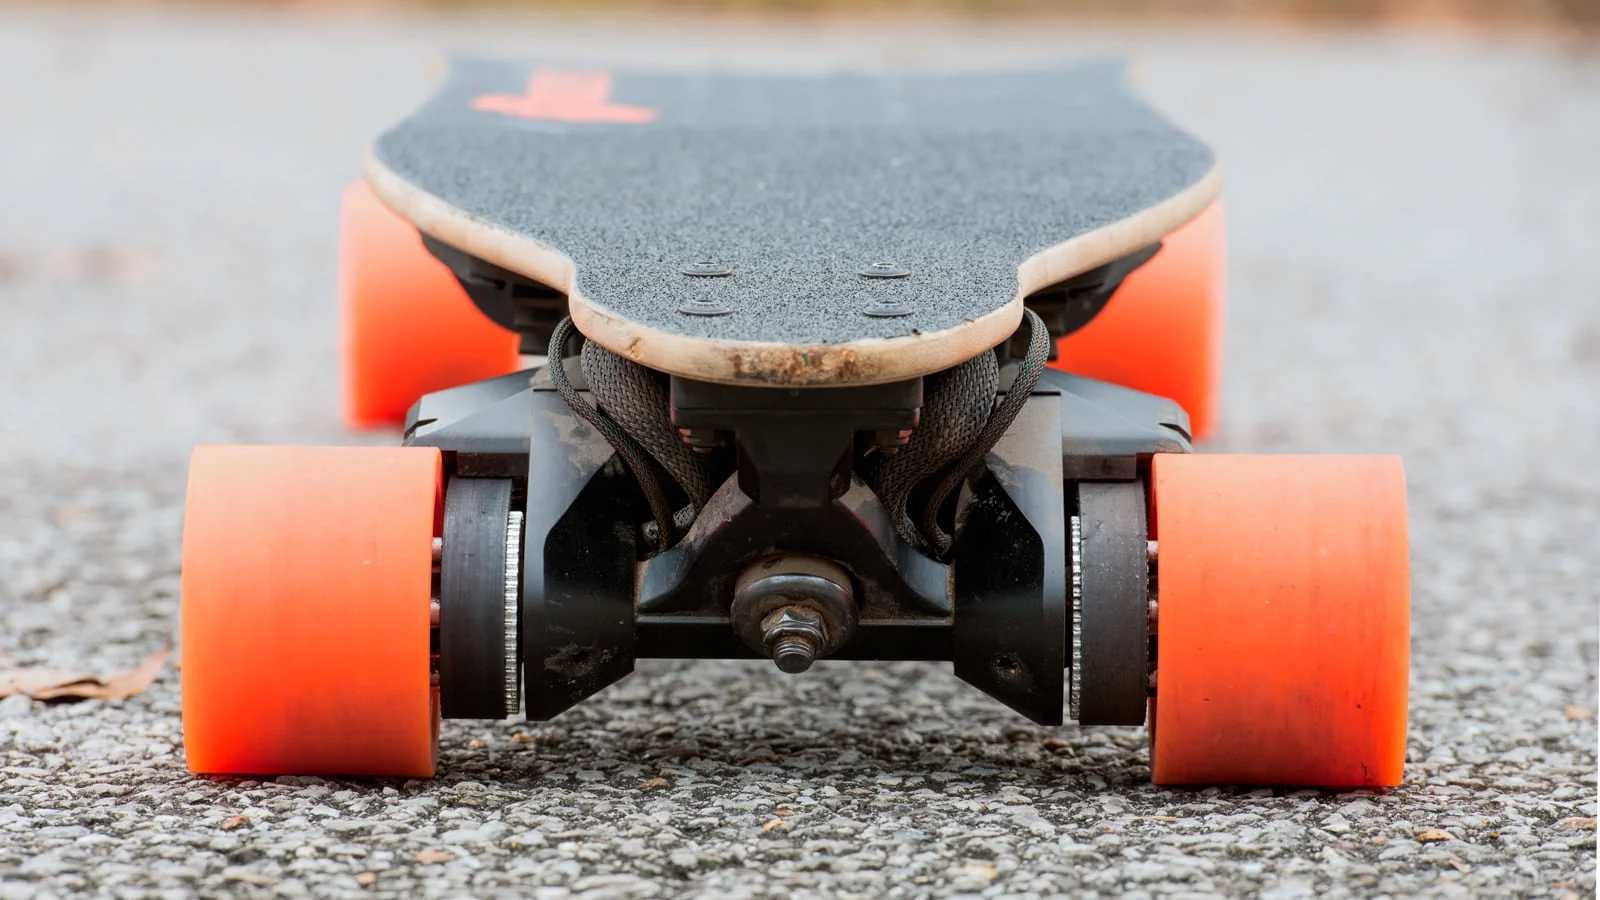
Step 3: Stand on the Skateboard
Now that your electric skateboard is powered on, it’s time to position yourself on the board. To ensure proper balance and stability, follow these steps:
- Find a flat and open area: Look for a spacious area where you can safely stand on your skateboard without any obstacles or hazards. This will give you ample space to maneuver and maintain control during your ride.
- Place your front foot: Position your front foot near the front trucks of the skateboard. This foot will be responsible for steering and maintaining control during your ride.
- Prepare your back foot: Place your back foot on or near the tail of the skateboard. This foot provides stability and helps with propulsion and braking when needed.
- Maintain a consistent stance: Keep your feet shoulder-width apart and parallel to each other. This balanced stance will help improve your stability and control over the board.
- Bend your knees: To absorb shocks and maintain balance, slightly bend your knees while standing on the skateboard. This slight flexion in your legs will also give you better control over the board.
It’s important to note that everyone has their preferred stance and riding style. Some riders prefer a regular stance, with their left foot in front, while others prefer a goofy stance, with their right foot in front. Experiment with both stances and see which one feels more comfortable and gives you better control during your rides.
Once you’re standing on the skateboard with a balanced stance, you’re now ready to move on to the next step: using the remote control to control your electric skateboard.
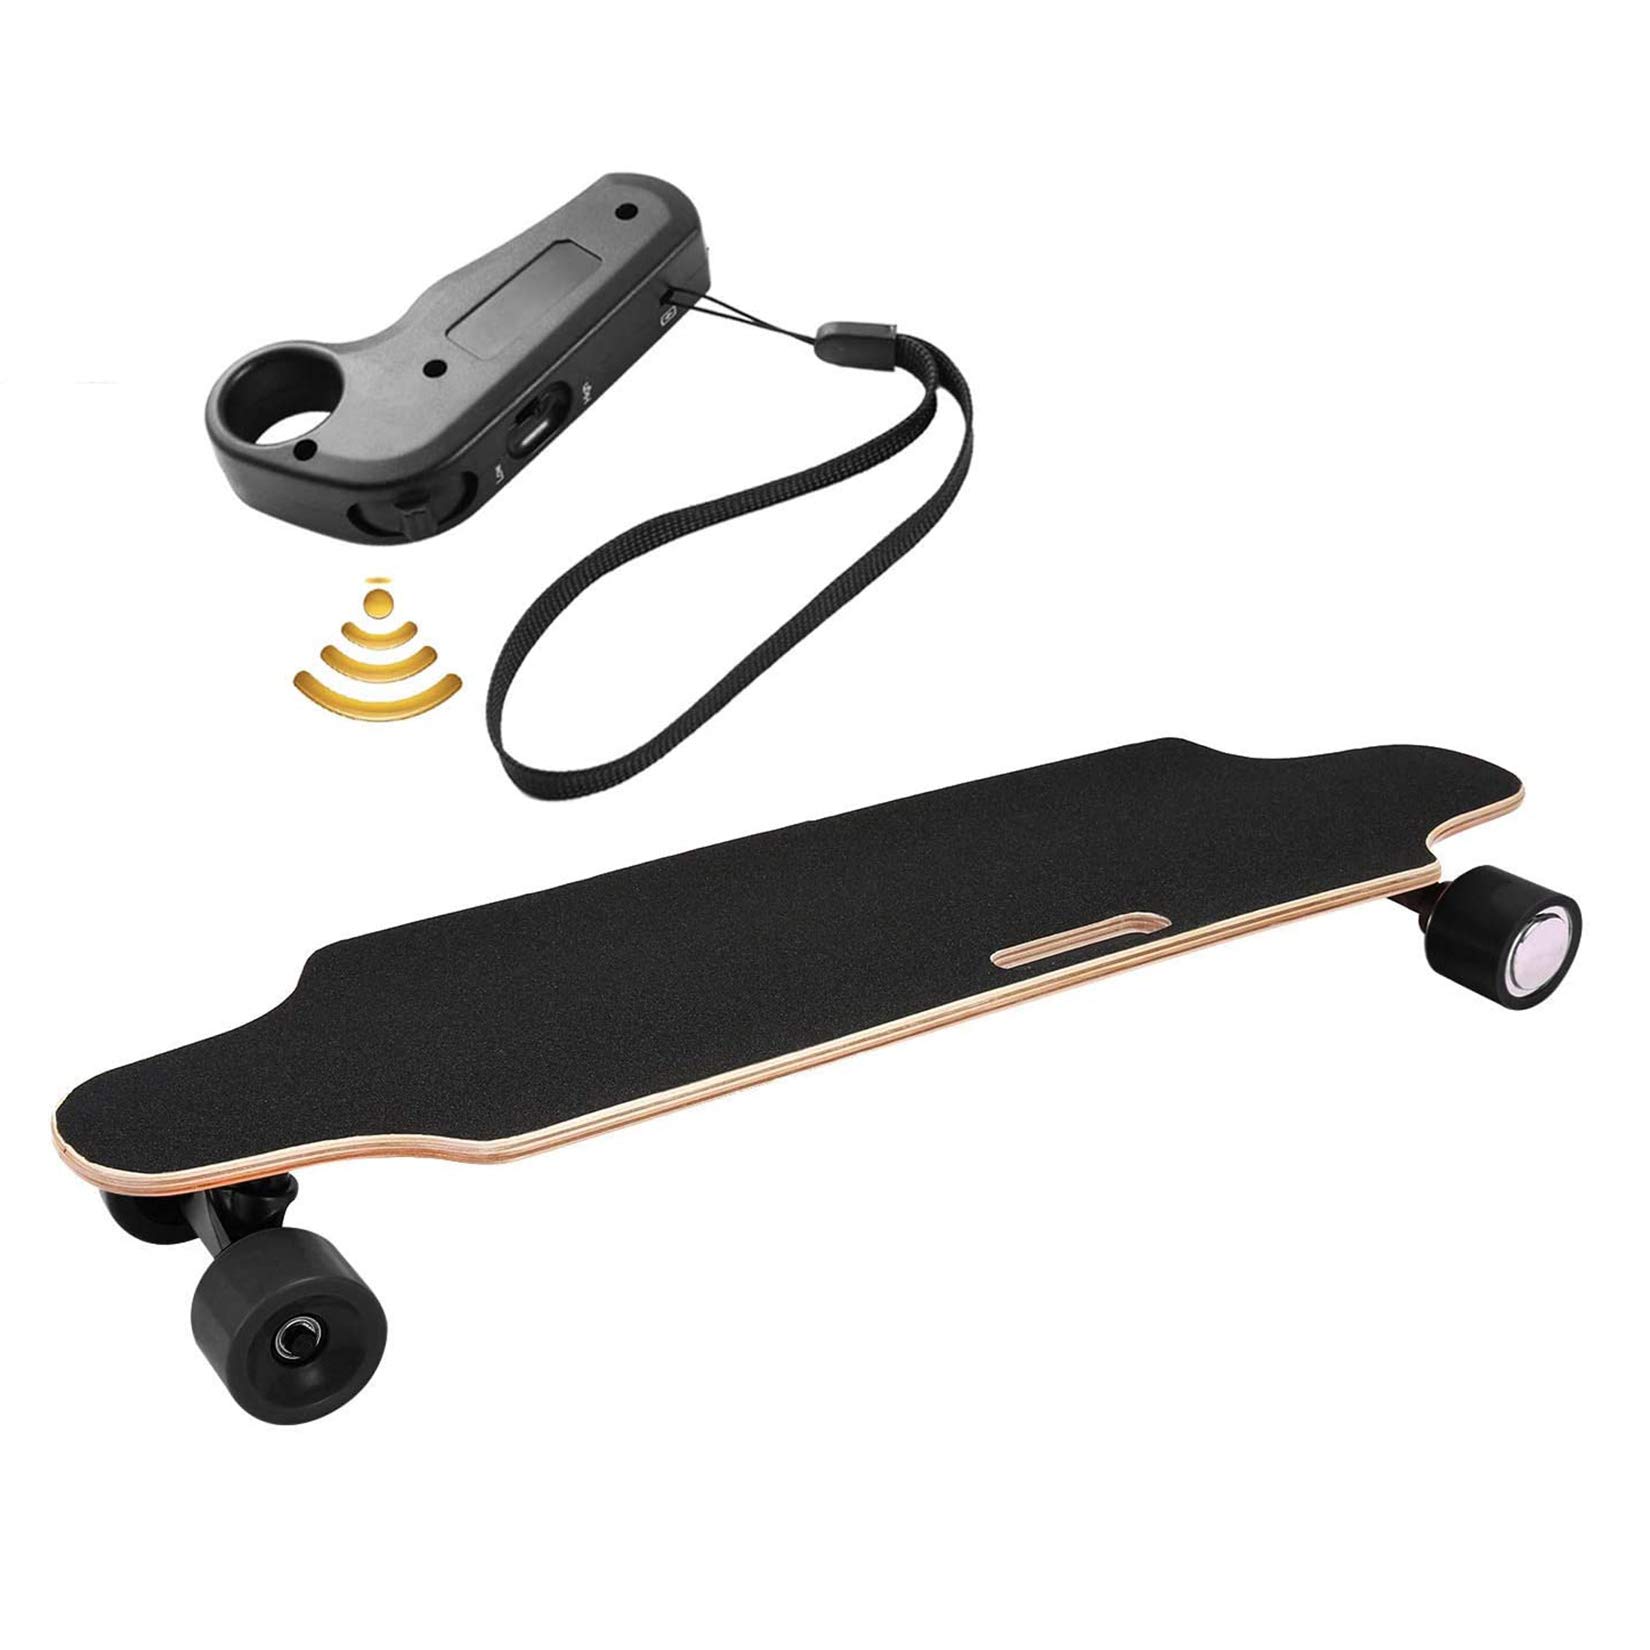
Step 4: Use the Remote Control
Controlling your electric skateboard is made easy with the use of a remote control. The remote control allows you to control the speed, acceleration, and braking of the skateboard. Here’s how to use it:
- Familiarize yourself with the remote control: Take a moment to understand the layout and buttons on the remote control. Most remote controls have a trigger or thumb slider for acceleration and braking, as well as additional buttons for changing speed modes or accessing additional features.
- Power on the remote control: Ensure that the remote control is turned on and synced with your skateboard. This may involve pressing a power button or activating a connection mode as outlined in the user manual.
- Accelerate and decelerate: To speed up, gently pull or slide the trigger or thumb slider forward. The further you push it, the faster the skateboard will accelerate. To slow down or come to a complete stop, gradually release or slide the trigger or thumb slider back towards its resting position.
- Adjust speed modes: Some electric skateboards offer multiple speed modes to cater to different riding preferences and skill levels. Check if your skateboard has different speed modes and use the designated buttons on the remote control to cycle through them.
- Practice control and responsiveness: As you begin riding and using the remote control, familiarize yourself with the skateboard’s responsiveness to your inputs. Start with gentle acceleration and gradually increase your speed as you gain confidence and control.
It’s important to exercise caution and gradually increase your speed and braking as you become more comfortable and experienced with your electric skateboard. Remember to always adhere to local traffic regulations, wear appropriate safety gear, and ride responsibly.
Once you’re comfortable with using the remote control, it’s time to move on to the next step: adjusting speed and braking.
Step 5: Adjust Speed and Braking
Adjusting the speed and braking of your electric skateboard is essential for a safe and controlled ride. Most electric skateboards offer different speed modes and braking sensitivity options to cater to riders of various skill levels. Here’s how to adjust speed and braking on your skateboard:
- Check for speed modes: Take a look at your skateboard’s user manual or remote control to identify if there are different speed modes available. These modes typically range from beginner to advanced, allowing you to control the maximum speed of the skateboard.
- Select the appropriate speed mode: If your skateboard has multiple speed modes, use the designated buttons on the remote control to cycle through them. Start with a lower speed mode if you’re a beginner or if you’re riding in a crowded area, and gradually increase to higher modes as you gain confidence.
- Familiarize yourself with braking sensitivity: In addition to speed modes, some electric skateboards also offer adjustable braking sensitivity. This feature allows you to control the responsiveness and intensity of the braking. Refer to your skateboard’s manual to understand how to adjust the braking sensitivity, whether it’s through the remote control or other means.
- Practice controlling speed and braking: As you ride, pay close attention to how the skateboard responds to your speed adjustments and braking inputs. Gradually increase or decrease your speed, and practice applying gentle and smooth braking to come to a controlled stop.
- Consider terrain and riding conditions: Keep in mind that the speed and braking performance of your electric skateboard can be influenced by the terrain and riding conditions. Adjust your speed and braking accordingly when riding uphill, downhill, or on uneven surfaces to maintain stability and control.
It’s important to familiarize yourself with your specific skateboard’s speed modes and braking capabilities to ensure a comfortable and enjoyable riding experience. Take the time to practice and get a feel for the different settings until you find the perfect balance between speed and control.
Now that you’ve learned how to adjust speed and braking, let’s continue to the final step: turning off your electric skateboard.
Step 6: Turning Off the Electric Skateboard
After an exhilarating ride on your electric skateboard, it’s important to know how to properly turn it off. Here’s how you can safely power down your skateboard:
- Slow down and find a safe stopping point: Gradually release the acceleration trigger or move the thumb slider back to its resting position to slow down and prepare to come to a stop. Look for a safe and flat area where you can safely dismount.
- Step off the skateboard: Once you’ve come to a complete stop, carefully step off the skateboard using the same technique as when you initially boarded. Ensure that both feet are securely planted on the ground.
- Turn off the remote control: After stepping off the skateboard, power off the remote control. Depending on the model, this may involve pressing and holding a specific button or following the instructions in the user manual.
- Power off the skateboard: Locate the power button on the skateboard and press and hold it for a few seconds until the LED indicator turns off or you hear a beep sound. This signifies that the skateboard is powered down.
- Secure the skateboard: To prevent any accidental activation or damage, consider securing the skateboard using a lock or storing it in a safe place. This will ensure that it’s ready for your next ride.
- Regularly charge the skateboard: It’s important to maintain the battery life of your electric skateboard by regularly charging it. Refer to the user manual for the recommended charging time and procedures to ensure optimal performance.
By following these steps, you can safely and properly turn off your electric skateboard after each ride. Remember to always practice safe riding habits, wear appropriate safety gear, and check your skateboard’s user manual for any specific instructions or guidelines.
With these instructions in mind, you’re now equipped with the knowledge to confidently turn on, ride, and power off your electric skateboard. So, grab your skateboard, head outdoors, and enjoy the thrill of riding this exciting mode of transportation!
Conclusion
Turning on an electric skateboard and getting ready for a ride may seem daunting at first, but it’s a straightforward process that can be easily mastered with a little practice. By following the step-by-step instructions outlined in this guide, you can confidently power on your electric skateboard, control your speed and braking, and safely power it off after each ride.
Remember to always prioritize safety by wearing appropriate protective gear, adhering to local traffic regulations, and being aware of your surroundings. Familiarize yourself with your specific electric skateboard model’s user manual for any additional instructions or guidelines that may apply.
Whether you’re using your electric skateboard for commuting, leisure, or any other purpose, it’s important to take care of it by regularly charging the battery and properly storing it when not in use. This will ensure optimal performance and longevity of your skateboard.
Now that you have the knowledge and confidence to turn on, ride, and power off your electric skateboard, it’s time to hit the streets or skate parks and enjoy the exhilarating experience it offers. So, grab your skateboard, embrace the thrill, and have an amazing time exploring the world on your electric ride!