Introduction
Welcome to the delicious world of fried chicken cooked in an electric pressure cooker! If you love the crispy, golden exterior and juicy, tender meat of fried chicken, but want a quicker and hassle-free cooking method, then the electric pressure cooker is your new best friend. This modern kitchen appliance provides the perfect combination of speed and convenience, allowing you to enjoy homemade fried chicken in no time.
Whether you’re a seasoned pressure cooker user or new to this cooking technique, this article will guide you through the step-by-step process of frying chicken in an electric pressure cooker. From choosing the right chicken pieces to achieving the perfect crispy texture, we’ll cover everything you need to know to create a mouthwatering batch of fried chicken.
Frying chicken in an electric pressure cooker offers several advantages. First and foremost, it significantly reduces cooking time compared to traditional frying methods. The pressure cooker utilizes high pressure and steam to cook the chicken quickly, resulting in tender meat on the inside and a delectably crispy crust on the outside.
Additionally, cooking chicken in an electric pressure cooker is safer than deep-frying as it eliminates the risk of hot oil splatters. This makes it a great option for those who are uncomfortable with traditional frying methods or have safety concerns.
Furthermore, using an electric pressure cooker allows you to control the temperature and cooking time precisely, ensuring consistent results each time you fry chicken. It’s a foolproof way to achieve that perfect balance of crispy skin and succulent meat.
So, whether you’re cooking for family, friends, or simply indulging in a delicious meal for yourself, let’s dive into the world of frying chicken in an electric pressure cooker and discover how to create a culinary delight that will have everyone coming back for seconds.
Choosing the Right Chicken Pieces
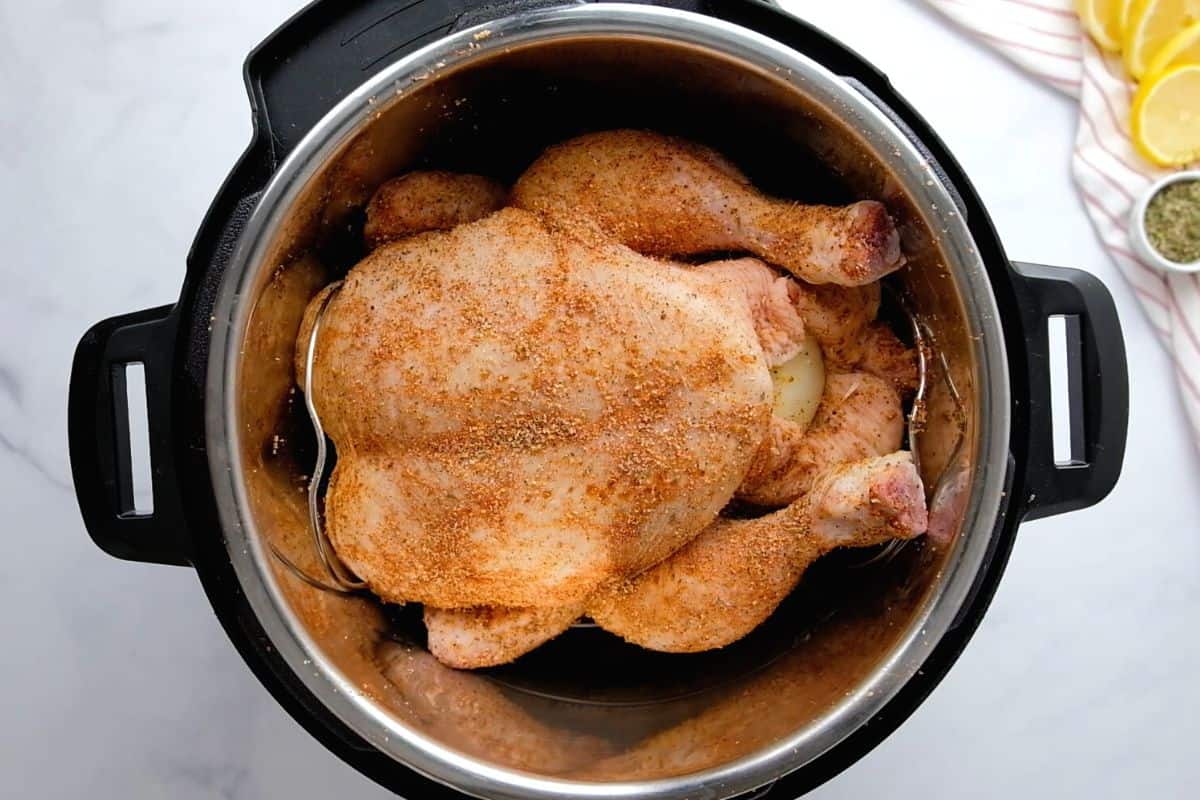
When selecting the chicken pieces for frying in an electric pressure cooker, it’s essential to choose cuts that will yield tender and juicy results. While you can use a whole chicken, it’s often easier and more convenient to use pre-cut chicken pieces like drumsticks, thighs, or chicken breast.
Dark meat cuts such as drumsticks and thighs are ideal for frying in an electric pressure cooker. These cuts are naturally juicier and more forgiving when it comes to cooking times, ensuring a moist and flavorful result. The higher fat content in dark meat can help prevent the chicken from drying out during the pressure cooking process.
However, if you prefer white meat or are looking for a leaner option, you can opt for chicken breast. Keep in mind that chicken breast tends to be leaner and can dry out more easily, so pay close attention to the cooking time to avoid overcooking.
Whatever cuts you choose, ensure that they are of good quality. Look for chicken pieces that are fresh, firm, and have a pinkish color. Avoid chicken with any off-putting smells or discoloration.
Consider the size of the chicken pieces as well. If you’re using larger pieces like chicken breast, you may want to cut them into smaller portions to ensure even cooking and faster cooking times. Smaller pieces also allow for a more uniform browning and crispy texture.
Lastly, consider the number of chicken pieces based on your serving needs. Take into account the size of your electric pressure cooker and the quantity of chicken you want to fry. You don’t want to overcrowd the cooker, as it can affect the cooking time and result in unevenly cooked chicken.
Now that you know which chicken pieces to choose let’s move on to the next step – preparing the chicken for frying in the electric pressure cooker.
Preparing the Chicken
Before you start frying the chicken in the electric pressure cooker, it’s crucial to properly prepare the chicken to ensure a flavorful and well-seasoned result. Here are the steps to follow:
- Start by rinsing the chicken pieces under cold water to remove any excess blood or impurities. Pat them dry with paper towels to ensure a better adherence of the seasoning.
- Trim off any excess fat or skin from the chicken pieces. While a little fat is essential for flavor and moisture, removing excessive amounts will help prevent the chicken from becoming too greasy.
- If desired, you can marinate the chicken before frying to infuse it with additional flavors. Create a marinade using ingredients like buttermilk, yogurt, spices, herbs, and even hot sauce for a kick. Place the chicken in the marinade and allow it to rest in the refrigerator for at least 30 minutes or up to overnight for maximum flavor.
- Before frying, remove the chicken from the marinade and allow any excess to drip off. Pat the pieces dry with paper towels again to remove excess moisture, as this will help achieve that coveted crispy crust.
- At this point, you can also consider bringing the chicken to room temperature before frying. Allowing it to sit for about 15-20 minutes will ensure more even cooking throughout.
By following these preparation steps, you’ll set the stage for a tasty and well-seasoned batch of fried chicken. Next, let’s explore the process of seasoning the chicken to enhance its flavor even further.
Seasoning the Chicken
Seasoning the chicken is a vital step in the preparation process that adds depth and flavor to your fried chicken. Here’s how to properly season your chicken before frying:
- Start by generously seasoning the chicken pieces with salt and freshly ground black pepper. This forms the base seasoning and helps enhance the natural flavors of the chicken.
- Feel free to get creative and add additional herbs and spices to your liking. Common herbs and spices used for fried chicken include paprika, garlic powder, onion powder, dried thyme, dried oregano, and cayenne pepper. Adjust the amounts to suit your preference and level of spiciness.
- If you prefer a bolder flavor, you can create a dry rub. Combine your desired combination of herbs and spices in a small bowl and mix well. Rub this mixture onto the chicken, coating it evenly and allowing the flavors to penetrate the meat.
- If you marinated the chicken beforehand, you can skip adding extra seasoning as the marinade will have already imparted flavor. However, you can sprinkle a little bit of additional salt and pepper for balance.
- Ensure that all sides of the chicken pieces are well seasoned. You can gently massage the seasoning into the meat to ensure an even distribution.
By taking the time to properly season the chicken, you’ll elevate its taste and create a more savory and enjoyable eating experience. The next step is to dredge the seasoned chicken in a coating that will contribute to that delightful crispy texture.
Dredging the Chicken
Dredging the chicken is a crucial step that gives it that satisfyingly crispy and crunchy outer coating. Follow these steps to achieve the perfect dredging:
- Prepare the dredging mixture by combining all-purpose flour with your desired seasonings. Common seasonings for dredging include salt, pepper, paprika, garlic powder, onion powder, and cayenne pepper. Mix the ingredients well to ensure even distribution of flavors.
- Take each seasoned chicken piece and coat it thoroughly in the dredging mixture. Make sure to cover all sides of the chicken, pressing the flour mixture gently onto the meat to ensure it adheres well.
- After dredging, shake off any excess flour from the chicken pieces. This step helps prevent a thick and lumpy coating while ensuring a more even browning during frying.
- For an extra crispy coating, you can repeat the dredging process. Dip the flour-coated chicken back into the dredging mixture, pressing lightly to ensure a second layer of coating.
- Once the chicken is fully dredged, let it rest on a wire rack for a few minutes. This allows the flour mixture to slightly adhere to the chicken, resulting in a crisper crust when cooked.
Dredging the chicken is a crucial step in achieving that perfect crispy texture we all love. Now that your chicken is properly coated, it’s time to move on to preparing the electric pressure cooker for frying.
Preparing the Electric Pressure Cooker
Properly preparing the electric pressure cooker before frying the chicken is essential for achieving optimal cooking results. Here’s what you need to do:
- Start by ensuring that your electric pressure cooker is clean and in good working condition. Check the manufacturer’s instructions for any specific cleaning recommendations.
- Next, place the inner pot into the electric pressure cooker. Make sure it is securely in place and properly aligned.
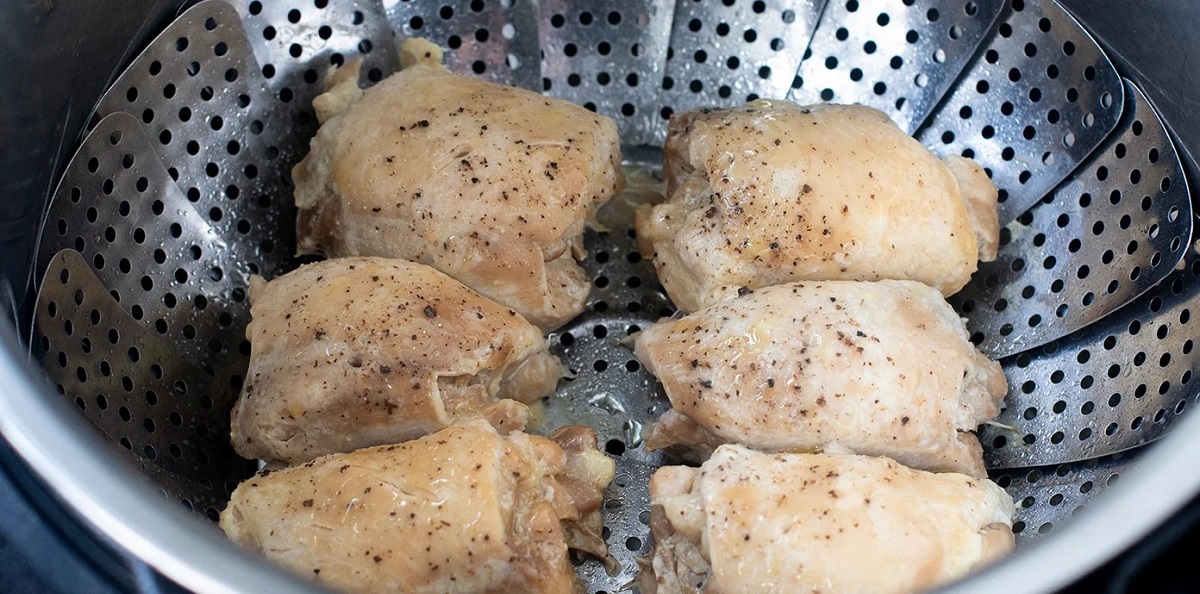
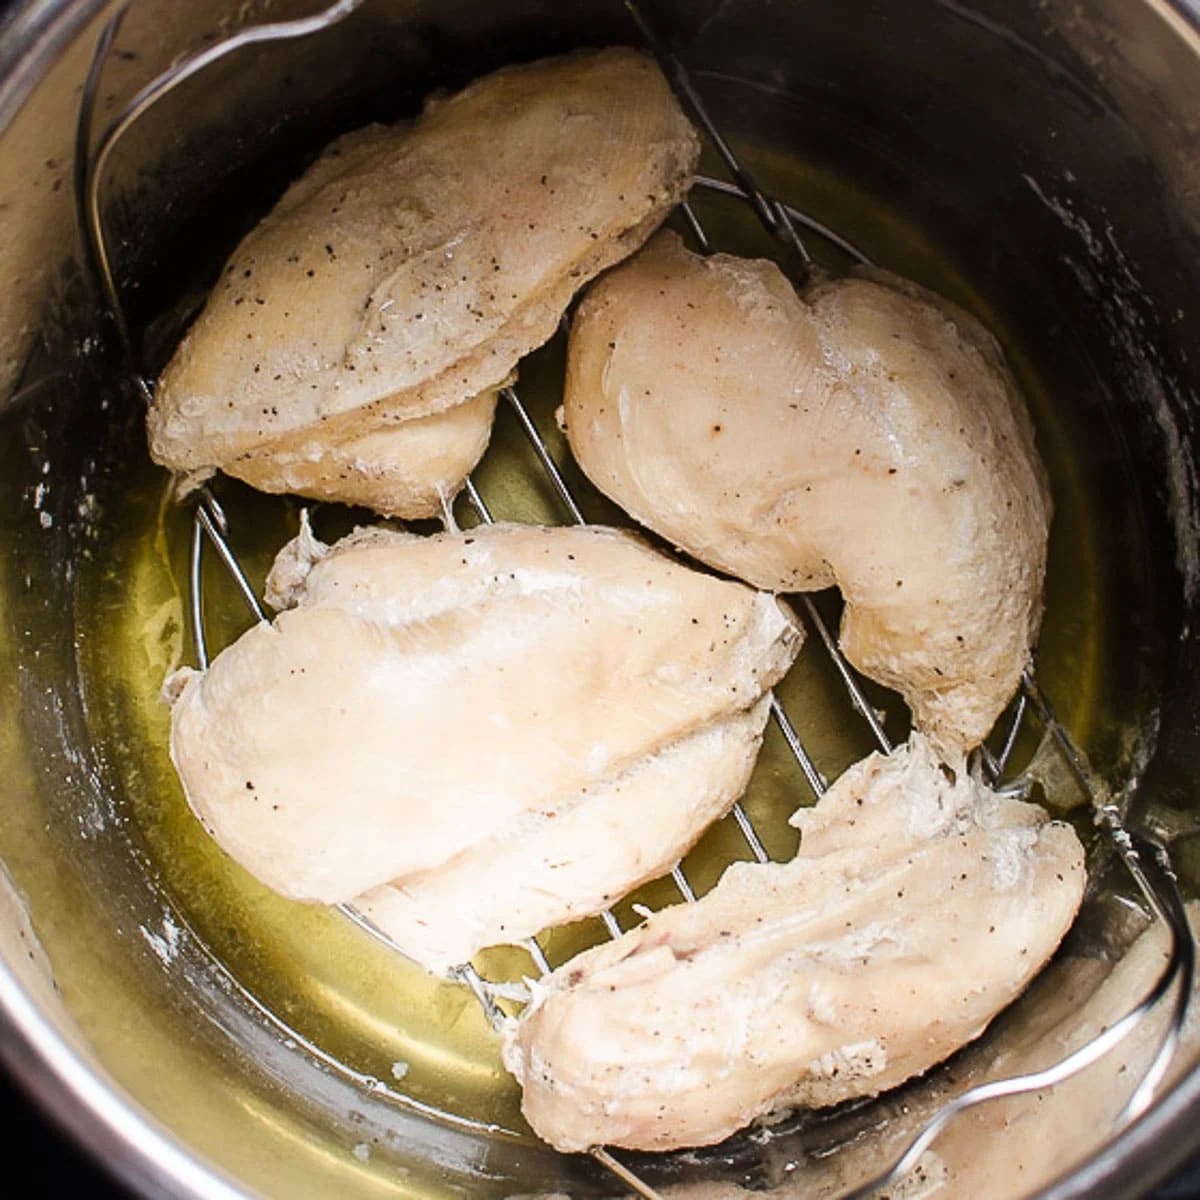
- Some electric pressure cookers may come with a trivet or steamer basket. If included, insert the trivet or steamer basket into the inner pot. This will help elevate the chicken pieces, allowing excess grease to drain away and promoting even cooking.
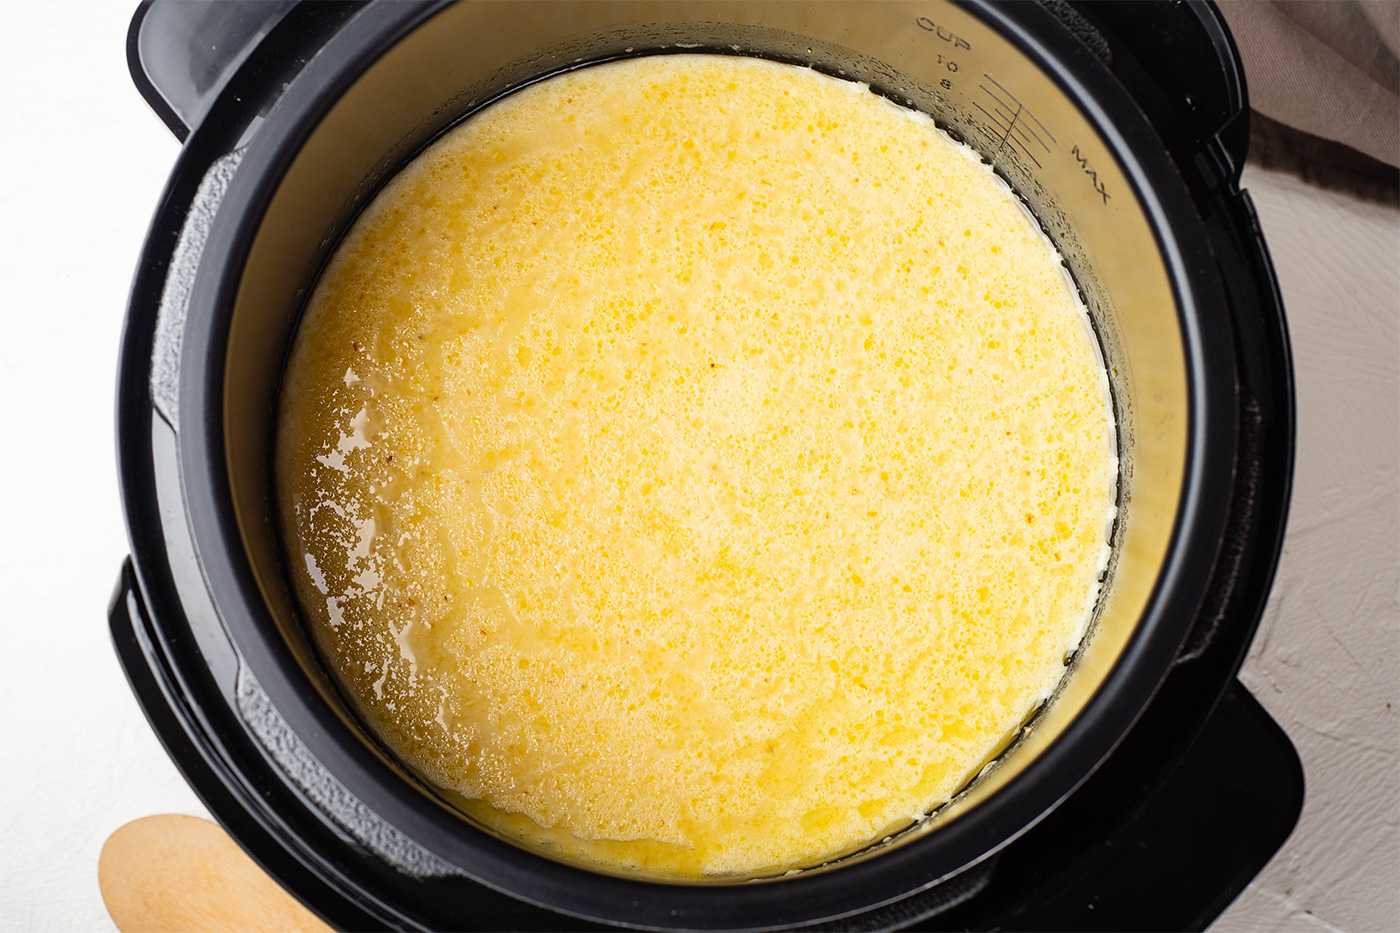
- Add cooking oil to the inner pot. The amount of oil needed will depend on your electric pressure cooker’s capacity and the size of the chicken pieces. Aim for enough oil to cover the bottom of the pot with a thin, even layer.
- It’s important to choose the right type of cooking oil for frying. Neutral oils like vegetable, canola, or peanut oil are commonly used due to their high smoke points and neutral flavors that won’t overpower the chicken’s taste.
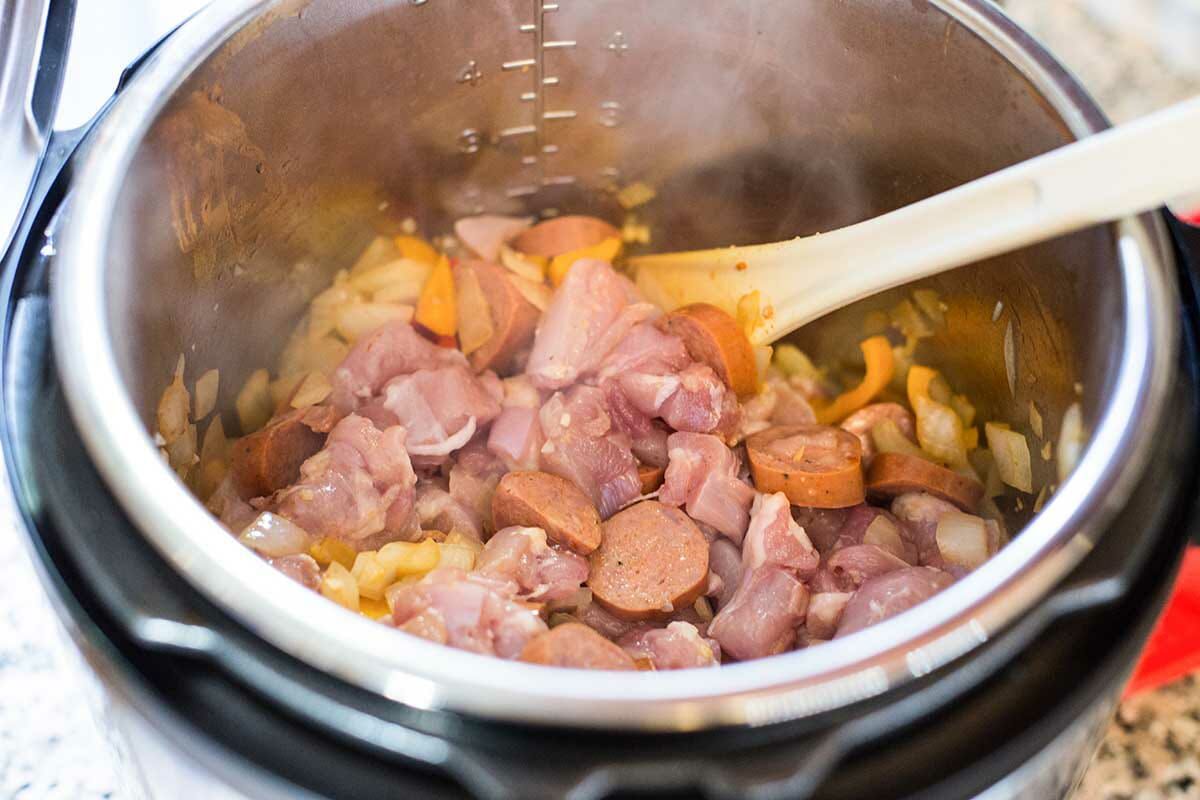
- Once the oil is added, preheat the electric pressure cooker using the appropriate setting for sautéing or browning. Refer to your specific cooker’s manual for guidance on preheating.
- Allow the oil to heat up until it’s shimmering and hot. This will ensure that the chicken cooks evenly and achieves that desirable crispy exterior.
By properly preparing the electric pressure cooker, you’re setting the stage for successful frying. With the cooker heated and the oil ready, it’s time to move on to the exciting part: frying the chicken!
Frying the Chicken in the Electric Pressure Cooker
With the electric pressure cooker preheated and the oil hot, it’s time to start frying the chicken. Follow these steps for perfectly cooked and crispy chicken:
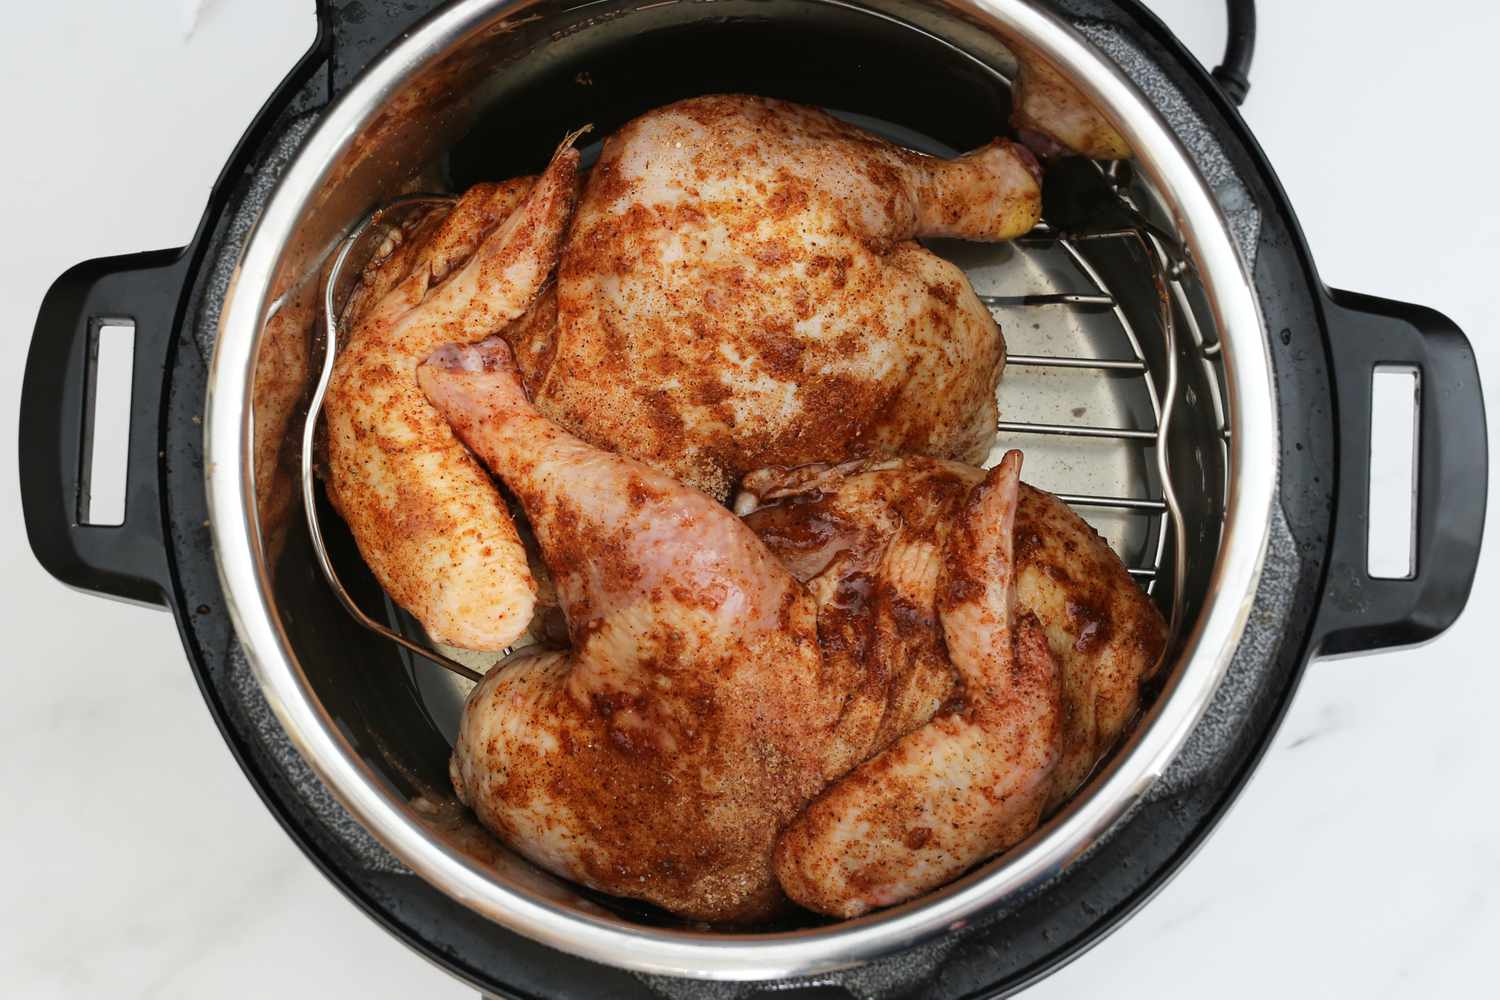
- Carefully place the seasoned and dredged chicken pieces into the preheated oil in the electric pressure cooker. Arrange them in a single layer, ensuring that they have enough space around them for even cooking.
- Depending on the size of your electric pressure cooker and the amount of chicken, you may need to fry the chicken in batches to avoid overcrowding the pot.
- Once the chicken is in the cooker, close the lid securely and lock it into place. Follow the manufacturer’s instructions for properly sealing the cooker.
- Set the electric pressure cooker to the appropriate cooking mode for frying or using high pressure. Refer to the cooker’s manual for specific instructions on adjusting the settings.
- Set the cooking time according to the specific recipe or chicken pieces you are using. Typically, chicken should be pressure-cooked for around 8-12 minutes, depending on the size and thickness of the pieces.
- Allow the electric pressure cooker to build up pressure, which may take a few minutes. Once the desired pressure has been reached, the cooking time will begin.
- After the designated cooking time, carefully release the pressure from the cooker as per the manufacturer’s instructions. This can be done manually (quick-release method) or naturally (letting the pressure release gradually).
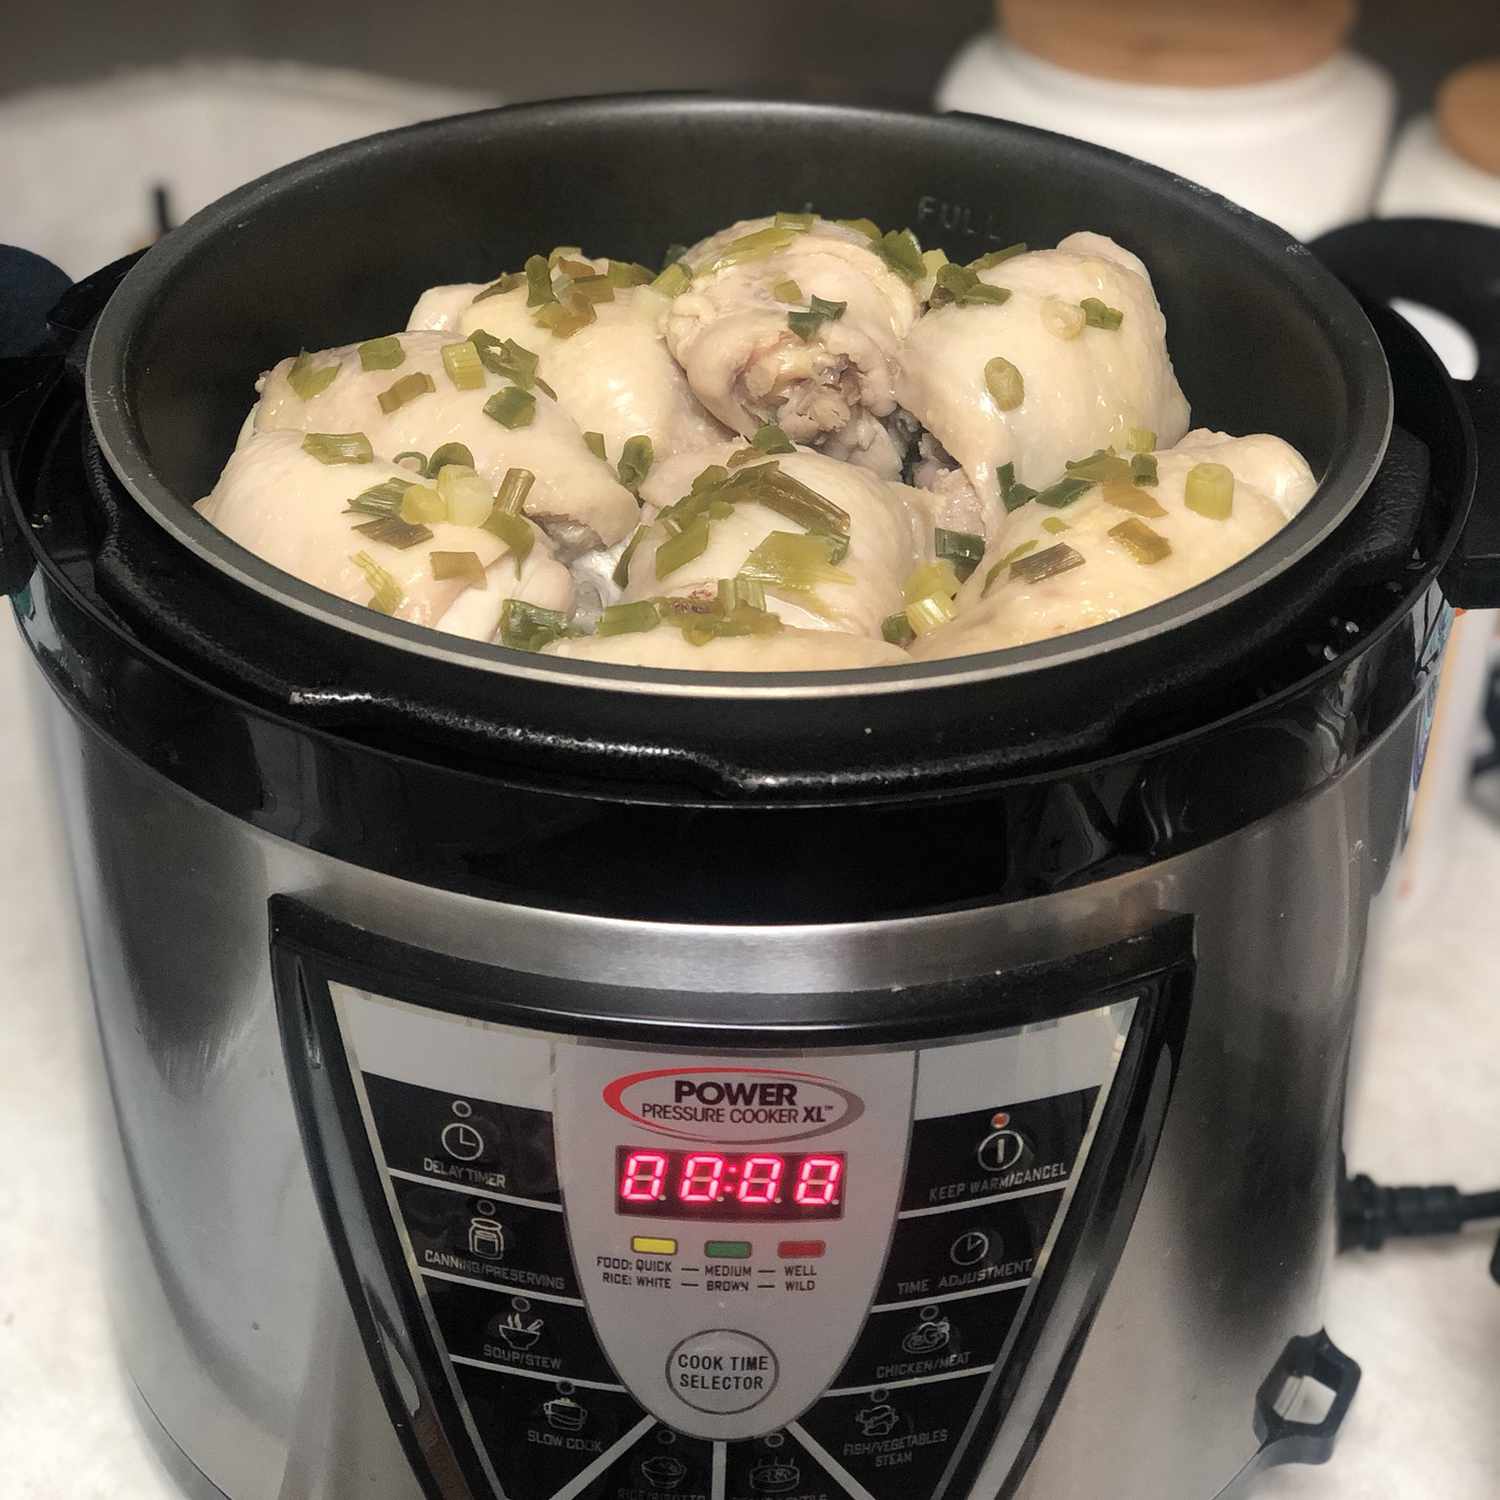
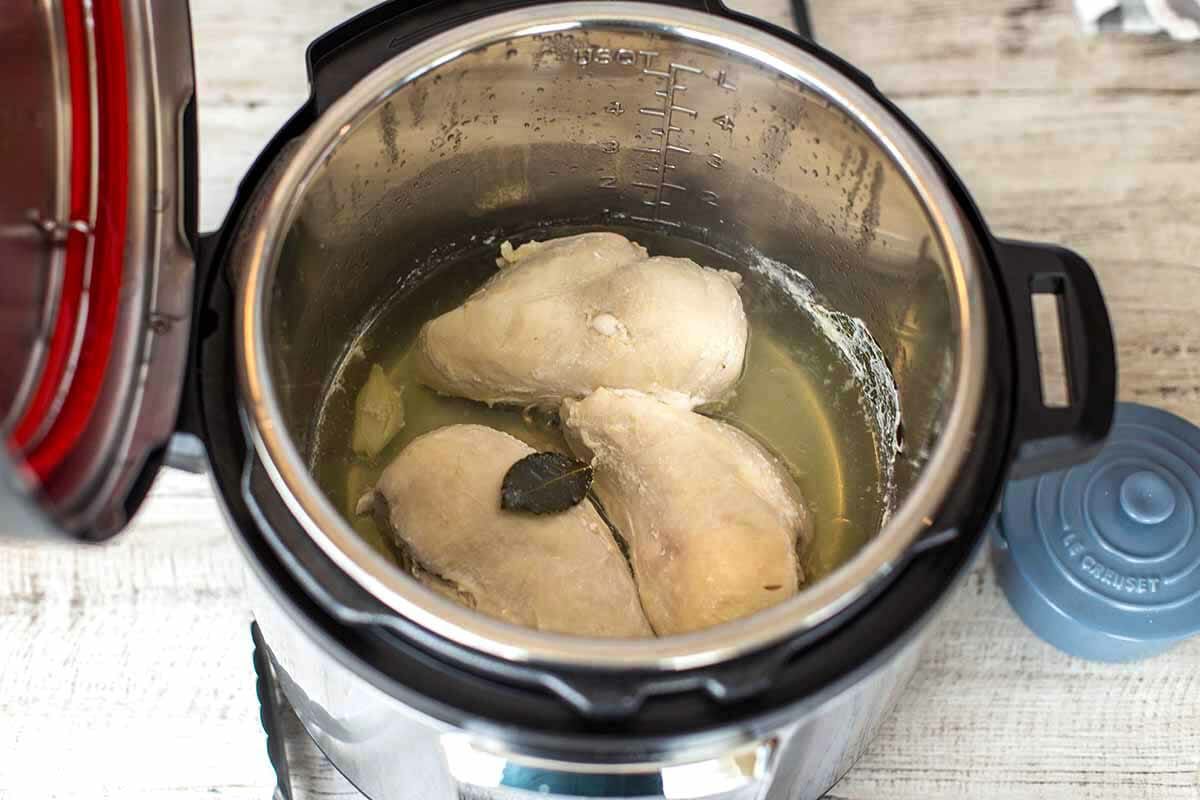
- Open the lid of the electric pressure cooker once the pressure has been fully released. Use caution when removing the lid as it may still be hot and steamy.
- Check the internal temperature of the chicken with a meat thermometer to ensure it has reached a safe internal temperature of 165°F (74°C). This guarantees that the chicken is fully cooked and safe to consume.
- Transfer the cooked chicken to a wire rack or paper towels to drain off any excess oil. This step will help maintain the crispiness of the chicken and prevent it from becoming soggy.
Congratulations! You have successfully fried the chicken in the electric pressure cooker. The next section will provide you with some handy tips to ensure your chicken turns out crispy and juicy.
Tips for Crispy and Juicy Chicken
To ensure that your fried chicken turns out both crispy and juicy, here are some valuable tips to keep in mind throughout the cooking process:
- Patience is key: Allow the electric pressure cooker to preheat properly before adding the chicken. This ensures that the chicken gets a good initial sear and locks in the juices.
- Don’t overcrowd the cooker: Fry the chicken in batches if necessary, making sure there is enough space around each piece. Overcrowding can lead to uneven cooking and result in less crispy chicken.
- Monitor the cooking time: Timing is crucial when pressure cooking chicken. Follow the recommended cooking time based on the size and thickness of the chicken pieces to achieve a perfect balance between tenderness and crispiness.
- Use a meat thermometer: To ensure that the chicken is fully cooked, tender, and safe to eat, use a meat thermometer to check the internal temperature. The thermometer should read 165°F (74°C) when inserted into the thickest part of the chicken.
- Rest before serving: Allow the cooked chicken to rest for a few minutes before serving. This allows the juices to redistribute, resulting in a more flavorful and tender chicken.
- Season generously: Be generous with your seasoning, ensuring that every layer is infused with flavor. Don’t forget to season the chicken both before dredging and during the dredging process.
- Experiment with different coatings: While traditional flour coatings work well, don’t be afraid to get creative. Add bread crumbs, crushed cornflakes, or even seasoned panko for a unique and extra crispy coating.
- Know your oil temperature: Maintain a consistent oil temperature throughout the frying process. An oil temperature of around 350°F (175°C) will help achieve a crispy exterior without excessive greasiness.
- Use the right tools: Use tongs or a slotted spoon to handle the chicken when placing it in the cooker and removing it. This helps to prevent the coating from sticking and ensures a more even fry.
- Experiment with seasonings: Customize the flavor profile of your fried chicken by experimenting with different herbs, spices, and seasonings. From Cajun seasoning to BBQ rubs, the possibilities are endless.
By following these tips, you’ll be able to create fried chicken that is both crispy on the outside and juicy on the inside. Now it’s time to serve and enjoy your delicious homemade fried chicken!
Serving and Enjoying Your Fried Chicken
Now that your homemade fried chicken is ready, it’s time to serve it up and enjoy the delicious results of your efforts. Here are some tips for serving your fried chicken:
- Transfer the fried chicken to a serving platter, allowing any excess oil to drain off completely. Placing the chicken on a wire rack during this step can help maintain its crispiness.
- Garnish the chicken with fresh herbs, such as parsley or cilantro, to add a pop of color and freshness.
- Serve the fried chicken with your favorite dipping sauces or condiments. Popular choices include BBQ sauce, honey mustard, ranch dressing, or hot sauce. Experiment with different flavors to find your perfect combination.
- Accompany your fried chicken with classic side dishes like coleslaw, mashed potatoes, cornbread, or a fresh green salad. These sides complement the flavors and textures of the chicken.
- For a complete Southern-style meal, consider serving your fried chicken with homemade biscuits, macaroni and cheese, or collard greens.
- Keep the chicken warm before serving by placing it in a preheated oven at around 200°F (93°C). This will help preserve its crispy texture until you’re ready to enjoy it.
- Share the joy of your homemade fried chicken with friends and family. The crispy and juicy flavors are meant to be enjoyed together, creating memorable moments and satisfying cravings.
- Remember to savor every bite. Appreciate the hard work and dedication that went into preparing this delicious meal. Take the time to enjoy the crispy outer coating and the succulent meat.
- Leftover fried chicken can be stored in an airtight container in the refrigerator for a few days. Reheat it in the oven or air fryer to maintain its crispy texture.
- Lastly, don’t forget to clean up! Dispose of any leftover oil properly and clean your electric pressure cooker as per the manufacturer’s instructions.
Now, gather your loved ones around the table, savor the flavors, and create beautiful memories as you indulge in your homemade fried chicken masterpiece. Enjoy!
Conclusion
Congratulations! You have successfully learned how to fry chicken in an electric pressure cooker. Through careful preparation, seasoning, dredging, and frying, you have created a crispy and juicy culinary delight. The electric pressure cooker has proven to be a versatile and convenient tool for achieving delicious fried chicken in a fraction of the time.
By choosing the right chicken pieces, properly seasoning and dredging, and mastering the art of frying, you have unlocked the secrets to creating crispy and flavorful fried chicken. The electric pressure cooker provided the perfect cooking environment, ensuring tender meat and a golden, crispy crust.
Throughout the process, you learned valuable tips and techniques for achieving the perfect fried chicken. From adjusting the cooking time to monitoring oil temperature, these tips will help you consistently deliver delicious results.
Now, it’s time to gather your loved ones, set the table, and share your homemade fried chicken creation. Pair it with your favorite sides and sauces to create a memorable and satisfying meal. Remember to savor each bite and appreciate the hard work and dedication that went into creating this culinary masterpiece.
Whether you’re cooking for a special occasion or simply satisfying a craving, frying chicken in an electric pressure cooker offers a convenient and delicious way to enjoy this classic dish. With practice and creativity, you can customize your fried chicken recipe to suit your taste preferences and create a signature dish that will have everyone coming back for seconds.
So, go ahead and put your newfound knowledge to the test. Explore different seasoning combinations, experiment with different coatings, and make this fried chicken recipe your own. Enjoy the crispy, golden exterior and the tender, juicy meat with every bite.
Thank you for joining us on this journey to discover how to fry chicken in an electric pressure cooker. We hope this guide has inspired you to try this cooking method and has provided you with the necessary tools and tips to achieve fried chicken perfection. Happy cooking and bon appétit!