Introduction
Welcome to the world of cooking with an electric pressure cooker! If you’re a chicken lover looking for a quick and easy way to prepare delicious chicken breast, then you’ve come to the right place. In this guide, we’ll take you through step-by-step instructions on how to cook tender and flavorful chicken breast using an electric pressure cooker.
Gone are the days of spending hours in the kitchen, waiting for your chicken breast to cook slowly. With an electric pressure cooker, you can have perfectly cooked chicken breast in a fraction of the time. This convenient appliance uses steam and pressure to quickly cook your food, resulting in tender and juicy chicken breast every time.
Whether you’re a seasoned cook or a beginner in the kitchen, using an electric pressure cooker is a game-changer. It not only saves time but also retains the nutrients and flavors of the chicken breast. Plus, there’s no need to worry about dry or overcooked chicken – the pressure cooker ensures that the meat stays moist and succulent.
Before we dive into the cooking process, let’s talk about choosing and preparing your chicken breast. It’s crucial to start with high-quality chicken meat to achieve the best results. Look for fresh, boneless chicken breast that is free from any blemishes or discoloration. This will ensure that your cooked chicken breast is tender and flavorful.
Now that you have your chicken breast ready, let’s move on to setting up your electric pressure cooker. Don’t worry if you’re new to using this appliance – we’ll guide you through the process step-by-step, making it easy for you to get started on your culinary adventure. So, let’s get cooking!
Choosing and Preparing Your Chicken Breast
When it comes to cooking chicken breast in an electric pressure cooker, choosing the right cut of meat is essential. Opt for boneless, skinless chicken breast for a lean and healthy option. Look for fresh chicken breast that is firm to the touch and has a pinkish color. Avoid any chicken breast that has a slimy texture or an unpleasant odor.
Before cooking, it’s important to properly prepare your chicken breast. Start by rinsing the chicken under cold water to remove any impurities. Pat it dry with paper towels to ensure that it cooks evenly in the pressure cooker. Once dry, place the chicken breast on a cutting board and trim any excess fat or connective tissue.
To enhance the flavor of your chicken breast, you can choose to marinate it beforehand. Create a marinade using your favorite herbs, spices, and liquids such as lemon juice, olive oil, or soy sauce. Allow the chicken breast to marinate in the refrigerator for at least 30 minutes, or overnight for maximum flavor infusion.
If you’re short on time or prefer a simpler approach, you can season the chicken breast directly before cooking. Use a combination of salt, pepper, and other spices to add a burst of flavor to your chicken. Be generous with the seasoning, as some of it may wash away during the cooking process.
For added versatility, you can also prepare your chicken breast by cutting it into smaller pieces. This not only reduces the cooking time but also allows you to use the chicken in a variety of dishes, such as stir-fries, salads, or wraps. Just make sure to adjust the cooking time accordingly if you’re working with smaller or thicker pieces of chicken.
Now that you have chosen and prepared your chicken breast, it’s time to set up your electric pressure cooker. Continue reading to learn how to make the most of this convenient kitchen appliance.
Setting Up Your Electric Pressure Cooker
Before you start cooking your chicken breast, it’s important to properly set up your electric pressure cooker. While each model may have specific instructions, here are some general steps to help you get started:
- Read the manual: Every electric pressure cooker is different, so it’s crucial to read the instruction manual provided with your specific model. Familiarize yourself with the different components, functions, and safety precautions to ensure a successful cooking experience.
- Check the gasket: The gasket, also known as the sealing ring, is an important part of the pressure cooker that helps create a tight seal. Before using your pressure cooker, make sure the gasket is clean, properly seated, and free from any damage. If necessary, replace the gasket following the manufacturer’s instructions.
- Add liquid: Most electric pressure cookers require a minimum amount of liquid to generate steam and build pressure. Check the manual to determine how much liquid is needed for your specific cooker. Typically, 1 to 1.5 cups of liquid, such as water, broth, or marinade, is sufficient.
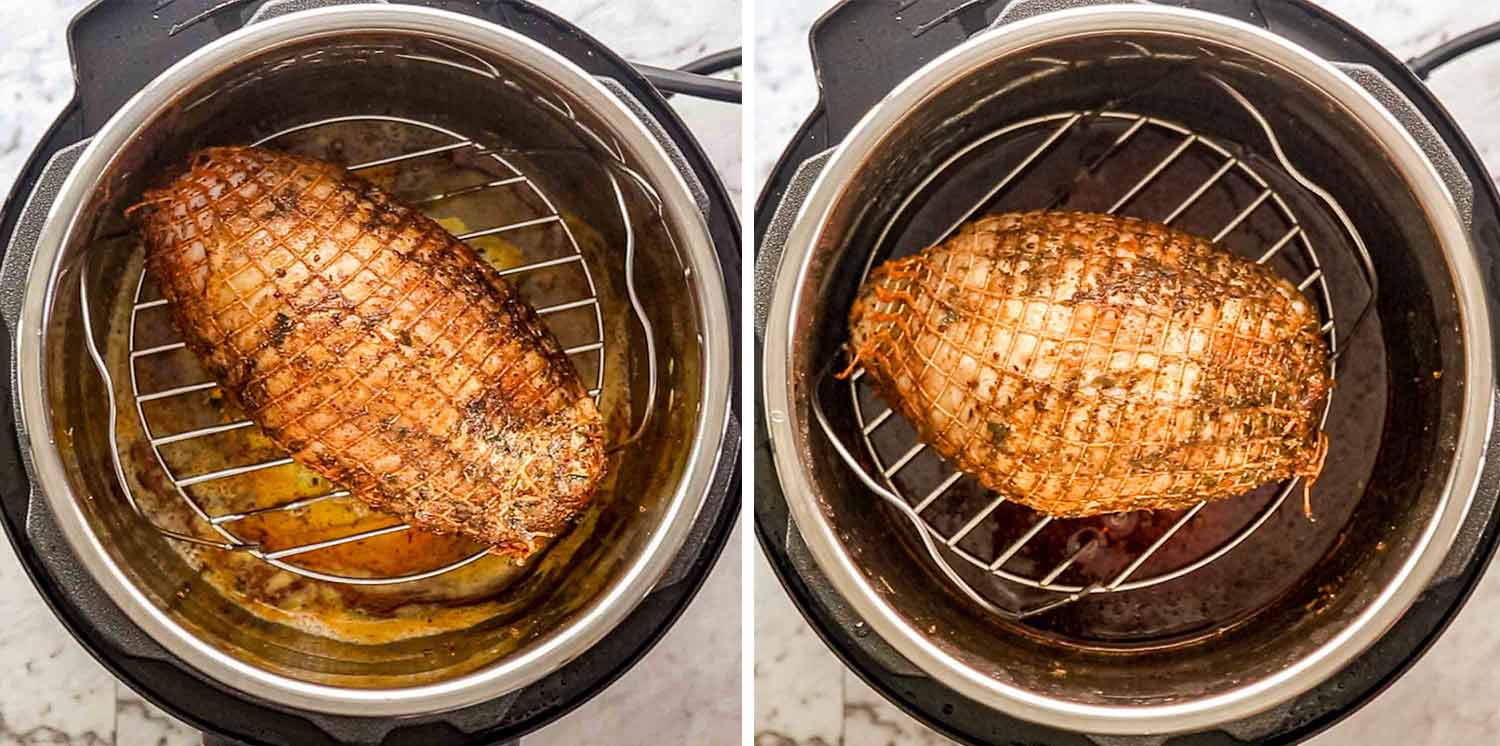
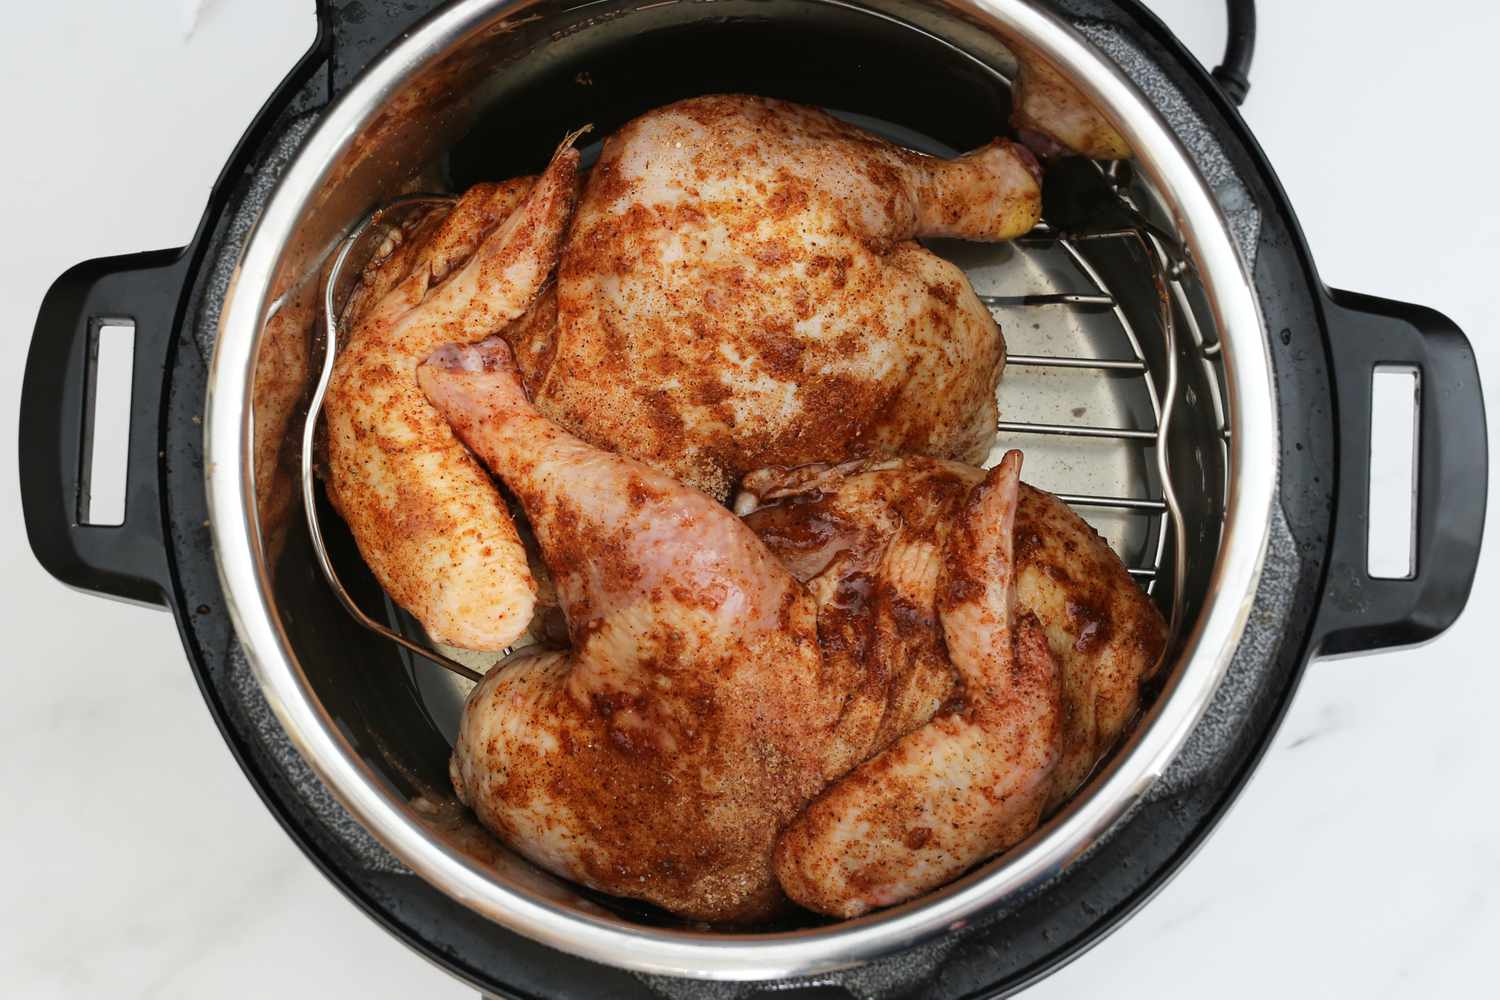
- Insert the cooking rack or basket: Some pressure cookers come with a cooking rack or basket, which helps elevate the chicken breast and prevent it from sticking to the bottom. If your pressure cooker includes a rack or basket, place it inside the pot before adding the chicken.
- Secure the lid: Ensure that the lid is securely locked into place. Many electric pressure cookers have a locking mechanism that ensures the lid stays in position during cooking. This is important for safety reasons, as the pressure cooker will not do its job properly if the lid is not properly secured.
- Set the desired cooking mode: Electric pressure cookers offer different cooking modes, such as “poultry,” “meat,” or “manual.” Select the appropriate mode for cooking chicken breast. If your pressure cooker has adjustable pressure settings, choose high pressure for faster cooking times.
Once you have set up your electric pressure cooker, it’s time to season and flavor your chicken breast. Read on to learn how to enhance the taste of your cooked chicken.
Seasoning and Flavoring Your Chicken Breast
Now that you have your chicken breast ready and your electric pressure cooker set up, it’s time to add some delicious seasoning and flavor to your chicken. Here are some ways to enhance the taste of your cooked chicken breast:
- Salt and pepper: Start with the basics and season your chicken breast with salt and pepper. This simple combination helps bring out the natural flavors of the meat.
- Herbs and spices: Get creative with your seasoning by adding herbs and spices to your chicken breast. Some popular options include garlic powder, paprika, cumin, thyme, rosemary, or Italian seasoning. Experiment with different combinations to find your favorite flavor profile.
- Liquid seasonings: For a burst of flavor, consider using liquid seasonings such as soy sauce, Worcestershire sauce, balsamic vinegar, or lemon juice. These liquids not only add taste but also help tenderize the meat.
- Marinades: If you have marinated your chicken breast, you can use the leftover marinade to further flavor your chicken. Simply pour the marinade into the pressure cooker before cooking, and it will infuse the chicken with a rich taste.
- Aromatics: Adding aromatics like onions, garlic, or ginger can give your chicken breast an extra depth of flavor. Chop them up and place them in the bottom of the pressure cooker before adding the chicken.
When seasoning your chicken breast, don’t be afraid to be liberal with your choices. The pressure cooking process can sometimes dilute flavors, so it’s better to slightly over-season than under-season the chicken. Remember to adjust the seasonings based on your personal preference.
Once you have seasoned your chicken breast to perfection, it’s time to cook it in the electric pressure cooker. In the next section, we’ll guide you through the cooking process step-by-step. Keep reading to learn how to achieve perfectly cooked chicken breast every time.
Cooking the Chicken Breast
Now that your electric pressure cooker is set up and your chicken breast is seasoned and ready to go, it’s time to cook it to perfection. Follow these steps to ensure that your chicken breast comes out moist, tender, and flavorful:
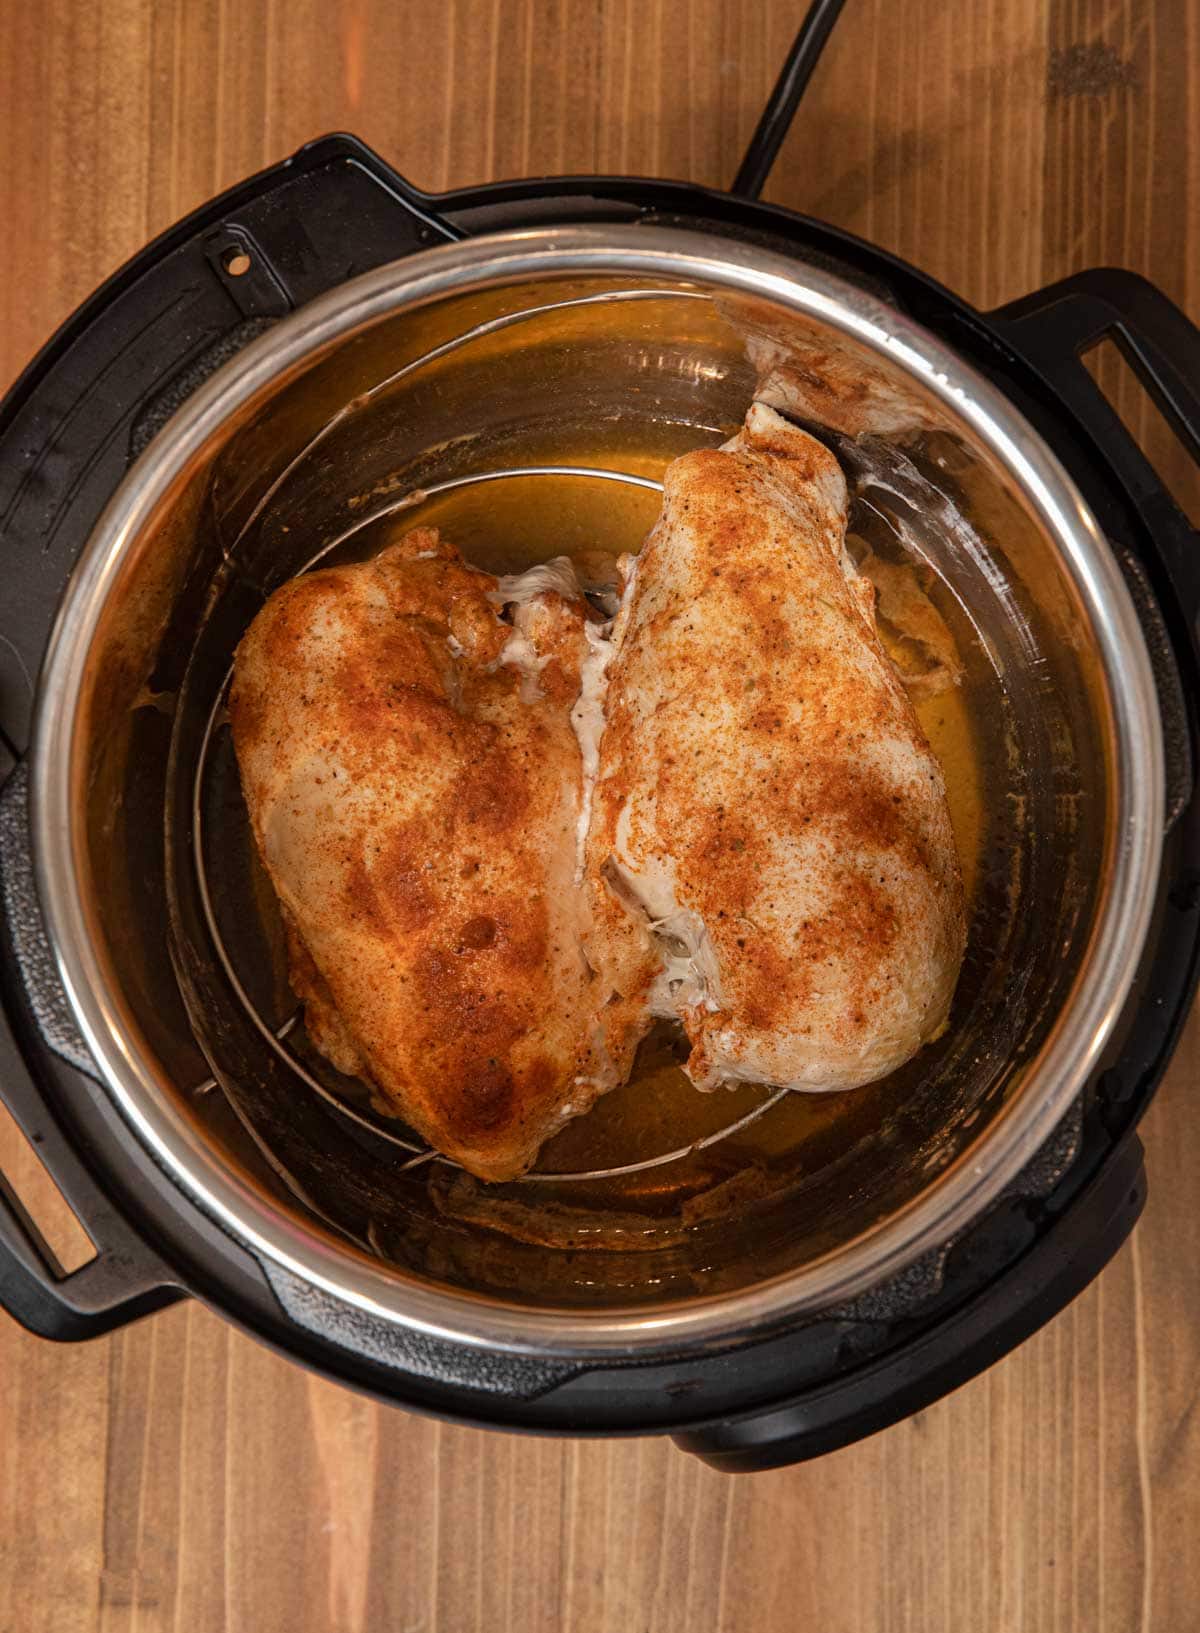
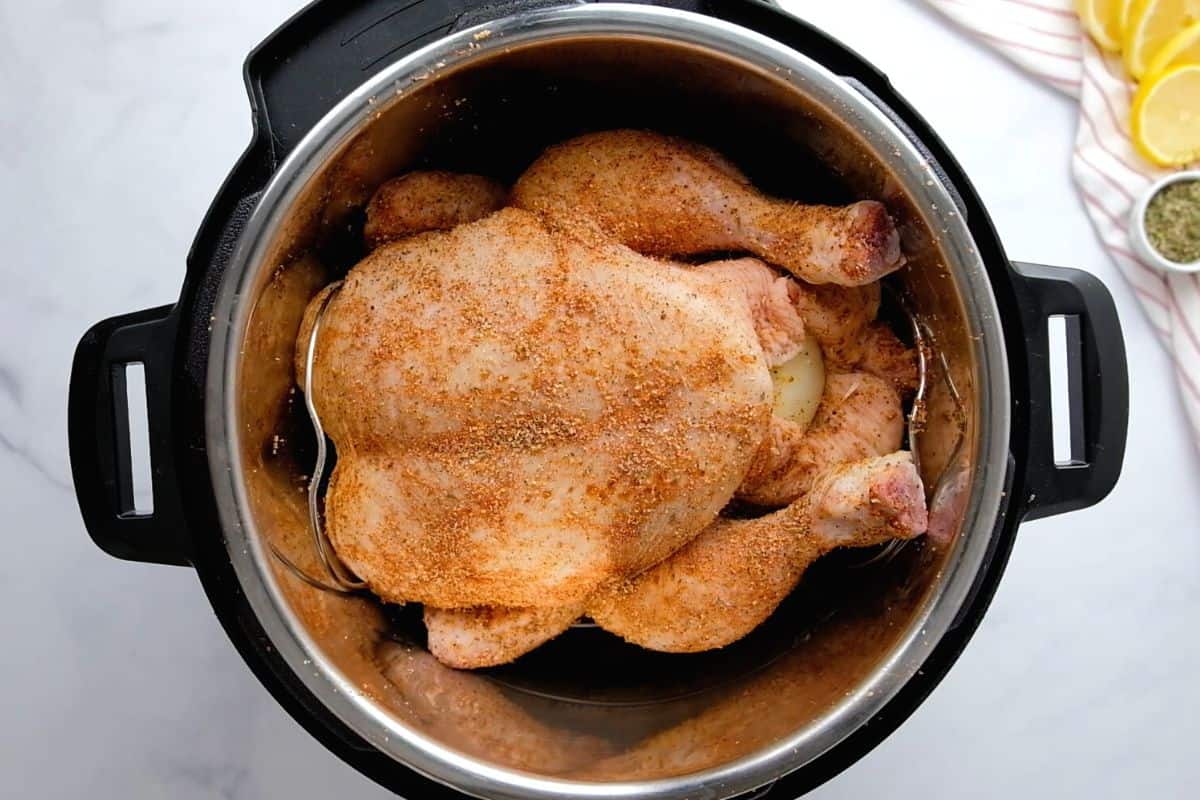
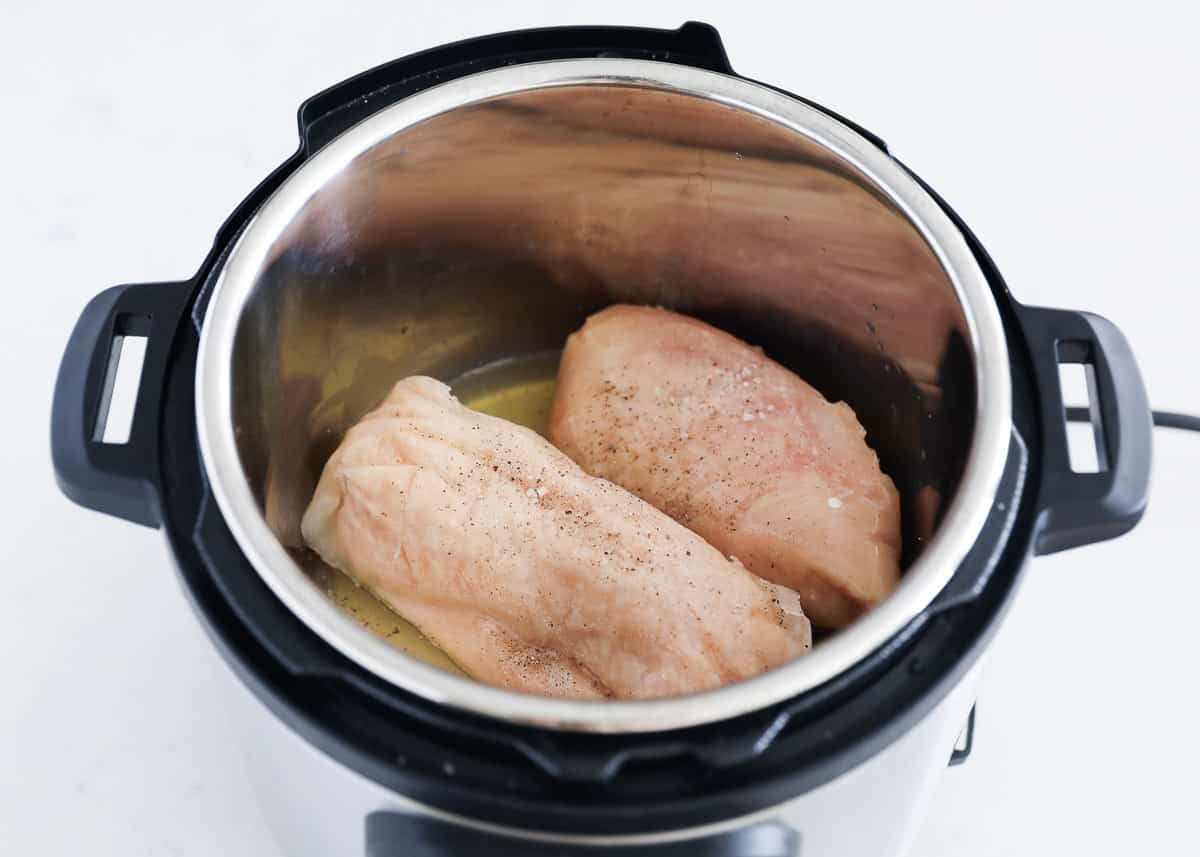
- Place the seasoned chicken breast in the prepared electric pressure cooker. Make sure to arrange the pieces in a single layer, avoiding any overcrowding that may hinder even cooking.
- Add any desired aromatics, such as onions, garlic, or herbs, to enhance the flavor of the chicken breast. These ingredients will infuse their taste into the meat during the cooking process.
- Close the lid tightly to ensure a proper seal, and set the cooking time according to the size and thickness of your chicken breast. As a general guideline, cook boneless chicken breast on high pressure for 6 to 8 minutes per half-inch thickness.
- Start the cooking process by selecting the appropriate cooking mode on your electric pressure cooker. Depending on the model, you may have options like “poultry,” “meat,” or “manual.” Adjust the pressure level to high for faster cooking.
- Once the cooking time has elapsed, allow the pressure cooker to release the pressure naturally for a few minutes. This helps the chicken breast retain its juices and ensures a more tender result.
- After the natural release, you can perform a quick pressure release (if your cooker allows) to release any remaining pressure. Use caution and follow the manufacturer’s instructions when releasing the pressure.
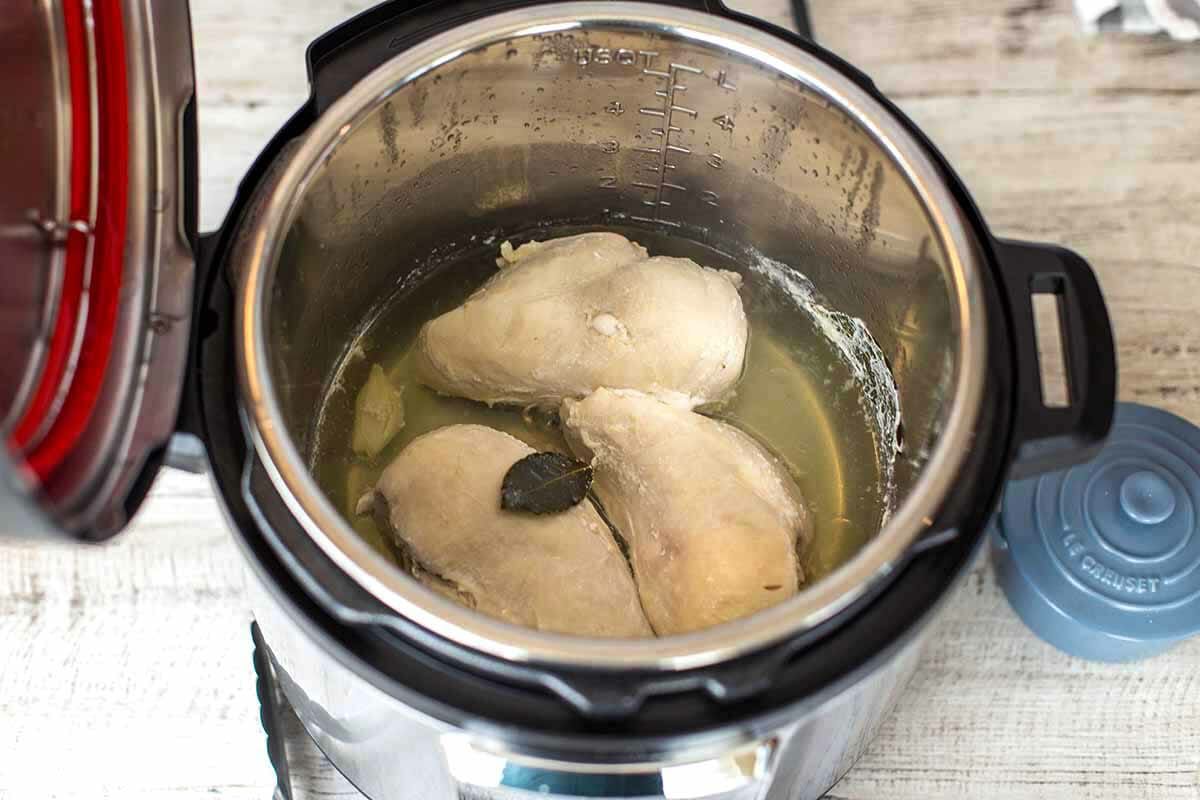
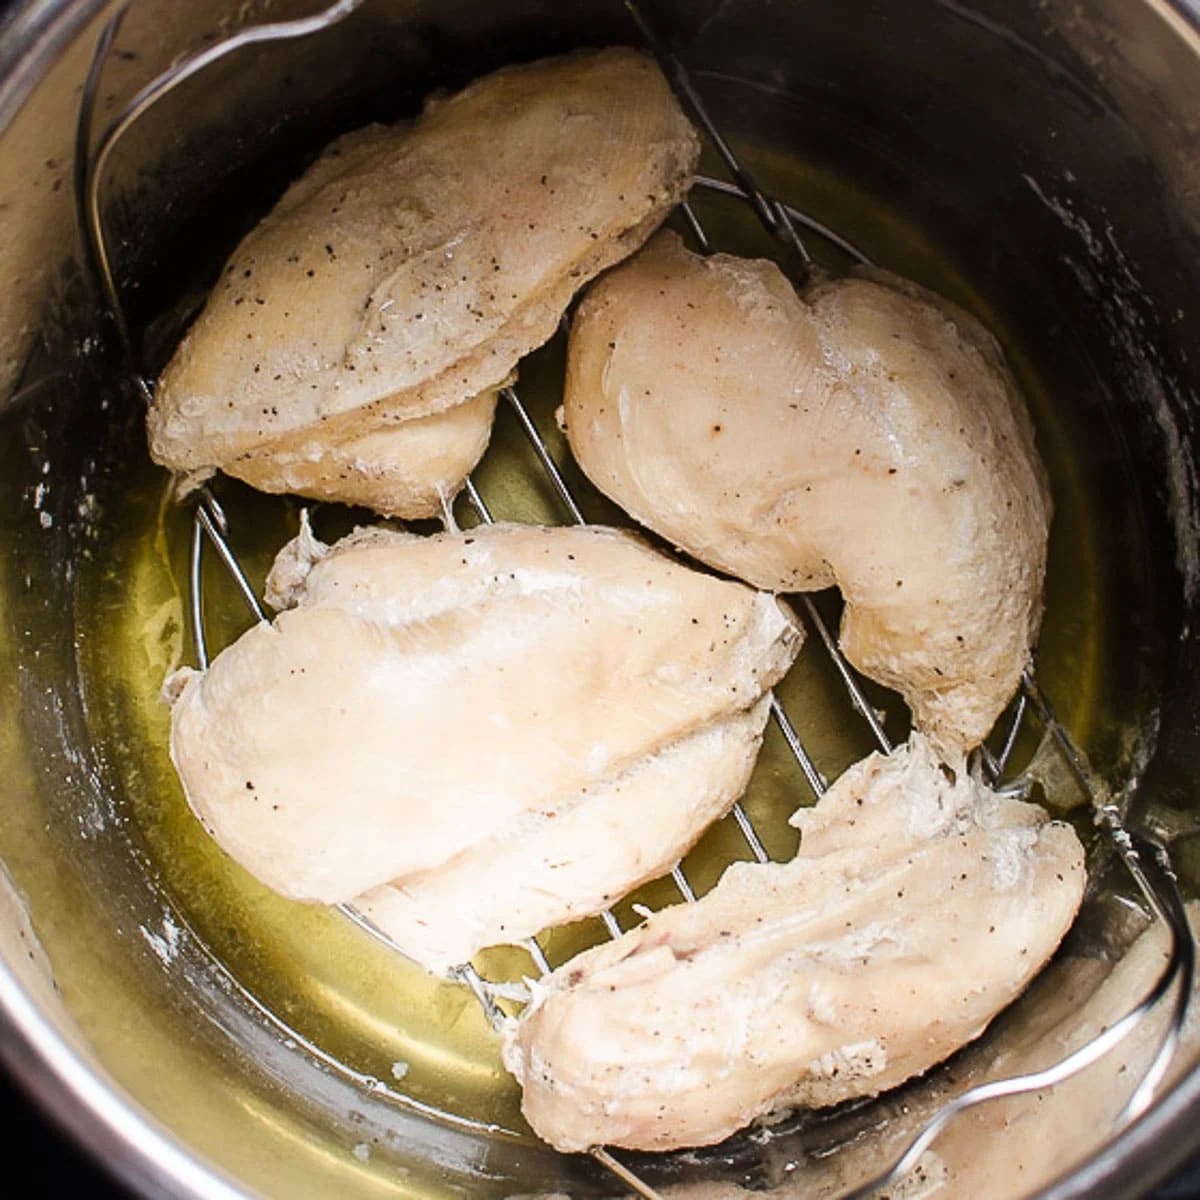
Once the pressure has been released, carefully open the lid of the electric pressure cooker. Your chicken breast should be fully cooked, tender, and flavorful. To double-check, you can use an instant-read thermometer to ensure the internal temperature reaches 165°F (74°C).
Remember that cooking times may vary depending on your specific pressure cooker model, altitude, and the thickness of your chicken breast. Always refer to the instruction manual for cooking guidelines and adjust accordingly.
With the cooking process complete, it’s time to release the pressure and check the doneness of your chicken breast. Keep reading to find out how.
Releasing the Pressure and Checking the Doneness
Once the cooking time for your chicken breast has ended, it’s important to release the pressure before opening the electric pressure cooker. Follow these steps to safely release the pressure and check the doneness of your chicken breast:
- Natural release: After the cooking time has elapsed, allow the pressure cooker to release the pressure naturally for 5 to 10 minutes. This means you will leave the pressure cooker untouched and let the pressure decrease on its own. This natural release helps the chicken breast retain its juices and prevents overcooking.
- Quick release: If you’re short on time, you can perform a quick pressure release to release the remaining pressure. Consult your pressure cooker’s manual to determine if a quick release option is available. Use caution and carefully follow the instructions for quick pressure release to prevent any accidental burns from escaping steam.
- Check the doneness: Once the pressure has been released, carefully open the lid of the pressure cooker. Use a meat thermometer to check the internal temperature of the chicken breast. The chicken should reach a minimum internal temperature of 165°F (74°C) to ensure that it is fully cooked and safe to eat. If needed, return the chicken to the pressure cooker for a few more minutes to reach the desired temperature.
Keep in mind that the cooking time and internal temperature may vary depending on the size and thickness of your chicken breast. Thicker cuts of meat may require longer cooking times to reach the proper doneness. Always use a meat thermometer to ensure that your chicken is fully cooked, as it is the most accurate way to determine doneness.
Once your chicken breast is cooked to perfection, it’s time to serve and enjoy your delicious creation. Read on to the next section to learn how to plate and serve your cooked chicken breast.
Serving and Enjoying Your Cooked Chicken Breast
Congratulations! You’ve successfully cooked tender and flavorful chicken breast in your electric pressure cooker. Now it’s time to plate, serve, and enjoy your delicious creation. Here are some tips on how to serve and savor your cooked chicken breast:
- Remove the chicken breast from the pressure cooker using tongs or a slotted spoon, allowing any excess liquid to drain off.
- Let the chicken breast rest for a few minutes to allow the juices to redistribute throughout the meat. This will help ensure that each bite is juicy and flavorful.
- Slice or shred the chicken breast as desired. You can cut it into thin slices for sandwiches, or shred it for use in salads, tacos, wraps, or casseroles.
- Plate the chicken breast and serve it alongside your favorite side dishes. Consider pairing it with steamed vegetables, roasted potatoes, grains like rice or quinoa, or a fresh salad.
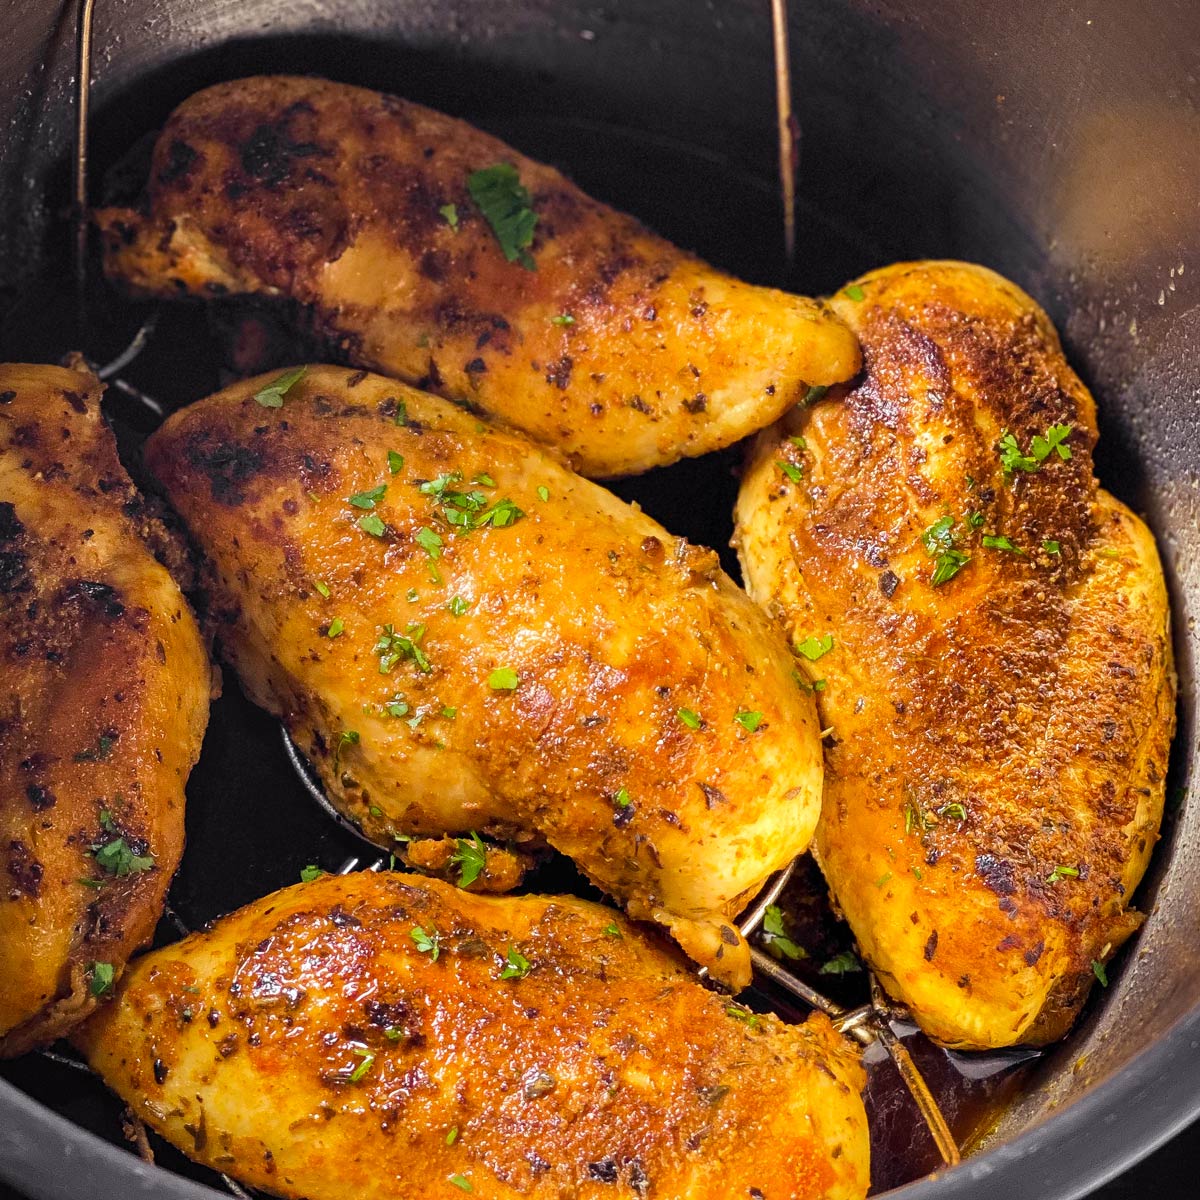
- Garnish the chicken breast with fresh herbs, such as parsley, cilantro, or basil, to add a burst of color and freshness to the dish.
- Drizzle some of the cooking liquid from the pressure cooker over the chicken breast for added moisture and flavor.
- Serve your cooked chicken breast hot and enjoy it as a standalone main dish or incorporate it into other recipes to elevate their flavor.
Get creative with how you use your cooked chicken breast. It can be a versatile ingredient in a variety of dishes, such as stir-fries, pasta dishes, quesadillas, or even added to soups or stews for some extra protein.
Remember to store any leftover cooked chicken breast properly in an airtight container in the refrigerator. It can be enjoyed cold or reheated for future meals throughout the week.
Now that you know how to cook chicken breast in an electric pressure cooker, you can easily whip up delicious and tender chicken meals for yourself, your family, and your friends. Enjoy experimenting with different seasonings and flavors to create a wide range of delectable dishes.
Conclusion
Using an electric pressure cooker to cook chicken breast is a game-changer in terms of convenience and efficiency. In just a short amount of time, you can enjoy perfectly cooked chicken that is tender, juicy, and full of flavor. By following the steps outlined in this guide, you can achieve consistent results every time.
Start by choosing high-quality chicken breast and properly preparing it by trimming any excess fat or connective tissue. Season your chicken breast with a variety of herbs, spices, and liquid seasonings to add depth and complexity to the flavor profile. Set up your electric pressure cooker following the manufacturer’s instructions, ensuring a tight seal and adding the required amount of liquid.
Cooking the chicken breast in the electric pressure cooker is a breeze. The pressure and steam work together to lock in moisture and create a tender texture. With the appropriate cooking time and pressure settings, you can achieve perfectly cooked chicken breast that is safe to eat.
After the cooking process, release the pressure and check the doneness of the chicken breast using a meat thermometer. Make sure it reaches the minimum internal temperature of 165°F (74°C) to ensure it is fully cooked. Then, it’s time to plate, serve, and enjoy your delicious creation.
Experiment with different seasonings and flavor combinations to customize your chicken breast to your taste preferences. Serve it alongside your favorite side dishes, or incorporate it into a variety of recipes for a versatile meal option.
No longer do you have to spend hours waiting for chicken breast to cook. With an electric pressure cooker, you can have a flavorful and satisfying dish on the table in no time. So, grab your electric pressure cooker and get ready to impress your family and friends with deliciously cooked chicken breast!