Introduction
Welcome to the world of Samsung Smart TVs, where you can enjoy a wide range of entertainment right from the comfort of your living room. One of the great features of these smart TVs is the ability to customize your channel lineup. Whether you want to remove unused channels, tidy up your list, or simply make room for new favorites, deleting channels on a Samsung Smart TV is a simple and straightforward process.
With the increasing number of channels available through cable, satellite, and streaming services, it’s common for users to have a long list of channels on their TV. However, not all of these channels may be relevant or of interest to you. Removing unnecessary channels can help declutter your channel lineup, making it easier to navigate and find the content you actually enjoy.
Not only does removing channels improve the user experience, but it can also optimize the TV’s performance by reducing the amount of data it needs to process. Additionally, deleting channels can free up space on your TV’s storage, allowing for smoother operation and faster response times.
In this guide, we will walk you through the step-by-step process of deleting channels on a Samsung Smart TV. Whether you prefer using the channel list, channel manager, favorites list, or all channels options, we’ve got you covered. So, grab your remote control and get ready to customize your channel lineup to match your viewing preferences!
Why Delete Channels on a Samsung Smart TV?
As technology evolves and the number of channels and streaming options continues to grow, it can become overwhelming to navigate through a long list of channels on your Samsung Smart TV. Deleting channels can offer several benefits, including:
- Streamlined Channel Lineup: Removing unnecessary channels can make it easier for you to find the content you enjoy. By eliminating channels that you never watch or have no interest in, you can create a more personalized and streamlined viewing experience.
- Improved Performance: With fewer channels to load and process, your Samsung Smart TV’s performance can be enhanced. The TV will have more resources available to run smoothly, resulting in quicker response times and a more efficient user experience.
- Optimized Storage Space: Every channel that you delete from your Samsung Smart TV frees up storage space. This can be especially beneficial if you have limited storage capacity or if you want to make room for new channels or apps.
- Reduced Clutter: Having a long list of channels can make it challenging to find the content you want, leading to frustration. By deleting channels, you can declutter your channel lineup and create a more organized and user-friendly interface.
- Parental Control: Removing certain channels from your TV’s lineup can be particularly useful for parents who want to restrict access to inappropriate or unsuitable content. By deleting these channels, you can have more control over what your children can watch.
Deleting channels on your Samsung Smart TV allows you to have full control over your viewing experience. Instead of scrolling through countless channels that you have no interest in, you can curate a collection of channels that cater to your preferences and provide the content you love.
Now that you understand the benefits of deleting channels, it’s time to learn how to remove unwanted channels from your Samsung Smart TV. Let’s dive into the step-by-step guide!
Step-by-Step Guide on How to Delete Channels on a Samsung Smart TV
Deleting channels on a Samsung Smart TV is a straightforward process that can be done using various methods. Here’s a step-by-step guide to help you remove unwanted channels from your TV:
- Method 1: Channel List:
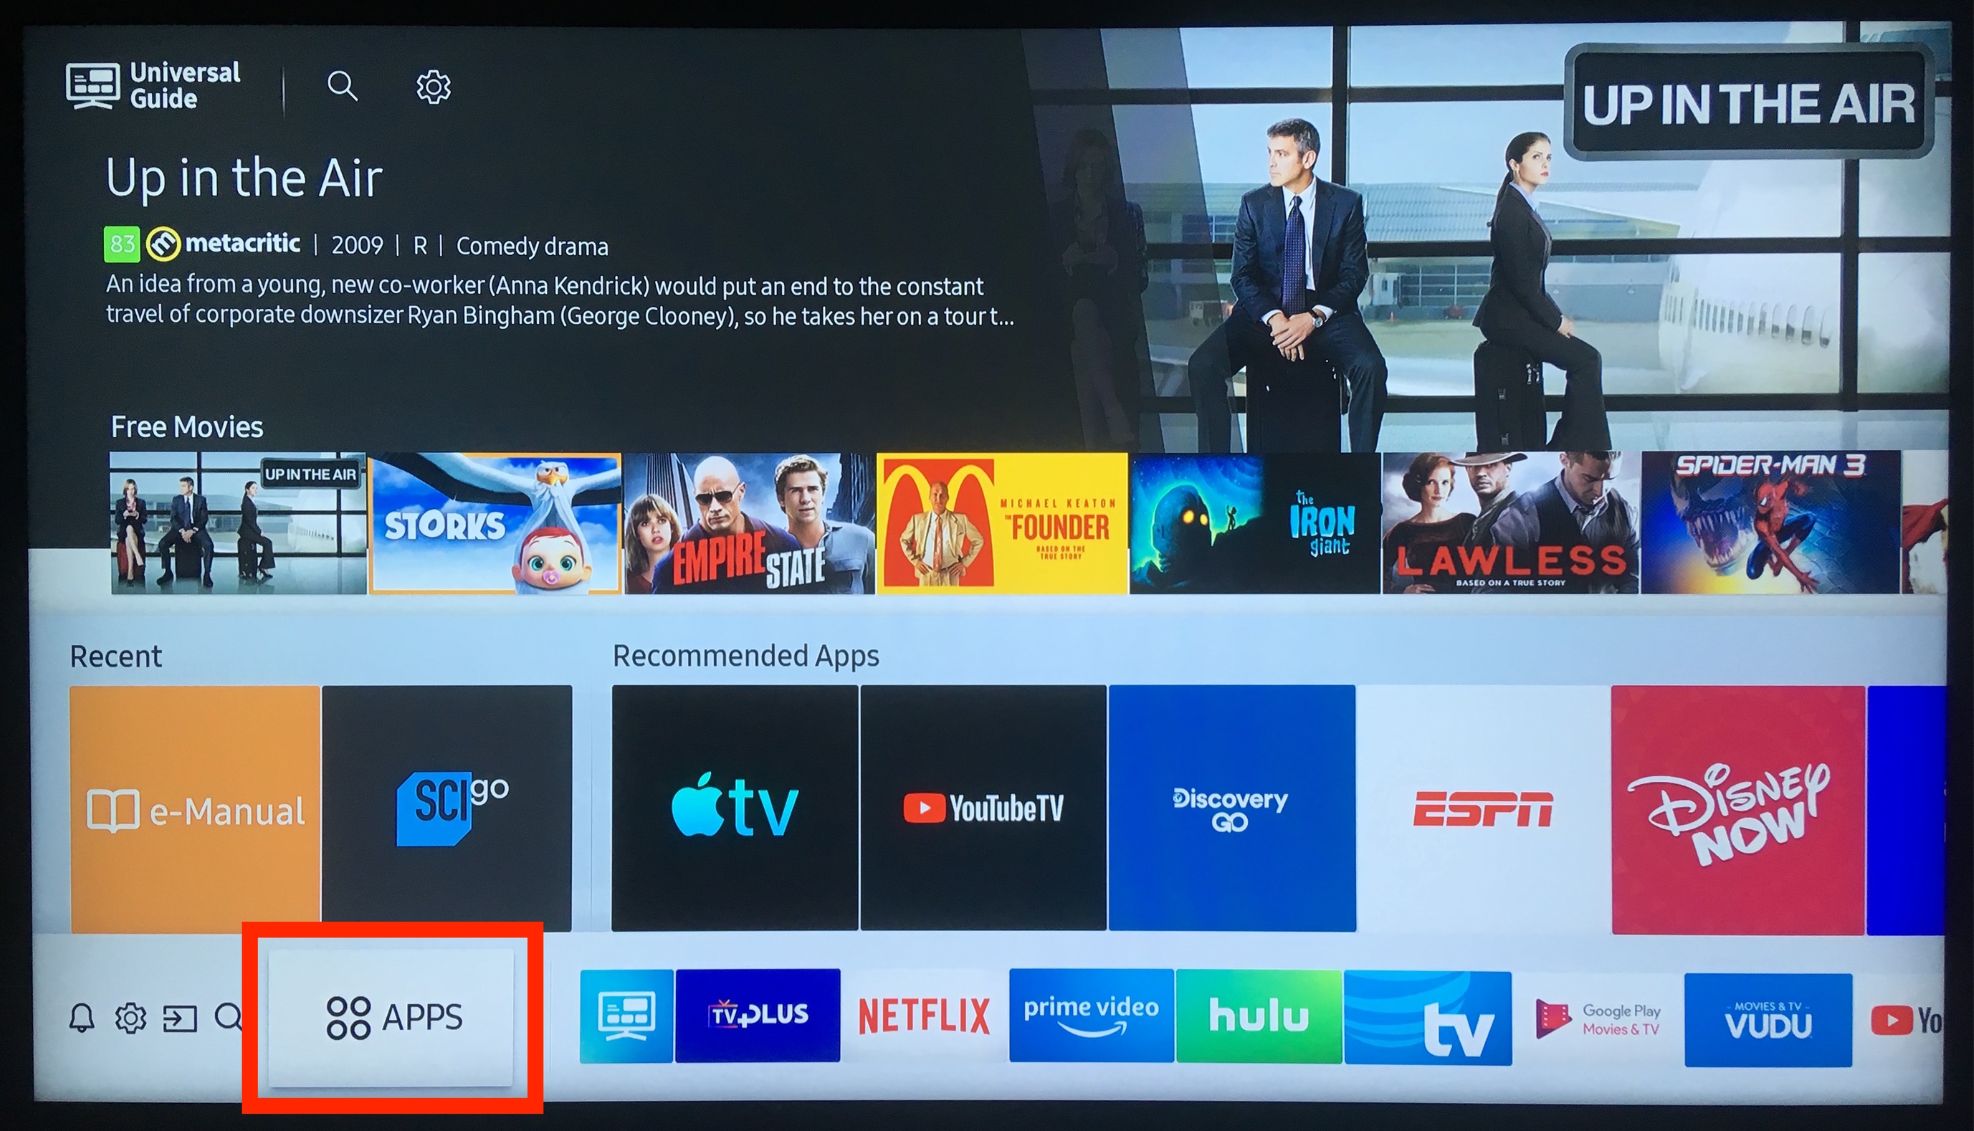
- Press the “Home” button on your remote control to access the home menu.
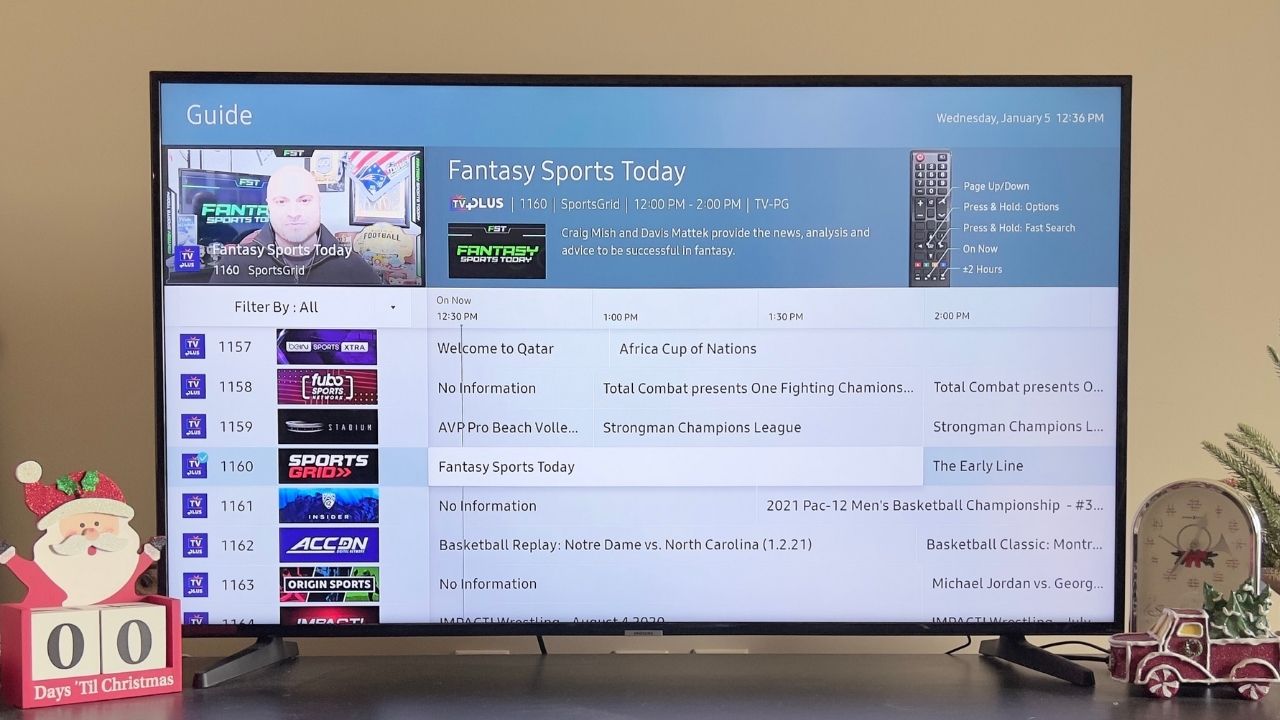
- Navigate to the “Channel List” option and select it.
- Using the arrow keys on your remote, highlight the channel you want to delete.
- Press the “Tools” button on your remote to open the channel options.
- Select “Delete” or “Remove” to delete the highlighted channel.
- Confirm the deletion when prompted.
- Repeat the above steps for any other channels you wish to delete.
- Method 2: Channel Manager:
- Press the “Home” button on your remote to go to the home menu.
- Select the “Channel” or “Settings” option from the menu.
- Choose “Channel Manager” and press the “Enter” button.
- Scroll through the list of channels and highlight the one you want to remove.
- Press the “Tools” button on your remote to access the channel options.
- Select “Delete” or “Remove” to delete the highlighted channel.
- Confirm the deletion when prompted.
- Repeat the above steps for any other channels you wish to delete.
- Method 3: Favorites List:
- Access the channel list or channel manager as mentioned in the previous methods.
- Select the “Favorites” option.
- Highlight the channel you want to remove from favorites.
- Press the “Tools” button on your remote to open the channel options.
- Select “Delete” or “Remove” to remove the channel from favorites.
- Confirm the action when prompted.
- Repeat the above steps for any other channels you wish to remove from favorites.
- Method 4: All Channels:
- Access the channel list or channel manager as mentioned before.
- Look for an option to display all channels.
- Scroll through the list and locate the channel you want to delete.
- Use the arrow keys to highlight the channel.
- Press the “Tools” button on your remote to access the channel options.
- Select “Delete” or “Remove” to delete the highlighted channel.
- Confirm the deletion when prompted.
- Repeat the above steps for any other channels you wish to delete.
With these step-by-step instructions, you can easily remove unwanted channels from your Samsung Smart TV and personalize your channel lineup. Take some time to go through your channel list and delete any channels that are no longer of interest to you. Enjoy a more organized and tailored viewing experience on your Samsung Smart TV!
Method 1: Channel List
The channel list method is one of the most common ways to delete channels on a Samsung Smart TV. It allows you to remove unwanted channels directly from the main channel list. Here’s how to do it:
- Press the “Home” button on your Samsung Smart TV remote control to access the home menu.
- Using the arrow keys on your remote, navigate to the “Channel List” option and select it.
- You will see a list of all available channels on your TV. Use the arrow keys to highlight the channel that you want to delete.
- Once the channel is highlighted, press the “Tools” button on your remote control. This will open a menu with various options for the selected channel.
- Select the “Delete” or “Remove” option from the menu to delete the highlighted channel.
- A confirmation message will appear on your screen asking if you want to delete the channel. Confirm the deletion by selecting “Yes” or “OK”.
- Repeat the above steps for any other channels you wish to delete from your Samsung Smart TV.
By using the channel list method, you can easily remove unwanted channels and customize your viewing experience. It’s a quick and convenient way to tidy up your channel lineup and remove channels that you no longer need or want.
Remember that deleting a channel from the channel list will remove it completely from your TV. If you change your mind or want to restore a deleted channel, you may need to perform a channel rescan or re-add the channel manually.
Now that you’ve learned how to delete channels using the channel list method, let’s move on to exploring other methods to remove unwanted channels from your Samsung Smart TV.
Method 2: Channel Manager
The Channel Manager is another effective method for deleting channels on your Samsung Smart TV. This method provides more advanced options for managing your channel lineup. Follow the steps below to delete channels using the Channel Manager:
- Press the “Home” button on your Samsung Smart TV remote control to access the home menu.
- Select the “Channel” or “Settings” option from the menu. The location of this option may vary depending on your TV model.
- In the Channel or Settings menu, look for the “Channel Manager” option and press the “Enter” button on your remote control to select it.
- You will see a list of channels displayed on your screen. Use the arrow keys on your remote to navigate through the list and highlight the channel that you want to delete.
- Once the desired channel is highlighted, press the “Tools” button on your remote control. This will open a menu with additional options for the selected channel.
- Select the “Delete” or “Remove” option from the menu to delete the highlighted channel.
- A confirmation message will appear on your screen, asking if you want to delete the channel. Confirm the deletion by selecting “Yes” or “OK”.
- Repeat the above steps for any other channels you wish to delete using the Channel Manager.
Utilizing the Channel Manager provides you with more control over your channel lineup. It allows you to organize, edit, and delete channels with ease, ensuring that your Samsung Smart TV is customized to your preferences.
Keep in mind that deleting a channel using the Channel Manager removes it completely from your TV’s list of available channels. If you ever change your mind or want to restore a deleted channel, you may need to perform a channel rescan or manually add the channel back.
Now that you’re familiar with the Channel Manager method, let’s explore additional methods to delete channels on your Samsung Smart TV.
Method 3: Favorites List
The Favorites List method allows you to remove channels specifically from your favorites list on your Samsung Smart TV. This method is especially handy if you have curated a list of favorite channels and want to refine it further. Follow the steps below to delete channels from your favorites list:
- Access the channel list or channel manager on your Samsung Smart TV using either the remote control or on-screen menu navigation.
- Once you are in the channel list or channel manager, look for an option that allows you to view your favorites list. The location of this option may vary depending on your TV model.
- Select the “Favorites” option to display your list of favorite channels.
- Navigate through the list and highlight the channel that you want to remove from the favorites list.
- Press the “Tools” button on your remote control. This will open a menu with various options for the selected channel.
- Select the “Delete” or “Remove” option from the menu to remove the highlighted channel from your favorites list.
- A confirmation message will appear on your screen, asking if you want to delete the channel from your favorites. Confirm the action by selecting “Yes” or “OK”.
- Repeat the above steps for any other channels you wish to remove from your favorites list.
The Favorites List method allows you to fine-tune your preferred channels and ensure that your favorites list only includes the channels you truly enjoy. By removing unwanted channels from this list, you can create a personalized collection of channels that cater to your viewing preferences.
Remember, deleting a channel from your favorites list does not delete it from the main channel list. The channel will still be available for viewing, but it will no longer be included in your favorites list.
Now that you’ve learned how to delete channels from your favorites list, let’s explore additional methods to delete channels on your Samsung Smart TV.
Method 4: All Channels
If you want to delete channels on your Samsung Smart TV without navigating through specific lists or menus, the “All Channels” method is a convenient option. Here’s how you can delete channels using this method:
- Access the channel list or channel manager on your Samsung Smart TV using the remote control or on-screen menu navigation.
- Within the channel list or channel manager, look for an option that allows you to view all channels at once. This option may be labeled as “All Channels” or something similar.
- Scroll through the list of channels and locate the channel you want to delete.
- Use the arrow keys or navigation buttons on your remote control to highlight the channel you wish to remove.
- Press the “Tools” button on your remote control. This will open a menu with various options for the highlighted channel.
- Select the “Delete” or “Remove” option from the menu to delete the channel.
- Confirm the deletion when prompted by selecting “Yes” or “OK”.
- Repeat the above steps for any other channels you wish to delete.
The “All Channels” method provides a quick and straightforward way to delete channels without having to navigate through specific lists or menus. It allows you to delete unwanted channels directly, providing a more streamlined channel deletion process.
Remember that deleting a channel using the “All Channels” method removes it from your TV’s channel lineup entirely. If you ever want to restore a deleted channel, you may need to perform a channel rescan or manually add the channel back.
Now that you are familiar with all four methods of deleting channels on your Samsung Smart TV, you have the flexibility to choose the method that suits your preference and easily customize your channel lineup.
How to Restore Deleted Channels on a Samsung Smart TV
If you have mistakenly deleted a channel or want to restore a previously deleted channel on your Samsung Smart TV, don’t worry! There are a few methods you can try to restore deleted channels:
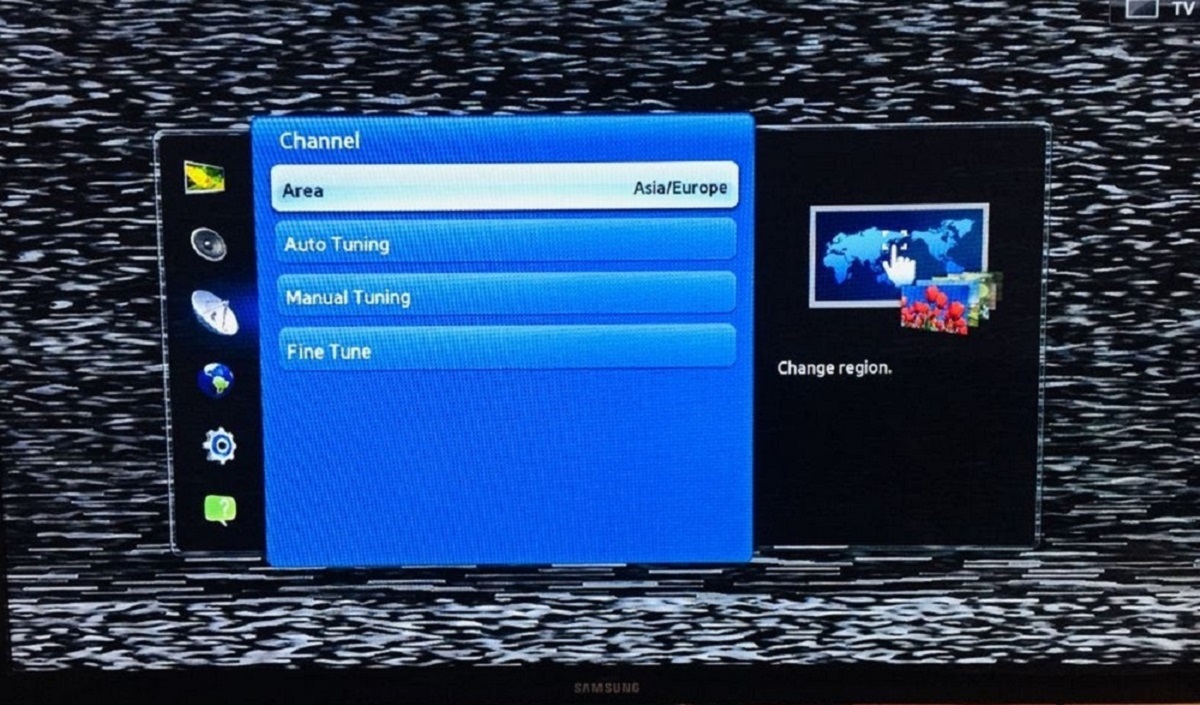
- Perform a Channel Rescan:
- Access the settings or channel menu on your Samsung Smart TV.
- Look for the “Channel Scan,” “Auto Program,” or “Channel Add” option.
- Select the option to rescan for channels.
- Allow the TV to scan for available channels, including the ones you have previously deleted.
- Once the scan is complete, the deleted channels should reappear in your channel list.
- Manual Channel Addition:
- If the channel you want to restore is not automatically added during the channel scan, you can try manually adding it.
- Access the settings or channel menu on your Samsung Smart TV.
- Look for the “Manual Add” or “Add Channel” option.
- Enter the frequency or channel number for the deleted channel.
- Follow the on-screen instructions to complete the channel addition process.
- The channel should now be restored and available for viewing.
- Contact your Service Provider:
- If the deleted channel is a cable or satellite channel, you can contact your service provider for assistance in restoring the channel.
- They may be able to guide you through the necessary steps or remotely add the channel back to your TV’s lineup.
- Provide them with the specific channel details to help expedite the process.
It’s important to note that the availability of these options may vary depending on your specific Samsung Smart TV model and the service provider you are using.
If you are still unable to restore the deleted channel on your Samsung Smart TV after attempting these methods, it’s recommended to consult the user manual or reach out to Samsung customer support for further assistance.
Now that you know how to restore deleted channels, you have the flexibility to undo any accidental deletions and enjoy your desired channel lineup on your Samsung Smart TV.
Conclusion
Deleting channels on your Samsung Smart TV is a simple and effective way to personalize your viewing experience. Whether you want to remove unused channels, tidy up your channel list, or make room for new favorites, there are multiple methods available to delete channels on your Samsung Smart TV.
By utilizing the Channel List, Channel Manager, Favorites List, or All Channels options, you can easily remove unwanted channels and create a customized channel lineup that matches your preferences. Deleting channels not only streamlines your TV’s interface but also improves performance and optimizes storage space.
If you accidentally delete a channel or need to restore a previously deleted channel, there are options available. Performing a channel rescan or manually adding the channel can help restore deleted channels. Additionally, contacting your service provider can provide further assistance in restoring specific cable or satellite channels.
Remember to consult your Samsung Smart TV’s user manual or reach out to customer support if you encounter any difficulties or have specific questions regarding channel deletion or restoration.
With the knowledge gained from this guide, you can confidently navigate your Samsung Smart TV’s settings and effectively manage your channel lineup. Customize your viewing experience and enjoy seamless and personalized entertainment right from the comfort of your living room.