Introduction
Welcome to the world of LG OLED TVs! These cutting-edge televisions offer unparalleled picture quality and innovative features, making them a popular choice among consumers. One of the customizable aspects of an LG OLED TV is the ability to change the name of your TV provider. Whether you’ve recently switched providers or want to personalize your TV settings, this guide will walk you through the step-by-step process.
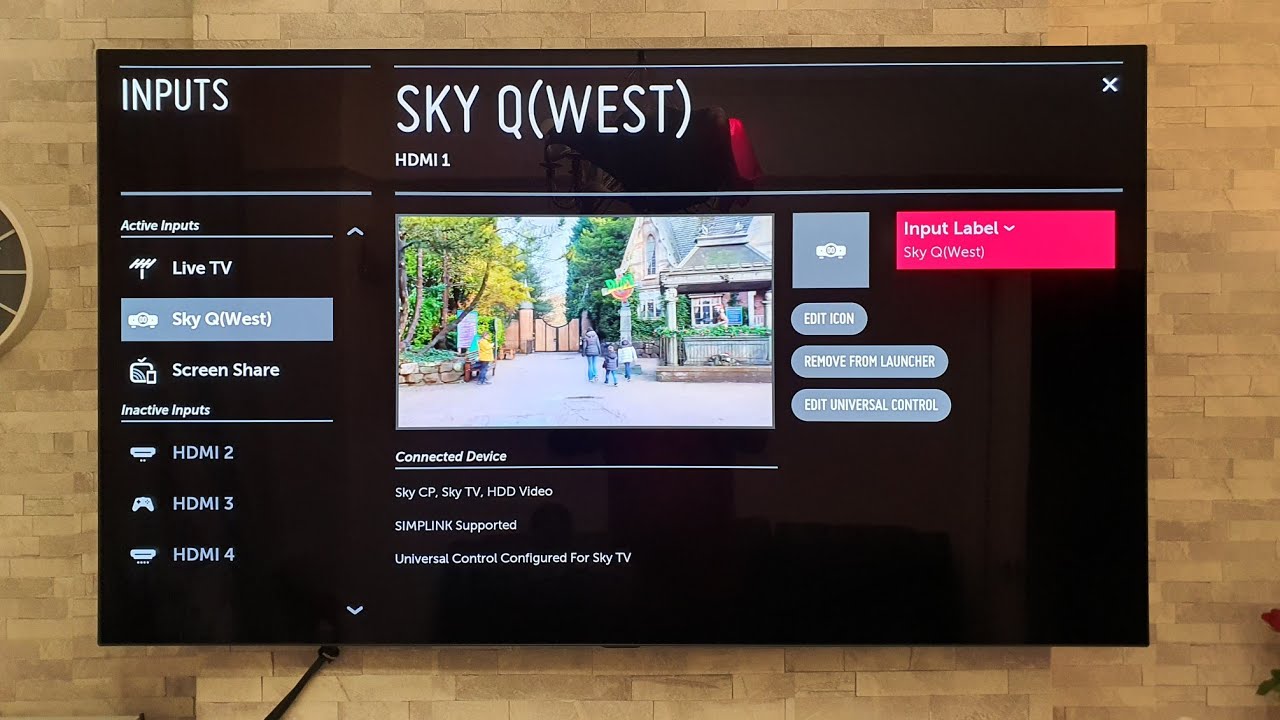
Changing the name of your TV provider on an LG OLED TV can be done easily through the Settings menu. The TV provider name is displayed when you access certain features, such as the electronic program guide or channel information. By personalizing this name, you can easily distinguish your TV provider and make it reflect your preferences.
In this guide, we’ll provide you with a detailed walkthrough of the steps required to change the name of your TV provider on an LG OLED TV. From accessing the Settings menu to saving and applying the changes, we’ll cover everything you need to know to successfully update the TV provider name on your television.
So, let’s dive in and explore how you can personalize your LG OLED TV by changing the TV provider name!
Step 1: Accessing the Settings menu
To begin the process of changing the name of your TV provider on an LG OLED TV, you’ll first need to access the Settings menu. This menu contains all the customizable options and settings for your television.
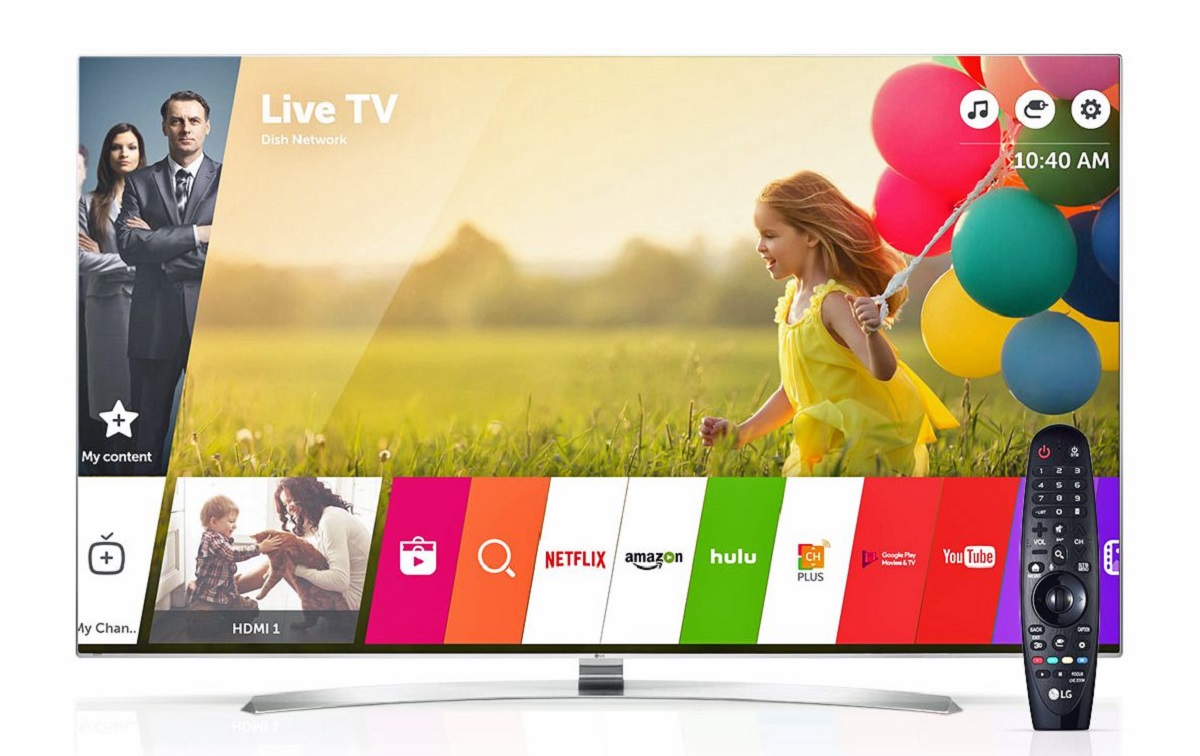
Start by grabbing your TV remote and pressing the Home button. This will bring up the main menu on your TV screen. Use the arrow keys on the remote to navigate to the right and select the “Settings” option. The Settings menu will now appear, offering a range of different options.
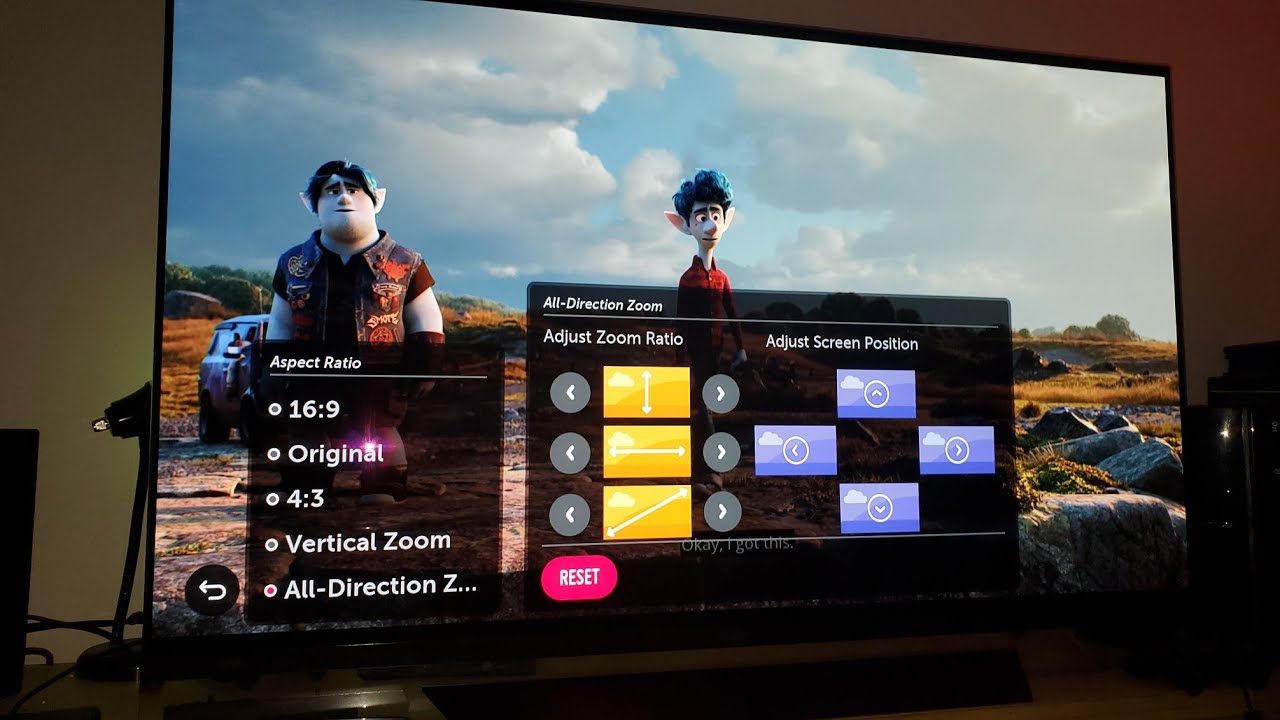
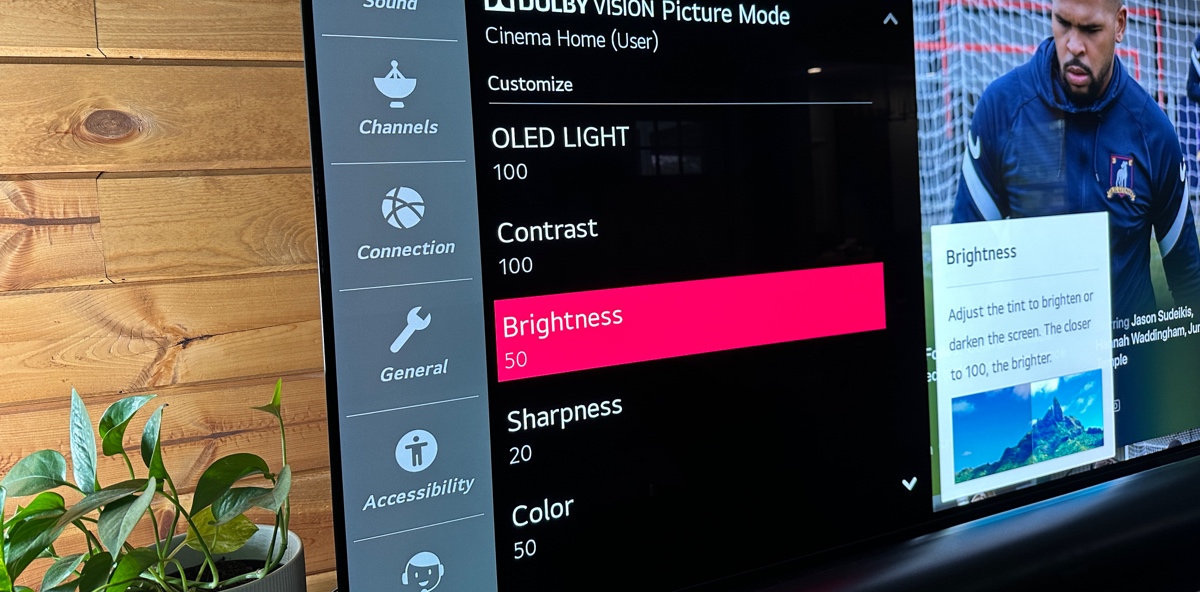
Scroll down through the settings until you find the “All Settings” option. This will provide access to the full array of customization options available for your LG OLED TV. Once you’ve located “All Settings,” highlight it and press the OK button on your remote to enter.
Now, you’re in the full settings menu, where you can modify various aspects of your television. Take a moment to familiarize yourself with the different sections and options available. The next step will involve finding the specific option to change the TV provider name, so keep this in mind as you navigate through the menu.
Accessing the Settings menu is the first step in the process of updating the name of your TV provider on an LG OLED TV. Once you’re in the settings menu, you’re ready to move on to the next step and find the section where the TV provider name can be modified.
Step 2: Navigating to the Channel Tuning section
Now that you have entered the Settings menu of your LG OLED TV, it’s time to navigate to the section where you can modify the TV provider name. This can typically be found in the Channel Tuning section of the settings.
In the Settings menu, use the arrow keys on your remote to scroll down until you reach the “General” category. Highlight it and press the OK button on your remote to access the General settings.
Within the General settings, you’ll find a list of different options. Look for an option called “Channel” or “Channel Tuning.” This is the section where you can manage and customize your TV channels, including the TV provider name.
Navigate to the “Channel” or “Channel Tuning” option and select it by pressing the OK button on your remote. This will take you to a new screen with more specific settings related to channel tuning.
Within the Channel Tuning section, you may find options like “Channel Edit,” “Channel List,” or “Channel Setup.” The naming may vary slightly depending on the model of your LG OLED TV. Look for any option that allows you to manage and edit specific channel settings.
It’s important to note that the location of the Channel Tuning section may vary slightly between LG OLED TV models. In some cases, it may be located within the “Advanced” settings category or under a different name. If you’re having trouble finding it, refer to the user manual for your specific TV model or explore the different settings options to locate it.
Navigating to the Channel Tuning section is an essential part of the process to change the TV provider name on your LG OLED TV. Once you’re in this section, you’re ready to proceed to the next step and modify the TV provider name.
Step 3: Changing the name of the TV provider
Now that you have successfully navigated to the Channel Tuning section, it’s time to change the name of your TV provider on your LG OLED TV. This step allows you to customize the displayed name and make it reflect your preferred TV provider.
Within the Channel Tuning section, look for the option called “TV Provider” or “Provider Name.” It may be located under the “Channel Edit,” “Channel List,” or similar settings subcategory.
Select the “TV Provider” or “Provider Name” option by highlighting it and pressing the OK button on your remote. This will open a screen where you can edit the name.
Using the on-screen keyboard, you can now modify the existing TV provider name to your desired name. Simply navigate to each letter, number, or symbol using the arrow keys on your remote and press the OK button to select it.
Depending on the model of your LG OLED TV, you may have constraints on the length or type of characters allowed for the TV provider name. It’s important to adhere to any guidelines or restrictions provided on the screen to ensure that the name change is accepted.
Feel free to get creative with the TV provider name, but make sure it’s something recognizable and meaningful to you. The new name will be displayed on certain features of the TV, so it’s helpful to choose something that distinguishes your TV provider.
Take your time to enter the new name accurately and double-check for any errors or typos. Once you’re satisfied with the modified TV provider name, you’re ready to save and apply the changes.
Changing the name of the TV provider is a crucial step in personalizing your LG OLED TV. By customizing this name, you can make it reflect your preferred TV provider and add a personalized touch to your television settings.
Step 4: Saving and applying the new name
After you have successfully edited the name of your TV provider, it’s time to save and apply the changes to your LG OLED TV. This step ensures that the new TV provider name is displayed correctly on the relevant features of your television.
Once you have entered the desired name for your TV provider, navigate to the option that allows you to save the changes. This is typically labeled as “Save,” “Apply,” or “OK.” Highlight the option and press the OK button on your remote to confirm and save the new TV provider name.
After saving the changes, you may be prompted with a confirmation message indicating that the new name has been successfully applied. Take a moment to review this message and ensure that the TV provider name has been updated as desired.
Once you have confirmed the changes, exit the settings menu by pressing the Home button on your remote. This will take you back to the main menu of your LG OLED TV.
Now, when you access certain features like the electronic program guide or channel information, the updated TV provider name you entered will be displayed, making it easy for you to identify your preferred TV provider.
It’s important to note that the new TV provider name will only be visible on certain features of your TV. It will not affect the actual TV programming or signal. However, it adds a personalized touch and helps you differentiate between TV providers if you have multiple services connected to your TV.
Congratulations! You have successfully changed the name of your TV provider on your LG OLED TV. Enjoy the personalized experience and easily identify your TV provider on your television.
With the new TV provider name applied, you can now navigate through your LG OLED TV and enjoy the full range of features and functionality it offers.
Conclusion
Changing the name of the TV provider on your LG OLED TV is a simple and effective way to personalize your television settings. By following the step-by-step process outlined in this guide, you can easily update the TV provider name according to your preferences.
Starting with accessing the Settings menu, you navigated to the Channel Tuning section, where the TV provider name can be modified. By selecting the appropriate option, you were able to enter a new name using the on-screen keyboard. After ensuring the accuracy and creativity of the new name, you saved and applied the changes to your LG OLED TV.
After completing these steps, the updated TV provider name will be displayed on certain features of your television, such as the electronic program guide or channel information. This allows for easy identification and personalization of your preferred TV provider.
Remember to consult the user manual for your specific LG OLED TV model if you encounter any difficulties or have trouble locating specific options within the settings menu. Additionally, feel free to explore other customizable features and settings to further enhance your viewing experience.
Now that you have successfully changed the TV provider name, enjoy the personalized touch it brings to your LG OLED TV and make the most out of your entertainment experience!