Introduction
Transferring files to your Amazon Fire Tablet can be a simple and convenient way to access and enjoy your favorite content on the go. Whether it’s transferring documents, photos, videos, or music, there are various methods available to efficiently move files from your computer to your tablet.
With its sleek design, vibrant display, and user-friendly interface, the Amazon Fire Tablet has become a popular device for reading e-books, watching movies, listening to music, and more. However, the process of transferring files to your tablet may seem daunting at first. But fear not, as we will guide you through the different options available to connect your tablet to a computer and transfer files seamlessly.
There are two primary methods for transferring files to your Amazon Fire Tablet: using a USB cable or utilizing Wi-Fi transfer. Both methods have their own benefits and can be easily set up to enable efficient and effortless file transfers.
In this article, we will walk you through the step-by-step process of connecting your Amazon Fire Tablet to a computer using a USB cable, as well as configuring and utilizing Wi-Fi transfer. You will learn how to transfer files using popular operating systems such as Windows and Mac and explore the different tools and apps available for Wi-Fi transfer. By the end of this guide, you will have the necessary knowledge to transfer files to your Amazon Fire Tablet with ease.
So, whether you want to transfer your favorite e-books for a long journey, sync your photos to enjoy them on a larger screen, or load your tablet with your favorite music playlist, this article will provide you with the essential information to successfully transfer files to your Amazon Fire Tablet.
Connecting your Amazon Fire Tablet to a Computer
Before you can start transferring files to your Amazon Fire Tablet, you need to establish a connection between your tablet and a computer. There are two main methods you can use: using a USB cable or utilizing Wi-Fi transfer.
Option 1: Using a USB Cable
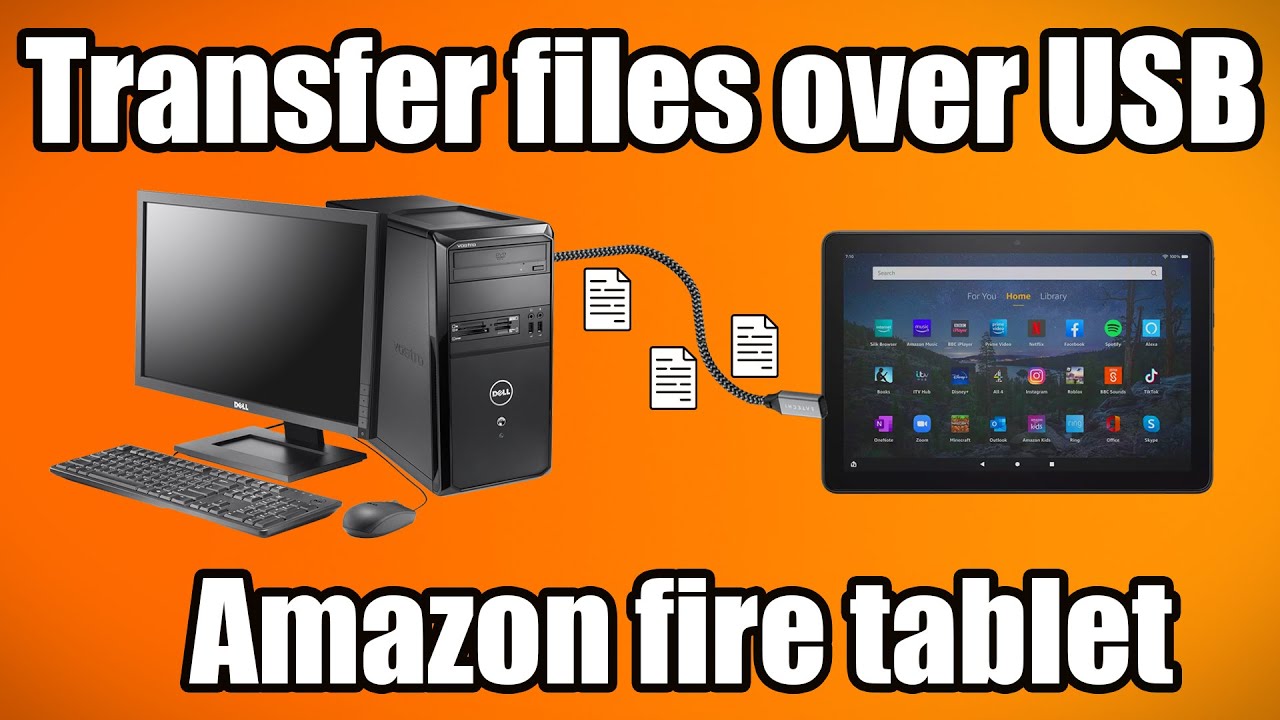
The most common and straightforward method of connecting your Amazon Fire Tablet to a computer is by using a USB cable. The tablet comes with a micro-USB port that allows for seamless data transfer between devices.
To begin, locate the micro-USB port on your tablet and the corresponding USB port on your computer. Connect the two devices using a compatible USB cable. Once connected, your tablet should prompt you to choose a connection mode. Select the option that allows for file transfer or enables USB storage. This may vary depending on the specific model of your Amazon Fire Tablet.
Once your tablet is recognized by the computer, you can proceed with transferring files using various methods depending on your operating system.
Option 2: Using Wi-Fi Transfer
If you prefer a wireless method, you can use Wi-Fi transfer to connect your Amazon Fire Tablet to a computer. This method offers the convenience of transferring files without the need for a physical cable.
To utilize Wi-Fi transfer, both your tablet and computer must be connected to the same Wi-Fi network. You will also need to install a compatible app or set up a built-in Wi-Fi transfer feature on your tablet, which we will discuss in detail later.
Wi-Fi transfer allows for easy and quick access to your tablet’s files from your computer, providing flexibility in transferring and managing your files wirelessly.
Now that you understand the two main methods for connecting your Amazon Fire Tablet to a computer, let’s delve into the step-by-step processes of transferring files using these methods. We will explore file transfer options using a USB cable for both Windows and Mac operating systems, as well as the different approaches to Wi-Fi transfer.
Option 1: Using a USB Cable
Using a USB cable is the most common and straightforward method for transferring files from your computer to your Amazon Fire Tablet. This method allows for a direct connection between the two devices, enabling fast and secure file transfers.
Here are the steps to transfer files using a USB cable:
Method 1: Using File Explorer on Windows
- Connect your Amazon Fire Tablet to your computer using a USB cable.
- On your tablet, select the USB connection mode that allows for file transfer or USB storage.
- On your computer, open File Explorer or This PC.
- You should see your Amazon Fire Tablet listed as a connected device.
- Double-click on your tablet’s name to open it and browse its contents.
- Navigate to the location on your computer where the files you want to transfer are located.
- Select the files you want to transfer and either drag them directly to the tablet’s folder or use the copy and paste commands.
- Wait for the files to be transferred completely. Once done, you can safely disconnect your tablet from the computer.
Method 2: Using Android File Transfer on Mac
- Download and install Android File Transfer on your Mac from the official Android website.
- Connect your Amazon Fire Tablet to your Mac using a USB cable.
- On your tablet, select the USB connection mode that allows for file transfer or USB storage.
- Open Android File Transfer on your Mac. The app should automatically detect your connected tablet.
- Click on your tablet’s name to access its internal storage.
- Navigate to the folder on your Mac where the files you want to transfer are located.
- Select the files you want to transfer and drag them to the Android File Transfer window.
- Wait for the files to be transferred completely. Once done, you can safely disconnect your tablet from the computer.
By following these steps, you can easily transfer files from your computer to your Amazon Fire Tablet using a USB cable. Remember to safely disconnect your tablet from the computer after the file transfer is complete to avoid any potential data loss or damage to your device.
Option 2: Using Wi-Fi Transfer
If you prefer a wireless method for transferring files to your Amazon Fire Tablet, you can utilize Wi-Fi transfer. This method allows you to connect your tablet and computer over the same Wi-Fi network, eliminating the need for a physical USB cable.
Here are the steps to transfer files using Wi-Fi transfer:
Setting Up Wi-Fi Transfer on your Amazon Fire Tablet
- Ensure that your Amazon Fire Tablet is connected to the same Wi-Fi network as your computer.
- Open the settings on your tablet and navigate to the “Storage” or “Device Options” section.
- Enable the file transfer mode or Wi-Fi transfer feature, which may be called “Transfer files over Wi-Fi” or something similar.
- Take note of the FTP address and port number provided on the screen.
Transferring Files via Wi-Fi using a Web Browser
- On your computer, open a web browser (such as Chrome, Firefox, or Safari).
- Type the FTP address and port number provided on your tablet into the address bar of the web browser.
- Press Enter and the web browser should establish a connection with your tablet.
- Navigate to the desired folder on your tablet where you want to transfer the files.
- On your computer, locate the files you want to transfer.
- Drag and drop the files into the web browser window to initiate the transfer.
- Wait for the files to be transferred completely. Once done, you can close the web browser connection.
Transferring Files via Wi-Fi using an App
- On your Amazon Fire Tablet, open the app store and search for a wireless file transfer app like “Send Anywhere” or “File Transfer Pro”.
- Download and install the app of your choice.
- Launch the app and follow the on-screen instructions to set it up.
- On your computer, open a web browser and type the provided IP address or scan the QR code displayed in the app on your tablet.
- Once the connection is established, you can use the app’s interface to browse and select the files you want to transfer.
- Initiate the file transfer and wait for it to complete.
Using Wi-Fi transfer offers the flexibility and convenience of transferring files wirelessly between your computer and your Amazon Fire Tablet. Just ensure that both devices are connected to the same Wi-Fi network and follow the steps for web browser or app-based file transfer.
Transferring Files using USB Cable
Transferring files from your computer to your Amazon Fire Tablet using a USB cable is a simple and direct method. By connecting the two devices, you can easily transfer documents, photos, videos, and more.
Method 1: Using File Explorer on Windows
If you are using a Windows computer, follow these steps:
- Connect your Amazon Fire Tablet to your computer using a USB cable.
- On your tablet, select the USB connection mode that allows for file transfer or USB storage.
- On your computer, open File Explorer or This PC.
- Look for your Amazon Fire Tablet listed as a connected device.
- Double-click on your tablet’s name to open it and access its contents.
- Navigate to the location on your computer where the files you want to transfer are stored.
- Select the files you want to transfer and either drag them directly to the tablet’s folder or use the copy and paste commands.
- Wait for the files to complete transferring before safely disconnecting your tablet from the computer.
Method 2: Using Android File Transfer on Mac
If you are using a Mac, follow these steps:
- Download and install Android File Transfer from the official Android website.
- Connect your Amazon Fire Tablet to your Mac using a USB cable.
- On your tablet, select the USB connection mode that allows for file transfer or USB storage.
- Open Android File Transfer on your Mac. The app should automatically detect your connected tablet.
- Click on your tablet’s name to access its internal storage.
- Navigate to the folder on your Mac where the files you want to transfer are located.
- Select the files you want to transfer and drag them into the Android File Transfer window.
- Wait for the file transfer to complete before safely disconnecting your tablet from the computer.
By following these steps, you can easily transfer files from your computer to your Amazon Fire Tablet using a USB cable. Whether you are using a Windows computer or a Mac, the process is straightforward and allows for efficient file transfer.
Method 1: Using File Explorer on Windows
Transferring files from your Windows computer to your Amazon Fire Tablet using File Explorer is a convenient and straightforward method. With File Explorer, you can easily navigate your computer’s files and transfer them to your tablet.
Follow these steps to transfer files using File Explorer on Windows:
- Connect your Amazon Fire Tablet to your Windows computer using a USB cable.
- On your tablet, tap on the notification that appears, and select the option to enable file transfer or USB storage.
- On your Windows computer, press the Windows key + E or navigate to the Start menu and open File Explorer.
- In File Explorer, you should see your Amazon Fire Tablet listed under “This PC” or as a removable storage device.
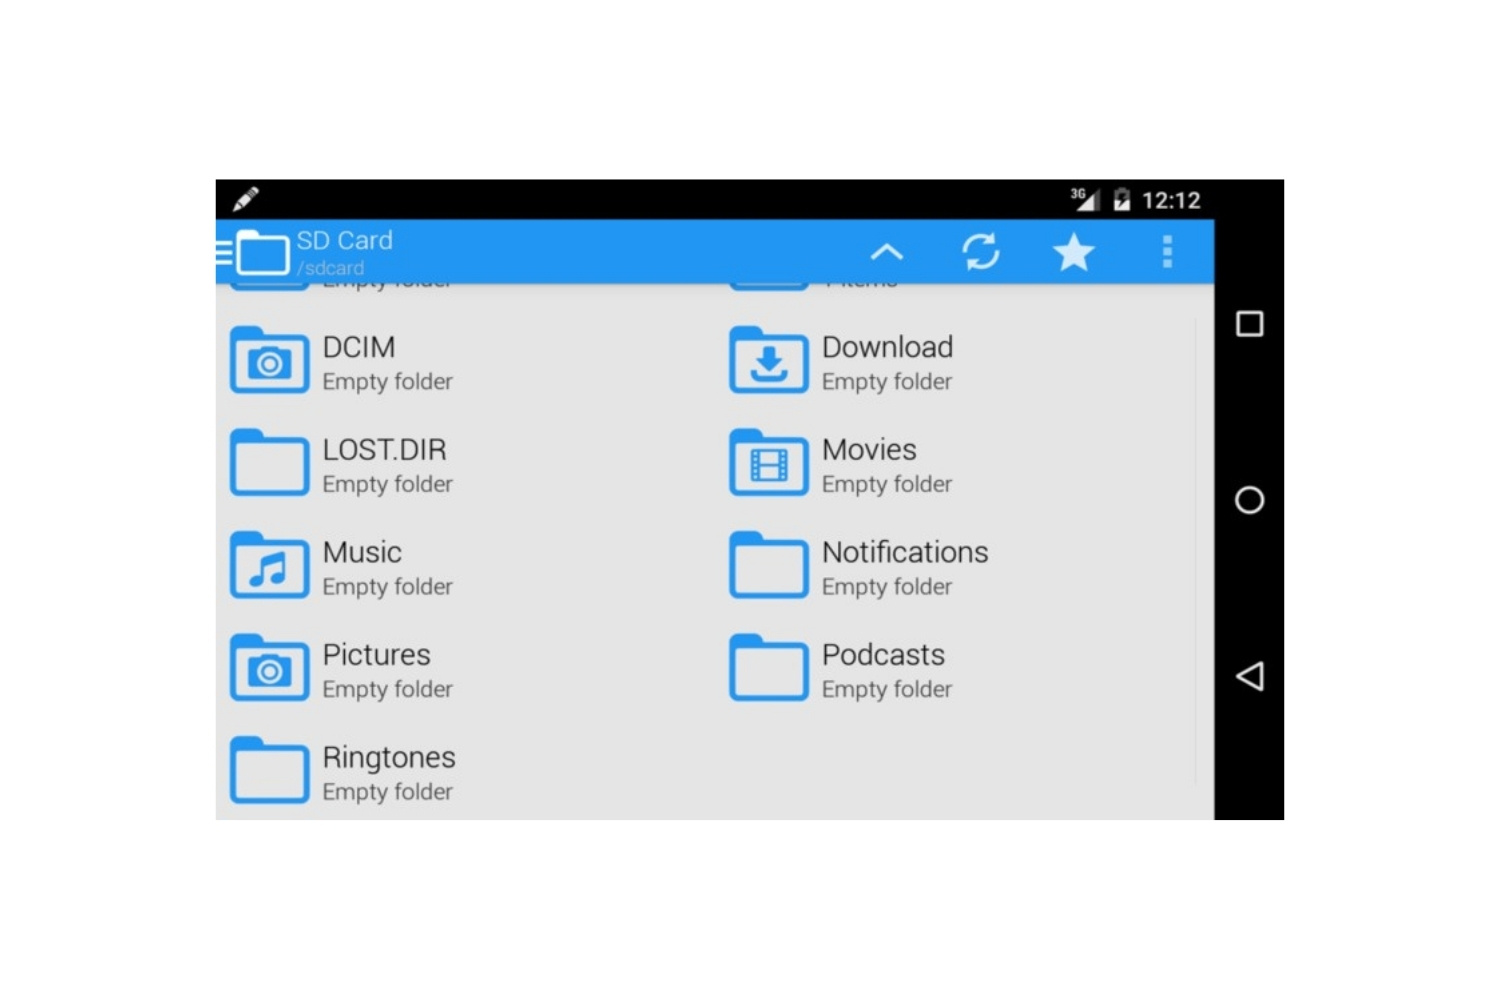
- Double-click on your tablet’s name to open it and access its internal storage.
- Navigate to the location on your computer where the files you want to transfer are stored.
- Select the files you want to transfer by clicking on them or using Ctrl + A to select all files.
- Right-click on the selected files and choose “Copy” from the context menu.
- Go back to the open window for your tablet’s internal storage in File Explorer.
- Right-click inside the folder and choose “Paste” to transfer the files to your tablet.
- Wait for the file transfer to complete before safely disconnecting your tablet from the computer.
By following these steps, you can easily transfer files from your Windows computer to your Amazon Fire Tablet using File Explorer. Whether it’s documents, photos, videos, or music, you can easily organize and transfer your files to enjoy them on your tablet.
Method 2: Using Android File Transfer on Mac
If you are using a Mac, you can transfer files from your computer to your Amazon Fire Tablet using the Android File Transfer application. This method allows for seamless file transfer between your Mac and your tablet.
Here’s how you can transfer files using Android File Transfer on a Mac:
- Connect your Amazon Fire Tablet to your Mac using a USB cable.
- On your tablet, tap on the notification that appears, and select the option to enable file transfer or USB storage.
- On your Mac, open a web browser and visit the official Android File Transfer website.
- Download Android File Transfer and install it on your Mac.
- Once installed, locate and open Android File Transfer from your Applications folder.
- On your tablet, you might need to confirm the USB connection for file transfer.
- In the Android File Transfer app on your Mac, you should see the internal storage of your tablet.
- To transfer files, navigate to the folder on your Mac where the files are located.
- Select the files you want to transfer by clicking on them or using Command + A to select all files.
- Drag and drop the selected files from your Mac’s folder to the Android File Transfer window.
- Wait for the file transfer to complete before safely disconnecting your tablet from the computer.
By following these steps, you can easily transfer files from your Mac to your Amazon Fire Tablet using the Android File Transfer application. Whether it’s photos, videos, music, or other types of files, you can easily manage and transfer them between your Mac and your tablet.
Transferring Files via Wi-Fi
If you prefer a wireless method for transferring files to your Amazon Fire Tablet, you can utilize Wi-Fi transfer. This method allows you to connect your tablet and computer over the same Wi-Fi network, eliminating the need for a physical USB cable.
There are two common approaches for transferring files via Wi-Fi:
Setting Up Wi-Fi Transfer on your Amazon Fire Tablet
Before you can start transferring files via Wi-Fi, you need to set it up on your Amazon Fire Tablet. Here are the steps:
- Ensure that your Amazon Fire Tablet is connected to the same Wi-Fi network as your computer.
- On your tablet, open the settings and navigate to the “Storage” or “Device Options” section.
- Enable the file transfer mode or Wi-Fi transfer feature, usually labeled as “Transfer files over Wi-Fi” or similar.
- Note the FTP address and port number displayed on the screen.
Transferring Files via Wi-Fi using a Web Browser
If you prefer to transfer files via Wi-Fi using a web browser, follow these steps:
- On your computer, open a web browser (such as Chrome, Firefox, or Safari).
- Type the FTP address and port number provided on your tablet into the address bar of the web browser.
- Press Enter or Return, and the web browser should establish a connection with your tablet.
- Navigate to the desired folder on your tablet where you want to transfer the files.
- Locate the files on your computer that you want to transfer.
- Drag and drop the files into the web browser window to initiate the transfer.
- Wait for the files to be transferred completely, and then you can close the web browser connection.
Transferring Files via Wi-Fi using an App
Alternatively, you can use a wireless file transfer app on your Amazon Fire Tablet to transfer files over Wi-Fi. Follow these steps:
- On your tablet, open the app store and search for a wireless file transfer app like “Send Anywhere” or “File Transfer Pro”.
- Download and install the app of your choice.
- Launch the app and follow the on-screen instructions to set it up.
- On your computer, open a web browser and enter the provided IP address or scan the QR code displayed in the app on your tablet.
- Once the connection is established, you can use the app’s interface to browse and select the files you want to transfer.
- Initiate the file transfer and wait for it to complete.
By utilizing the Wi-Fi transfer feature on your Amazon Fire Tablet, you can easily transfer files from your computer to your tablet wirelessly. Whether you choose to use a web browser or a dedicated app, this method provides convenience and flexibility for managing and transferring your files.
Setting Up Wi-Fi Transfer on your Amazon Fire Tablet
Before you can start transferring files to your Amazon Fire Tablet via Wi-Fi, you need to set up the Wi-Fi transfer feature on your tablet. This will enable you to establish a wireless connection between your tablet and your computer for seamless file transfer.
Follow these steps to set up Wi-Fi transfer on your Amazon Fire Tablet:
- Ensure that your Amazon Fire Tablet and your computer are both connected to the same Wi-Fi network.
- Unlock your tablet and open the settings menu.
- Navigate to the “Storage” or “Device Options” section in the settings.
- Look for the option that enables file transfer or Wi-Fi transfer. This may be labeled as “Transfer files over Wi-Fi” or something similar.
- Toggle the switch to enable this feature.
- Once enabled, your tablet will provide an FTP (File Transfer Protocol) address and a port number.
- Take note of the FTP address and port number, as you will need these to establish a connection from your computer.
With the Wi-Fi transfer feature set up on your Amazon Fire Tablet, you are ready to connect your tablet to your computer wirelessly and start transferring files.
It’s worth noting that the steps to enable Wi-Fi transfer may slightly vary based on the model and version of your Amazon Fire Tablet. Refer to the specific settings and options available on your tablet to locate and enable the Wi-Fi transfer feature.
By following these steps to set up Wi-Fi transfer on your Amazon Fire Tablet, you can enjoy the convenience and flexibility of wirelessly transferring files between your tablet and your computer. This eliminates the need for a physical USB cable and allows for seamless file management and transfer.
Transferring Files via Wi-Fi using a Web Browser
Transferring files to your Amazon Fire Tablet via Wi-Fi using a web browser is a convenient method that allows you to easily transfer files without the need for any additional software. With just a few steps, you can establish a connection between your tablet and computer, and transfer files wirelessly.
Follow these steps to transfer files via Wi-Fi using a web browser:
- Ensure that both your Amazon Fire Tablet and computer are connected to the same Wi-Fi network.
- On your tablet, open the settings and navigate to the “Storage” or “Device Options” section.
- Enable the Wi-Fi transfer or file transfer mode.
- Note the FTP address and port number that are displayed on your tablet’s screen.
- On your computer, open a web browser such as Chrome, Firefox, or Safari.
- Type the FTP address and port number provided on your tablet into the address bar of the web browser.
- Press Enter or Return to establish a connection with your tablet.
- You’ll see a web-based interface that allows you to access your tablet’s files.
- Navigate to the desired folder on your tablet where you want to transfer files.
- Locate the files on your computer that you want to transfer.
- Drag and drop the files in the web browser window to initiate the transfer.
- Wait for the files to be transferred completely, and then safely disconnect your tablet from the computer.
By following these steps, you can easily transfer files from your computer to your Amazon Fire Tablet via Wi-Fi using a web browser. This method offers convenience and simplicity, as you can directly access and transfer files by using the web-based interface on your tablet.
Remember to ensure that both devices are connected to the same Wi-Fi network throughout the file transfer process for a seamless and successful transfer.
Transferring Files via Wi-Fi using an App
Transferring files to your Amazon Fire Tablet via Wi-Fi using a dedicated app offers a convenient and user-friendly method to transfer files wirelessly between your tablet and your computer. With the help of these apps, you can easily manage and transfer files with just a few simple steps.
Follow these steps to transfer files via Wi-Fi using an app:
- On your Amazon Fire Tablet, open the app store and search for wireless file transfer apps like “Send Anywhere” or “File Transfer Pro”.
- Download and install the app of your choice onto your tablet.
- Launch the app and follow the on-screen instructions to set it up.
- On your computer, open a web browser such as Chrome, Firefox, or Safari.
- Enter the IP address displayed in the app on your tablet into the address bar of the web browser.
- Alternatively, you may be able to scan a QR code displayed in the app using your computer’s webcam or another QR code scanner.
- Once the connection is established, you will have access to your tablet’s files through the app’s web interface on your computer.
- Navigate to the desired files on your computer that you want to transfer.
- Use the app’s interface on your computer to select the files you wish to transfer.
- Initiate the file transfer within the app and wait for the files to be transferred to your tablet.
- Once the transfer is complete, safely disconnect your tablet from the computer.
By following these steps, you can easily transfer files from your computer to your Amazon Fire Tablet via Wi-Fi using a dedicated app. These apps provide a user-friendly interface and simplify the process of transferring files wirelessly between your devices.
There are several wireless file transfer apps available in the app store, so you can choose the one that best suits your needs and preferences. Make sure to follow the instructions specific to your chosen app during the setup and file transfer process.
With the help of these apps, managing and transferring files between your Amazon Fire Tablet and your computer becomes effortless and convenient, allowing you to enjoy your favorite content on the go.
Conclusion
Transferring files to your Amazon Fire Tablet is an essential skill to fully maximize its functionality and enjoy your favorite content on the go. Whether you choose to transfer files using a USB cable or via Wi-Fi, both methods offer convenient ways to transfer documents, photos, videos, and music from your computer to your tablet.
Using a USB cable provides a direct and reliable connection between your Amazon Fire Tablet and your computer. By following the specific steps for your operating system, such as using File Explorer on Windows or Android File Transfer on Mac, you can easily navigate your computer’s files and transfer them to your tablet.
For those who prefer a wireless approach, Wi-Fi transfer allows you to connect your tablet and computer over the same Wi-Fi network and transfer files seamlessly. Whether you choose to transfer files via a web browser or a dedicated app, ensuring that both devices are connected to the same network is crucial for a successful transfer.
Setting up Wi-Fi transfer on your Amazon Fire Tablet enables you to establish a wireless connection with your computer, allowing for easy file browsing and transfer. By enabling Wi-Fi transfer in the tablet settings and noting the FTP address and port number, you can easily connect your tablet to your computer using a web browser.
Alternatively, utilizing a wireless file transfer app simplifies the process even further, providing a user-friendly interface on both your tablet and computer. By installing a compatible app on your tablet and following the app’s instructions, you can establish a connection and transfer files using the app’s interface.
Whether you choose to transfer files using a USB cable or Wi-Fi, it’s important to ensure the safety of your files and devices. Safely ejecting your tablet from the computer after file transfer and disconnecting from the Wi-Fi network when no longer needed are good practices to adopt.
By understanding these different methods and following the step-by-step instructions, you can easily transfer files to your Amazon Fire Tablet and enjoy your favorite content wherever you go. Whether you’re loading up e-books for a trip, transferring photos from your computer, or syncing your music playlist, these file transfer methods provide convenience and flexibility for your tablet usage.


