Causes of Graphics Card Issues
A graphics card is a crucial component of a computer system responsible for rendering and displaying visual content. However, like any other hardware component, it can encounter issues that impact its performance and functionality. Understanding the possible causes of graphics card problems can help identify and troubleshoot these issues effectively.
1. Outdated drivers: One of the most common causes of graphics card issues is outdated drivers. Graphics card manufacturers regularly release driver updates to ensure compatibility with the latest operating systems and improve performance. Failure to install these updates can result in compatibility issues and erratic behavior.
2. Overheating: Graphics cards can generate a significant amount of heat during operation. If the cooling system is insufficient or clogged with dust, the graphics card can overheat, leading to performance problems and even hardware damage. Overheating may occur due to inadequate airflow in the system or faulty cooling fans.
3. Power supply issues: Inadequate power supply or fluctuations in power can cause graphics card problems. If the power supply does not provide enough power to the graphics card, it may not function properly or may fail altogether. Power fluctuations can also damage the graphics card or cause it to behave erratically.
4. Physical damage: Accidental drops, mishandling, or exposure to excessive moisture can physically damage the graphics card, resulting in performance issues or complete failure. Physical damage can manifest as visible deformities or electrical shorts within the card.
5. Software conflicts: Sometimes, conflicts between the graphics card and other software or drivers on the system can cause issues. Conflicting settings or incompatible software can lead to crashes, freezes, or graphical glitches.
6. Overclocking: Overclocking, the process of increasing the clock speed of the graphics card beyond the manufacturer’s specifications, can lead to instability and overheating. Overclocking puts excessive stress on the graphics card’s components and can result in system crashes or even permanent damage.
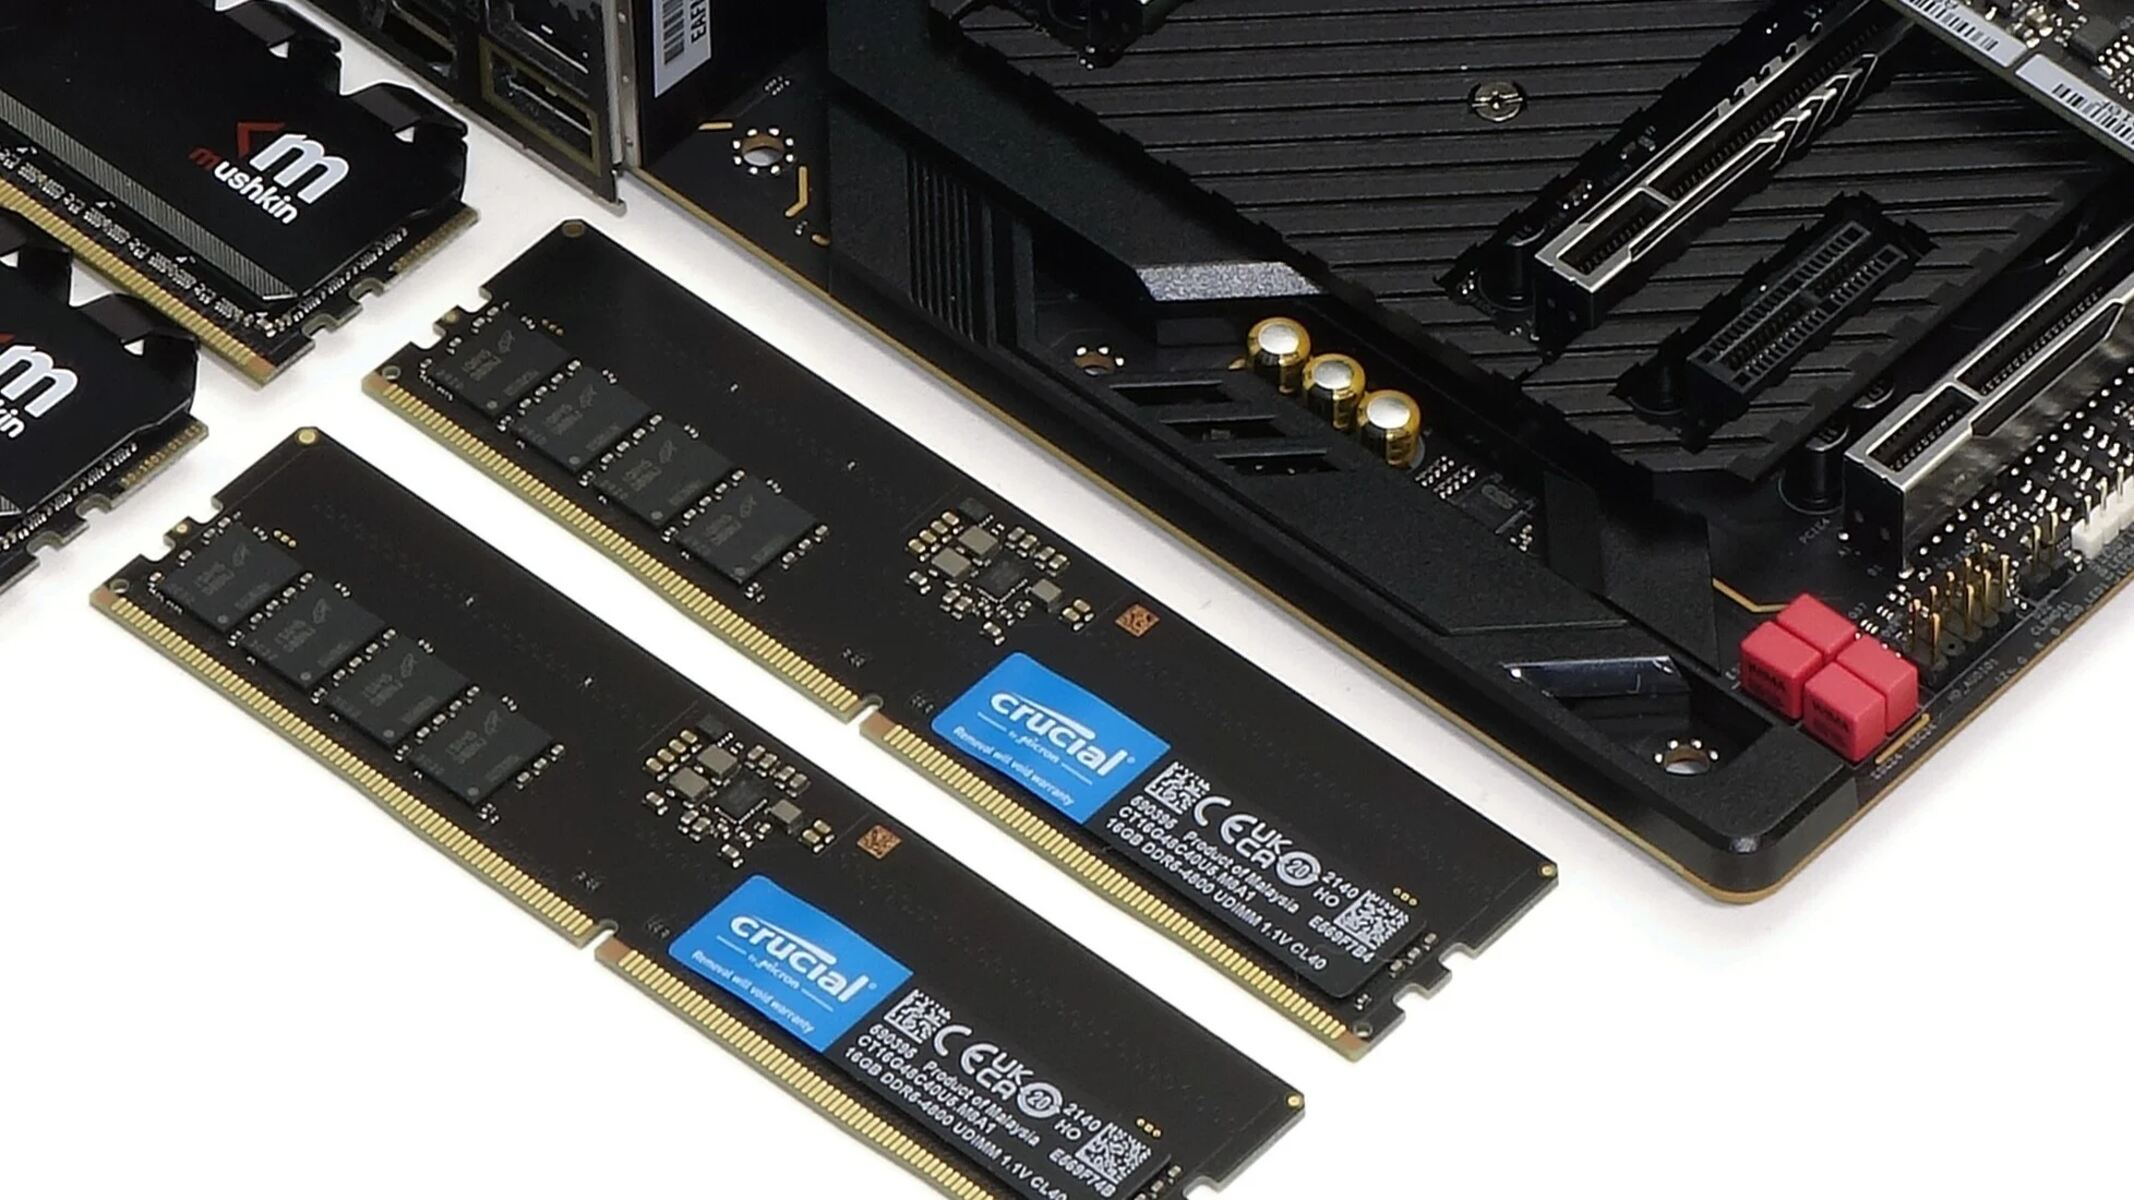
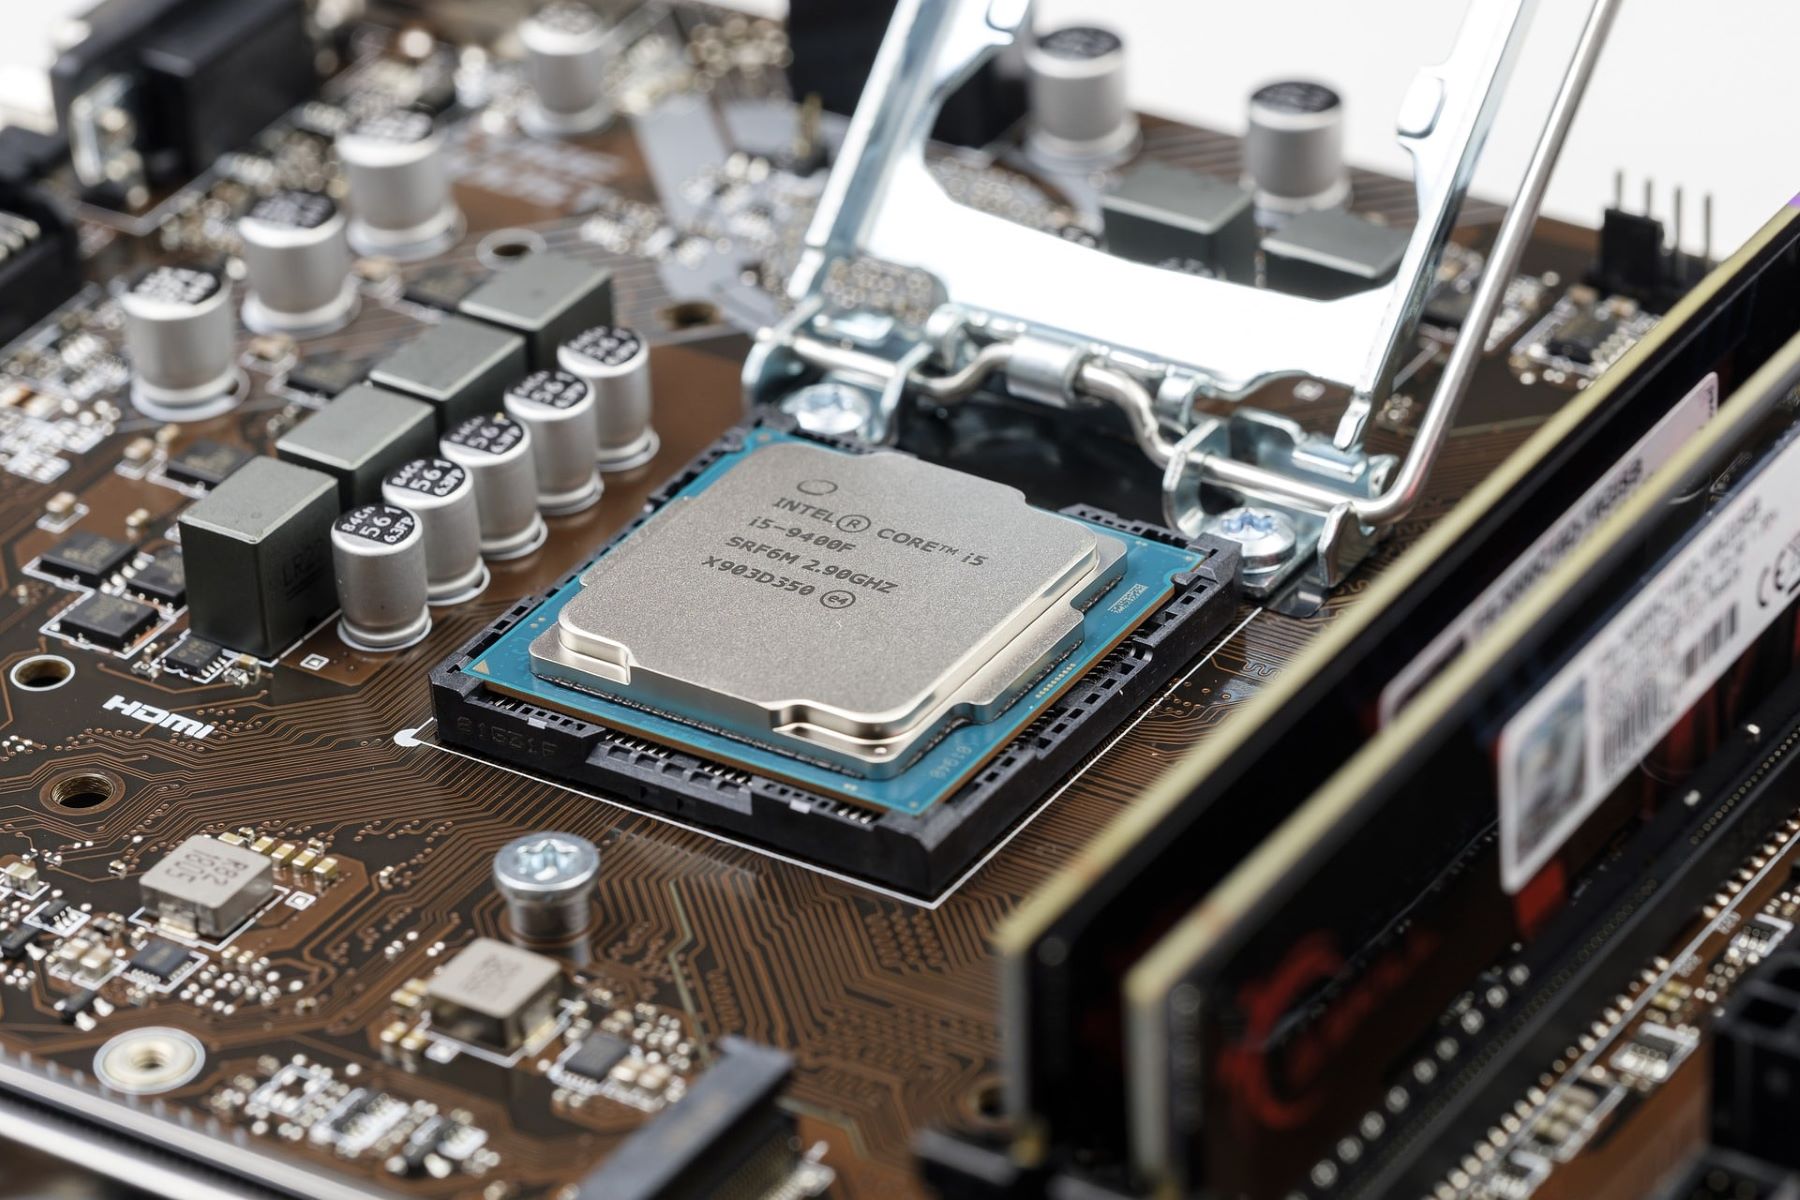
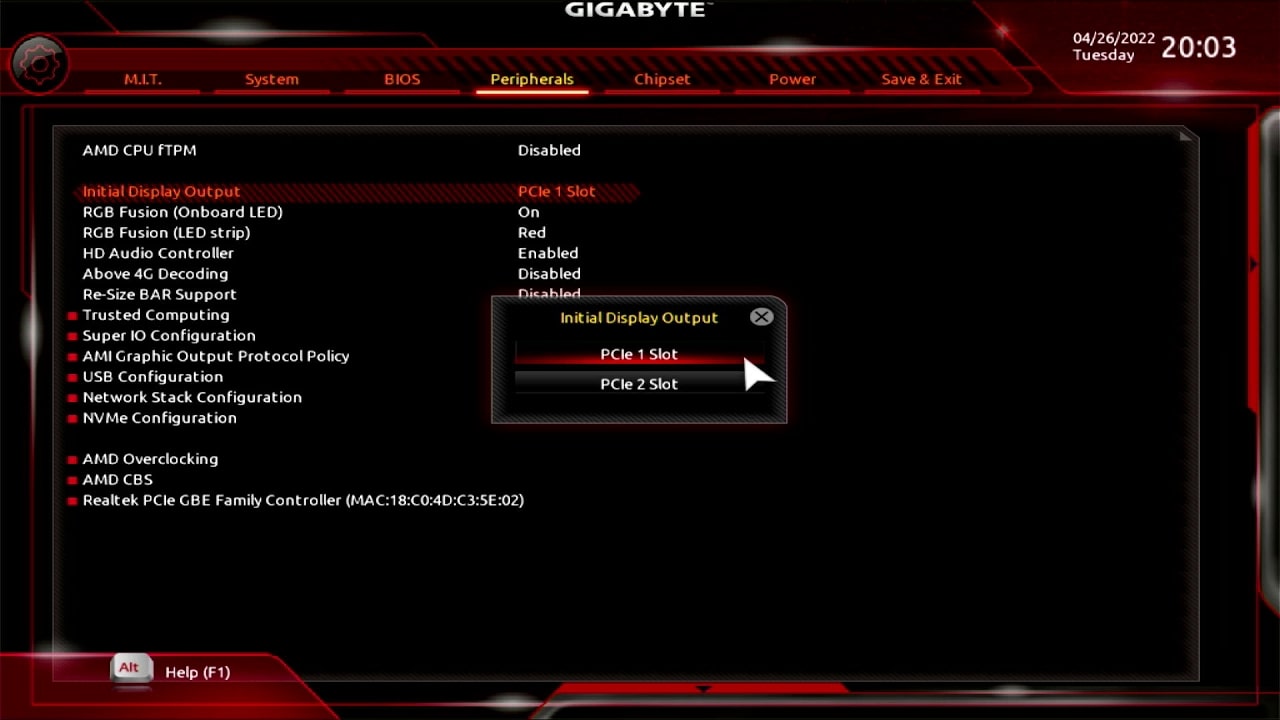
7. Motherboard compatibility: Occasionally, compatibility issues between the graphics card and the motherboard can arise. This can occur if the graphics card requires a certain type of PCIe slot that the motherboard lacks or if the motherboard’s BIOS is not up to date.
Identifying the underlying cause of a graphics card issue is essential for effective troubleshooting. By understanding the potential culprits, users can take appropriate measures to resolve the problem, whether it involves updating drivers, cleaning the card, or seeking professional assistance.
Symptoms of a Faulty Graphics Card
A faulty graphics card can cause various issues that affect the overall performance and visual experience of a computer. Recognizing the symptoms of a faulty graphics card is crucial to take appropriate measures for troubleshooting and resolving the problem.
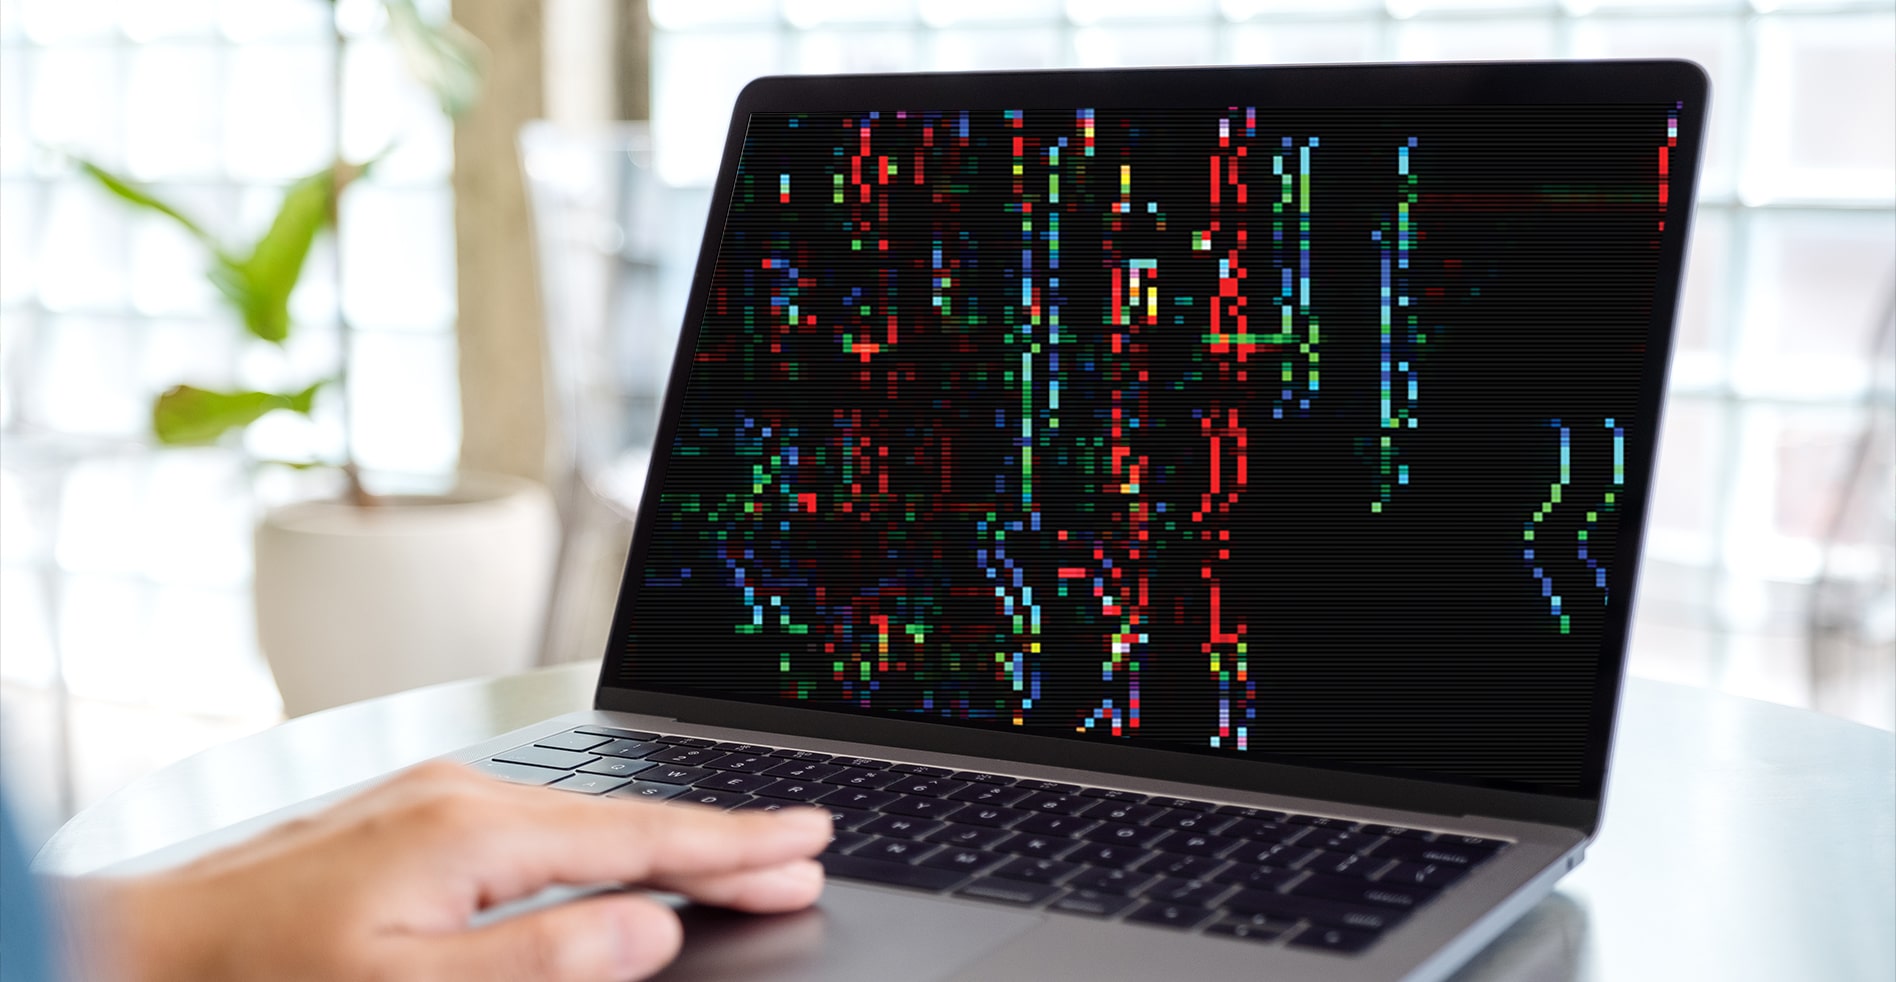
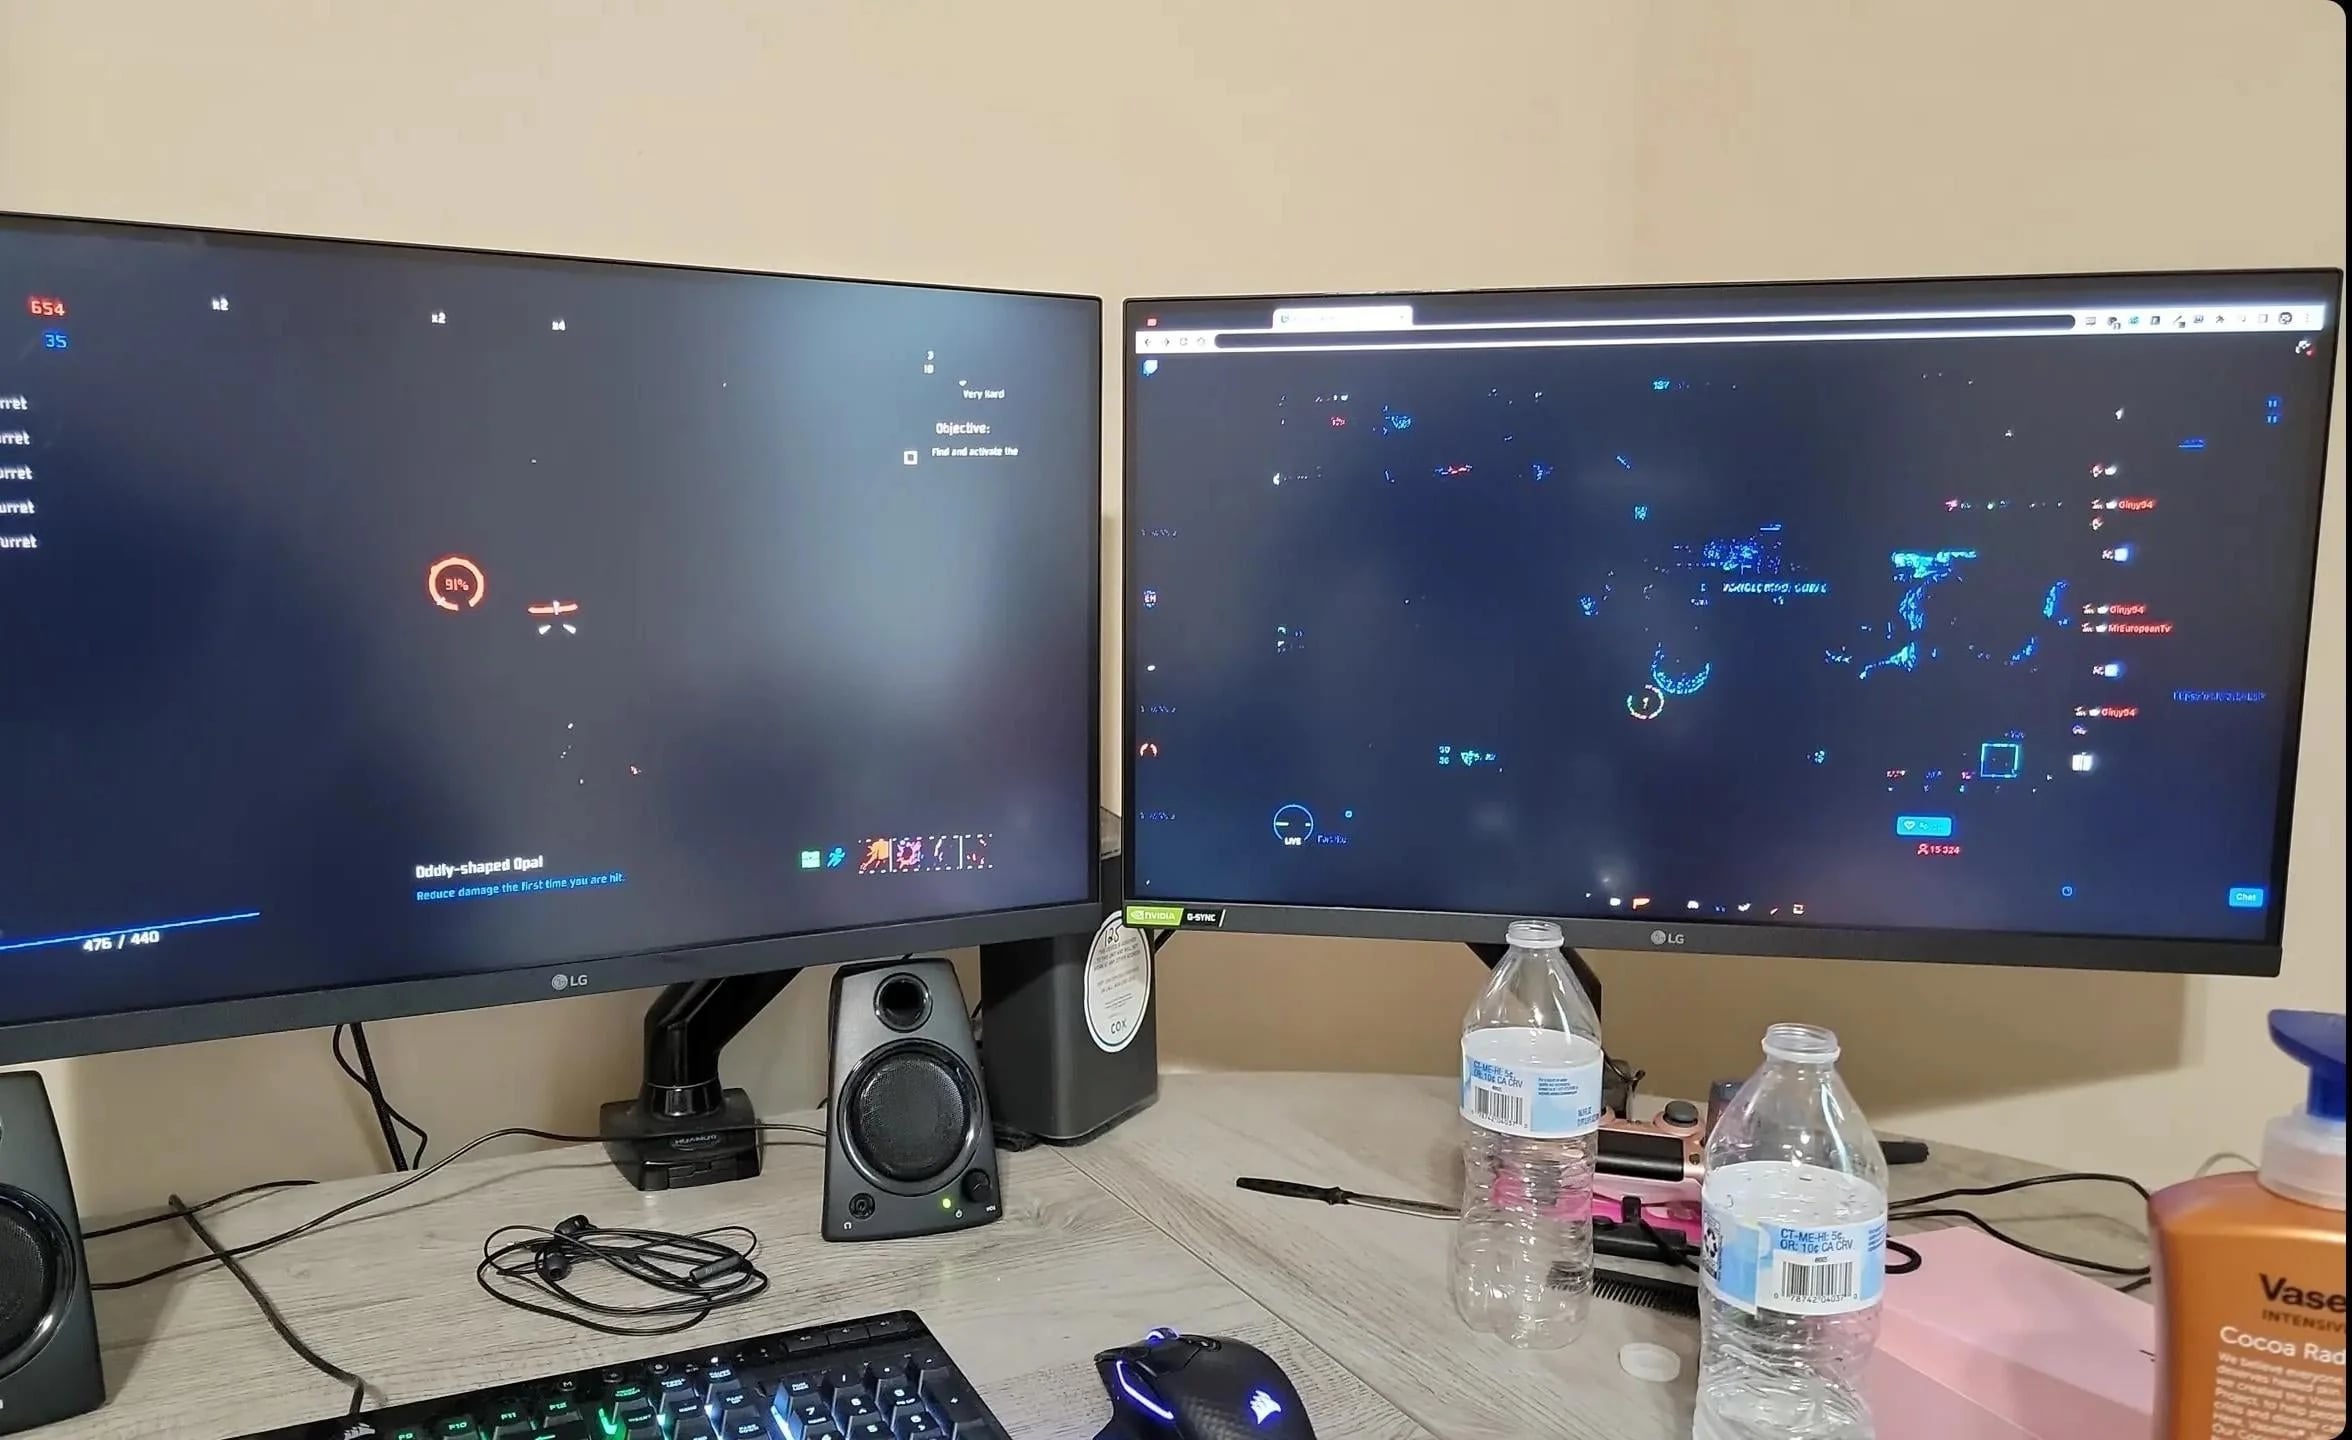
1. Artifacts on the screen: One of the most noticeable symptoms of a faulty graphics card is the presence of artifacts on the screen. These artifacts can appear as random pixels, lines, or distorted graphics, indicating a problem with the graphics card’s rendering capabilities.
2. Screen freezing or crashing: A faulty graphics card can cause the screen to freeze or crash frequently. These crashes can occur while performing resource-intensive tasks like gaming or running graphics-intensive applications.
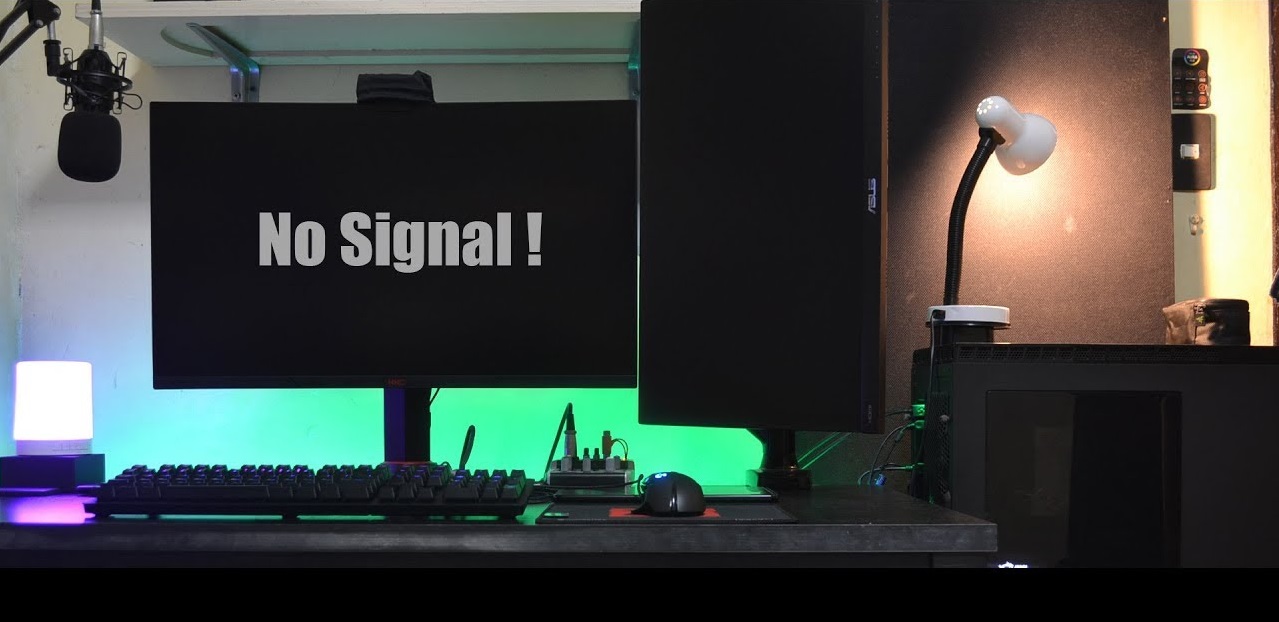
3. Blackscreen or no display: If the graphics card is not functioning properly, it may result in a black screen or no display at all. When the computer is turned on, the screen remains blank, indicating a potential problem with the graphics card or its connection to the monitor.
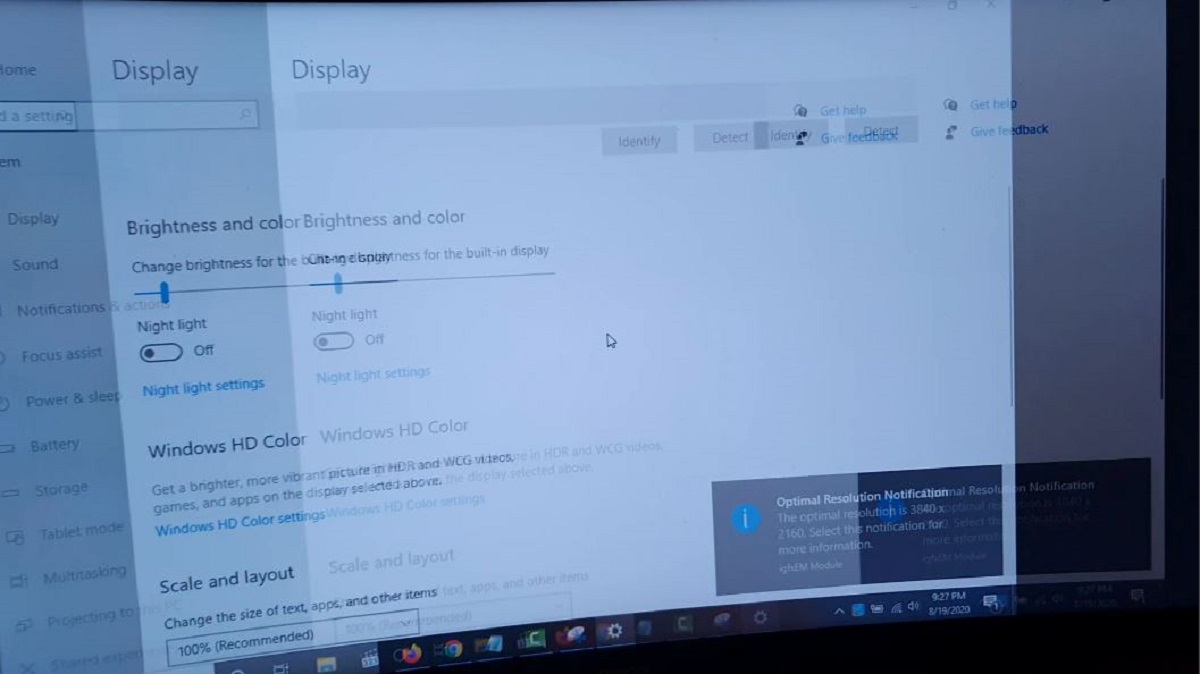
4. Color abnormalities: A faulty graphics card can cause color abnormalities on the screen. This can manifest as washed-out colors, incorrect color rendering, or a shift in color saturation, making images and videos appear distorted or unnatural.
5. System crashes or unexpected restarts: When a graphics card is malfunctioning, it can lead to system crashes or unexpected restarts. This can occur during graphics-intensive tasks, such as gaming or video editing, and may be accompanied by error messages or a blue screen of death (BSOD).
6. Graphical glitches: Another common symptom of a faulty graphics card is the presence of graphical glitches. These glitches can appear as flickering screens, horizontal or vertical lines, or screen tearing, indicating a problem with rendering or frame synchronization.
7. Unusual fan noise or heat: A faulty graphics card may produce unusual fan noise or generate excessive heat. This can be a result of inefficient cooling due to a damaged fan or overheating components, indicating a potential hardware issue.
8. Performance degradation: If the graphics card is faulty, there may be a noticeable decrease in performance. Games or applications that previously ran smoothly may exhibit lags, stuttering, or lower frame rates, indicating a problem with the graphics card’s processing capabilities.
Observing these symptoms can help identify whether a graphics card is faulty. However, it is important to note that some symptoms may also be caused by other hardware or software issues. Therefore, it is recommended to rule out other potential factors and seek professional assistance if necessary for accurate diagnosis and resolution.
Running Diagnostic Software
When experiencing graphics card issues, running diagnostic software can help identify and diagnose the underlying problems. Diagnostic software is designed to analyze the performance and functionality of the graphics card, providing valuable insights into potential issues.
1. GPU-Z: GPU-Z is a popular diagnostic tool that provides detailed information about the graphics card, including its model, temperature, clock speed, and memory usage. It also detects potential issues, such as overheating or insufficient power supply.
2. FurMark: FurMark is a benchmarking and stress-testing software specifically designed for graphics cards. It pushes the graphics card to its limits, allowing users to observe its performance under maximum load. If the graphics card crashes or exhibits artifacts during the stress test, it indicates a potential problem.
3. MSI Afterburner: MSI Afterburner is a utility program that enables users to monitor and adjust their graphics card’s clock speed, voltage, and fan speed. It also provides real-time temperature and usage data, allowing users to detect anomalies and potential issues with the graphics card’s performance.
4. 3DMark: 3DMark is a comprehensive benchmarking tool that evaluates the graphics card’s performance by running a series of graphical tests. It provides a detailed score, highlighting any potential issues or performance bottlenecks. It can also compare the graphics card’s performance with other similar systems.
5. HWiNFO: HWiNFO is a system information and monitoring utility that provides comprehensive details about the computer hardware, including the graphics card. It displays real-time sensor data, such as temperatures, fan speeds, and voltages, allowing users to monitor the graphics card’s health and identify any abnormalities.
6. OpenGL Extensions Viewer: OpenGL Extensions Viewer is a tool that provides detailed information about the OpenGL capabilities of the graphics card and its drivers. It can help identify any compatibility issues or limitations in the graphics card’s OpenGL support.
By using diagnostic software, users can gather valuable information about the graphics card’s performance, temperature, and potential issues. It is essential to run these tools in appropriate settings and follow the instructions provided by the software developers. Keep in mind that diagnostic software can provide insights into the graphics card’s health, but professional assistance may be required for accurate diagnosis and resolution of complex issues.
Checking for Physical Damage
Physical damage to a graphics card can result in various issues and affect its overall performance. It’s important to visually inspect the graphics card for any signs of damage to identify potential problems and take appropriate measures to address them.
1. External inspection: Start by examining the external components of the graphics card. Look for any visible signs of physical damage, such as cracks, bent pins, or loose connections. Check the ports and connectors to ensure they are not damaged or obstructed.
2. Dust and debris: Dust and debris can accumulate over time and cause overheating or poor performance. Inspect the graphics card for any buildup of dust or debris. Cleaning the card with compressed air or a small brush can help improve airflow and prevent overheating issues.
3. Thermal paste: Thermal paste is applied between the graphics card’s heat sink and the GPU to ensure proper heat transfer. Over time, the thermal paste may degrade or become less effective. Check the thermal paste and consider reapplying it if necessary to maintain optimal heat dissipation.
4. Cooling system: Ensure that the cooling system, including the fans and heatsinks, is functioning properly. Check if the fans are spinning smoothly and without obstruction. If there are any damaged or non-functional fans, they may need to be replaced to prevent overheating.
5. PCIe slot: If the graphics card is not seated properly in the PCIe slot, it can cause performance issues or no display. Check whether the card is fully inserted and securely connected to the slot. If needed, reseat the graphics card to ensure a proper connection.
6. Electrostatic discharge (ESD) precautions: When handling the graphics card, it’s important to practice ESD precautions to prevent static electricity from damaging the components. Use an ESD wrist strap or regularly ground yourself by touching a metal object to discharge any built-up static electricity.
By thoroughly examining the graphics card for physical damage and addressing any issues found, users can improve the card’s longevity and performance. However, it’s important to note that internal damage or complex issues may require professional assistance for accurate diagnosis and repair.
Updating Graphics Card Drivers
Updating graphics card drivers is essential for maintaining optimal performance and compatibility with the latest software and operating systems. Outdated drivers can cause various issues, including compatibility problems, reduced performance, and graphical glitches. To ensure the graphics card is functioning at its best, it’s crucial to regularly update its drivers.
1. Identifying the graphics card model: Start by identifying the specific model of the graphics card. This information can typically be found in the system’s device manager or by using third-party system information tools.
2. Visiting the manufacturer’s website: Once the graphics card model is known, visit the manufacturer’s website. Most graphics card manufacturers provide driver downloads for their products. Navigate to the driver support section of the website.
3. Checking for driver updates: Search for the latest driver version for the identified graphics card model. Compare the driver versions available on the website with the currently installed driver version.
4. Downloading and installing the driver: If an updated driver is available, download it from the manufacturer’s website. Follow the instructions provided by the website or the driver installer to install the new driver.
5. Restarting the computer: After the driver installation is complete, restart the computer to ensure the changes take effect. This step is crucial for the new driver to be properly recognized by the system.
6. Automatic driver update tools: Alternatively, users can use automatic driver update tools, such as GeForce Experience for NVIDIA graphics cards or AMD Radeon Software for AMD graphics cards. These tools automatically scan for driver updates and simplify the installation process.
7. Driver rollback: If a newly installed driver causes issues or instability, it is possible to roll back to the previous driver version. This can be done through the Device Manager or using the driver installer’s rollback feature.
Regularly updating graphics card drivers ensures that the card is compatible with the latest software updates and enjoys bug fixes and performance enhancements. It is recommended to check for driver updates periodically to keep the graphics card functioning optimally.
Cleaning Dust and Dirt from the Graphics Card
A build-up of dust and dirt on a graphics card can hinder its performance and lead to overheating issues. Cleaning the graphics card regularly is essential to ensure proper airflow and prevent potential problems. Here are some steps to effectively clean dust and dirt from the graphics card:
1. Turn off the computer: Before starting the cleaning process, shut down the computer and unplug it from the power source. This will prevent any electrical mishaps while cleaning the graphics card.
2. Open the computer case: Remove the side panel of the computer case to gain access to the internal components. This will allow you to easily reach the graphics card for cleaning.
3. Inspect the graphics card: Take a close look at the graphics card to assess the extent of the dust and dirt accumulation. Pay attention to the fan and heatsink areas, as they are most likely to gather debris.
4. Use compressed air: With the help of a can of compressed air, blow air onto the graphics card to dislodge the dust and dirt particles. Maintain a distance of several inches while doing this to prevent the compressed air from causing any damage to the components.
5. Brush the components: Use a small, soft-bristle brush or a clean makeup brush to gently remove any stubborn dust or dirt from the graphics card. Take caution and avoid applying excessive pressure or using sharp objects that could damage the card.
6. Clean the fans: Pay special attention to cleaning the fans on the graphics card, as they can become clogged with dust and prevent proper cooling. Hold the fan blades steady and use the compressed air or a brush to remove any debris.
7. Reassemble the computer: Once you are satisfied with the cleaning, carefully reattach the side panel of the computer case and secure it in place. Ensure no cables or connectors are obstructing the graphics card or impeding the airflow.
8. Power on the computer: Plug the computer back into the power source and power it on. Monitor the temperatures and performance of the graphics card to ensure that the cleaning has improved its functionality.
Regularly cleaning the graphics card can help prevent overheating and maintain its performance. Aim to clean the graphics card every few months or whenever you notice a significant build-up of dust. Scheduling routine maintenance can prolong the lifespan of the graphics card and ensure optimal performance for gaming, graphics-intensive applications, and other visual tasks.
Monitoring Graphics Card Temperature
Monitoring the temperature of your graphics card is essential to ensure optimal performance and prevent overheating. Excessive heat can lead to performance throttling, system instability, and even permanent damage to the graphics card. By keeping an eye on the temperature, you can take appropriate measures to maintain a safe operating range. Here are some ways to monitor the graphics card temperature:
1. GPU monitoring software: Many graphics card manufacturers provide their own GPU monitoring software, such as MSI Afterburner or EVGA Precision X. These programs display real-time temperature readings, fan speeds, and other relevant metrics. They also allow you to adjust fan speeds and customize fan curves to keep the temperature under control.
2. Third-party monitoring tools: There are various third-party software programs available that can monitor the graphics card temperature. Examples include HWMonitor, GPU-Z, and Speccy. These tools provide detailed information about the graphics card’s temperature, as well as other system components.
3. On-screen overlays: Some monitoring software allows you to display temperature statistics as on-screen overlays while you are gaming or using graphics-intensive applications. This allows you to keep an eye on the temperature without having to constantly switch between windows.
4. Temperature monitoring in BIOS: If you prefer a hardware-based approach, you can access the BIOS or UEFI settings of your computer. Many BIOS versions have built-in temperature monitoring features that allow you to view the temperature of various components, including the graphics card.
5. External temperature probes: If you want to monitor the temperature in a more accurate and direct way, you can use external temperature sensors or thermal probes. These sensors can be placed near the graphics card to measure the temperature in real-time and provide precise readings.
6. Monitor with built-in temperature sensors: If you have a monitor with built-in temperature sensors or a smart home monitoring system, you may be able to monitor the graphics card temperature through these devices. This provides an easy and convenient way to keep track of the temperature without relying on software tools.
Regularly monitoring the graphics card temperature will give you insight into its performance and help you identify any potential cooling issues. If you notice that the temperature is consistently reaching high levels, consider taking steps such as improving airflow in the computer case, cleaning dust from the fans and heatsinks, or adjusting the fan speeds to keep the temperature within the safe operating range.
Testing the Graphics Card on Another Computer
If you suspect that your graphics card is faulty or experiencing issues, testing it on another computer can help determine if the problem lies with the graphics card itself or another component of your system. By testing the graphics card on a different computer, you can gather valuable information to diagnose and address the underlying issue. Here are the steps to test the graphics card on another computer:
1. Select a compatible computer: Choose a computer that has the appropriate hardware specifications to support your graphics card. Ensure that the power supply and motherboard have the necessary connections and compatibility for your graphics card model.
2. Install the graphics card: Carefully remove the existing graphics card (if any) from the computer and insert your graphics card into the appropriate PCIe slot of the new computer. Ensure that the card is securely seated and all connections are properly made.
3. Connect necessary cables: Connect the necessary power cables from the power supply to the graphics card and ensure they are firmly attached. Check if any additional connectors, such as HDMI or DisplayPort cables, are required and connect them to the appropriate ports on the monitor.
4. Power on the computer: Plug in the computer and power it on. Observe the startup process to confirm if the new computer recognizes and initializes the graphics card properly. If the system does not boot or displays errors, it may indicate compatibility issues or a faulty graphics card.
5. Test graphics-intensive applications: Run graphics-intensive applications or perform tasks that typically stress the graphics card, such as gaming or video rendering. Monitor the performance of the graphics card and check for any unusual behavior, artifacts, or crashes. If the issues persist, it may signal a problem with the graphics card.
6. Check for driver compatibility: Ensure that the appropriate graphics card drivers are installed on the new computer. If necessary, download and install the latest drivers from the manufacturer’s website to ensure compatibility and optimal performance.
Testing the graphics card on another computer can help determine if the issues you are experiencing are specific to the graphics card itself or related to other hardware or software components in your original system. Although this method is effective in identifying potential problems, it is important to note that additional troubleshooting may be required to identify and resolve the specific cause of the issues.
Seeking Professional Help
If you have exhausted all troubleshooting options and are unable to resolve the graphics card issues on your own, seeking professional help is a recommended course of action. Professional assistance can provide expert diagnosis, repair, and guidance to ensure the smooth functioning of your graphics card. Here are a few instances when it’s advisable to seek professional help:
1. Persistent issues: If you have attempted various troubleshooting steps, but the graphics card problems persist or worsen, it is a sign that professional intervention may be necessary. Professionals have the knowledge and experience to dig deeper into complex issues and identify the root cause.
2. Physical damage: If the graphics card has suffered physical damage due to a drop, water exposure, or other accidents, it is best to consult a professional. They will be able to assess the extent of the damage and provide appropriate repair solutions or recommendations for a replacement.
3. Warranty coverage: If your graphics card is still under warranty, it is wise to contact the manufacturer or authorized service centers for assistance. Attempting repairs on your own may void the warranty, so it’s important to follow the recommended procedures and seek professional servicing if needed.
4. Unfamiliarity with hardware: If you are not comfortable working with computer hardware, seeking professional help is a sensible choice. Graphics card repair and troubleshooting can involve technical aspects that require knowledge and specialized tools. It is best to rely on professionals who have the expertise and resources to handle such tasks.
5. Software conflicts or driver issues: If you are experiencing software conflicts or persistent driver issues with your graphics card, professional assistance can help ensure proper installation, configuration, and compatibility of software components. They can guide you through the process and recommend suitable measures to prevent conflicts and improve performance.
When seeking professional help, it’s important to choose reputable and certified technicians or service centers. Research and read reviews to ensure the professionals you approach have a track record of delivering quality service. Effective communication and providing detailed information about the issues you are facing will help professionals diagnose and resolve the problem efficiently.
Remember that seeking professional help can save you time, prevent further damage, and provide peace of mind knowing that experts are handling your graphics card issues. Be sure to inquire about any associated costs, warranties, and post-service support before proceeding with any repairs or services.
Conclusion
Understanding the causes, symptoms, and troubleshooting methods for graphics card issues is essential for maintaining optimal performance and ensuring a smooth computing experience. By recognizing the signs of a faulty graphics card, such as artifacts, crashes, or temperature abnormalities, you can take proactive measures to address the problem.
Running diagnostic software, checking for physical damage, updating drivers, cleaning the card, monitoring temperature, testing on another computer, and seeking professional help are all valuable steps in troubleshooting graphics card issues. These methods help identify underlying problems and guide you towards effective solutions.
Regular maintenance, such as cleaning dust and keeping drivers up to date, can significantly improve the longevity and performance of your graphics card. It’s important to strike a balance between DIY troubleshooting and seeking professional help when needed. While some issues can be resolved with user-friendly tools and resources, complex problems or physical damage may require the expertise of professionals.
By following best practices, staying informed about the latest updates and drivers, and remaining vigilant about monitoring the graphics card’s health, you can optimize its longevity and ensure smooth performance in gaming, graphic design, video editing, and other graphics-intensive tasks.
Remember that each computer system is unique, and troubleshooting methods may vary depending on the specific components and configurations. It’s crucial to consult reputable sources, manufacturer guidelines, and professional advice to ensure accurate diagnosis and efficient resolution of graphics card issues.


