Introduction
Welcome to the world of email synchronization! If you are looking for a way to sync your email across multiple devices or want to ensure that your inbox is up to date no matter where you access it from, you’ve come to the right place. In this article, we will walk you through the process of syncing your email and provide useful tips and troubleshooting advice along the way.
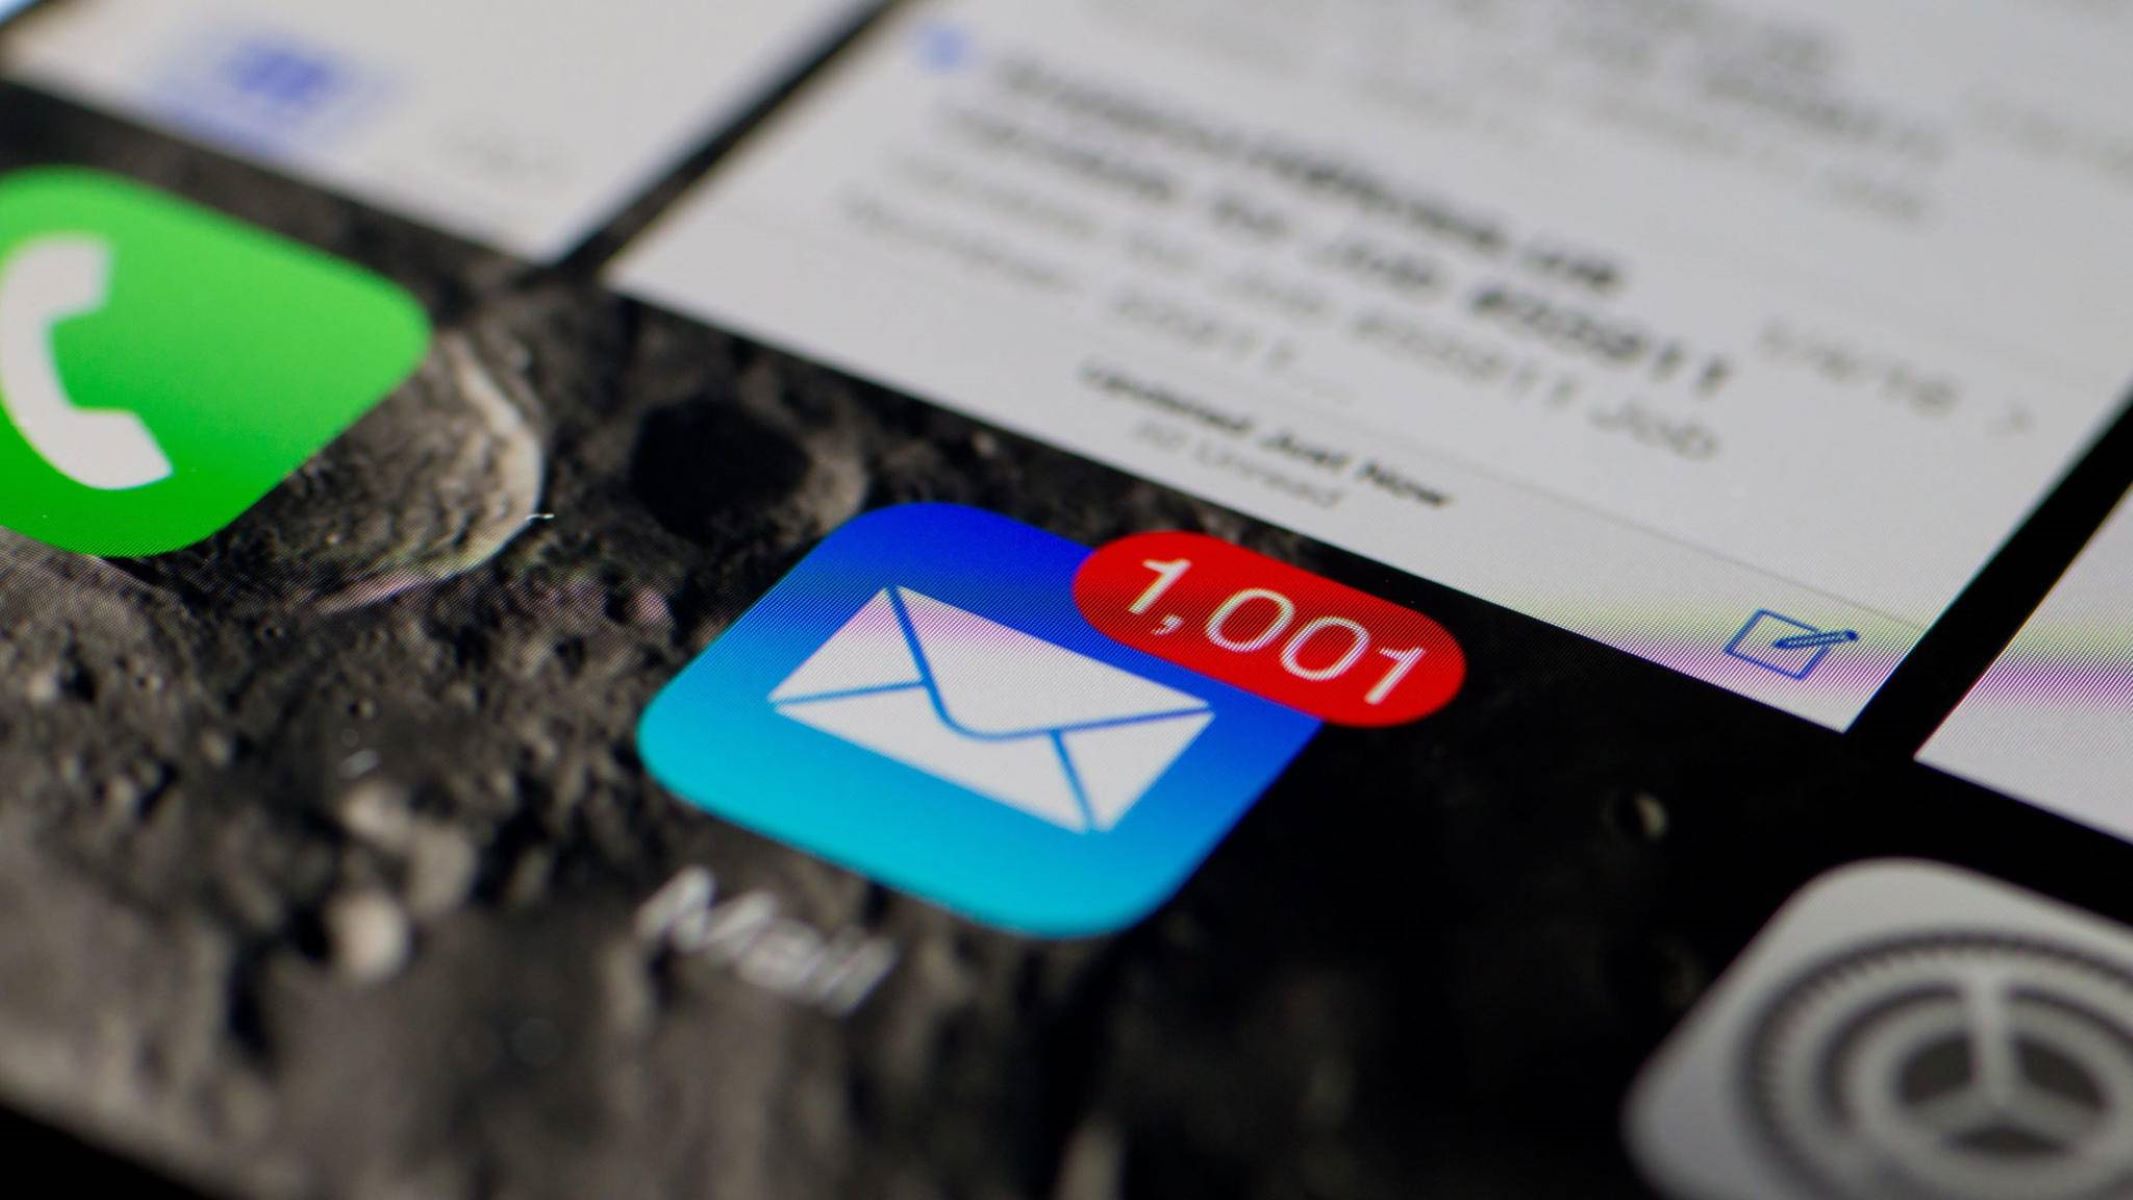
Email synchronization is the process of ensuring that the changes made to your emails, such as read or deleted messages, are reflected across all your devices. This means that whether you check your email on your computer, smartphone, or tablet, you will see the same updates and changes, making it easier to manage your inbox effectively.
Syncing your email is especially beneficial if you use multiple devices or if you frequently switch between them. It eliminates the frustration of having to re-read or re-delete emails that you have already dealt with on another device. Instead, you can pick up where you left off, having all your emails in sync and organized.
Throughout this guide, we will cover the essential steps to sync your email effectively. We will walk you through selecting an email client, adding your email account to the client, configuring the sync settings, and troubleshooting common issues that may arise during the process.
Ready to ensure that your email communications are seamless and hassle-free? Let’s get started!
Step 1: Choosing an Email Client
Before you can start syncing your email, you need to choose an email client that meets your needs and preferences. An email client is a software application that allows you to send, receive, and manage your email. There are numerous email clients available, each with its own set of features and capabilities.
Here are a few popular email clients to consider:
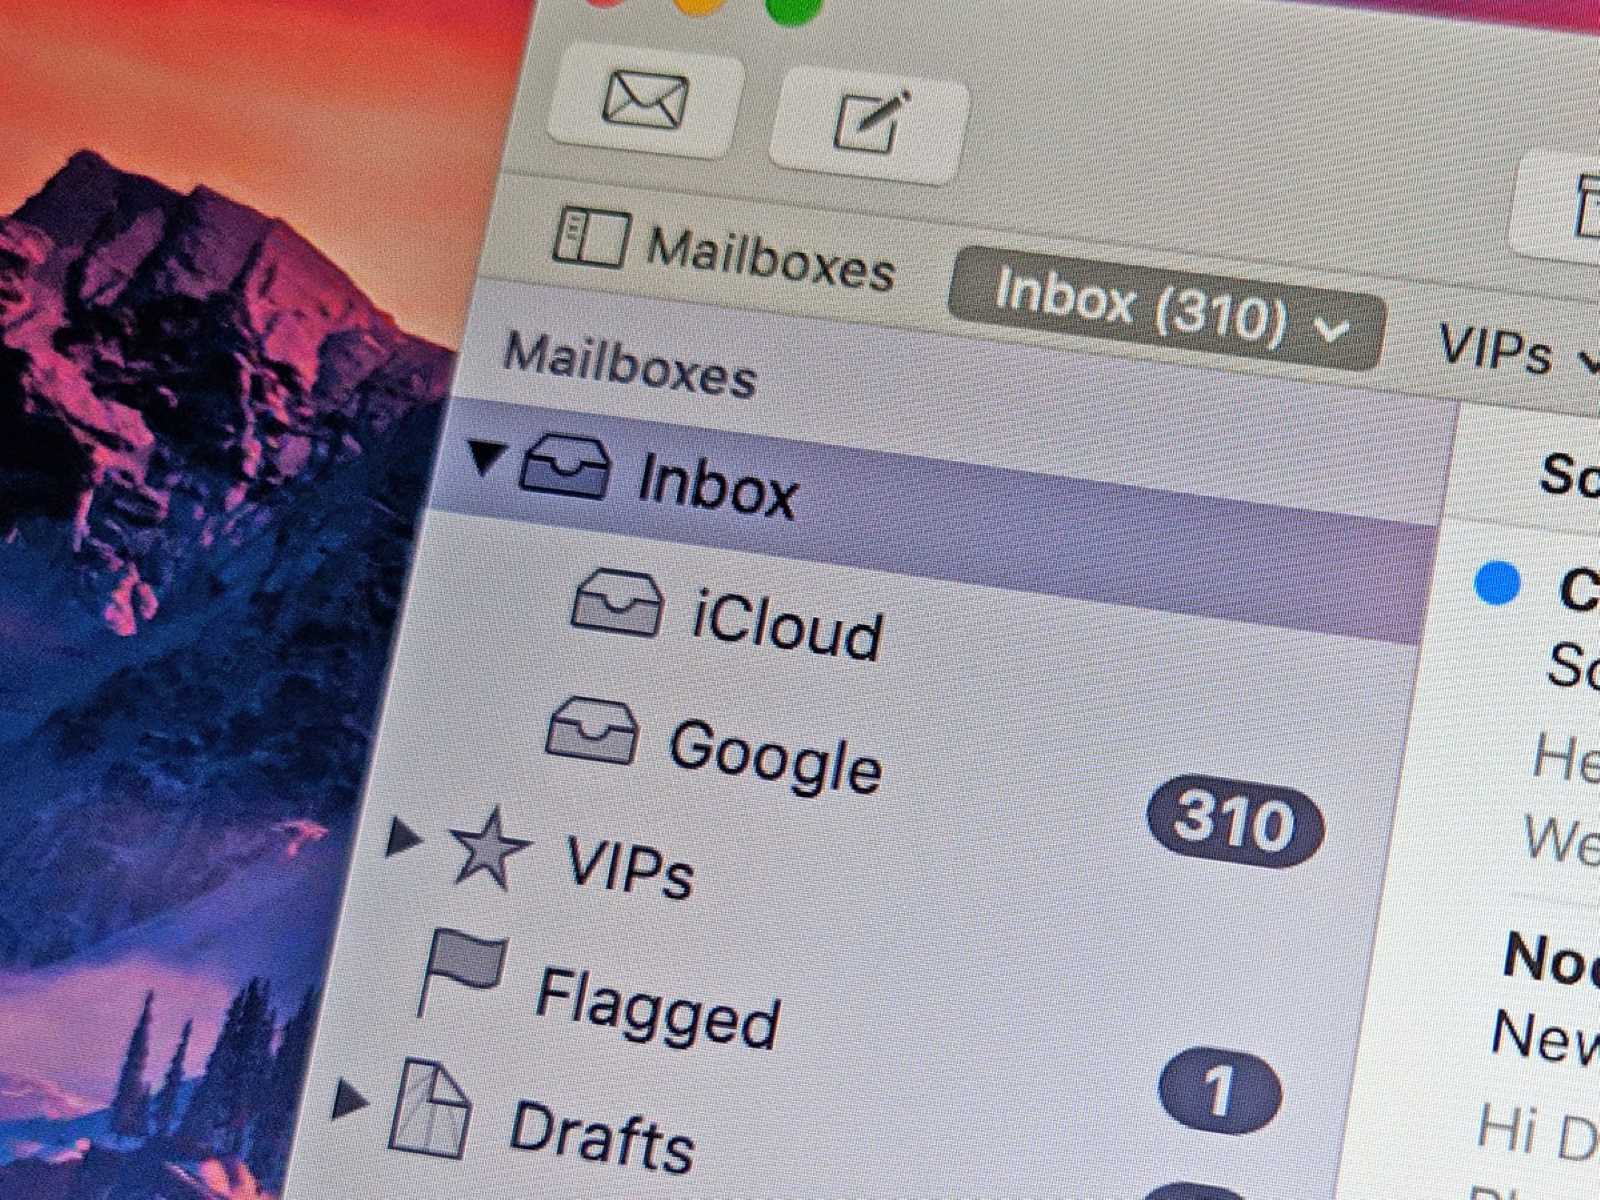
- Microsoft Outlook: A comprehensive email client that offers advanced features like calendar integration, task management, and contact organization. It is available for both Windows and Mac operating systems.
- Gmail: Google’s popular email client that provides a user-friendly interface and seamless integration with other Google services, such as Google Drive and Google Calendar. It can be accessed through a web browser or through dedicated mobile apps for Android and iOS.
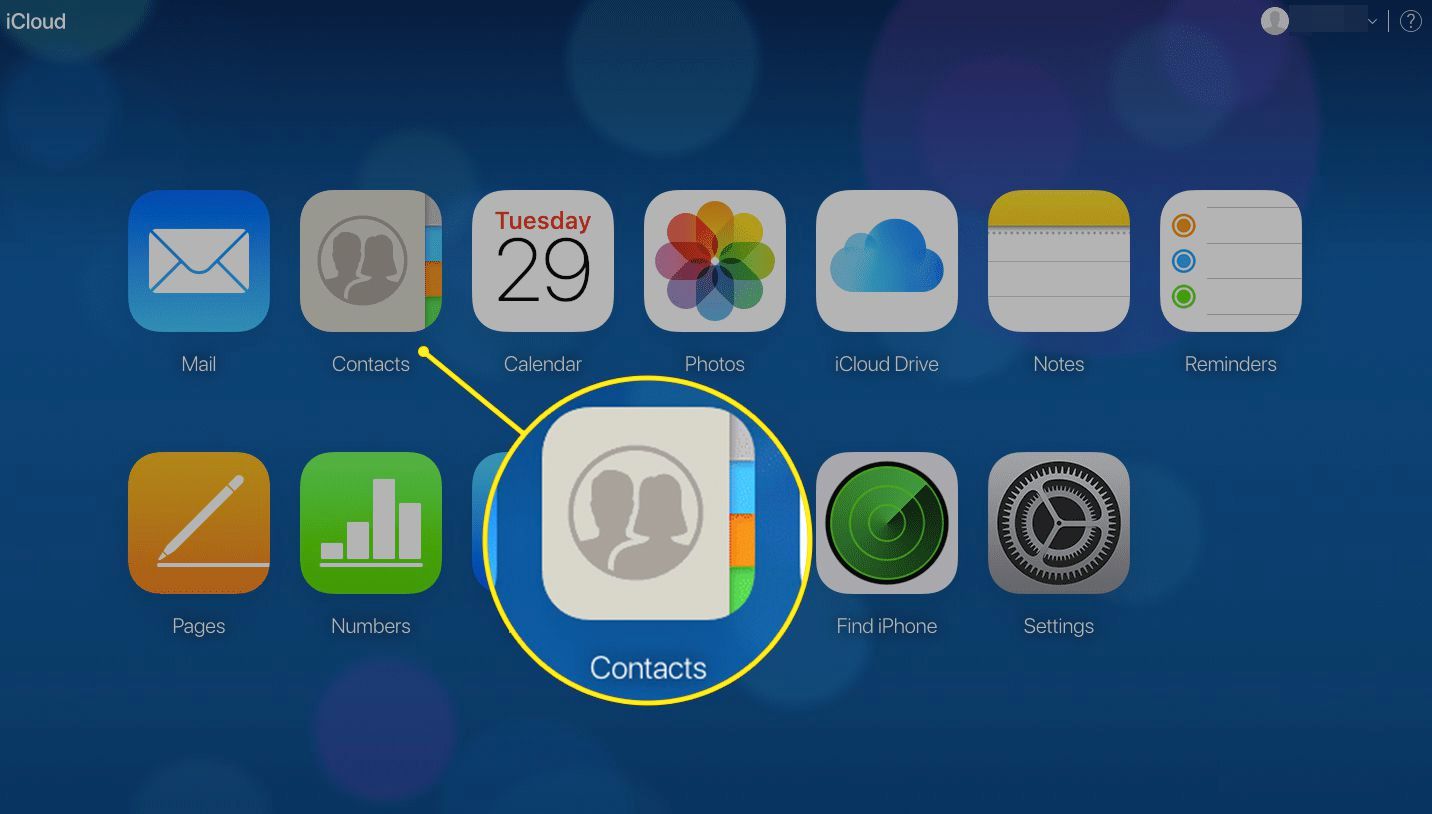
- Apple Mail: The default email client for Apple devices running on macOS or iOS. It offers a simple and intuitive interface with seamless integration across Apple devices.
- Thunderbird: A free and open-source email client that is known for its flexibility and customization options. It is available for Windows, macOS, and Linux.
When choosing an email client, consider factors such as ease of use, compatibility with your devices, integration with other apps or services, and the availability of additional features that you may find useful.
Additionally, make sure to check if the email client supports the email service provider you are using. Most email clients are compatible with popular providers like Gmail, Microsoft Exchange, and Yahoo! Mail, but it’s always a good idea to double-check before making your selection.
Remember, the goal is to choose an email client that aligns with your needs and offers a user-friendly experience. Take some time to explore the options available and read user reviews to find the one that suits you best.
Once you have selected an email client, you are ready to move on to the next step: adding your email account to the client.
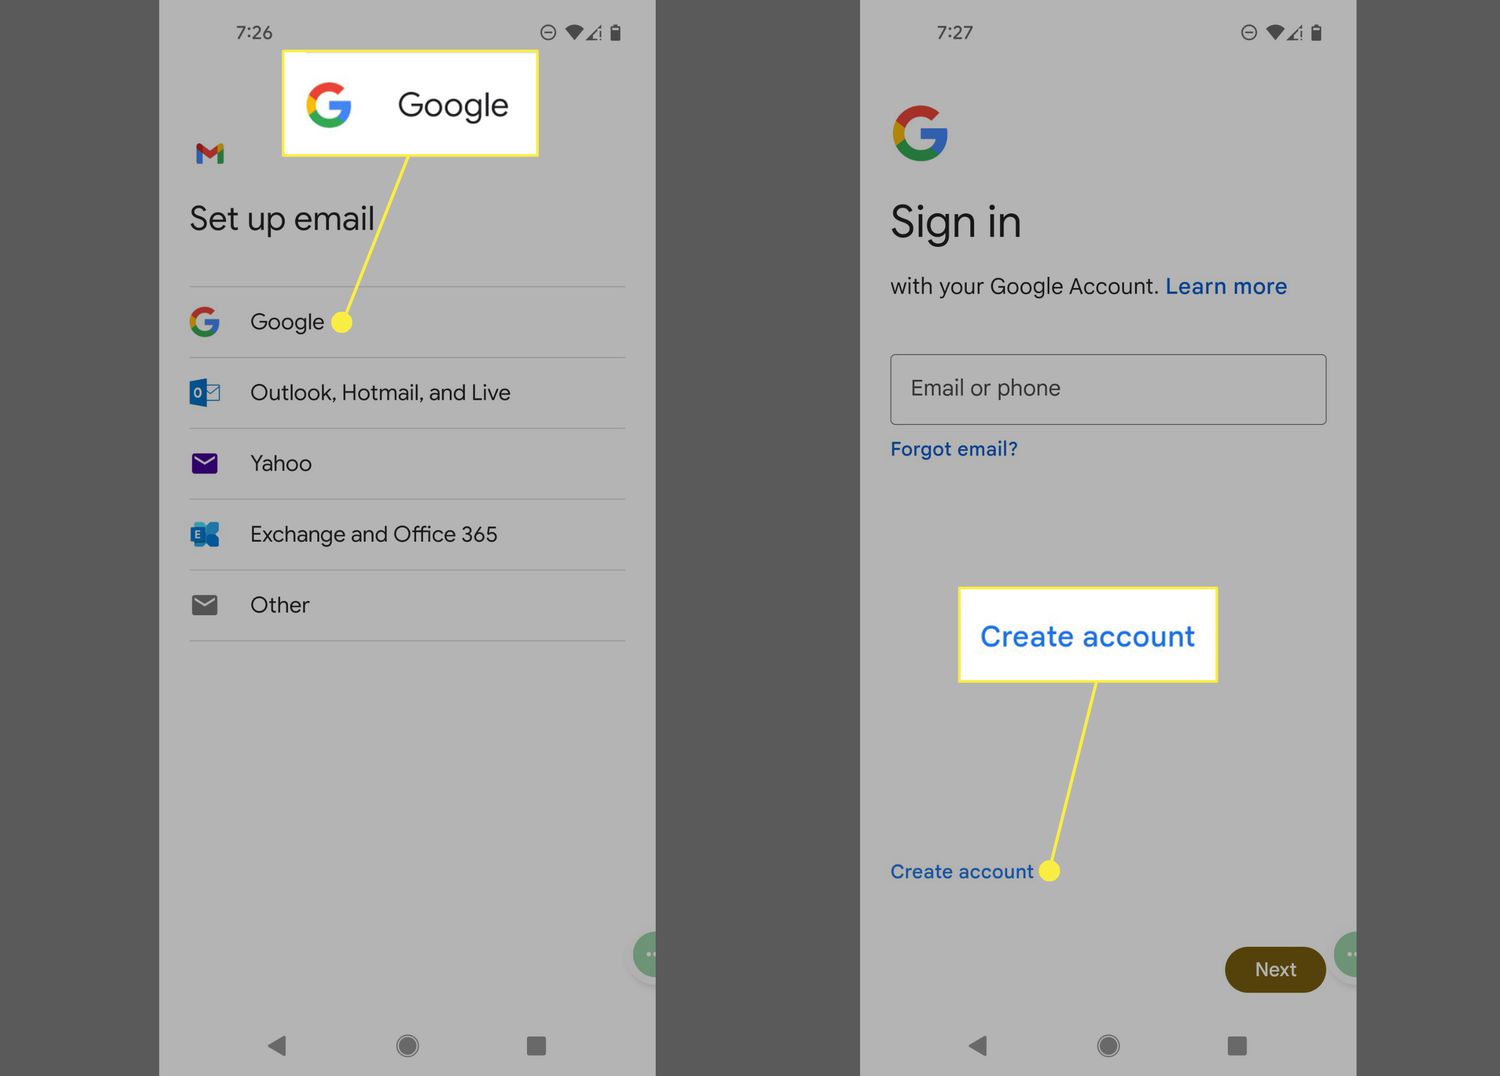
Step 2: Adding Your Email Account to the Client
Now that you have chosen an email client that suits your needs, it’s time to add your email account to the client. This step may vary slightly depending on the email client you have selected, but the general process remains relatively consistent.
Here are the general steps to add your email account to an email client:
- Open the email client you have chosen.
- Look for the option to add an account or set up a new account. It is typically located in the settings or preferences section of the email client.
- Choose the type of email account you want to add. This could be a POP3, IMAP, or Exchange account. If you are unsure, consult your email service provider or refer to their documentation for the appropriate account type.
- Enter your email address and password in the designated fields. Make sure to double-check the accuracy of the information to avoid any login issues.
- Configure additional settings, if necessary. This may include specifying the incoming and outgoing server addresses, port numbers, and encryption options. If you are unsure about these settings, consult your email service provider or refer to their documentation for guidance.
- Click on the “Next” or “Finish” button to complete the process.
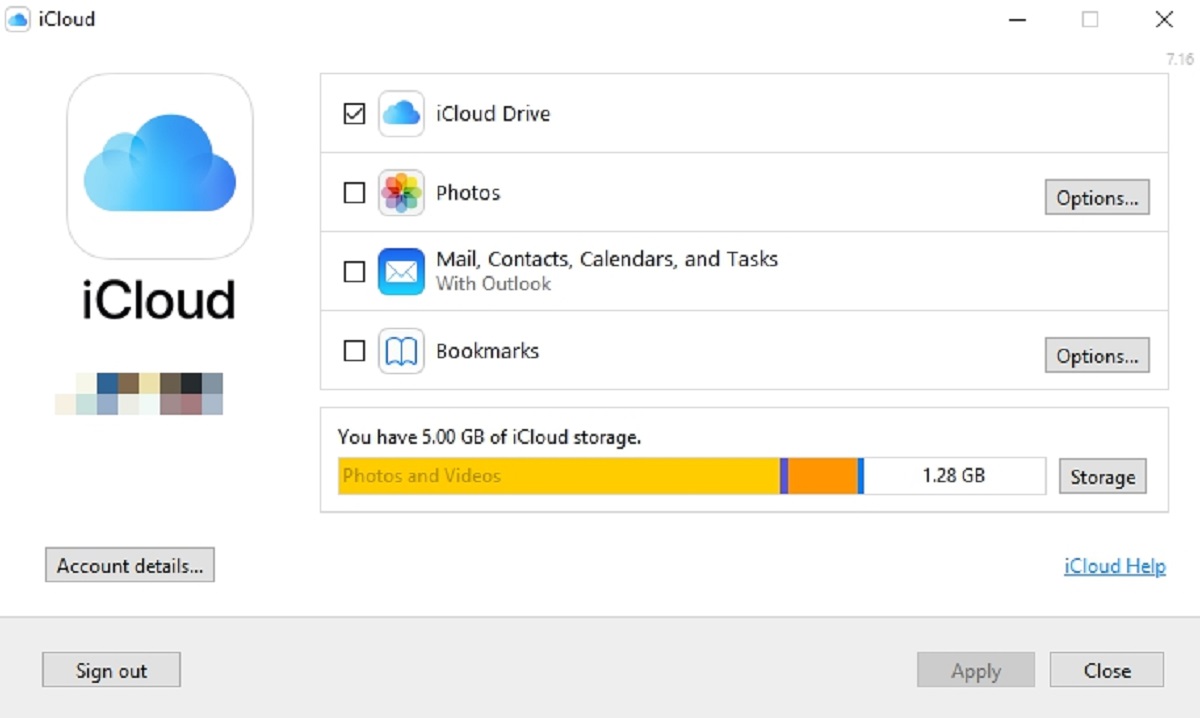
During the account setup process, you may also have the option to customize additional settings, such as syncing frequency, notifications, and folder preferences. Take the time to review and adjust these settings according to your preferences.
Once you have successfully added your email account to the client, you should start seeing your emails populate in the client’s inbox. Depending on the size of your inbox, it may take some time for all your emails to sync and appear. Be patient and allow the client to complete the synchronization process.
Now that your email account is successfully added to the client, you can move on to the next step: configuring email sync settings.
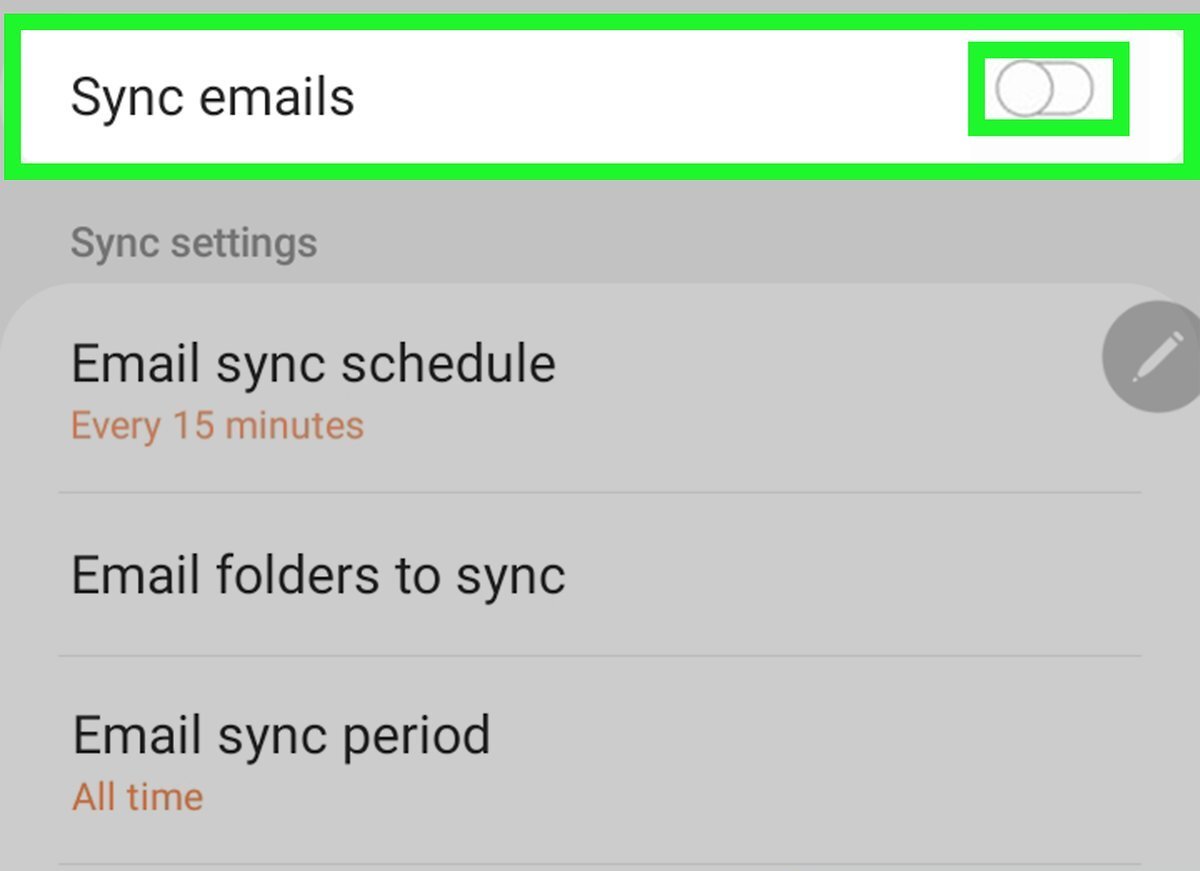
Step 3: Configuring Email Sync Settings
After adding your email account to the email client, the next step is to configure the email sync settings. These settings will determine how often the email client checks for new messages, how it handles deleted or archived emails, and other synchronization preferences. By adjusting these settings to your liking, you can ensure that your email remains up to date across all your devices.
Here are some key email sync settings you may encounter:
- Sync Frequency: Choose how often the email client checks for new emails. Common options include syncing manually, every 15 minutes, every 30 minutes, or every hour. Select a frequency that suits your needs and strikes a balance between staying updated and conserving battery life (for mobile devices).
- Email Storage: Decide whether you want to sync all your emails or only a certain number of recent ones. Syncing all emails can provide a complete history, but it may take up more storage space on your device.
- Sync Rules: Set rules for how the email client handles various actions, such as deleting or archiving emails. You can choose whether deleted emails are moved to the trash or permanently deleted, and whether archived emails are moved to a specific folder.
- Folder Sync: Specify which folders or labels you want to sync to the email client. This allows you to customize which folders or categories to display in the client, providing more control over the organization of your emails.
- Attachments: Determine whether attachments are automatically downloaded or if you prefer to manually download them when needed. This can help save storage space, especially for devices with limited storage capacity.
It’s important to note that these settings may be located in different menus or sections, depending on the email client you are using. Take some time to explore the settings and preferences to find the appropriate options for configuring the email sync settings.
Once you have configured the email sync settings to your preferences, the email client will start syncing your emails according to the specified rules and frequency. You can now enjoy the benefits of having your email seamlessly synchronized across all your devices.
However, syncing your email is not always without its challenges. In the next step, we will discuss some common issues that may arise during the email sync process and how to troubleshoot them.
Step 4: Troubleshooting Common Issues
While email synchronization can greatly simplify managing your emails across devices, it is not uncommon to encounter some common issues along the way. In this step, we will discuss a few common problems that you may encounter during the email sync process and provide some troubleshooting tips to help you resolve them.
1. Email not syncing: If you notice that your email client is not syncing properly or is not displaying the latest emails, try manually refreshing the inbox or restarting the email client. This can help trigger the synchronization process and update your inbox.
2. Authentication errors: If you are experiencing authentication errors when adding your email account to the email client, double-check the accuracy of your login credentials. Make sure you have entered the correct email address and password. If the problem persists, try resetting your password or contacting your email service provider for assistance.
3. Sync conflicts: In some cases, you may encounter conflicts between multiple devices syncing the same email account. This can result in duplicate emails or inconsistent read/unread statuses. To resolve this, ensure that you are using the same sync settings and rules on all devices. Also, close any unused email clients or apps that may be causing conflicts.
4. Slow synchronization: If you notice that the sync process is slow or taking longer than usual, check your internet connection. A slow or unstable internet connection can hinder the synchronization process. Also, consider reducing the number of emails being synced or adjusting the sync frequency to improve performance.
5. Error messages: If you encounter error messages during the sync process, note down the error code or message and search for solutions online. Often, error messages can provide insights into the specific issue and how to resolve it. You can also consult the documentation or support resources provided by your email client or service provider for further assistance.
Remember, troubleshooting email sync issues may require some trial and error. If one solution doesn’t work, don’t get discouraged. Keep trying different troubleshooting tips, and if needed, reach out to customer support for additional help.
By following these troubleshooting tips, you can overcome common email sync issues and ensure that your email synchronization runs smoothly across all your devices.
Conclusion
Congratulations! You have now learned the essential steps to sync your email across multiple devices. By choosing a suitable email client, adding your email account, configuring sync settings, and troubleshooting common issues, you can ensure that your email remains up to date and easily accessible no matter where you are.
Email synchronization offers numerous benefits, including the ability to seamlessly manage your emails, save time, and enhance productivity. By syncing your emails, you can stay organized, avoid duplicate messages, and keep track of important conversations from any device.
Remember to periodically review and update your sync settings to meet your evolving needs. Adjusting the sync frequency, folder preferences, and other settings can help optimize your email management experience.
If you encounter any challenges during the syncing process, refer back to this guide and take advantage of the troubleshooting tips provided. Remember that patience and persistence are key when troubleshooting email sync issues.
Now that you are equipped with the knowledge to sync your email, start implementing these steps and enjoy the convenience and efficiency of a synchronized inbox. Happy emailing!