Introduction
Restoring your Android phone from Google can be a lifesaver when you switch to a new device or face unexpected data loss. With the help of Google’s robust backup and restore capabilities, you can easily retrieve your contacts, apps, photos, and settings. Whether you accidentally deleted important files or simply want to transfer your data to a new phone, Google has you covered.
In this guide, we will walk you through the step-by-step process of restoring your Android phone from Google. By following these instructions, you can ensure that your data is safely restored without any hassle. So let’s dive in and get your device up and running again!
Before we begin, it is important to note that the process may slightly vary depending on the Android version and device manufacturer. However, the general steps and concepts remain the same across most Android devices.
So, if you are ready to reclaim your data and restore your Android phone from Google, let’s proceed to the first step: checking your Google account settings.
Step 1: Check your Google account settings
Before you can restore your Android phone from Google, it is crucial to ensure that your Google account settings are properly configured for backup and restore. Here’s how you can check and adjust these settings:
- Open your device’s settings: Swipe down from the top of your screen and tap the gear-shaped icon or go to the app drawer and find the “Settings” app.
- Navigate to the “Accounts” section: Scroll down and look for the “Accounts” or “Users & Accounts” option. Tap on it to proceed.
- Select your Google account: In the accounts list, you will see various accounts associated with your device. Find and tap on your Google account.
- Check the account sync settings: Once you are inside your Google account settings, you will find a list of sync options such as Contacts, Calendar, App Data, etc. Make sure that the necessary data types are enabled for sync. If they are not, simply slide the toggle switch to enable them.
- Verify Google backup settings: Tap on the three-dot menu icon in the top-right corner of the screen and select “Sync now” or “Backup now.” This will trigger an immediate backup of your data to your Google account.
By checking and adjusting these settings, you ensure that your important data, including contacts, app data, calendar events, and more, is being regularly backed up to your Google account. This will make the restoration process smoother and more efficient.
Once you have verified and adjusted your Google account settings, you are ready to move on to the next step: backing up your Android phone.
Step 2: Backup your Android phone
Before you proceed to restore your Android phone from Google, it is essential to create a backup of your device. This backup will serve as a safety net, allowing you to retrieve your data in case anything goes wrong during the restoration process. Here’s how you can backup your Android phone:
- Open your device’s settings: Swipe down from the top of your screen and tap the gear-shaped icon or go to the app drawer and find the “Settings” app.
- Navigate to the “System” section: Scroll down and look for the “System” option. Tap on it to proceed.
- Select “Backup” or “Backup & reset”: Depending on your device and Android version, you may find either “Backup” or “Backup & reset” in the system settings. Tap on it to access the backup options.
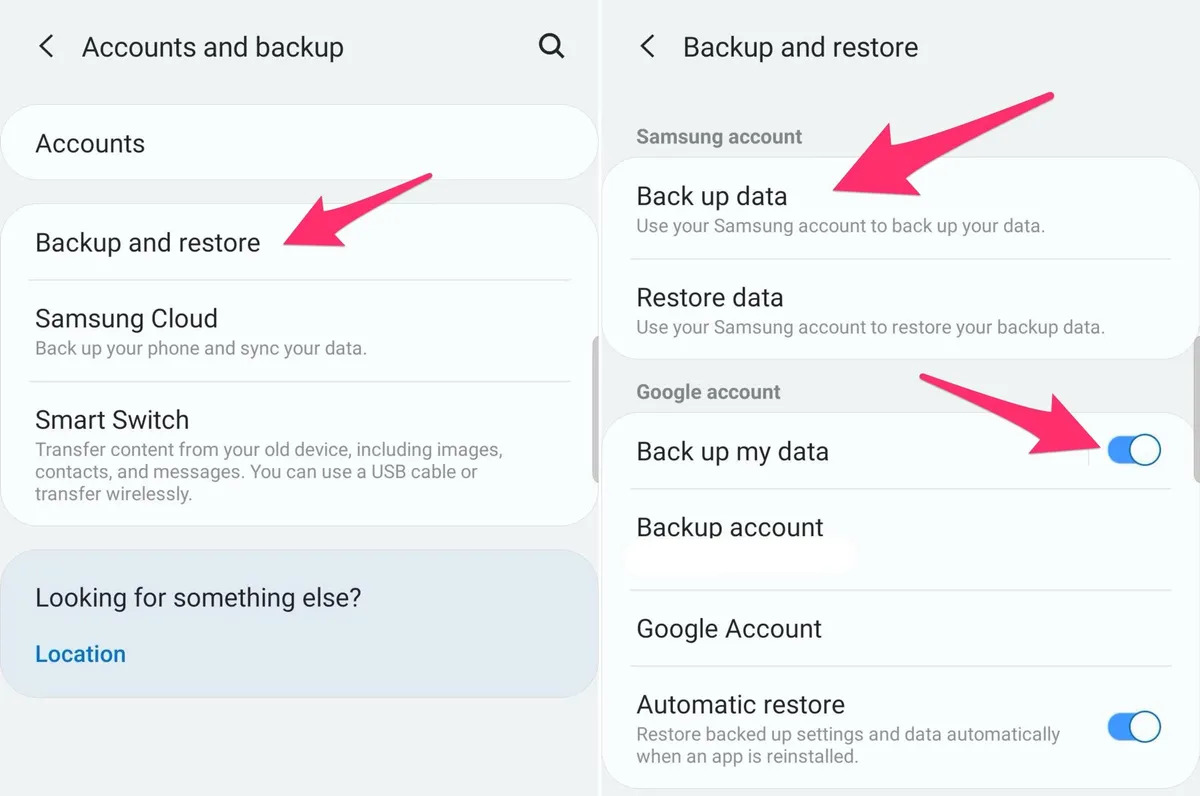
- Enable backup: In the backup settings, you will find various options for backing up your data. Make sure that the toggle switch for “Back up to Google Drive” or similar is enabled. This will ensure that your data is backed up to your Google account.
- Customize backup settings: If you want to include specific data types in your backup, such as app data, Wi-Fi passwords, or photos, tap on “Google Account” or “Backup account” to access advanced backup settings. Here, you can select the data types you want to include in the backup.
- Start the backup: Once you have customized your backup settings, tap on the “Back up now” or similar button to initiate the backup process. Depending on the amount of data on your device, the backup may take some time to complete.
By creating a backup of your Android phone, you ensure that your important data is safeguarded during the restoration process. This backup will be crucial when you retrieve your data from Google. Once the backup is complete, you are ready to move on to the next step: resetting your Android phone.
Step 3: Reset your Android phone
Before you can restore your Android phone from Google, you need to reset your device to its factory settings. This step erases all data and settings on your phone, preparing it for the restoration process. Here’s how you can reset your Android phone:
- Open your device’s settings: Swipe down from the top of your screen and tap the gear-shaped icon or go to the app drawer and find the “Settings” app.
- Navigate to the “System” section: Scroll down and look for the “System” option. Tap on it to proceed.
- Select “Reset” or “Reset options”: Depending on your device and Android version, you may find either “Reset” or “Reset options” in the system settings. Tap on it to access the reset options.
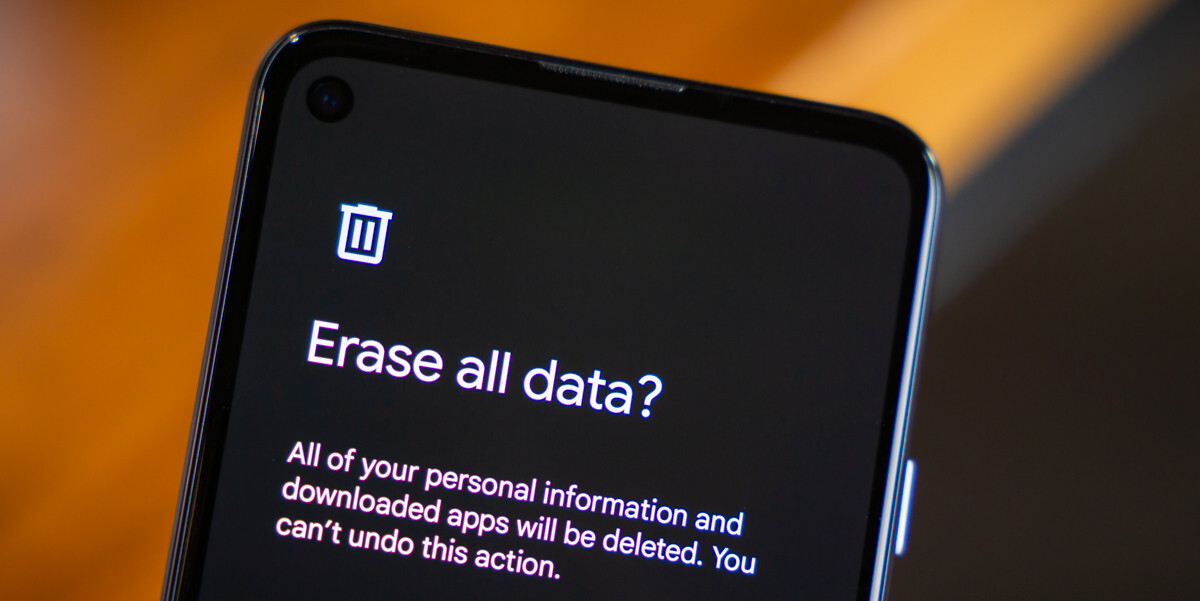
- Choose “Factory data reset”: Look for the option labeled “Factory data reset” or “Erase all data (factory reset).” Tap on it to initiate the reset process.
- Confirm the reset: You will be presented with a warning message stating that all data will be erased. Read the message carefully and tap on the “Reset” or “Erase all data” button to confirm the reset. You may be prompted to enter your device’s PIN, pattern, or password to proceed.
- Wait for the reset to complete: Your device will now begin the reset process. This may take several minutes, and your phone may restart multiple times during the process. Ensure that your device is connected to a stable power source to avoid any interruptions.
By resetting your Android phone to its factory settings, you are essentially erasing all data and settings, creating a clean slate for the restoration process. Once the reset is complete, you are now ready to move on to the next step: restoring your Android phone from Google.
Step 4: Restore your Android phone from Google
Now that you have backed up your Android phone and reset it to factory settings, it’s time to restore your device from Google. This process will allow you to retrieve your backed-up data and settings, bringing your phone back to its previous state. Here’s how you can restore your Android phone from Google:
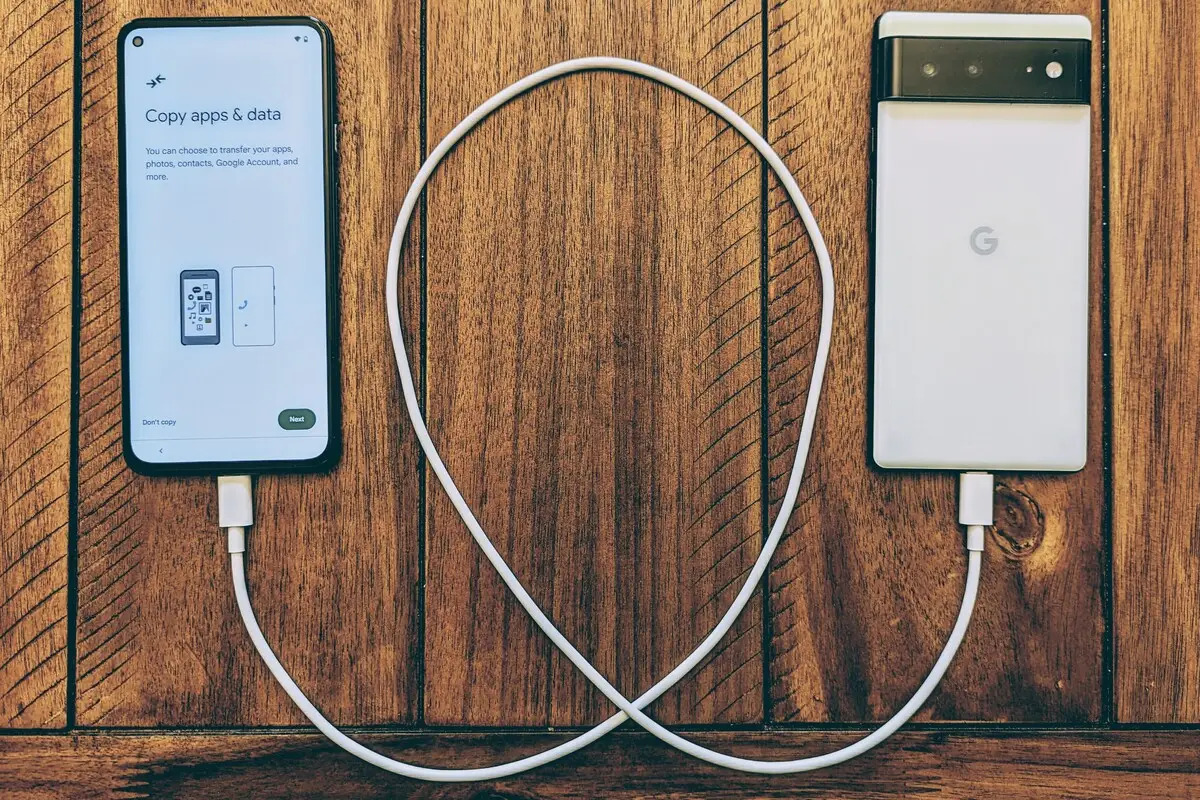
- Set up your device: After performing the factory reset, your phone will reboot and prompt you to go through the initial setup process, just like when you first got the device. Follow the on-screen instructions to choose your preferred language, connect to Wi-Fi, and agree to the terms and conditions.
- Select “Restore” or “Restore from backup”: During the setup process, you will come across a screen asking if you want to restore your device from a previous backup. Tap on the “Restore” or “Restore from backup” option.
- Choose your Google account: Select the Google account associated with the backup you want to restore. If you have multiple Google accounts, make sure to choose the correct one.
- Select the backup: On the next screen, you will see a list of available backups for your Google account. Choose the most recent backup that contains the data and settings you want to restore.
- Start the restoration: Tap on the “Restore” or “Start restore” button to initiate the restoration process. Depending on the size of your backup and the speed of your internet connection, this may take a while to complete.
- Wait for the restore to finish: Your phone will now start restoring your backed-up data and settings. It may restart a couple of times during the process. Ensure that your device is connected to a stable Wi-Fi network and has sufficient battery life during the restoration.
By following these steps, you can easily restore your Android phone from Google and retrieve your backed-up data. Once the restoration process is complete, your device will be back to its previous state with all your contacts, apps, photos, and settings intact.
Now that you have successfully restored your Android phone from Google, it’s time to move on to the final step: verifying your restored data and settings.
Step 5: Verify your restored data and settings
After restoring your Android phone from Google, it is essential to verify that all your data and settings have been successfully restored. This step ensures that your device is functioning as expected and that you have regained access to your important information. Here’s how you can verify your restored data and settings:
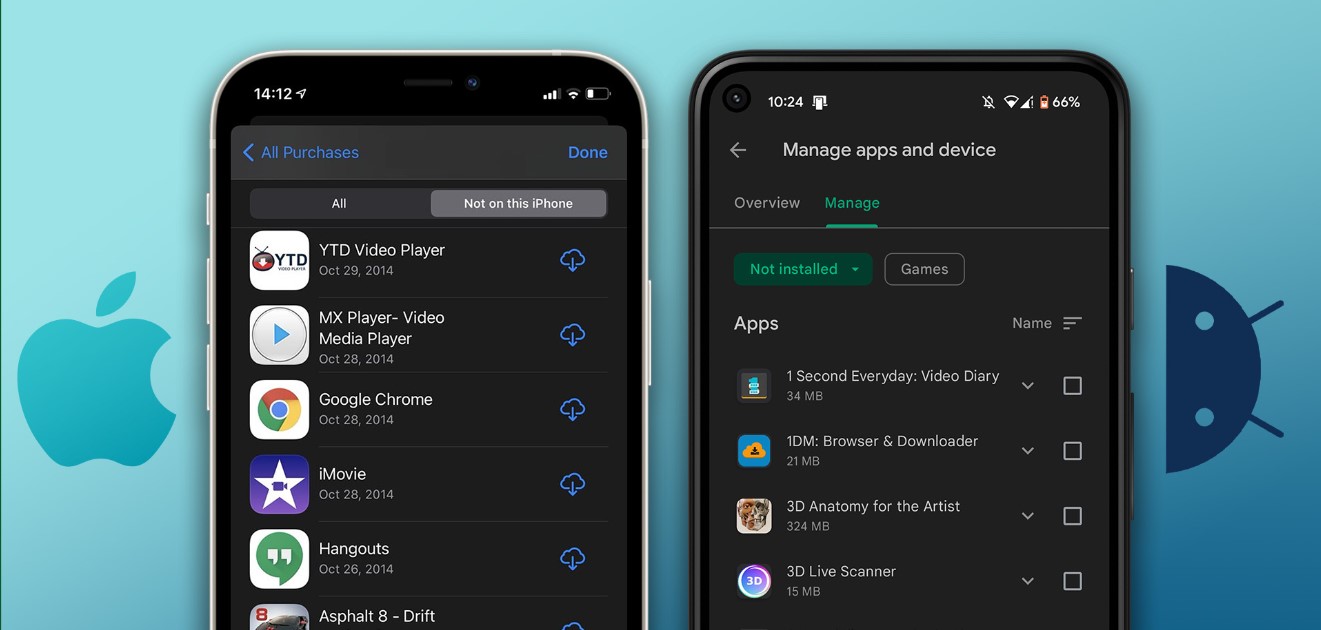
- Explore your apps and settings: Go through the apps on your phone and check if all the apps you previously had are still installed. Open each app and ensure that your settings, preferences, and data within the apps have been restored.
- Check your contacts: Open your contacts app and verify if all your contacts are present. Ensure that all the contact details, including phone numbers, email addresses, and any custom information, are intact.
- Review your photos and media files: Open your gallery or photos app and browse through your albums. Verify if all your photos and media files have been successfully restored. Pay attention to any specific albums or folders that you had created.
- Test your email and messaging apps: Send a test email to ensure that your email account is properly set up and synced. Likewise, send a test message or make a call to ensure that your messaging and calling apps are functioning correctly.
- Check your calendar events: Open your calendar app and review your upcoming events and appointments. Verify if all your calendar entries have been restored, including any reminders or specific calendar settings.
- Verify your app data: Open the individual apps that store important data, such as notes, to-do lists, or passwords. Ensure that your data within these apps has been restored correctly.
By thoroughly checking and verifying your restored data and settings, you can have peace of mind knowing that everything is back to normal on your Android phone. If you notice any missing data or settings, double-check that the backup and restore process was successful and consider trying the restoration process again.
Once you have confirmed that your restored data and settings meet your expectations, congratulations! You have successfully restored your Android phone from Google, recovering all your essential information and personal preferences.
Conclusion
Restoring your Android phone from Google is a straightforward process that allows you to retrieve your backed-up data and settings. By following the steps outlined in this guide, you can ensure a smooth restoration and regain access to your contacts, apps, photos, and more. Here’s a quick recap of the steps:
- Check your Google account settings to ensure backup and sync options are enabled.
- Create a backup of your Android phone to safeguard your data.
- Reset your device to factory settings to prepare for the restoration process.
- Restore your Android phone from Google by selecting the desired backup.
- Verify that your restored data and settings are accurately in place.
Remember, the process may vary slightly depending on your device and Android version, but the basic concepts remain the same.
Now that you have successfully restored your Android phone, you can enjoy the seamless transition to a new device or the peace of mind knowing that your important data is securely backed up. Regularly backing up your device and staying on top of account settings are good practices to ensure that your data stays protected.
By utilizing the powerful backup and restore capabilities provided by Google, you can easily recover from unexpected data loss or smoothly transition to a new Android phone without losing your precious information. So, don’t hesitate to take advantage of this feature and safeguard your digital life!