Introduction
Welcome to our guide on how to open your solid-state drive (SSD). If you’re looking to perform repairs, inspect internal components, or simply satisfy your curiosity, this article will provide you with a step-by-step guide on opening your SSD safely and correctly.
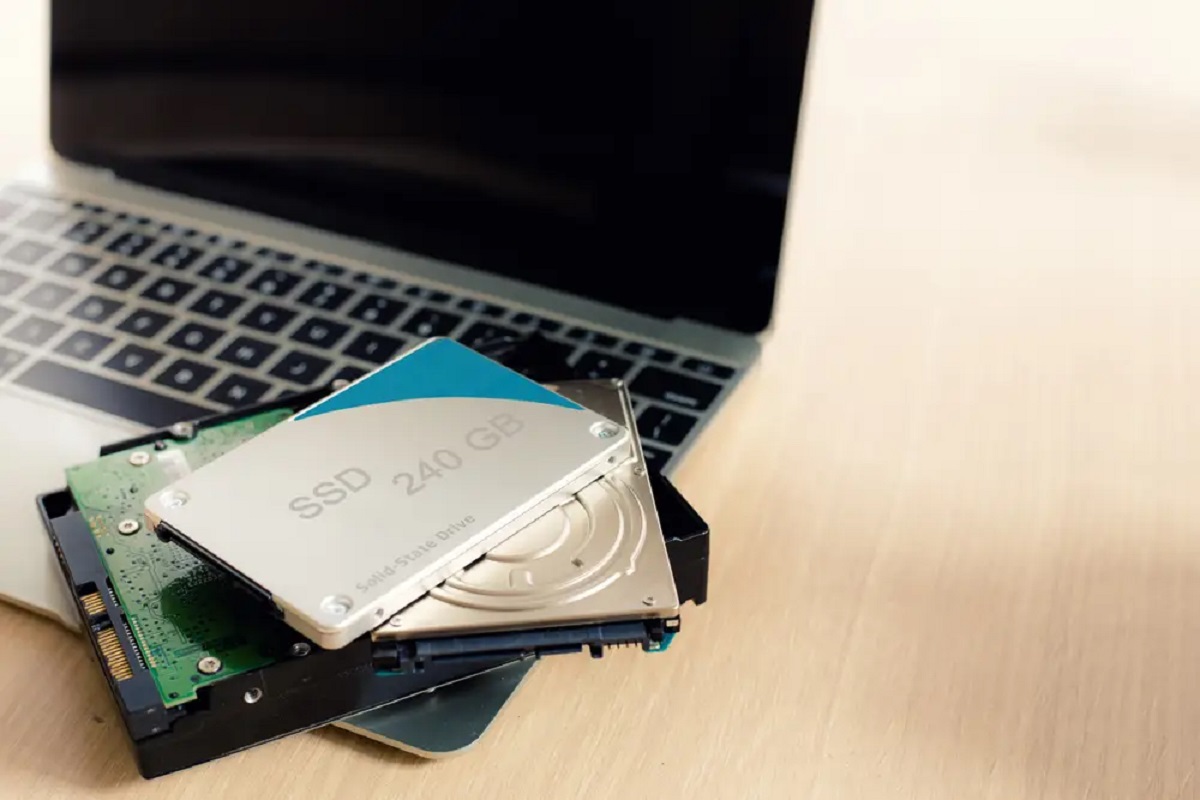
SSDs have become increasingly popular due to their faster data access speeds and durability compared to traditional hard disk drives. However, unlike HDDs, SSDs are compact and sealed, which can make accessing their internal components a bit challenging. Whether you have an external SSD with a casing or an internal SSD without a casing, we’ve got you covered.
Before we begin, it’s crucial to note that opening your SSD may void your warranty. If your SSD is still under warranty, consult the manufacturer or a professional technician before proceeding. Additionally, make sure to handle all components with care to avoid damaging your SSD or compromising data stored on it.
In this guide, we will provide you with detailed instructions for opening both external SSDs with casings and internal SSDs without casings. We’ll also cover important tips for handling the internal components safely. So, grab your tools and let’s get started on opening your solid-state drive!
Tools you will need
Before you begin opening your solid-state drive (SSD), make sure you have the following tools handy:
- Screwdriver set: Depending on the type of casing on your SSD, you may need a Phillips head screwdriver or a Torx screwdriver.
- Anti-static wrist strap: This will help protect your SSD from electrostatic discharge that could potentially damage its sensitive components.
- Plastic pry tools: These tools are useful for gently prying open the casing and maneuvering around delicate components.
- Cleaning cloth or compressed air: It’s a good idea to have a cleaning cloth or compressed air canister on hand to remove any dust or debris that may have accumulated inside the SSD.
- Optional: Heat gun or hairdryer: If you’re dealing with adhesive holding the casing together, you may need to apply some heat to soften it and make it easier to open.
Having these tools readily available will ensure that you can safely and effectively open your SSD without causing any damage. Remember to exercise caution when using tools and handling the internal components to avoid any unwanted mishaps.
With the necessary tools at your disposal, let’s move on to the next step – preparing the work area.
Step 1: Preparing the work area
Before you begin opening your solid-state drive (SSD), it’s essential to set up a suitable work area. Here are the key steps to follow:
- Select a clean and well-lit workspace: Choose a flat and clear surface where you can comfortably work without any distractions. Make sure the area is well-lit to help you see the small components and screws.
- Ground yourself: Static electricity can damage sensitive electronic components, so it’s crucial to discharge any static electricity before handling your SSD. Use an anti-static wrist strap or touch a grounded metal object to eliminate any static charge from your body.
- Prioritize cleanliness: Keep the work area free of dust, dirt, and debris. A clean workspace will prevent any unwanted particles from entering the SSD during the opening process.
- Gather all the necessary tools: Ensure that you have all the tools mentioned in the previous section, such as screwdrivers, plastic pry tools, an anti-static wrist strap, and a cleaning cloth or compressed air.
- Take precautions to protect your data: If you are opening the SSD to repair or inspect internal components, consider backing up any important data stored on the drive. This will help safeguard your files in case anything goes wrong during the opening process.
By following these steps and setting up a proper work area, you’ll create an environment that minimizes the risk of accidental damage to your SSD or its internal components.
Now that you’re prepared, it’s time to move on to the next step: removing the SSD from your device.
Step 2: Removing the SSD from your device
To open your solid-state drive (SSD), you’ll first need to safely remove it from your device. Follow these steps:
- Power off your device: Shut down your computer or device properly before attempting to remove the SSD. This will prevent any potential data corruption or damage to the drive.
- Disconnect all cables: Unplug any power cables, USB cables, or other connections that are connected to your device. This step ensures that you can safely remove the SSD without any obstructions.
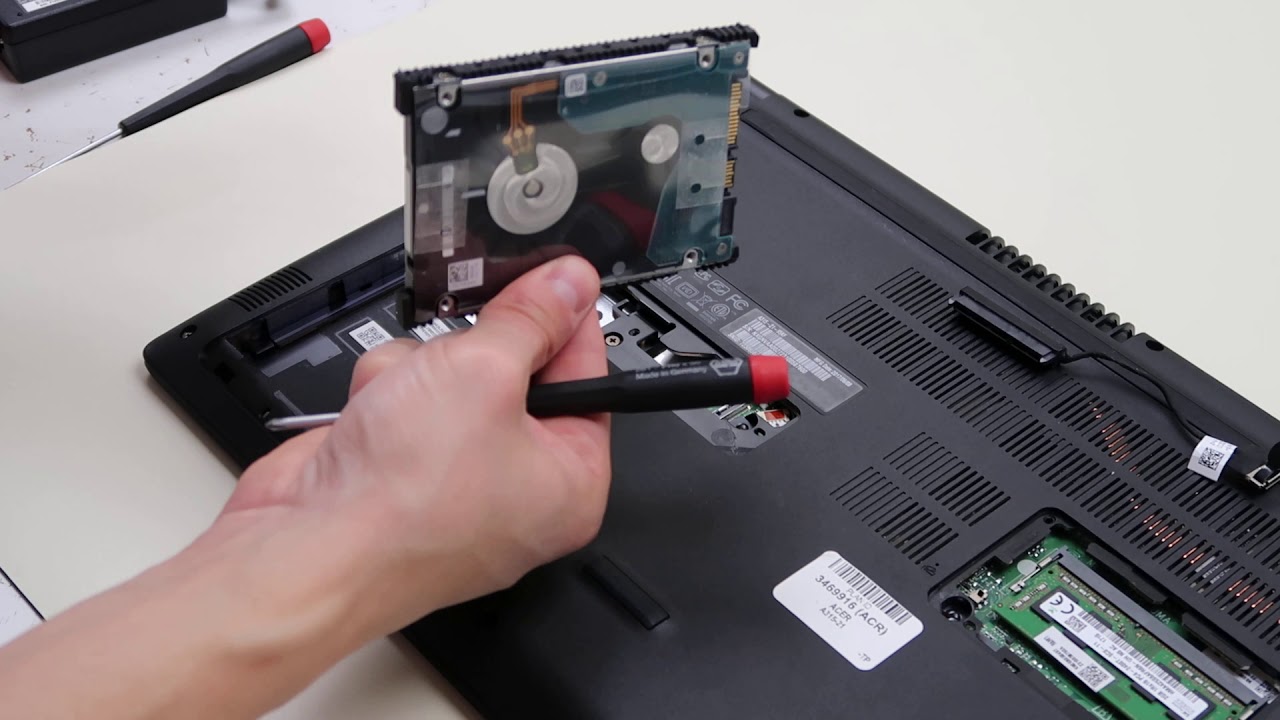
- Locate the SSD: Depending on the device, the SSD may be located in different areas. It could be easily accessible under a removable panel or hidden behind other components. Refer to your device’s manual or online resources to identify the location of the SSD.
- Remove any mounting screws: If your SSD is secured to the device with mounting screws, use a screwdriver to carefully remove them. These screws keep the SSD in place, so make sure to keep them in a safe place for reassembly later.
- Disconnect any connectors: Some SSDs may have connectors that need to be detached before removing them. Gently unplug any connectors by pulling them straight out, making sure not to pull on the cables themselves.
- Remove the SSD: Once all the screws and connectors are removed, carefully slide or lift the SSD out of its slot or bay. Be cautious not to force it or apply excessive pressure to avoid damaging the SSD or the device.
By following these steps, you’ll successfully remove the SSD from your device, making it ready for the next stage of the opening process. Ensure that you handle the SSD with care to prevent any accidental drops or physical damage.
Next, we’ll move on to step 3, where we’ll focus on identifying the type of casing on your SSD.
Step 3: Identifying the type of casing on your SSD
Before you proceed with opening your solid-state drive (SSD), it’s important to identify the type of casing it has. The casing will determine the method you need to use to open it. Here are the common types of casings you may come across:
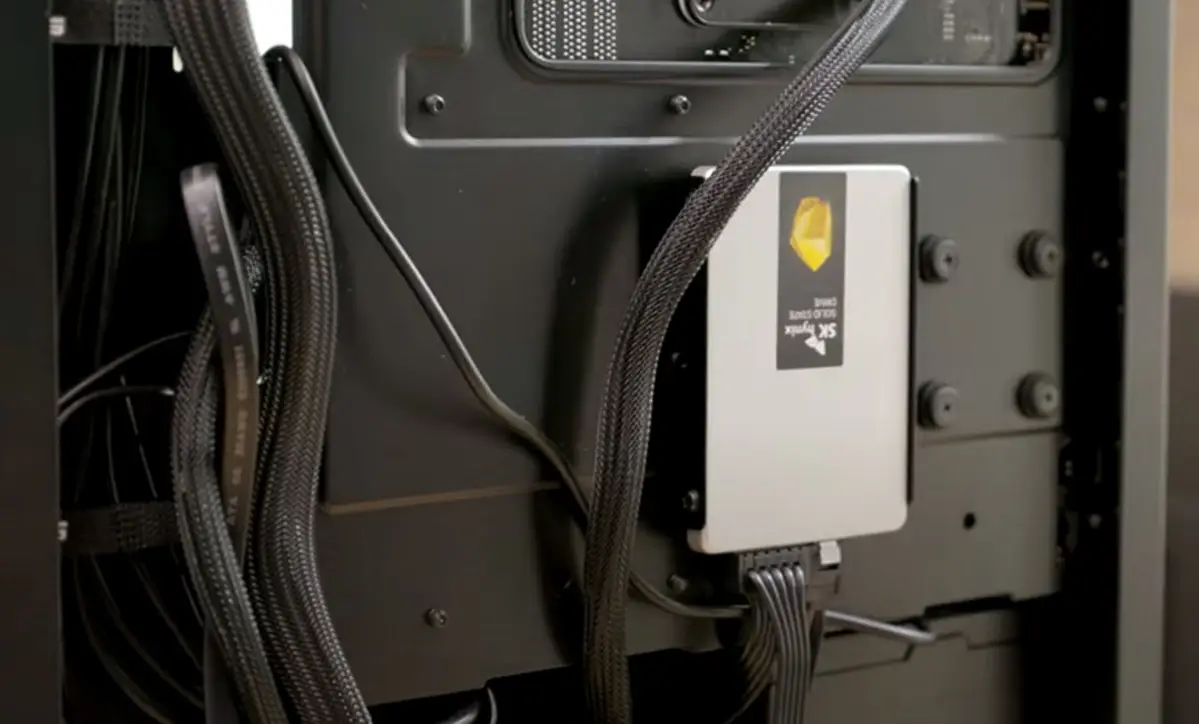
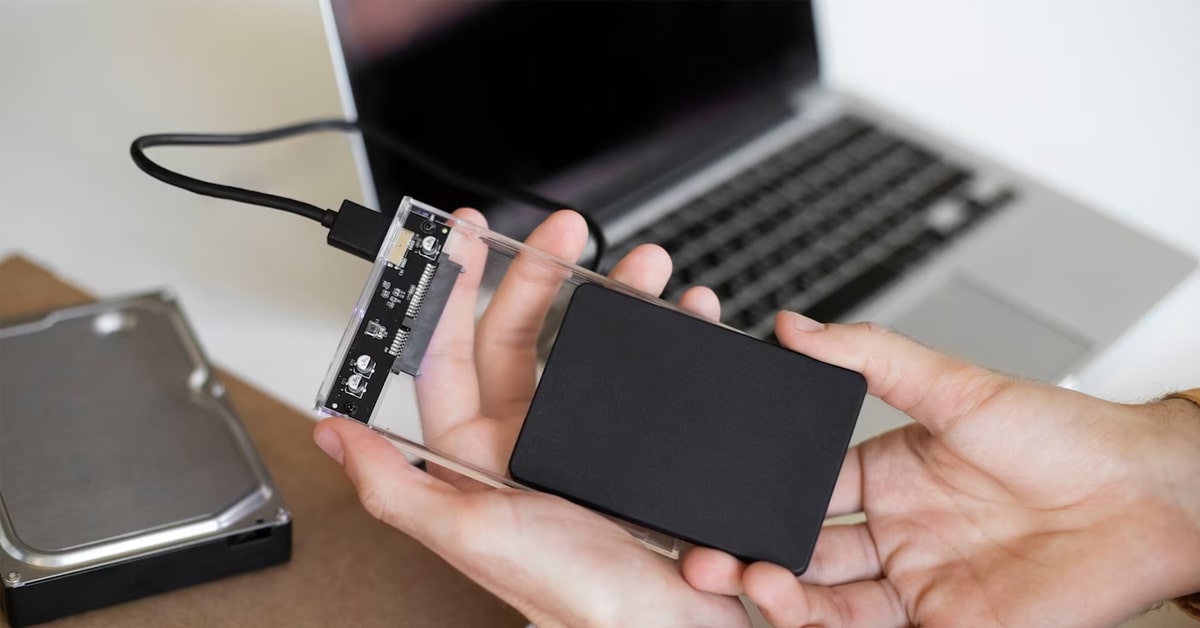
- External casing: Some SSDs come in an external casing, similar to a portable hard drive. This casing protects the internal components and provides connectivity options such as USB or Thunderbolt. These casings are usually held together with screws or clips.
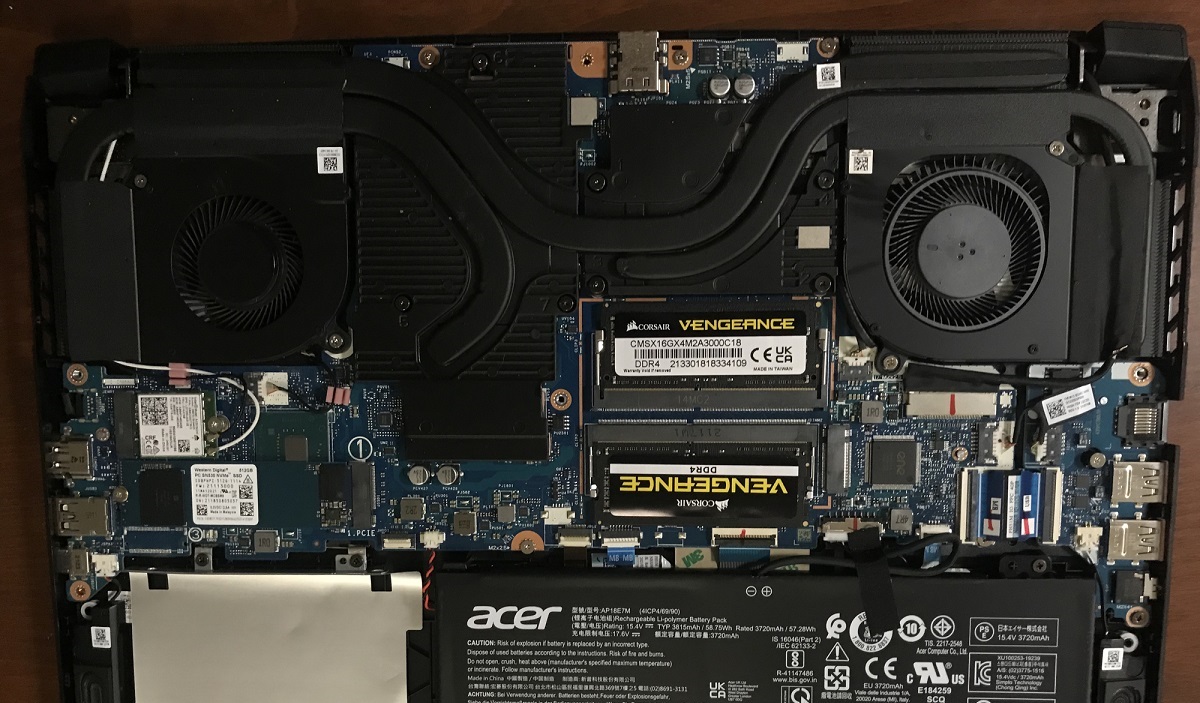
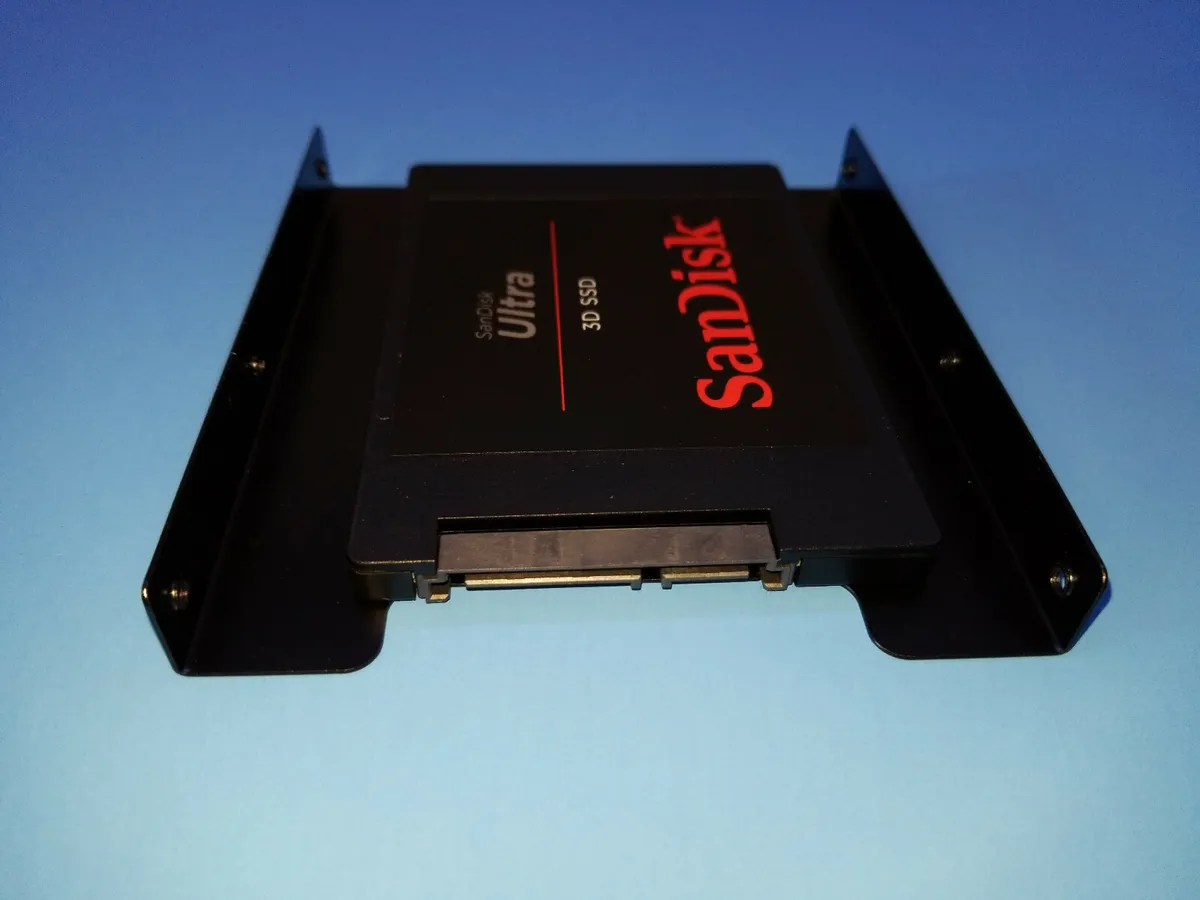
- Internal mounting: Other SSDs don’t have an external casing. Instead, they are directly mounted on the motherboard or secured in a drive bay using screws or detachable brackets. These SSDs can be opened without the need to remove a casing.
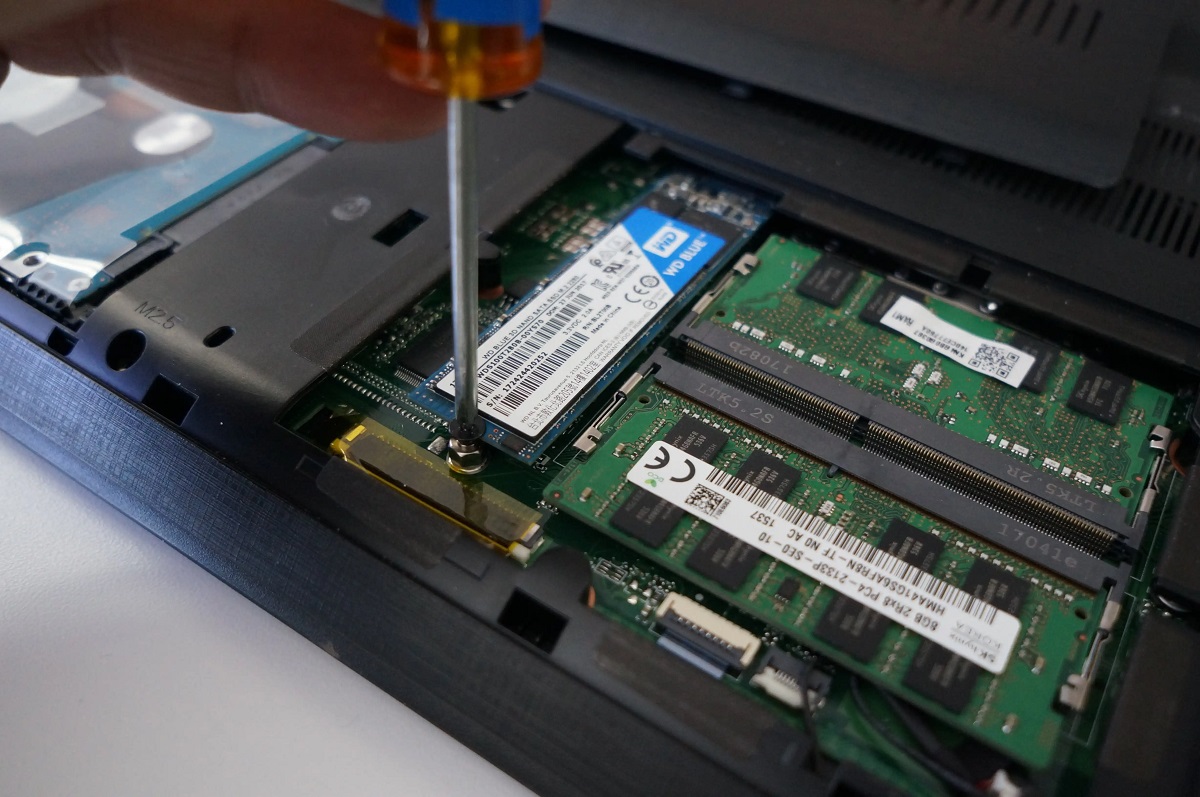
- M.2 form factor: M.2 SSDs are a popular type that is often used in laptops and ultrabooks. These SSDs are typically inserted into a dedicated M.2 slot on the motherboard and secured with a screw or a clip.
It’s crucial to correctly identify the type of casing your SSD has to ensure you follow the appropriate steps for opening it. Consult your SSD’s manual or the manufacturer’s website for specific information if you’re uncertain about the type of casing.
Now that you have determined the type of casing on your SSD, you can proceed to the next steps based on whether you’re dealing with an external SSD with a casing or an internal SSD without a casing.
If your SSD has an external casing, continue to step 4, where we’ll guide you through opening it. If it’s an internal SSD without a casing, jump to step 5 for the relevant instructions.
Step 4: Opening an external SSD with a casing
If your solid-state drive (SSD) comes in an external casing, follow these steps to open it:
- Examine the casing: Take a close look at the external casing of your SSD. Look for any screws, clips, or latches that are holding it together. Some casings may have visible screws that need to be removed, while others may have hidden screws or clips.
- Remove any visible screws: If you see any screws on the casing, use the appropriate screwdriver to carefully remove them. Keep the screws in a safe place for reassembly later.
- Look for hidden screws or clips: If you don’t see any visible screws, inspect the edges or the bottom of the casing for any clips or hidden screws. Plastic pry tools can be helpful in gently prying apart the casing to locate these hidden elements.
- Release clips or detach the casing: If the casing has clips, use the plastic pry tools to carefully release the clips and separate the casing. If there are hidden screws, unscrew them to detach the casing from the SSD.
- Handle the SSD and the casing: Once the casing is open, be mindful of the SSD and the casing. Avoid touching any exposed electronic components or circuitry. If necessary, use an anti-static bag or place the SSD on an anti-static mat to protect it.
When handling the external casing, be careful not to apply excessive force or damage any parts. Take note of the orientation and placement of cables, connectors, and internal components within the casing as you may need to reassemble them later.
Now that you have successfully opened the external casing of your SSD, you can proceed with inspecting or repairing the internal components if needed. Remember to follow proper precautions to keep the SSD and its components safe throughout the process.
If your SSD does not have an external casing and is directly mounted or connected internally, skip to step 5 for instructions on opening an internal SSD without a casing.
Step 5: Opening an internal SSD without a casing
If your solid-state drive (SSD) is directly mounted or connected internally without an external casing, follow these steps to open it:
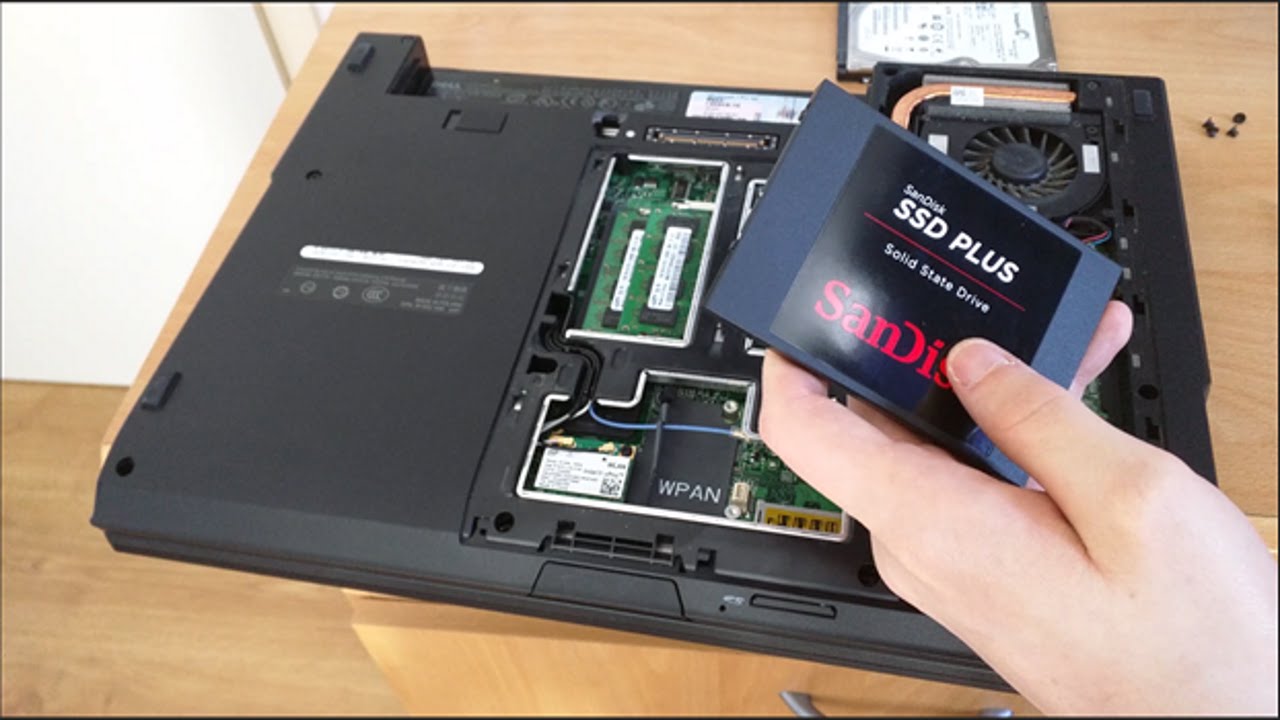
- Locate the mounting area: Identify the location of your internal SSD within your device. It could be mounted on the motherboard or secured in a drive bay.
- Determine the securing mechanism: Inspect the mounting area to identify how the SSD is secured. It might be held in place by screws, brackets, or other fastening mechanisms.
- Remove any securing screws or brackets: If your SSD is held in place by screws, use the appropriate screwdriver to carefully unscrew them. If brackets are securing the SSD, use a plastic pry tool to release the clips and detach the brackets.
- Gently slide or lift the SSD: Once the securing screws or brackets are removed, cautiously slide or lift the SSD out of its slot or drive bay. Be mindful not to apply excessive force or put any strain on the SSD or other components.
Handle the SSD with care, keeping your fingers away from any connectors or circuitry. If necessary, use an anti-static bag or place the SSD on an anti-static mat to prevent any static discharge that could harm the internal components.
Take note of the orientation and placement of cables, connectors, and other internal components within your device, as you may need to reassemble them later.
Now that you have successfully opened the internal SSD, you can proceed with inspecting or repairing the SSD, if needed. Ensure you follow proper precautions to protect the SSD and its components throughout the process.
Whether your SSD has an external casing or is internally mounted, you’re one step closer to accessing and working with the internal components. In the next step, we’ll guide you through handling the internal components safely.
Step 6: Handling the internal components
Now that you have opened your solid-state drive (SSD) and have access to its internal components, it’s important to handle them with care. Follow these guidelines to ensure you protect the SSD and its delicate components:
- Avoid touching the circuitry: The circuitry on your SSD is sensitive, and any accidental contact or static discharge could cause damage. When handling the SSD, refrain from touching the circuit board or any exposed electronic components.
- Use an anti-static wrist strap: If you have an anti-static wrist strap, it’s recommended to wear it while handling the SSD. This helps prevent any static discharge that could potentially harm the internal components.
- Hold the SSD by the edges: When picking up the SSD or maneuvering it, hold it by the edges to minimize the risk of accidental contact with the circuitry. Avoid putting pressure on any components or connectors.
- Keep the SSD on a stable surface: Place the SSD on a clean and stable surface to prevent it from accidentally falling or getting damaged. Avoid setting it down on materials that could generate static electricity.
- Avoid exposure to liquids and excessive heat: Keep the SSD away from liquids as they can cause damage to the internal components. Additionally, avoid exposing the SSD to excessive heat as it can affect its performance and lifespan.
- Be cautious with cables and connectors: If you need to disconnect or reconnect any cables or connectors inside the SSD, do so gently and avoid using excessive force. Ensure they are securely attached but be careful not to bend or damage them.
By following these guidelines, you’ll minimize the risk of accidental damage to your SSD. Remember to maintain a clean and static-free environment throughout the handling process. If you’re unsure about any specific components or procedures, consult the SSD’s manual or seek professional assistance.
Now that you know how to handle the internal components safely, you’re ready to proceed with any necessary repairs, inspection, or modifications. Just ensure you exercise caution and take note of the current state of the SSD for reassembly in the next step.
Step 7: Closing the SSD after inspection or repair
After completing any necessary inspection, repairs, or modifications to your solid-state drive (SSD), it’s time to close it up and ensure everything is secured properly. Follow these steps to safely close the SSD:
- Inspect the internal components: Before closing the SSD, double-check that all internal components, cables, and connectors are properly aligned and in their correct positions.
- Align the casing or mounting brackets: If your SSD has an external casing, align the casing carefully with the SSD using any guides or markings provided. Make sure the casing fits perfectly and is aligned with the screw holes or clips.
- Secure the screws or clips: If your SSD casing has screws, use the appropriate screwdriver to secure them back in place. Ensure they are tightened but avoid overtightening. If your casing has clips, carefully snap them into position to secure the casing.
- Reattach any cables or connectors: If you disconnected any cables or connectors during the opening process, reattach them carefully. Make sure they are securely connected, but again, avoid using excessive force.
- Test the SSD: Once everything is closed up, power on your device and test the SSD to ensure it is functioning correctly. Verify that your device recognizes the SSD and that it is functioning as expected.
After closing the SSD, it’s important to keep an eye out for any unusual behaviors or error messages during the testing phase. If you encounter any issues, double-check the connections and make necessary adjustments.
If the SSD is functioning properly and is recognized by your device, you can now safely use it for your storage needs. However, if you continue to experience problems, it may be advisable to seek professional assistance or contact the SSD manufacturer for further guidance.
Congratulations! You have successfully opened and closed your SSD after inspection or repair. Remember to keep your SSD clean and avoid any rough handling to maintain its optimal performance and longevity.
Conclusion
Opening your solid-state drive (SSD) can be a useful and necessary step for various reasons, such as inspecting internal components, performing repairs, or satisfying your curiosity. By following the step-by-step guide provided in this article, you can confidently and safely open your SSD, regardless of whether it has an external casing or is internally mounted.
Throughout the process, it’s crucial to exercise caution and handle the SSD and its internal components with care. Avoid touching the circuitry, use an anti-static wrist strap if available, and hold the SSD by its edges to prevent any damage. Additionally, make sure to work in a clean and static-free environment to minimize the risk of accidental damage.
After opening the SSD and completing any necessary inspections or repairs, it’s essential to close it up properly. Align the casing or mounting brackets carefully, secure any screws or clips, and reattach any cables or connectors that were disconnected. Finally, test the SSD to ensure it is functioning correctly before using it for your storage needs.
Remember that opening your SSD may void your warranty, so it’s essential to consider the implications and consult with the manufacturer or a professional if your SSD is still covered under warranty.
By following the guidelines and steps outlined in this guide, you can confidently open and close your SSD, gaining access to its internal components for various purposes. Whether you’re performing repairs, inspecting the SSD, or simply satisfying your curiosity, always prioritize the safety and proper handling of the SSD to maintain its optimal performance and longevity.
Now that you’re equipped with the knowledge and understanding of how to open and close your SSD, you can confidently tackle any future SSD-related tasks or projects. Enjoy exploring the internal components of your SSD and utilizing its full potential!