Introduction
Gone are the days when external hard drives were considered a luxury; they have become an essential tool for storing and backing up important data for both personal and professional purposes. However, it can be frustrating when your computer fails to recognize your WD (Western Digital) external hard drive. This issue can arise due to various reasons, such as faulty hardware connections, outdated drivers, or compatibility issues.
In this article, we will explore the common issues that users face when their computer fails to recognize their WD external hard drive. We will discuss troubleshooting steps that can help you resolve these issues and get your computer to recognize your WD external hard drive once again.
It’s important to note that the following troubleshooting steps are applicable to both Windows and Mac systems, as WD external hard drives are compatible with both platforms.
So, if you’re facing this issue and wondering how to proceed, keep reading! We will guide you through the troubleshooting process to get your computer to recognize your WD external hard drive and regain access to your valuable data.
Common Issues with WD External Hard Drive Recognition
When it comes to using a WD external hard drive, one of the most common problems users face is their computer’s failure to recognize the device. This can be a frustrating experience, especially when you have important files stored on the drive. There are several common issues that can cause this problem:
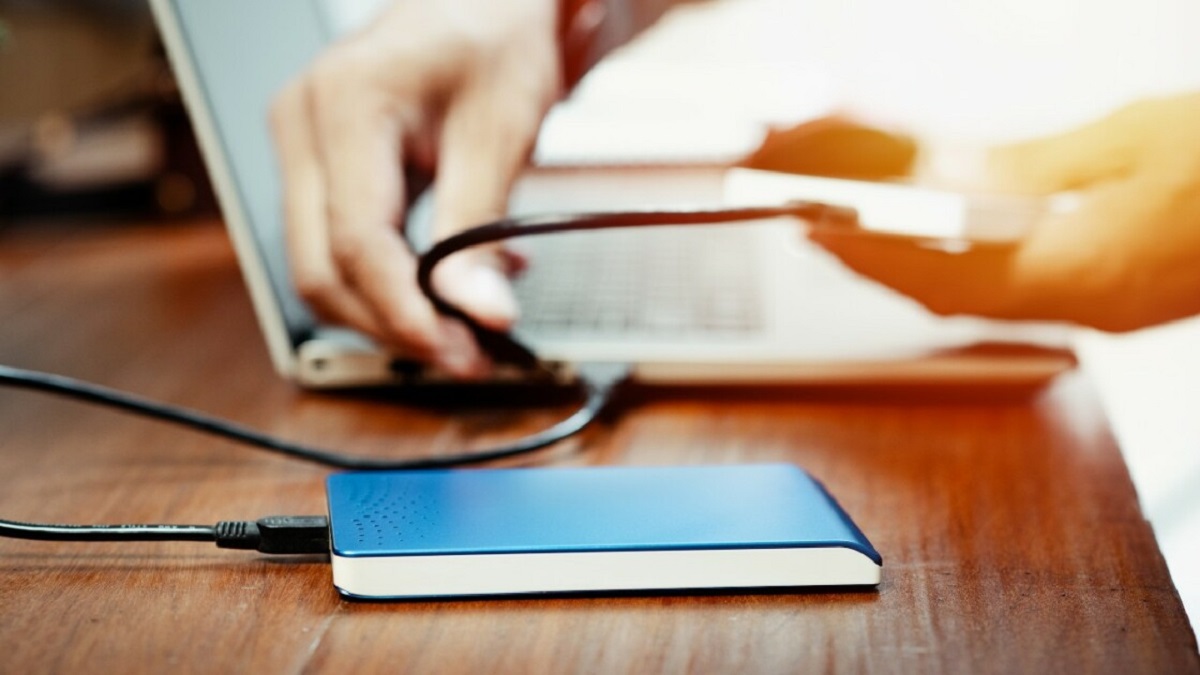
- Faulty USB connection: Sometimes, the issue lies in a faulty USB connection. This can happen if the USB cable is damaged or not securely connected to both the external hard drive and the computer.
- Outdated drivers: Outdated or incompatible drivers can prevent your computer from recognizing the WD external hard drive. Drivers act as communication bridges between your hardware and operating system, so it’s crucial to keep them up to date.
- Drive Letter Conflict: Drive letter conflict occurs when multiple devices on your computer are assigned the same drive letter. This can cause confusion and prevent your computer from recognizing the WD external hard drive.
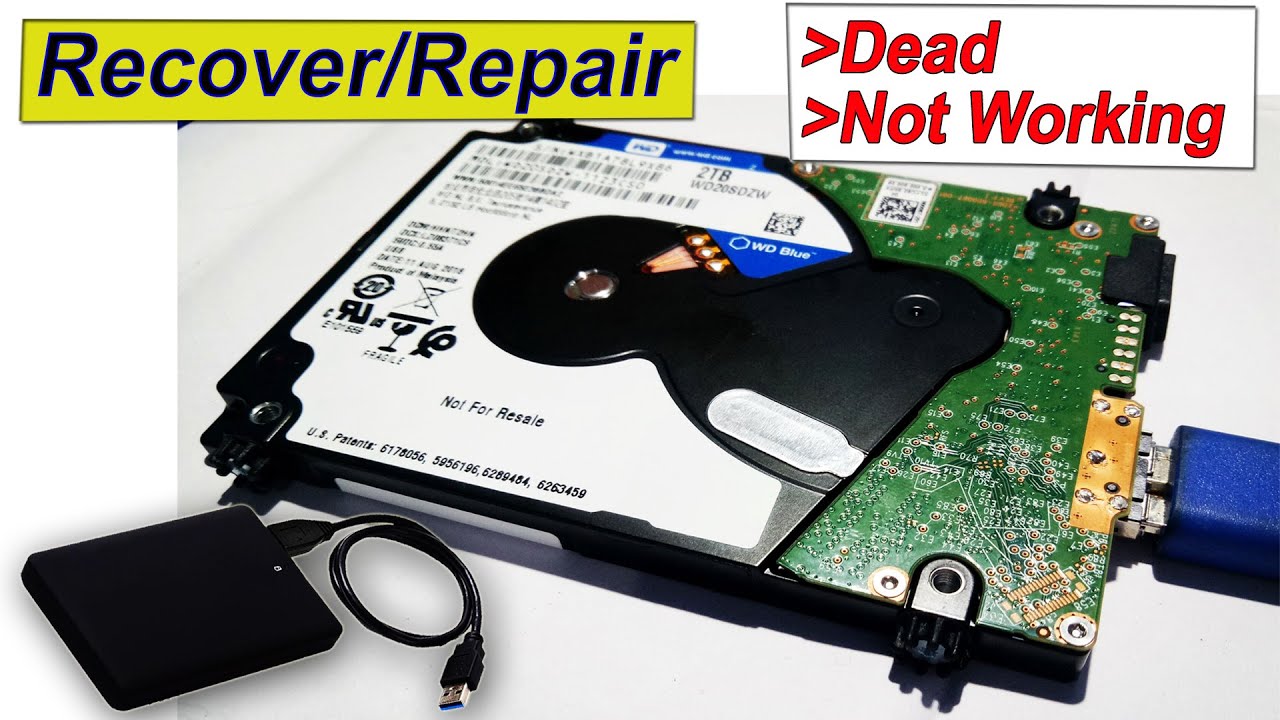
- File System Errors: If the file system on your WD external hard drive is corrupted or experiencing errors, your computer may fail to recognize it. Corrupted files, bad sectors, or improper formatting can all contribute to this issue.
- USB Port or Cable Issues: Sometimes, the issue lies with the USB port you’re using or the cable itself. A faulty USB port or a damaged cable can prevent proper communication between the external hard drive and your computer.
- Compatibility Issues: In some cases, compatibility issues between the WD external hard drive and your computer’s operating system can cause recognition problems. Ensure that your WD drive is compatible with your specific OS version.
Now that we have a better understanding of the common issues that can lead to a WD external hard drive not being recognized, let’s move on to the troubleshooting steps that can help resolve these problems.
Check Hardware Connections
The first step in troubleshooting the recognition issue with your WD external hard drive is to check the hardware connections. Sometimes, a loose or faulty connection can be the culprit behind the problem.
Here’s what you can do to ensure the hardware connections are secure:
- Check the USB cable: Inspect the USB cable connecting your WD external hard drive to the computer. Ensure that it is not damaged or frayed. If it appears to be damaged, try using a different USB cable.
- Use a different USB port: Plug the USB cable into a different USB port on your computer. Sometimes, a specific USB port may not be functioning properly, and using a different one can resolve the issue.
- Use a powered USB hub: If you’re using a USB hub to connect your WD external hard drive, try connecting it directly to your computer instead. Sometimes, using a powered USB hub can provide a more stable power supply to the device.
- Restart your computer: Sometimes, a simple restart can fix minor connection issues. Reboot your computer and see if it recognizes the WD external hard drive afterward.
After checking and ensuring the hardware connections are secure, try reconnecting the WD external hard drive to your computer and see if it is now recognized. If not, let’s move on to the next troubleshooting step.
Update WD External Hard Drive Driver
If your WD external hard drive is still not being recognized by your computer after checking the hardware connections, the next step is to update the driver for the device. Outdated or incompatible drivers can prevent proper communication between the external hard drive and your computer.
Here’s how you can update the WD external hard drive driver:
- Visit the WD Support website: Go to the official WD Support website and navigate to the Downloads section.
- Select your product: Look for the specific model of your WD external hard drive and select it.
- Download the driver: Locate the driver download section and download the latest driver available for your WD external hard drive and your operating system.
- Install the driver: Once the driver is downloaded, run the installer and follow the on-screen instructions to install the updated driver on your computer.
- Restart your computer: After the driver is installed, restart your computer to ensure the changes take effect.
After updating the driver, reconnect your WD external hard drive to your computer and check if it is now recognized. If the issue persists, proceed to the next troubleshooting step.
Assign a Drive Letter to Your WD External Hard Drive
If your computer still fails to recognize your WD external hard drive, another possible solution is to assign a drive letter to the device. Sometimes, a drive letter conflict or missing drive assignment can cause recognition issues.
Follow these steps to assign a drive letter to your WD external hard drive:
- Open Disk Management: Right-click on the “Start” button and select “Disk Management” from the context menu. This will open the Disk Management utility.
- Identify your WD external hard drive: In the Disk Management window, locate your WD external hard drive. It should be listed there without a drive letter.
- Right-click on the WD external hard drive: Right-click on your WD external hard drive and select “Change Drive Letter and Paths” from the drop-down menu.
- Assign a drive letter: In the “Change Drive Letter and Paths” window, click on the “Add” button. Select a drive letter from the available options and click “OK” to assign the drive letter to your WD external hard drive.
- Restart your computer: Restart your computer to apply the changes.
After assigning a drive letter, reconnect your WD external hard drive to your computer and check if it is now recognized. If the issue persists, move on to the next troubleshooting step.
Format the WD External Hard Drive
If your WD external hard drive is still not being recognized by your computer, it may be necessary to format the drive. Formatting can resolve any file system errors or corruption that could be causing the recognition issue.
However, it’s important to note that formatting the WD external hard drive will erase all data on the drive. If you have any important files on the drive, make sure to back them up before proceeding with the formatting process.
Follow these steps to format your WD external hard drive:
- Open Disk Management: Right-click on the “Start” button and select “Disk Management” from the context menu. This will open the Disk Management utility.
- Select your WD external hard drive: In the Disk Management window, locate your WD external hard drive. Right-click on it and select “Format” from the menu.
- Choose the file system: In the Format window, select the desired file system for your WD external hard drive. The most common file systems are NTFS for Windows and exFAT for cross-platform compatibility. Give the drive a name and ensure that the “Quick Format” option is checked.
- Start the formatting process: Click on the “OK” button to start the formatting process. Confirm your action when prompted.
- Complete the formatting: Wait for the formatting process to complete. This may take some time depending on the size of your WD external hard drive.
Once the formatting process is finished, reconnect your WD external hard drive to your computer and check if it is now recognized. If the issue persists, continue to the next troubleshooting step.
Use a Different USB Port or Cable
If your computer is still not recognizing your WD external hard drive, the issue might be with the USB port or cable you are using. Sometimes, a faulty USB port or damaged cable can prevent proper communication between the drive and your computer.
Follow these steps to troubleshoot the USB port and cable:
- Try a different USB port: Disconnect the WD external hard drive from the current USB port and connect it to a different USB port on your computer. Make sure to use a USB port that is known to be working.
- Use a different USB cable: If using a different USB port doesn’t solve the issue, try using a different USB cable. The cable might be damaged or not functioning correctly. Make sure to use a high-quality USB cable that is compatible with your WD external hard drive.
- Eliminate USB hubs: If you are using a USB hub to connect your WD external hard drive, bypass the hub and connect the drive directly to your computer. Sometimes, USB hubs can cause issues with device recognition.
After switching to a different USB port or cable, reconnect your WD external hard drive to your computer and check if it is now recognized. If the issue persists, proceed to the next troubleshooting step.
Test on Another Computer
If your computer still does not recognize your WD external hard drive, it is worth testing the drive on another computer. This will help determine if the issue is specific to your computer or if the WD external hard drive itself is at fault.
Follow these steps to test your WD external hard drive on another computer:
- Find another computer: Locate a different computer that you can use to test your WD external hard drive. It can be a friend’s computer, a family member’s computer, or a colleague’s computer.
- Connect the WD external hard drive: Using a compatible USB cable, connect your WD external hard drive to the USB port on the other computer.
- Wait for recognition: Wait for a few moments to see if the computer recognizes the WD external hard drive. Check if the drive appears in the File Explorer (Windows) or Finder (Mac).
- Access the drive: If the drive is recognized, try accessing it and see if you can open files or folders. This will confirm if the WD external hard drive is functioning properly.
If the WD external hard drive is recognized and accessible on the other computer, it indicates that the drive is working properly. In this case, the issue might be with your computer’s settings or drivers.
However, if the WD external hard drive is still not recognized on the other computer, it suggests a potential issue with the drive itself. In such cases, it is recommended to contact WD Support for further assistance and possible repairs or replacement.
Enable USB Device in Device Manager
If your computer is still not recognizing your WD external hard drive, the issue may lie with the USB device settings in the Device Manager. Sometimes, the USB device may be disabled or hidden, preventing proper detection of the WD external hard drive.
Follow these steps to enable the USB device in the Device Manager:
- Open Device Manager: Right-click on the “Start” button and select “Device Manager” from the context menu. This will open the Device Manager window.
- Expand Universal Serial Bus controllers: In the Device Manager window, expand the “Universal Serial Bus controllers” section by clicking on the arrow next to it.
- Look for USB devices: Look for any USB devices listed under the “Universal Serial Bus controllers” section. If you see any device with a yellow exclamation mark beside it or a device name that indicates it is related to the WD external hard drive, right-click on it and select “Enable” from the context menu.
- Scan for hardware changes: After enabling the USB device, right-click on any empty space in the Device Manager window and select “Scan for hardware changes” from the context menu. This will initiate a scan for any hardware changes.
Wait for the scan to complete and check if your WD external hard drive is now recognized by your computer. If the issue persists, proceed to the next troubleshooting step.
Update USB Controllers in Device Manager
If your computer is still unable to recognize your WD external hard drive, it’s worth checking if there are any outdated or incompatible USB controllers in the Device Manager. Updating the USB controllers can help resolve compatibility issues and ensure proper communication between your computer and the WD external hard drive.
Follow these steps to update the USB controllers in the Device Manager:
- Open Device Manager: Right-click on the “Start” button and select “Device Manager” from the context menu. This will open the Device Manager window.
- Expand Universal Serial Bus controllers: In the Device Manager window, expand the “Universal Serial Bus controllers” section by clicking on the arrow next to it.
- Update USB controllers: Right-click on each USB controller listed under the “Universal Serial Bus controllers” section and select “Update driver” from the context menu. Choose the option to search automatically for updated driver software. Repeat this step for each USB controller in the list.
- Restart your computer: After updating the USB controllers, restart your computer to apply the changes.
Once your computer has restarted, reconnect your WD external hard drive and check if it is now recognized. If the issue persists, it may be necessary to seek further assistance from WD Support or consider other troubleshooting options.
Contact WD Support
If you have exhausted all the troubleshooting steps mentioned above and your WD external hard drive is still not being recognized by your computer, it’s time to reach out to WD Support for further assistance.
Here’s how you can contact WD Support:
- Visit the WD Support website: Go to the official WD Support website, where you can find various resources and support options.
- Check the knowledge base: Before contacting WD Support, browse through their knowledge base and support articles. You may find a solution to your specific issue in their extensive database.
- Contact WD Support: If you couldn’t find a solution or need personalized assistance, look for the contact options provided by WD Support. It could be a phone number, email, or live chat support. Choose the option that suits you best and get in touch with their support team.
- Provide necessary details: When contacting WD Support, be prepared to provide relevant information about your WD external hard drive, operating system, and the troubleshooting steps you have already taken. This will help the support team understand your situation better and provide appropriate guidance.
- Follow their instructions: WD Support will guide you through further troubleshooting steps or may recommend sending the drive for repairs or replacement if deemed necessary.
By reaching out to WD Support, you can get expert assistance to resolve the issue with your WD external hard drive recognition and ensure the maximum functionality of your device.
Remember to be patient and cooperative during the support process, as it may take time to diagnose and solve complex issues. WD Support is there to help you, so don’t hesitate to seek their assistance when needed.


