Introduction
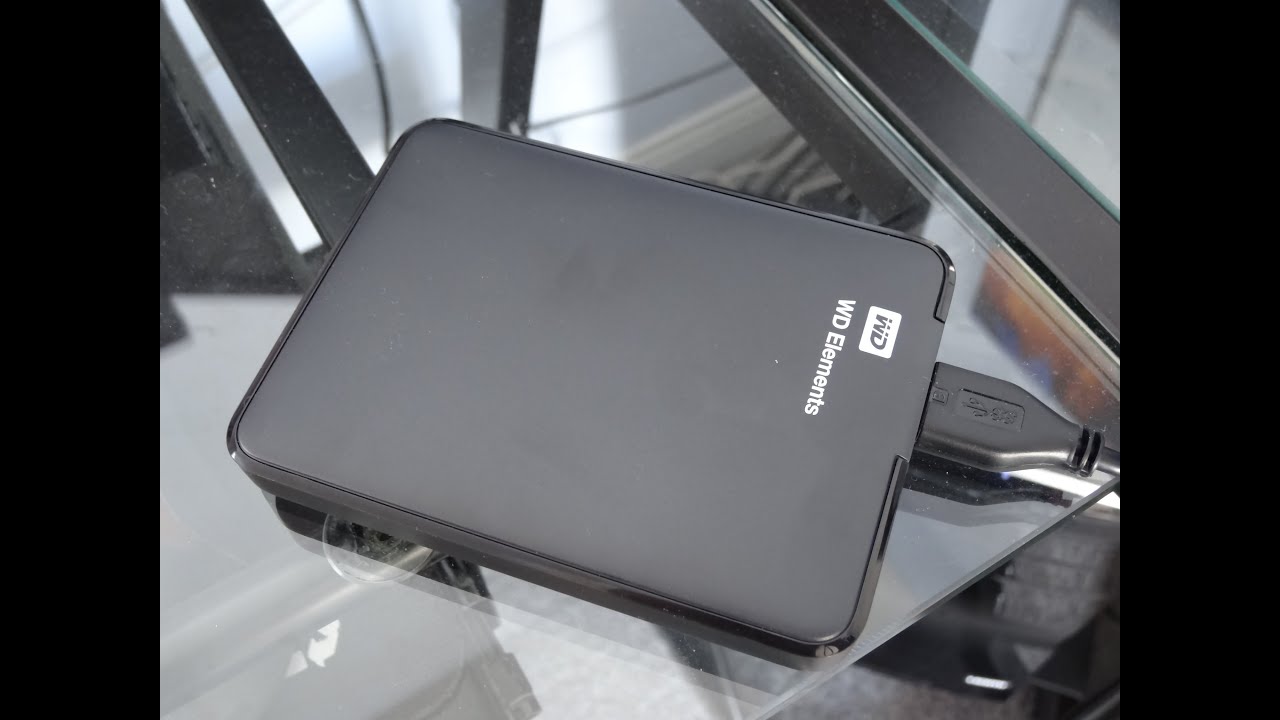
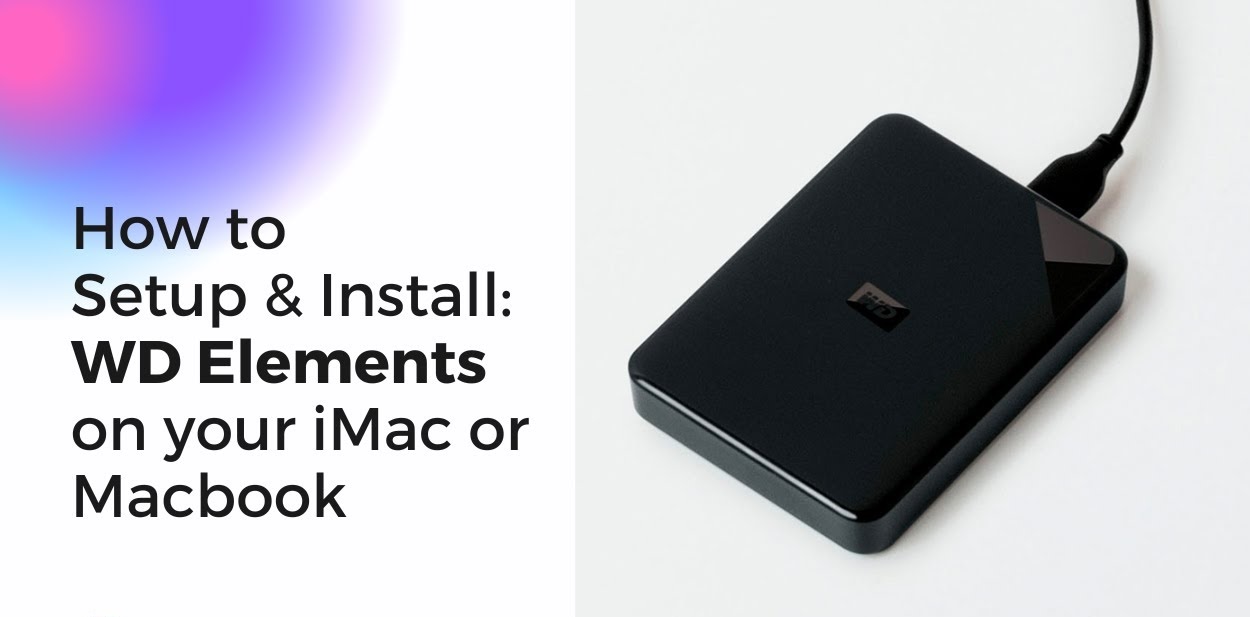
Welcome to our guide on how to use a WD external hard drive! Whether you’re a student, professional, or just an avid media collector, an external hard drive can be a lifesaver when it comes to storing and accessing your important files. Western Digital (WD) is a renowned brand known for their high-quality storage solutions, and their external hard drives are no exception.
In this article, we’ll walk you through the steps of getting started with your WD external hard drive, including connecting it to your computer, formatting the drive, transferring files, organizing your data, safely ejecting the drive, and troubleshooting any potential issues that may arise.
Using an external hard drive offers several benefits. First and foremost, it provides you with additional storage space beyond what your computer’s internal storage can handle. This is particularly useful if you work with large files such as videos, photos, or creative design projects. Additionally, an external hard drive allows you to back up important data, keeping it safe and secure in case of computer crashes or data loss.
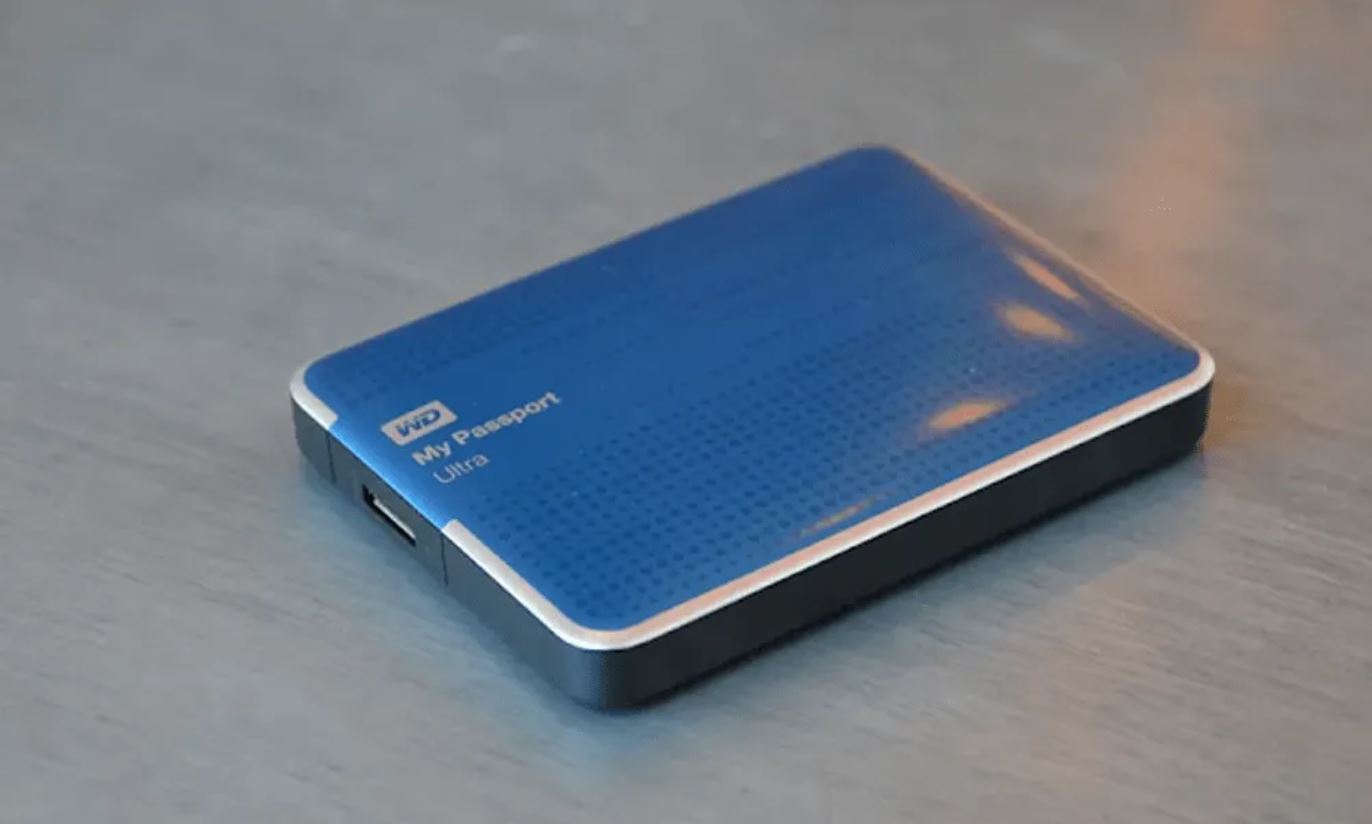
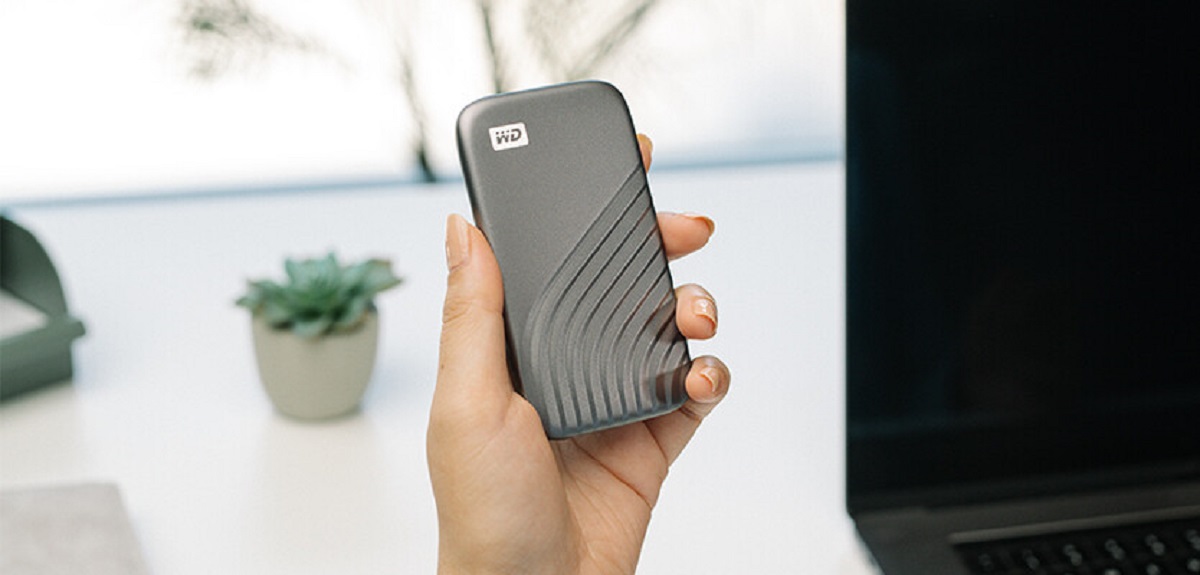
When it comes to choosing a WD external hard drive, you have a range of options to fit your specific needs. Whether you need a portable drive for on-the-go use or a desktop drive to stay put on your desk, WD has you covered. Their drives come in various storage capacities, from a few hundred gigabytes to multiple terabytes, ensuring you have ample space for all your files.
Throughout this guide, we’ll assume you’re using a Windows or macOS computer, as these are the most common operating systems. However, the general instructions provided should be applicable to other operating systems as well.
Now that you have a general understanding of the benefits of using a WD external hard drive and the range of options available, let’s dive into the nitty-gritty details of getting started with your new device. Follow along as we guide you through the steps to unleash the full potential of your WD external hard drive!
Getting Started
Before you can start using your WD external hard drive, there are a few initial steps you need to take to ensure a smooth setup process. Let’s walk through the essentials of getting started:
- Check the Compatibility: Ensure that your computer’s operating system is compatible with the WD external hard drive. Most WD drives are compatible with both Windows and macOS systems, but it’s always best to double-check the specifications before making a purchase.
- Unbox and Inspect: Carefully unbox your WD external hard drive and inspect it for any physical damage. Check for any loose cables or accessories that should be included in the package. If you notice any issues, immediately contact WD’s customer support for assistance.
- Gather the Necessary Cables: Depending on the model of your WD external hard drive, you might need to connect it to your computer using either a USB or Thunderbolt cable. Locate and ensure you have the relevant cables handy. If any cables are missing, refer to the user manual or contact WD for replacements.
- Install WD Discovery Software (Optional): WD offers a helpful software tool called WD Discovery that enhances the functionality of your external hard drive. It enables features such as automatic backup, drive management, and security options. If you’re interested in utilizing these additional features, download and install the WD Discovery software from the official WD website.
Once you’ve completed these initial steps, you’re ready to begin using your WD external hard drive. In the next section, we’ll cover how to connect the drive to your computer and prepare it for use.
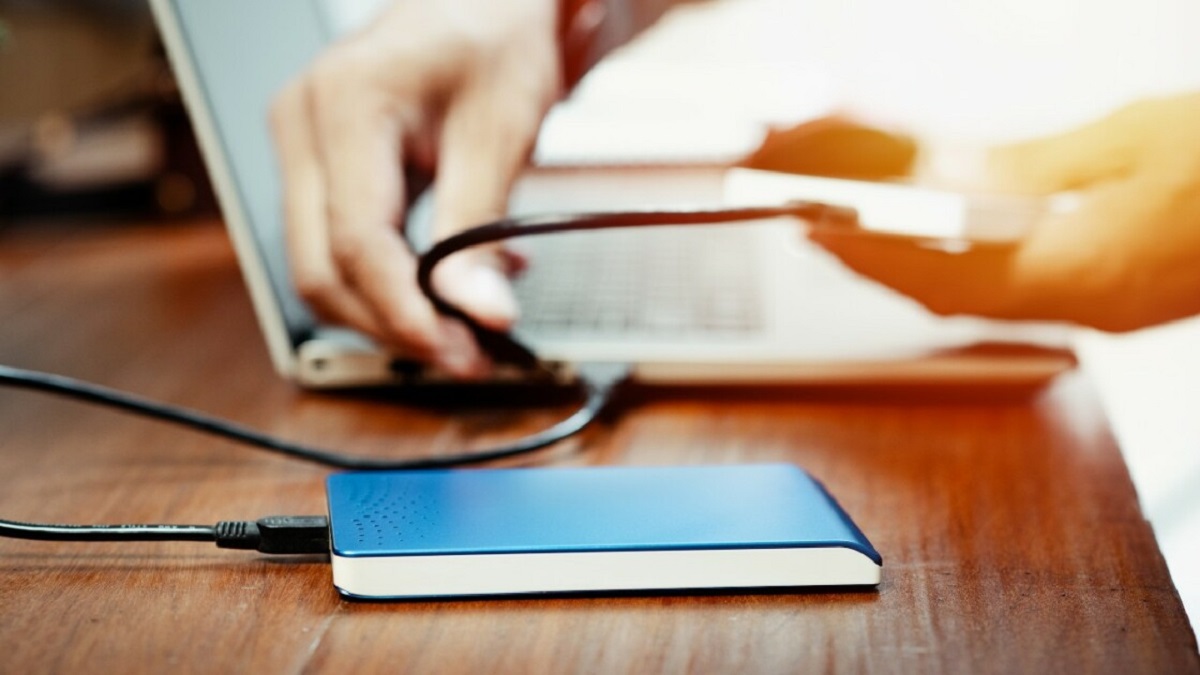
Connecting the WD External Hard Drive
Now that you have gathered all the necessary cables and confirmed the compatibility of your WD external hard drive with your computer, it’s time to connect the drive and establish a connection. Here’s how:
- Power Off Your Computer: Before connecting the WD external hard drive, it’s always a good idea to power off your computer. This ensures a safe and smooth connection process, and prevents any potential data loss or damage.
- Locate the Appropriate Port: Identify the USB or Thunderbolt port on your computer where you will connect the WD external hard drive. Most computers have multiple USB ports, so choose one that is easily accessible and preferably a USB 3.0 port for faster data transfer speeds.
- Connect the Cable: Take the relevant cable, either USB or Thunderbolt, and plug one end into the corresponding port on your computer. Then, connect the other end to the appropriate port on your WD external hard drive. Ensure a secure connection is made on both ends.
- Power On the Drive: Once the cable is securely connected, power on your WD external hard drive. This is usually done by pressing the power button located on the drive, or it may automatically power on when connected to your computer.
- Check for Recognition: After powering on the drive, your computer should recognize the WD external hard drive and display a notification or an icon on your desktop. If you don’t see any indication of the drive being recognized, try restarting your computer or reconnecting the cable to ensure a proper connection.
Once you have connected the WD external hard drive to your computer and verified its recognition, you’re ready to move on to the next step: formatting the drive. Formatting prepares the drive for use and ensures compatibility with your operating system. We’ll cover this process in detail in the following section.
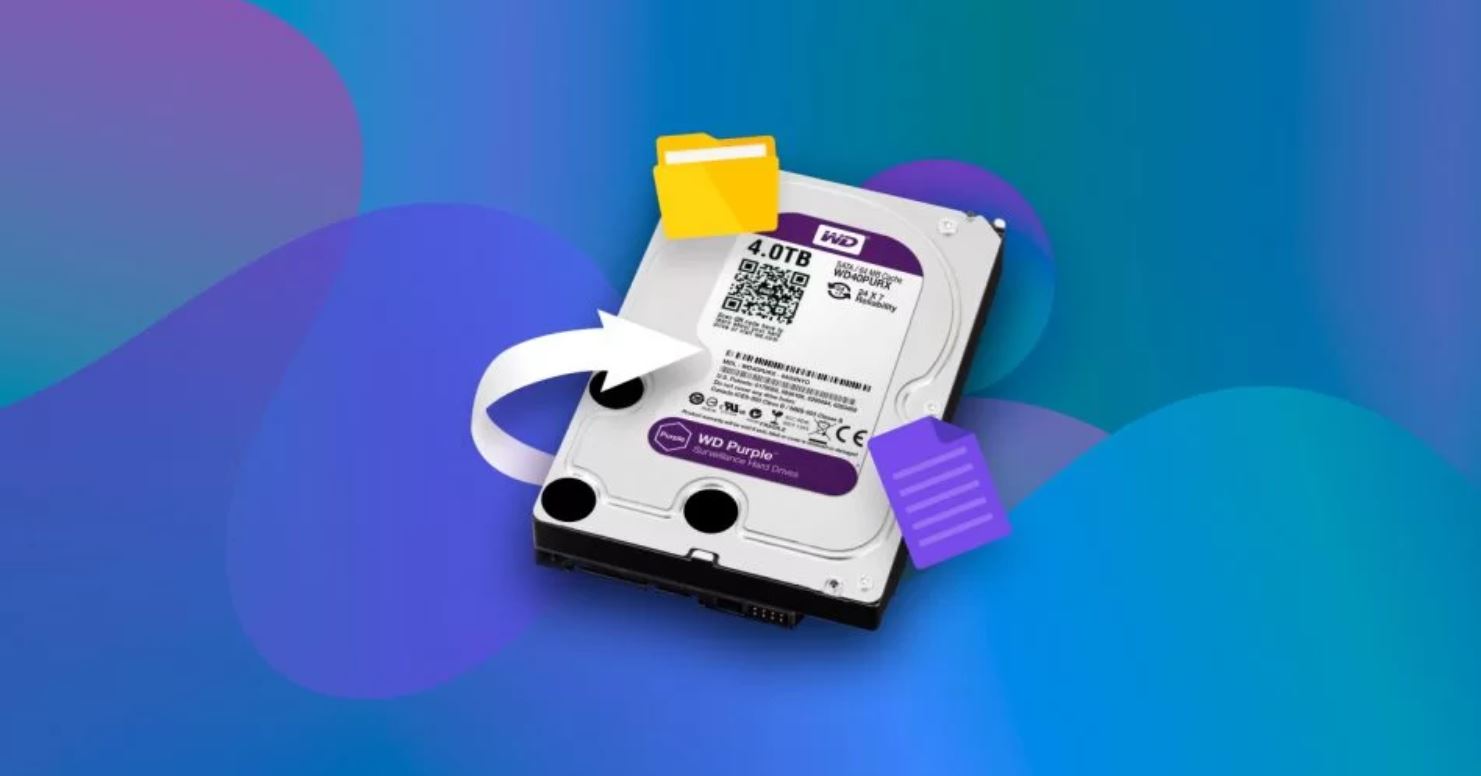
Formatting the Drive
After connecting your WD external hard drive to your computer, the next step is to format the drive. Formatting initializes the drive, allowing your operating system to recognize and use it properly. Here’s how to format your WD external hard drive:
- Backup Important Data: Before formatting the drive, it’s crucial to back up any important data that may be already stored on it. Formatting erases all existing data on the drive, so ensure you have a copy of any files you want to keep.
- Open Disk Management (Windows) or Disk Utility (macOS): On Windows, open Disk Management by right-clicking on the Start menu, selecting “Disk Management” from the menu, and finding your WD external hard drive in the list of drives. On macOS, open Disk Utility by clicking on the magnifying glass icon in the top right corner, searching for “Disk Utility,” and selecting the application.
- Select the WD External Hard Drive: In Disk Management (Windows) or Disk Utility (macOS), locate your WD external hard drive from the list of available drives. Ensure you select the correct drive, as formatting will erase all data on the selected drive.
- Initiate the Formatting Process: Right-click on the WD external hard drive (Windows) or click on the “Erase” button (macOS) to begin the formatting process. Choose a suitable file system, such as NTFS (Windows) or macOS Extended (Journaled) (macOS), and assign a desired name for the drive.
- Confirm the Formatting: Before proceeding, carefully review the formatting options and the warning that all existing data will be erased. If you have already backed up your data from the drive, click “OK” or “Erase” to confirm and start the formatting process.
Depending on the size of your WD external hard drive, the formatting process may take a few minutes or longer. Once completed, your drive will be ready for use. It’s important to note that once the drive is formatted, it will be specifically compatible with the operating system you formatted it on. While Windows-formatted drives can be used on macOS systems with third-party software, it’s generally recommended to choose a compatible file system from the beginning.
In the next section, we’ll cover the process of transferring files to your WD external hard drive, allowing you to free up space on your computer and keep your important data safe and secure.
Transferring Files to the Drive
Now that you have successfully formatted your WD external hard drive, it’s time to start transferring files onto it. Whether you want to free up space on your computer’s internal storage or create a backup of important data, here’s how you can transfer files to your WD external hard drive:
- Open File Explorer (Windows) or Finder (macOS): On Windows, open File Explorer by clicking on the folder icon in the taskbar or pressing the Windows key + E on your keyboard. On macOS, open Finder by clicking on the smiley face icon in the dock or pressing Command + Spacebar and searching for “Finder.”
- Locate the Files to Transfer: In File Explorer (Windows) or Finder (macOS), navigate to the location of the files you want to transfer to the WD external hard drive. This may be your Documents, Pictures, Music, or any other folder where your files are stored.
- Select the Files: Select the files or folders you want to transfer to the WD external hard drive. You can do this by holding down the Ctrl key (Windows) or Command key (macOS) and clicking on the files you want to select. Alternatively, you can select multiple files by dragging your mouse to create a selection box.
- Copy or Cut the Files: Right-click on the selected files and choose either “Copy” or “Cut” from the context menu. Copying will create a duplicate of the files on the WD external hard drive without removing them from their original location, while cutting will remove the files from their original location and move them to the WD external hard drive.
- Navigate to the WD External Hard Drive: In File Explorer (Windows) or Finder (macOS), navigate to the WD external hard drive’s location. It should be listed under “This PC” (Windows) or in the sidebar under “Devices” (macOS).
- Paste the Files: Right-click in the WD external hard drive’s location and choose “Paste” from the context menu. The files you copied or cut will now be transferred to the WD external hard drive.
Depending on the size and number of files being transferred, the process may take a few moments or longer. It’s important to ensure that the transfer is complete before disconnecting the WD external hard drive to avoid any data loss or corruption.
With the files successfully transferred to your WD external hard drive, you can now organize them into folders and subfolders for easy access and efficient management. We’ll cover the process of organizing files and folders in the next section.
Organizing Files and Folders
Now that you have transferred files to your WD external hard drive, it’s essential to keep them organized to ensure easy access and efficient management. Here are some tips on organizing your files and folders on the WD external hard drive:
- Create Folders: Start by creating folders to categorize and group your files. Right-click in the WD external hard drive window and choose “New Folder” to create a new folder. Give the folder a descriptive name that reflects the type of files it will contain.
- Organize by File Types: Consider organizing your files by type, such as documents, photos, videos, or music. Create separate folders for each file type and move the corresponding files into their respective folders. This will make it easier to locate specific files based on their types.
- Use Subfolders: If you have a large number of files within a specific category, consider creating subfolders within the main folders. For example, within the “Photos” folder, you can create subfolders based on events, dates, or any other relevant criteria.
- Utilize Descriptive Names: Give your folders and files descriptive names that accurately represent their contents. This will make it easier to locate specific files at a later time. Avoid generic names like “Folder 1” or “File 2,” as they can make it more difficult to find what you need.
- Arrange Files in a Logical Order: Arrange your files within the folders in a logical order that makes sense to you. This could be in alphabetical order, chronological order, or any other system that works best for your specific needs.
- Maintain Consistency: Establish a consistent filing system to ensure that all files and folders follow the same organization structure. This will make it easier to navigate the WD external hard drive and locate specific files, especially when the number of files starts to grow.
By organizing your files and folders in a systematic manner, you will save time and effort in the long run. It will also help you avoid clutter and make it easier to locate and manage your files on the WD external hard drive.
In the next section, we’ll discuss the proper way to safely eject the WD external hard drive from your computer to prevent data loss or damage.
Safely Ejecting the Drive
Before physically disconnecting your WD external hard drive from your computer, it’s crucial to ensure that you eject it properly. Safely ejecting the drive prevents data loss, corruption, or potential damage to the files stored on it. Here’s how to safely eject your WD external hard drive:
- Close any open files or applications: Before ejecting the WD external hard drive, make sure to close any files or applications that may be using it. This ensures that no files are actively being written to or read from the drive, minimizing the risk of data loss or corruption.
- Check for any file transfer or backup processes: If you are currently transferring files or performing a backup to the WD external hard drive, wait until the process is complete before ejecting. Interrupting an ongoing transfer or backup may lead to data loss or incomplete backups.
- Find the Eject icon: On your operating system, look for the eject icon associated with the WD external hard drive. This icon is usually located near the drive’s name or in the system tray/taskbar area. In Windows, you can find the eject icon by clicking on the “Safely Remove Hardware and Eject Media” icon in the taskbar. On macOS, look for the eject icon next to the drive’s name in Finder.
- Eject the drive: Click on the eject icon, and a notification or message will appear confirming that it’s safe to remove the WD external hard drive from your computer. On some systems, you may need to right-click on the drive’s icon and choose the “Eject” option from the context menu. Once the drive is safely ejected, you can disconnect it from your computer.
It’s important to note that prematurely disconnecting the WD external hard drive without properly ejecting it can result in data loss, corruption, or damage to the drive itself. By following these steps to safely eject your drive, you ensure that your files remain intact and accessible for future use.
While most modern operating systems support hot-plugging, which allows you to connect and disconnect devices without turning off your computer, it’s always best to develop the habit of safely ejecting external storage devices to prevent any potential issues.
If you encounter any difficulties ejecting the WD external hard drive or if the system does not recognize it as removable storage, consult the user manual or contact WD’s customer support for further assistance.
In the next section, we’ll provide you with some troubleshooting tips to help you resolve common issues you may encounter with your WD external hard drive.
Troubleshooting Tips
While using your WD external hard drive, you may occasionally encounter some issues that can disrupt its functionality. Here are some troubleshooting tips to help you resolve common problems:
- Ensure Proper Connection: Double-check that your WD external hard drive is securely connected to your computer, and that all cables are properly plugged in. If the drive is not recognized, try using a different USB port or cable to eliminate potential connection issues.
- Restart Your Computer: Sometimes, a simple computer restart can resolve minor glitches or conflicts that may be causing your WD external hard drive to malfunction. Restart your computer and check if the drive is recognized afterwards.
- Update Drivers and Firmware: Visit the WD website and check for any available driver or firmware updates for your specific WD external hard drive model. Updating the drivers or firmware can improve compatibility and resolve issues that may be present with older versions.
- Scan for Errors: Run disk repair or scanning utilities provided by your operating system to check for any errors on the WD external hard drive. These utilities can help identify and repair any potential issues that may be affecting the drive’s performance.
- Check Disk Space: If you’re unable to transfer files to your WD external hard drive, check the available disk space. Ensure that you have enough free space on the drive to accommodate the files you want to transfer. If necessary, delete unnecessary or duplicate files to free up space.
- Disable Security Software: In some cases, antivirus or firewall software may interfere with the proper functioning of your WD external hard drive. Temporarily disable or add an exception for your WD external hard drive in your security software to see if it resolves the issue.
- Test on Another Computer: If possible, connect your WD external hard drive to another computer to check if it is recognized and functioning correctly. This will help determine if the issue is specific to your computer or the drive itself.
- Contact WD Support: If you have tried the above troubleshooting steps and are still experiencing issues with your WD external hard drive, reach out to WD’s customer support for further assistance. They can provide specific guidance based on your drive model and help resolve any underlying problems.
By following these troubleshooting tips, you can often resolve common issues with your WD external hard drive and ensure smooth and reliable performance. Remember to always keep your drive’s firmware and drivers up to date to take advantage of the latest features and enhancements.
Now that you’re equipped with these troubleshooting tips, you can overcome any challenges that may arise and enjoy a seamless experience with your WD external hard drive.
Conclusion
Congratulations! You have reached the end of our guide on how to use a WD external hard drive. We have covered the essential steps to get started, from connecting and formatting the drive to transferring files, organizing folders, safely ejecting, and troubleshooting common issues.
By following the instructions outlined in this guide, you can make the most out of your WD external hard drive and enjoy ample storage space for your important files. Whether you’re a student, professional, or a media enthusiast, having a reliable and well-organized external hard drive is essential for managing your data effectively.
Remember to periodically back up your important files to the WD external hard drive to keep them safe and secure. Regularly checking for firmware and driver updates, as well as performing maintenance tasks like disk scans, can help ensure optimal performance and longevity of your drive.
If you encounter any challenges or have further questions, don’t hesitate to reach out to WD’s customer support. They are a valuable resource and can provide assistance tailored to your specific needs.
We hope this guide has been helpful in familiarizing you with the process of using a WD external hard drive. Now, you can confidently store, organize, and access your files with ease. Embrace the convenience and peace of mind that comes with having a reliable storage solution at your fingertips.
Thank you for choosing WD, and best of luck on your journey with your new external hard drive!