Introduction
Connecting your LG OLED TV to your Pioneer Receiver is essential for a seamless audio and video experience. Whether you’re a movie enthusiast looking for immersive sound or a music lover who wants to enjoy high-quality audio, connecting these two devices will enhance your entertainment setup.
In this step-by-step guide, we will walk you through the process of connecting your LG OLED TV to your Pioneer Receiver. We will cover everything from gathering the necessary cables and equipment to adjusting audio settings and troubleshooting common issues.
By connecting your LG OLED TV to your Pioneer Receiver, you can enjoy the convenience of a central audio source that enhances the sound quality of your favorite movies, TV shows, and music. This connection also allows you to play audio from various sources through the receiver’s speakers, eliminating the need for separate speakers for different devices.
Please note that the specific steps may vary slightly depending on the models of your LG OLED TV and Pioneer Receiver. However, the general principles and connections discussed in this guide should apply to most models.
Before we dive into the steps, make sure you have the necessary cables and equipment ready for the setup process. Let’s get started!
Step 1: Gather the necessary cables and equipment
Before you begin connecting your LG OLED TV to your Pioneer Receiver, it’s important to gather all the necessary cables and equipment. Here’s a list of items you’ll need:
- HDMI cable(s)
- Optical audio cable
- Power cables for the TV and receiver
- Remote control(s) for both devices
Ensure that the HDMI cable is of high quality and supports the desired resolution and audio capabilities. As for the optical audio cable, it should be long enough to reach from the TV to the receiver.
It’s essential to check the ports available on both your LG OLED TV and Pioneer Receiver to determine the type and number of cables you’ll need. The HDMI ports on the TV and receiver can vary in terms of HDMI version and features, so be sure to match them accordingly.
Additionally, if you have any other audio or video devices such as a Blu-ray player or gaming console, consider gathering their cables as well. This will allow you to connect them to the Pioneer Receiver and benefit from centralized audio.
Once you have all the necessary cables and equipment ready, you can proceed to the next step of powering off and positioning your devices.
Step 2: Powering off and positioning your devices
Before connecting cables and making any adjustments, it’s important to power off both your LG OLED TV and Pioneer Receiver. This ensures safety and allows for smooth setup without interference.
Once the devices are powered off, position them in a suitable location. Place the LG OLED TV on a stable surface, ensuring sufficient ventilation and clearance for cables. The Pioneer Receiver should be positioned nearby, within reach of the necessary cables.
Consider the accessibility of the HDMI ports and other connections on both devices. It’s best to have them easily accessible for future maintenance or adjustments. Additionally, ensure that the remote controls have a clear line of sight to their respective devices.
Keep in mind that certain audio-capable HDMI ports on the LG OLED TV might support features such as ARC (Audio Return Channel). If you plan to take advantage of this feature, position the HDMI cable connected to the ARC port accordingly, making it easier to connect it to the Pioneer Receiver later on.
Take a moment to double-check the power cables of both devices. Ensure that they are in good condition and properly plugged into a power source. This step is essential to prevent any power-related issues during the setup process.
Once you have powered off and positioned your devices, you’re ready to move on to the next step: connecting the LG OLED TV to the Pioneer Receiver.
Step 3: Connecting the LG OLED TV to the Pioneer Receiver
Now it’s time to connect your LG OLED TV to your Pioneer Receiver. Follow these steps:
- Locate the HDMI output port on your LG OLED TV. This is usually labeled as “HDMI Out” or “ARC”. Connect one end of the HDMI cable to this port.
- Locate an available HDMI input port on your Pioneer Receiver. Connect the other end of the HDMI cable to this port. Make sure to use an HDMI input that supports audio.
- If you have any additional HDMI devices, connect them to the other available HDMI input ports on the Pioneer Receiver.
- Once all the HDMI connections are made, power on your LG OLED TV and Pioneer Receiver.
- Using the TV remote, navigate to the settings menu and look for the audio output options. Choose the HDMI output as the preferred audio output. This ensures that the audio signals from the TV are routed to the Pioneer Receiver.
- If you have a device connected to a different HDMI input on the Pioneer Receiver, such as a Blu-ray player, use the receiver’s remote to select the appropriate HDMI input.
With these connections in place, the audio and video signals from the LG OLED TV will now be transmitted to the Pioneer Receiver through the HDMI cable. This allows the receiver to process the audio signals and deliver high-quality sound through its speakers.
Keep in mind that the specific steps for selecting audio output and choosing HDMI inputs may vary depending on your LG OLED TV and Pioneer Receiver models. Refer to the user manuals for detailed instructions if needed.
Once you have successfully connected the LG OLED TV to the Pioneer Receiver, you can move on to the next step: adjusting audio settings on the TV.
Step 4: Adjusting audio settings on the LG OLED TV
After connecting your LG OLED TV to the Pioneer Receiver, it’s time to adjust the audio settings on the TV to ensure optimal sound output. Follow these steps:
- Using the TV remote, navigate to the settings menu and find the audio settings.
- Look for the audio output options and select the HDMI output that is connected to the Pioneer Receiver.
- Check if there are any audio settings related to surround sound or audio presets. Adjust them according to your preferences or leave them at default settings.
- If your LG OLED TV has an audio output format or speaker configuration setting, make sure they are set to match the capabilities of your Pioneer Receiver.
- Some LG OLED TVs may have additional audio features like virtual surround sound or dialog enhancement. You can enable or adjust these settings based on your preference.
- Once you have made the necessary adjustments, test the audio by playing a movie or music. Make sure the sound is coming through the Pioneer Receiver speakers and that the volume control on the TV remote is properly synced with the receiver.
By adjusting the audio settings on your LG OLED TV, you can optimize the sound quality and tailor it to your liking. Feel free to experiment with the settings to find the perfect audio balance that suits your preferences.
If you encounter any issues with the audio output, double-check all the connections and ensure that the correct HDMI input is selected on the Pioneer Receiver. Additionally, consult the user manuals of both devices for specific troubleshooting steps.
Once you have adjusted the audio settings on the LG OLED TV, you can move on to the final step: testing the connection and troubleshooting common issues.
Step 5: Testing the connection and troubleshooting common issues
After connecting and adjusting the audio settings on your LG OLED TV and Pioneer Receiver, it’s important to test the connection and address any common issues that may arise. Follow these steps:
- Play a video or audio source on your LG OLED TV and ensure that the sound is coming through the Pioneer Receiver speakers.
- Adjust the volume using the Pioneer Receiver remote control and verify that it controls the audio levels properly.
- If you experience no sound or distorted audio, check the following:
- Ensure that the HDMI cable is securely connected to both the LG OLED TV and the Pioneer Receiver.
- Make sure that the correct HDMI input is selected on the Pioneer Receiver.
- Verify that the LG OLED TV audio settings are configured to output audio through the HDMI connection.
- Try using a different HDMI cable or port on the Pioneer Receiver to rule out any cable or port issues.
- If the issue persists, consult the user manuals of both devices for specific troubleshooting steps or seek technical support from the manufacturer.
- Test the connection with other HDMI devices connected to the Pioneer Receiver to ensure that the audio passes through correctly.
During the testing phase, it’s essential to be patient and thorough. Sometimes, minor adjustments or troubleshooting steps can resolve common issues that arise during the setup process.
If you encounter any persistent issues or need further assistance, don’t hesitate to consult the user manuals or reach out to the customer support of your LG OLED TV or Pioneer Receiver. They will be able to offer specific guidance and solutions based on the models you’re working with.
With the connection successfully tested and any common issues addressed, you have now completed the process of connecting your LG OLED TV to your Pioneer Receiver. Enjoy the enhanced audio experience as you watch your favorite movies, TV shows, and listen to music!
Conclusion
Connecting your LG OLED TV to your Pioneer Receiver opens up a world of enhanced audio experiences for your entertainment setup. By following the step-by-step guide outlined in this article, you can seamlessly integrate these two devices and enjoy high-quality sound for your favorite movies, TV shows, and music.
Throughout the process, it’s important to gather the necessary cables and equipment, power off and position your devices, establish the physical connections between the TV and receiver, adjust the audio settings on your LG OLED TV, and test the connection while troubleshooting any common issues that may arise.
Remember, the specific steps and configurations may vary depending on the models of your LG OLED TV and Pioneer Receiver. Always refer to the user manuals and seek technical support if needed.
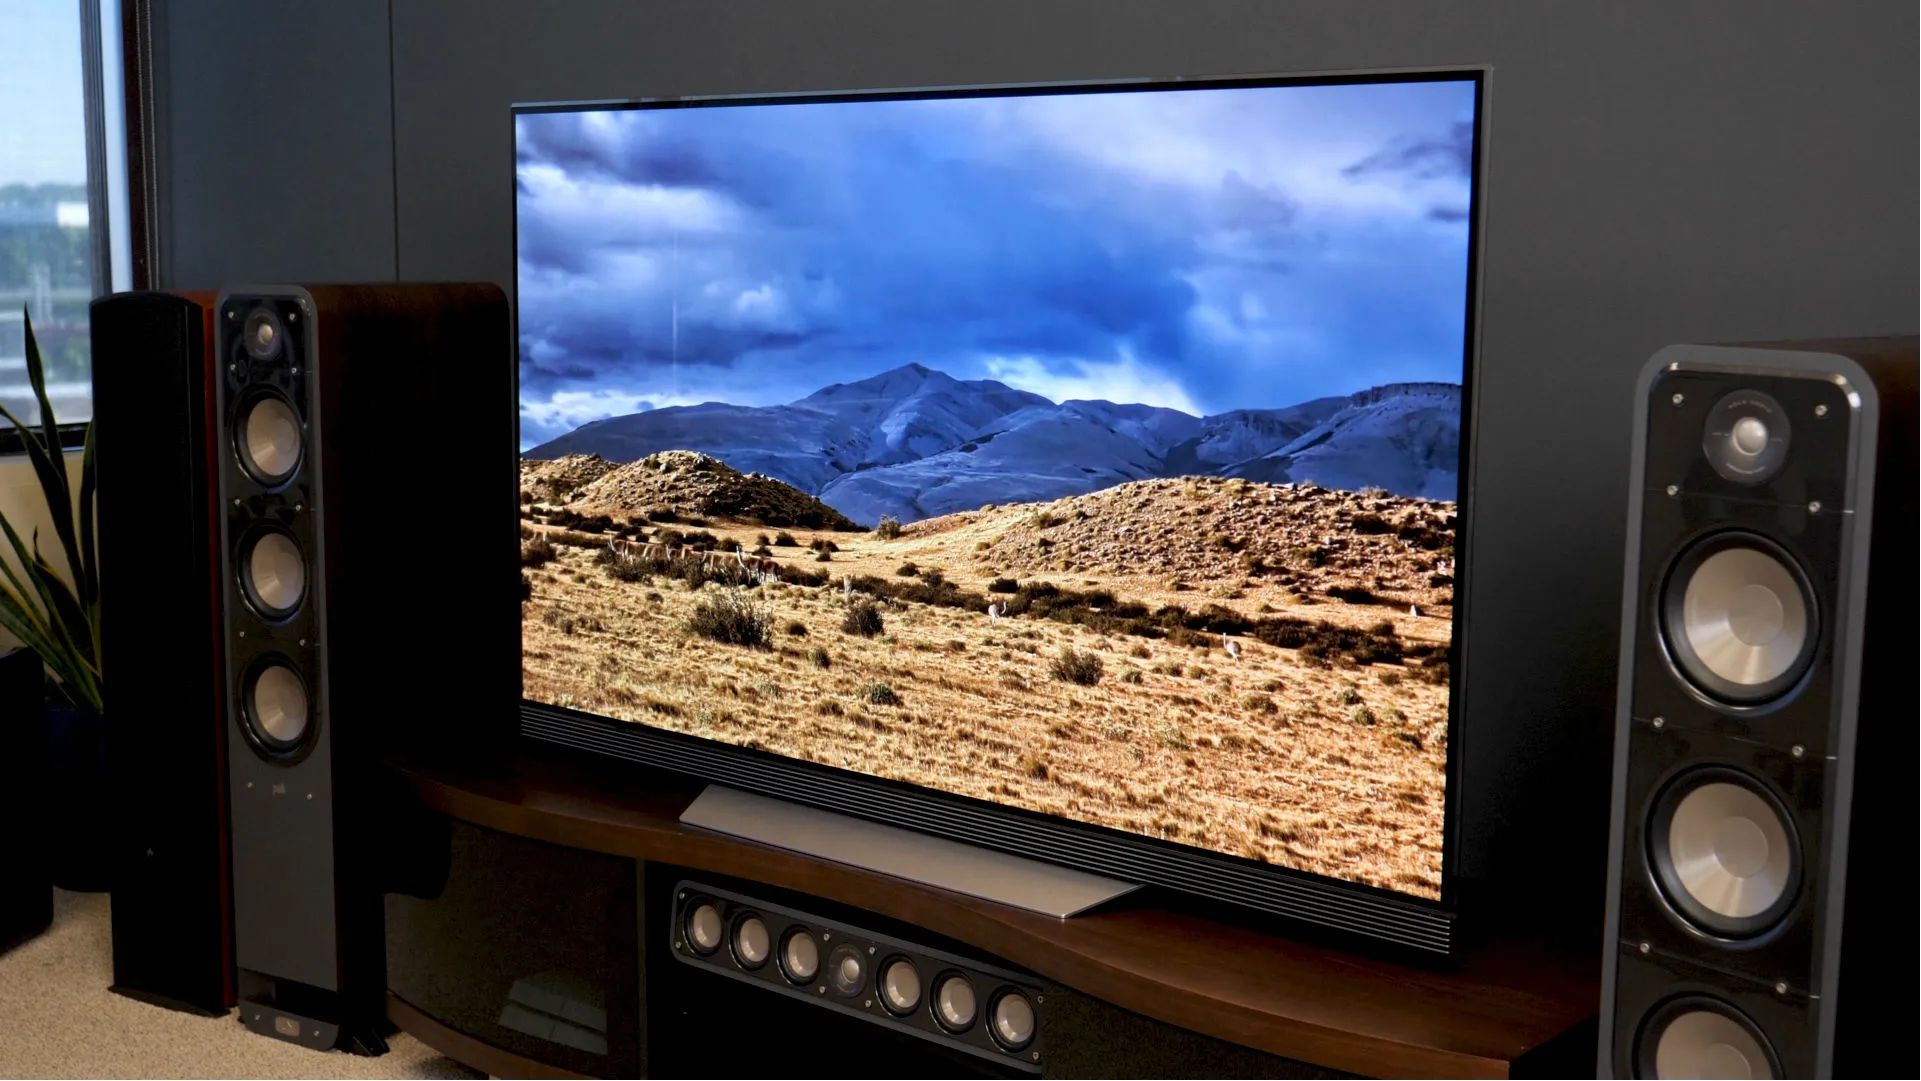
With the connection successfully established, you can now immerse yourself in rich, immersive audio that enhances your overall viewing and listening experience. Whether you’re watching a thrilling action movie or enjoying your favorite music album, the LG OLED TV and Pioneer Receiver combination will deliver exceptional sound quality that complements the stunning visuals.
Continue to explore and customize the audio settings on your LG OLED TV and Pioneer Receiver to find the perfect balance and audio preferences that suit your taste. Don’t hesitate to experiment and tweak the settings to achieve the desired sound output.
Lastly, keep in mind that technology evolves, and advancements in audio and video connectivity may lead to new features and options in the future. Stay informed about any firmware updates or new settings that may enhance your audio experience even further.
By connecting your LG OLED TV to your Pioneer Receiver, you have taken a crucial step towards creating a captivating and immersive audiovisual setup in your home. Now, sit back, relax, and enjoy the extraordinary sound that brings your entertainment to life.


