Introduction
Welcome to the world of Easystore external hard drives! If you’re looking for a reliable solution to store and backup your digital files, you’ve come to the right place. Easystore offers a wide range of external hard drives that provide ample storage space and high-speed data transfer rates.
In today’s digital age, where our lives are intertwined with technology, having a reliable backup solution is crucial. Whether you’re a student looking to store your assignments and research papers, a professional needing to keep important work documents safe, or a casual user with a growing collection of photos and videos, an external hard drive can be a lifesaver.
The Easystore external hard drive is designed with simplicity and ease of use in mind. It offers plug-and-play functionality, making it a breeze to connect to your computer and start transferring files. With its sleek and portable design, you can easily carry your files with you wherever you go.
In this guide, we’ll explore how to use the Easystore external hard drive effectively. We’ll cover topics such as connecting the drive to your computer, transferring files to and from the drive, managing files and folders, safely ejecting the drive, and troubleshooting common issues that may arise. By the end of this guide, you’ll be well-equipped to make the most out of your Easystore external hard drive.
So, without further ado, let’s dive into the world of Easystore external hard drives and unleash their full potential!
Understanding the Easystore External Hard Drive
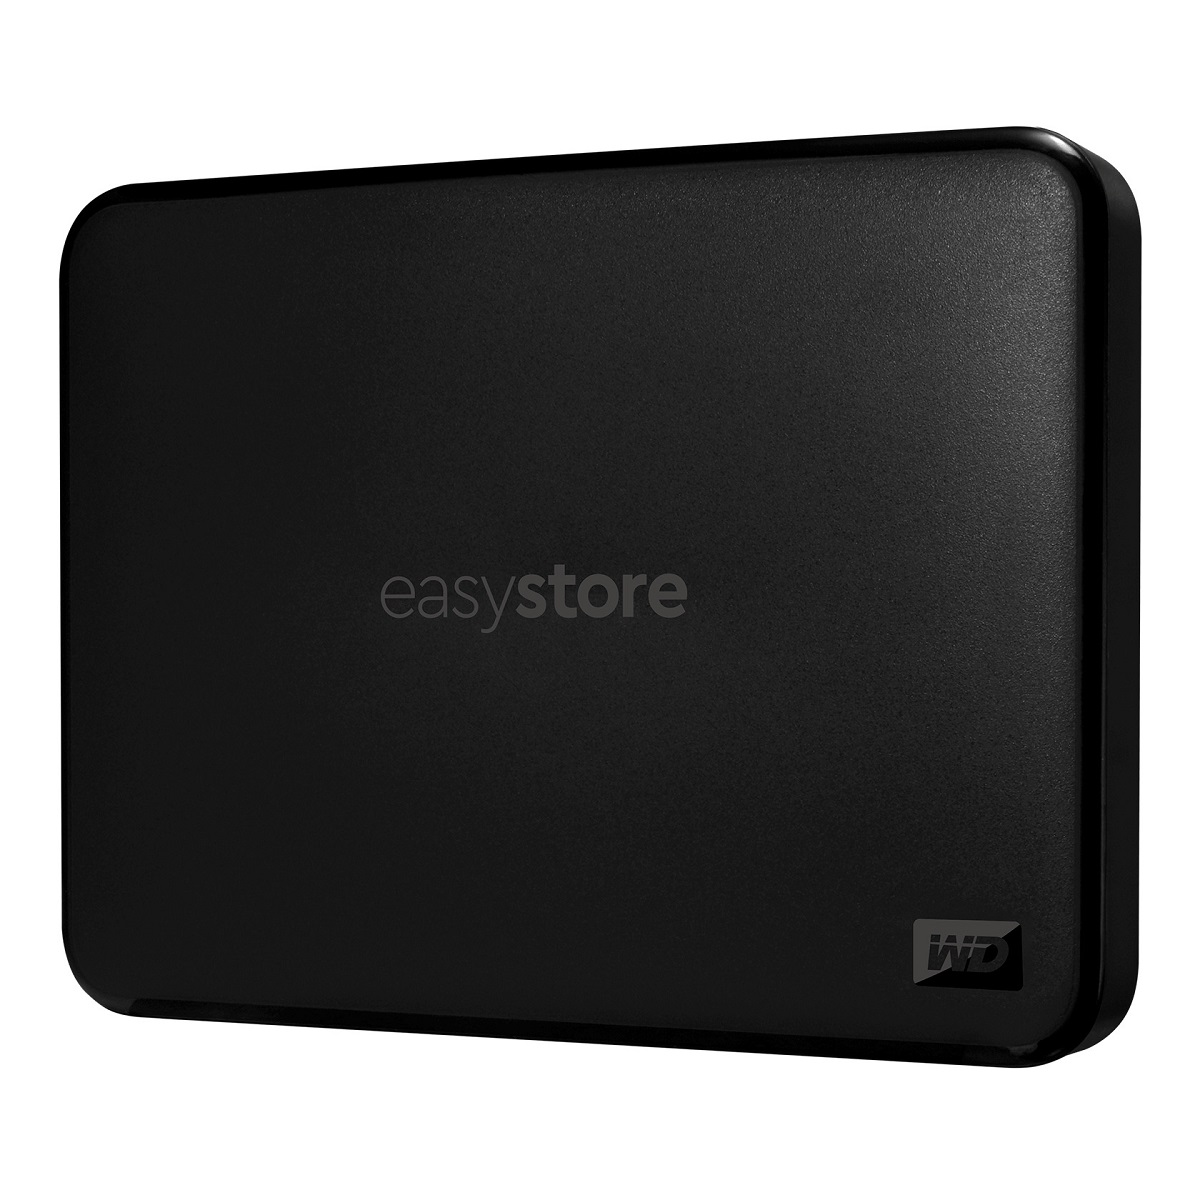
Before we delve into using the Easystore external hard drive, let’s take a moment to understand its key features and functionalities. The Easystore external hard drive is a portable storage device that provides you with an additional space to store your files, such as documents, photos, videos, music, and more.
One of the standout features of the Easystore external hard drive is its large storage capacity. Depending on the model you choose, it can range from a few hundred gigabytes to several terabytes, giving you plenty of room to store your digital content. Whether you need to backup your entire photo album or store a vast collection of movies, the Easystore external hard drive has got you covered.
Another important aspect to consider is the data transfer speed. The Easystore external hard drive is equipped with high-speed USB connectors that allow for fast and efficient file transfers. This means you can quickly move large files and folders between your computer and the external hard drive without any significant lag or delay.
Furthermore, the Easystore external hard drive is compatible with both Windows and Mac operating systems, making it accessible to a wide range of users. Whether you’re using a PC or a Mac, you can easily connect and utilize the Easystore external hard drive as your primary or secondary storage solution.
Additionally, the Easystore external hard drive is designed for simplicity and ease of use. It offers plug-and-play functionality, which means you can simply connect the drive to your computer via a USB cable, and it will be recognized instantly without the need to install any additional software or drivers.
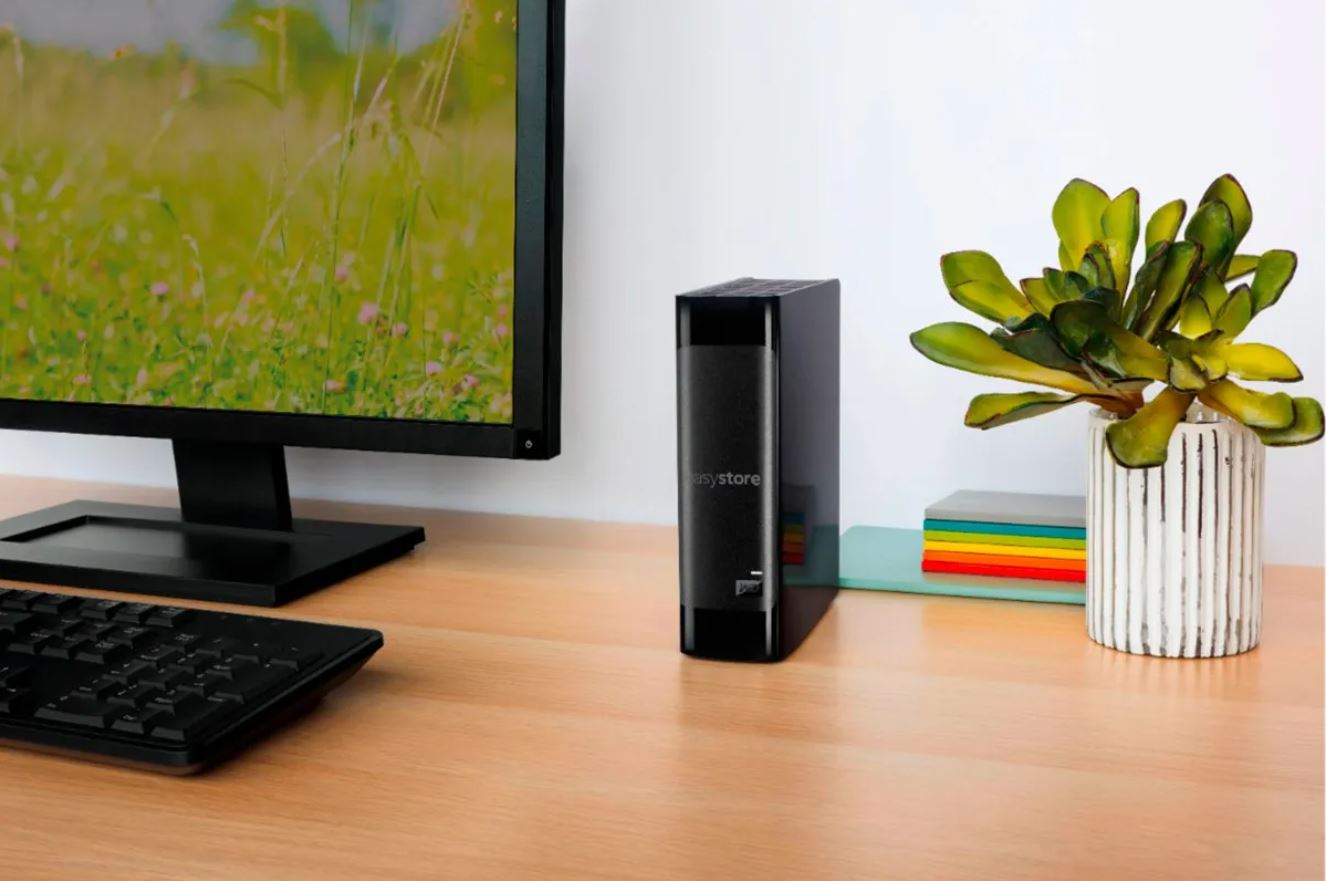
Lastly, the Easystore external hard drive is designed with portability in mind. Its compact size and lightweight design make it easy to carry around, allowing you to bring your files with you wherever you go. Whether you’re a student who needs to access important documents on the go or a photographer who wants to showcase your portfolio, the Easystore external hard drive offers the convenience and flexibility you need.
In the next section, we will learn how to properly connect the Easystore external hard drive to your computer and get ready to transfer files seamlessly. So, let’s get started!
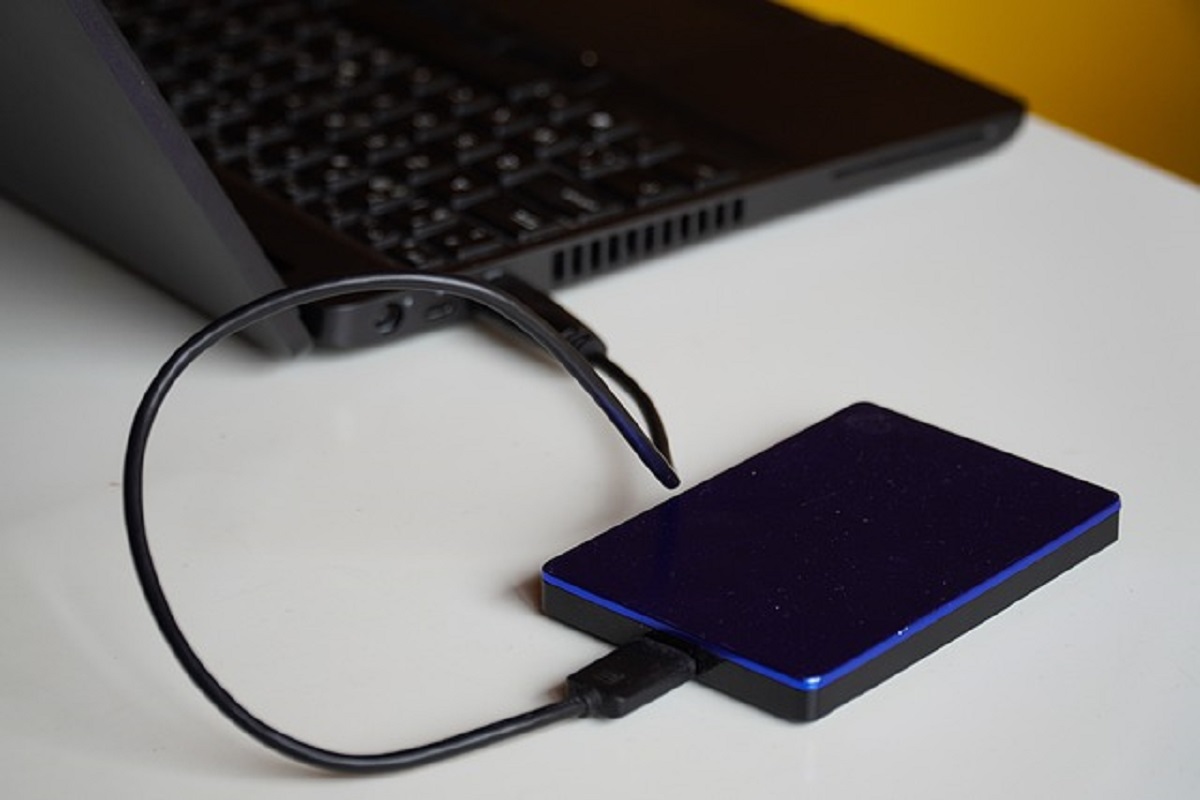
Connecting the Easystore External Hard Drive to Your Computer
Connecting your Easystore external hard drive to your computer is a straightforward process. Follow these simple steps to get the drive up and running:
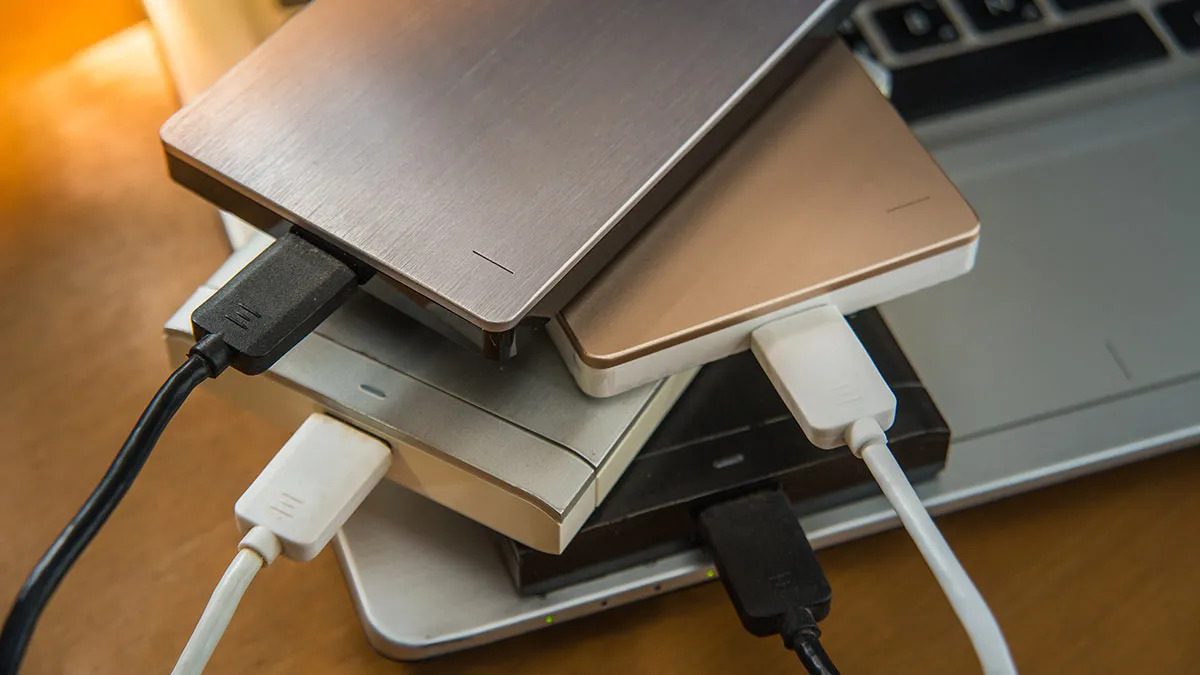
- Locate an available USB port on your computer. The Easystore external hard drive uses a standard USB cable for connection.
- Plug one end of the USB cable into the USB port on the external hard drive. The USB port is typically located on the back or side of the drive.
- Plug the other end of the USB cable into an available USB port on your computer. Ensure that the connection is secure.
- Wait for your computer to recognize the Easystore external hard drive. This may take a few moments, as the computer needs to install the necessary drivers.
- Once the drive is recognized, you will see a notification on your computer indicating that the Easystore external hard drive is successfully connected.
That’s it! Now you’re ready to start using your Easystore external hard drive. It will appear as a new drive on your computer, just like any other storage device. You can access it by opening the file explorer or finder on your computer.
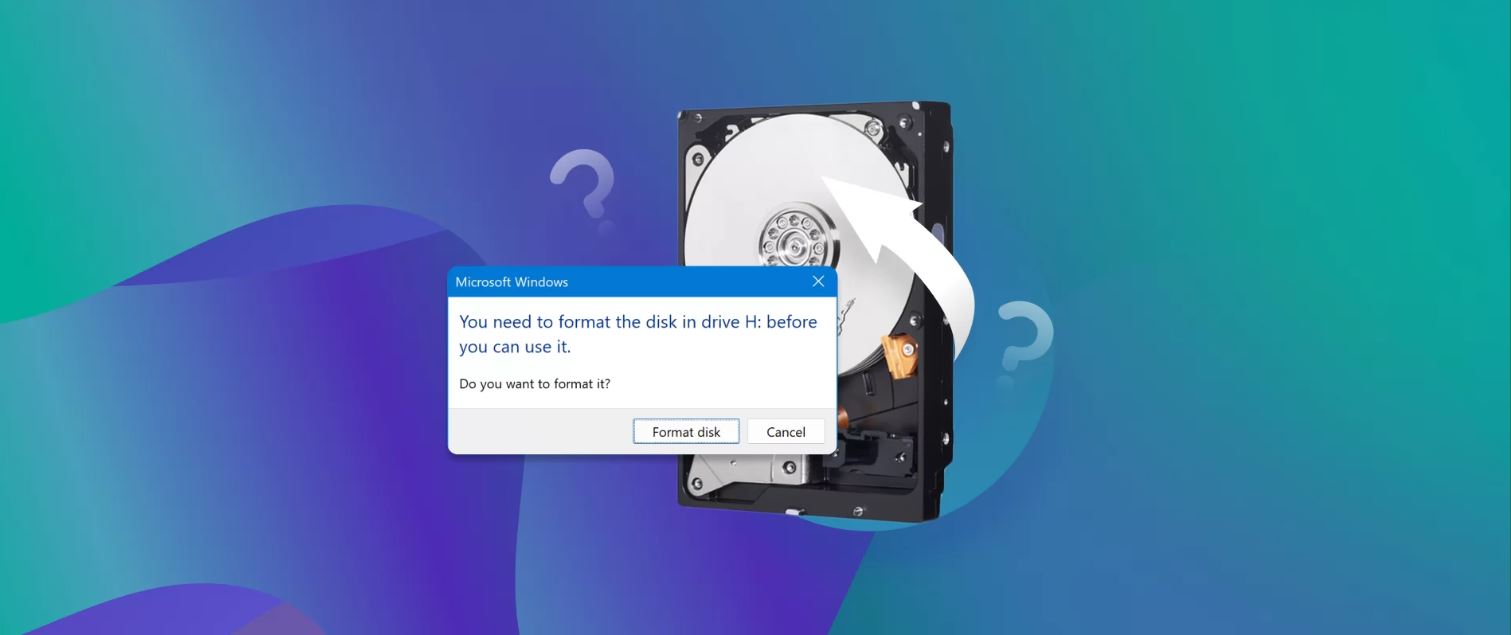
It’s important to note that if you’re using the Easystore external hard drive with a Windows computer, you may need to initialize and format the drive before you can start using it. This process ensures compatibility and prepares the drive for data storage. Windows will guide you through the initialization and formatting process, and it typically involves a few simple steps.
If you’re using a Mac computer, the Easystore external hard drive should be ready to use out of the box without any additional setup required.
Before disconnecting the Easystore external hard drive from your computer, it’s crucial to safely eject it to avoid any data corruption. We will cover this in detail in the next section.
Now that you’ve successfully connected your Easystore external hard drive to your computer, let’s move on to the next section and learn how to transfer files effortlessly.
Transferring Files to and from the Easystore External Hard Drive
Now that you have connected your Easystore external hard drive to your computer, it’s time to start transferring files. Whether you want to backup important documents, store multimedia files, or organize your digital content, the Easystore external hard drive provides a convenient and secure solution for all your storage needs.
To transfer files to the Easystore external hard drive, follow these simple steps:
- Open the file explorer or finder on your computer.
- Navigate to the location of the files you want to transfer to the external hard drive.
- Select the files or folders you want to transfer by clicking and dragging your mouse or using the Ctrl or Command key to select multiple files.
- Right-click on the selected files or folders and choose “Copy” from the context menu.
- Navigate to the Easystore external hard drive in the file explorer or finder.
- Right-click on an empty space in the external hard drive and choose “Paste” from the context menu.
- Wait for the files to transfer to the external hard drive. The time taken will depend on the size of the files and the transfer speed of your computer and the external hard drive.
- Once the transfer is complete, you will see the files and folders in the Easystore external hard drive, confirming that they have been successfully transferred.
Transferring files from the Easystore external hard drive to your computer follows a similar process:
- Open the file explorer or finder on your computer.
- Navigate to the Easystore external hard drive.
- Select the files or folders you want to transfer to your computer.
- Right-click on the selected files or folders and choose “Copy” from the context menu.
- Navigate to the location on your computer where you want to transfer the files.
- Right-click on an empty space and choose “Paste” from the context menu.
- Wait for the files to transfer to your computer.
- Once the transfer is complete, you will see the files and folders in the designated location on your computer.
It’s important to note that during file transfers, it is best to avoid disconnecting the Easystore external hard drive or shutting down your computer abruptly. Doing so may result in data loss or corruption. Always wait for the file transfer process to complete before safely ejecting the external hard drive, which we will discuss in detail in the next section.
By following these simple steps, you can efficiently transfer files to and from the Easystore external hard drive, ensuring your data is securely stored and easily accessible.
With file transfers covered, let’s move on to the next section and explore how to manage files and folders on the Easystore external hard drive.
Managing Files and Folders on the Easystore External Hard Drive
Once you have transferred files to your Easystore external hard drive, it’s essential to effectively manage and organize them for easy access and retrieval. With the right file management practices, you can maintain a tidy and efficient storage system on your external hard drive.
Here are some tips for managing files and folders on the Easystore external hard drive:
- Create a logical folder structure: Start by organizing your files into folders based on their content or category. For example, you can have separate folders for documents, photos, videos, music, and so on. Creating a well-structured folder hierarchy will make it easier to find specific files later on.
- Use descriptive file names: When naming your files, be descriptive and use keywords that accurately represent the content. This will make it easier to search for and identify files in the future.
- Organize files within folders: Within each folder, you can further organize files by subcategories or by date, depending on your preference. For example, you can have subfolders for different projects or events. Alternatively, you can sort files by date modified or created.
- Regularly declutter and delete unnecessary files: Over time, you may accumulate files that are no longer needed. Make it a habit to regularly review your files and delete any duplicates, outdated documents, or files that you no longer require. This will help free up space on your external hard drive and keep it well-organized.
- Backup regularly: While the Easystore external hard drive is a reliable storage solution, it’s always a good practice to have backups of your important files. Consider creating backups on other storage devices, such as cloud storage or additional external hard drives, to ensure the safety of your data.
By implementing these file management practices, you can maintain an efficient and organized file system on your Easystore external hard drive. This will save you time and effort when searching for specific files and make it easier to keep track of your digital content.
Now that you know how to manage files and folders on the Easystore external hard drive, let’s move on to the next section, where we will learn how to safely eject the drive to prevent data corruption.
Safely Ejecting the Easystore External Hard Drive
Before disconnecting your Easystore external hard drive from your computer, it is essential to follow the proper procedure to safely eject the drive. Safely ejecting the external hard drive ensures that all data has been written and saved, minimizing the risk of data corruption or loss.
Here’s how you can safely eject the Easystore external hard drive:
- Ensure that all file transfer processes to and from the external hard drive are complete. Check that there are no active file operations, such as copying, moving, or deleting files.
- On your computer, locate the icon that represents the Easystore external hard drive. This can typically be found in the file explorer or finder.
- Right-click on the icon or select the drive, and from the context menu, choose the option to “Eject” or “Safely Remove”.
- Wait for the system to display a notification indicating that it is safe to disconnect the Easystore external hard drive. This notification ensures that all data has been written and cached properly.
- Once you receive the notification, double-check that any file transfer or backup processes are complete, and no applications are accessing files on the external hard drive.
- Gently unplug the USB cable from your computer and then disconnect it from the Easystore external hard drive. Store the USB cable in a safe place for future use.
It’s important to note that abruptly disconnecting or unplugging the Easystore external hard drive without properly ejecting it can lead to data loss or corruption. The safe eject process ensures that all pending write operations are completed, safeguarding your files and maintaining the integrity of your data.
By following these steps to safely eject the Easystore external hard drive, you can ensure the longevity of your data and have peace of mind knowing that your files are secure.
Now that you are well-versed in safely ejecting your Easystore external hard drive, let’s move on to the next section, where we will address some common troubleshooting issues that you may encounter.
Troubleshooting Common Issues with the Easystore External Hard Drive
While the Easystore external hard drive is designed to be reliable and user-friendly, you may occasionally encounter some common issues. Rest assured, most of these issues have simple solutions that you can try to resolve on your own.
Here are some troubleshooting tips for common issues with the Easystore external hard drive:
- Drive not recognized: If your computer fails to recognize the Easystore external hard drive, ensure that it is properly connected to your computer via the USB cable. Try using a different USB port or a different USB cable to rule out any issues with the connection. You can also check if the drive is being detected in the device manager or disk management utility. If the problem persists, try connecting the drive to another computer to see if it is recognized.
- Slow transfer speeds: If you are experiencing slow transfer speeds when copying files to or from the Easystore external hard drive, there are a few things you can try. First, ensure that your computer’s USB ports are compatible with the USB version of the drive. If you are using an older USB port, it may result in slower transfer speeds. You can also try updating the USB drivers on your computer. Additionally, check if there are any background processes or antivirus scans that may be affecting the transfer speeds.
- Data corruption or file errors: If you encounter data corruption or file errors when accessing files on the Easystore external hard drive, it is recommended to run a disk check or scan for errors. In Windows, you can do this by right-clicking on the drive in the file explorer, selecting “Properties,” navigating to the “Tools” tab, and clicking on “Check.” This will scan the drive for any errors and attempt to fix them. For Mac users, you can use the Disk Utility to verify and repair disk permissions.
- Drive not mounting or unmounting: In some cases, you may experience issues where the Easystore external hard drive does not mount or unmount properly. This can be due to various reasons, such as conflicting software or filesystem errors. Try restarting your computer and reconnecting the drive. If the issue persists, you can try using a different USB cable or connecting the drive to another computer to determine if it’s a drive or computer-specific issue.
- Unreadable or inaccessible drive: If the Easystore external hard drive is showing up as unreadable or inaccessible, it may be due to filesystem errors. Use data recovery software or disk repair utilities to attempt to recover and repair the drive. It’s important to note that these methods may result in data loss, so it’s crucial to have a backup of your important files before attempting any recovery actions.
If you have tried these troubleshooting tips and are still experiencing issues with your Easystore external hard drive, it may be beneficial to contact customer support for further assistance. They can provide specific guidance based on your situation and help resolve any hardware or software-related issues.
Now that you are equipped with troubleshooting knowledge, you can confidently address common issues that may arise with your Easystore external hard drive.
With the troubleshooting covered, let’s move on to the final section, where we will summarize the key points discussed throughout this guide.
Conclusion
Congratulations! You are now well-versed in using and maximizing the potential of your Easystore external hard drive. From understanding its key features to connecting it to your computer, transferring files, managing folders, safely ejecting, and troubleshooting common issues, you have gained valuable knowledge and skills to make the most out of your storage device.
The Easystore external hard drive offers a reliable and convenient way to store and backup your digital files. Its large storage capacity, high-speed data transfer, compatibility with both Windows and Mac, and portable design make it an ideal solution for a range of users.
By following the steps outlined in this guide, you can easily connect the Easystore external hard drive to your computer, transfer files seamlessly, manage your files and folders effectively, and safely eject the drive to protect your data from corruption.
Remember to create a logical folder structure, use descriptive file names, and regularly declutter your external hard drive to keep it organized and optimize your storage space. Additionally, consider creating backups of your important files to ensure their safety and security.
If you encounter any issues, refer back to the troubleshooting section for potential solutions. Remember to always reach out to customer support if you need further assistance.
Thank you for choosing the Easystore external hard drive as your storage solution. With your newfound knowledge, you can confidently store, manage, and access your digital files while keeping them safe and secure.
Now, go ahead and unleash the full potential of your Easystore external hard drive!