Introduction
A 3D printer is an amazing tool that allows us to bring our ideas to life by transforming digital designs into physical objects. One of the key components that plays a crucial role in the 3D printing process is the thermistor. The thermistor is a temperature-sensitive resistor that measures the temperature of the printer’s hot end or heated bed. It ensures that the printer operates within the desired temperature range, which is crucial for the successful printing of objects.
Testing a thermistor is an important step in ensuring its accuracy and functionality. By testing the thermistor, you can identify any issues or discrepancies that may be affecting the temperature readings, allowing you to address them effectively. This not only ensures the quality of your prints but also helps prevent any damage to the printer itself.
In this article, we will guide you through the process of testing a thermistor on your 3D printer. We will cover the tools and materials required for the test, as well as provide step-by-step instructions for two commonly used methods: using a multimeter and using a 3D printer controller board. We will also discuss common issues that you may encounter during the testing process and provide troubleshooting tips to help you overcome them.
Whether you are a beginner or an experienced 3D printer user, understanding how to test a thermistor is a valuable skill that allows you to maintain the performance and reliability of your printer. So, let’s dive in and learn how to effectively test the thermistor of your 3D printer!
What is a thermistor?
A thermistor is a type of resistor that changes its resistance with temperature. It is commonly used in 3D printers to measure the temperature of the printer’s hot end or heated bed. Thermistors are made from a variety of materials, but the most common type used in 3D printers is the NTC (Negative Temperature Coefficient) thermistor.
The NTC thermistor is composed of a ceramic or polymer material that has been mixed with a conductive substance, such as metallic oxides. This mixture gives the thermistor its temperature-sensitive properties. As the temperature increases, the resistance of the thermistor decreases, and vice versa.
By measuring the resistance of the thermistor, the printer’s controller board can determine the temperature of the hot end or heated bed. This information is then used to regulate the heating element and maintain the desired temperature for successful 3D printing.
The thermistor is a critical component in the 3D printing process because temperature control is crucial for the proper melting and extrusion of filament. If the temperature is too low, the filament may not melt completely, resulting in poor layer adhesion and failed prints. On the other hand, if the temperature is too high, the filament may become overcooked, leading to clogs, jams, and overall print quality issues.
Thermistors are typically connected to the printer’s controller board through a wiring harness. The controller board sends a small electrical current through the thermistor and measures the voltage drop across it to determine resistance. This resistance value is then converted into a temperature reading that can be monitored and adjusted as needed.
Now that we have a basic understanding of what a thermistor is and its importance in 3D printing, let’s move on to the next section, where we will explore the reasons why testing a thermistor is necessary.
Why test a thermistor?
Testing a thermistor is an essential step in ensuring the accuracy and reliability of temperature readings in a 3D printer. Here are a few reasons why testing a thermistor is necessary:
- Calibration: Over time, thermistors may drift in their temperature readings due to factors such as aging, environmental changes, or manufacturing variations. By testing the thermistor, you can identify any discrepancies in the temperature readings and calibrate it accordingly. This ensures that the printer operates within the desired temperature range and produces consistent and high-quality prints.
- Fault detection: Testing a thermistor allows you to detect any faults or malfunctions in its operation. For example, if the thermistor is damaged or has a loose connection, it may provide incorrect temperature readings, which can negatively affect the printing process. By testing the thermistor, you can identify these issues early and take appropriate measures to rectify them.
- Troubleshooting: If you are experiencing issues with temperature control or inconsistent print quality, testing the thermistor can help you pinpoint the problem. It allows you to determine if the issue lies with the thermistor itself or if there are other factors, such as a faulty controller board or wiring, at play. This knowledge enables you to troubleshoot effectively and resolve the issue, improving the overall performance of the printer.
- Prevent damage: Inaccurate temperature readings can lead to various complications, including overheating, filament jams, or even damage to the printer. By regularly testing the thermistor, you can ensure that the temperature control system is functioning correctly, minimizing the risks of such problems. This helps to prolong the lifespan of the printer and avoid costly repairs or replacements.
- Quality assurance: Testing the thermistor is crucial for maintaining print quality and consistency. By ensuring accurate temperature readings, you can achieve optimal filament melting, proper layer adhesion, and precise printing. This helps to avoid issues such as underextrusion, warping, or failed prints, resulting in a superior final product.
Testing a thermistor is a proactive measure that allows you to maintain the performance and reliability of your 3D printer. It helps to prevent potential issues, diagnose problems, and optimize the printing process. In the following sections, we will explore the tools and steps involved in testing a thermistor using different methods.
Tools and materials required
Before you begin testing a thermistor on your 3D printer, it’s important to gather the necessary tools and materials. Here is a list of what you will need:
- Multimeter: A multimeter is a versatile tool that can measure different electrical properties, including resistance. It is essential for one of the testing methods we will discuss later in this article.
- Thermistor calibration chart or lookup table: To accurately calibrate the thermistor, you will need a calibration chart or lookup table specific to your thermistor model. This reference provides the relationship between resistance and temperature readings, allowing you to make proper adjustments.
- Alligator clips (optional): Alligator clips are helpful for securely connecting the multimeter probes to the thermistor wires during testing. They create a stable connection and ensure accurate readings.
- Screwdriver (if necessary): Depending on your printer’s design, you may need a screwdriver to access and remove the thermistor from its mounting location for testing.
- Knowledge of your printer’s wiring: It is important to have a basic understanding of your printer’s wiring and where the thermistor is located. This knowledge will assist you in correctly identifying the thermistor wires during the testing process.
- Patience and attention to detail: Testing a thermistor requires careful observation and accurate measurements. Patiently follow the instructions and take note of any details or abnormalities during the testing process.
By gathering these tools and materials, you will be well-prepared to test the thermistor on your 3D printer. The next section will guide you through the step-by-step process of testing a thermistor using a multimeter.
Step-by-step guide to testing a thermistor
Testing a thermistor on your 3D printer is a straightforward process that can be done using a multimeter. Follow these step-by-step instructions to effectively test your thermistor:
- Prepare the printer: Before starting the testing process, ensure that your 3D printer is turned off and unplugged to prevent any electrical accidents.
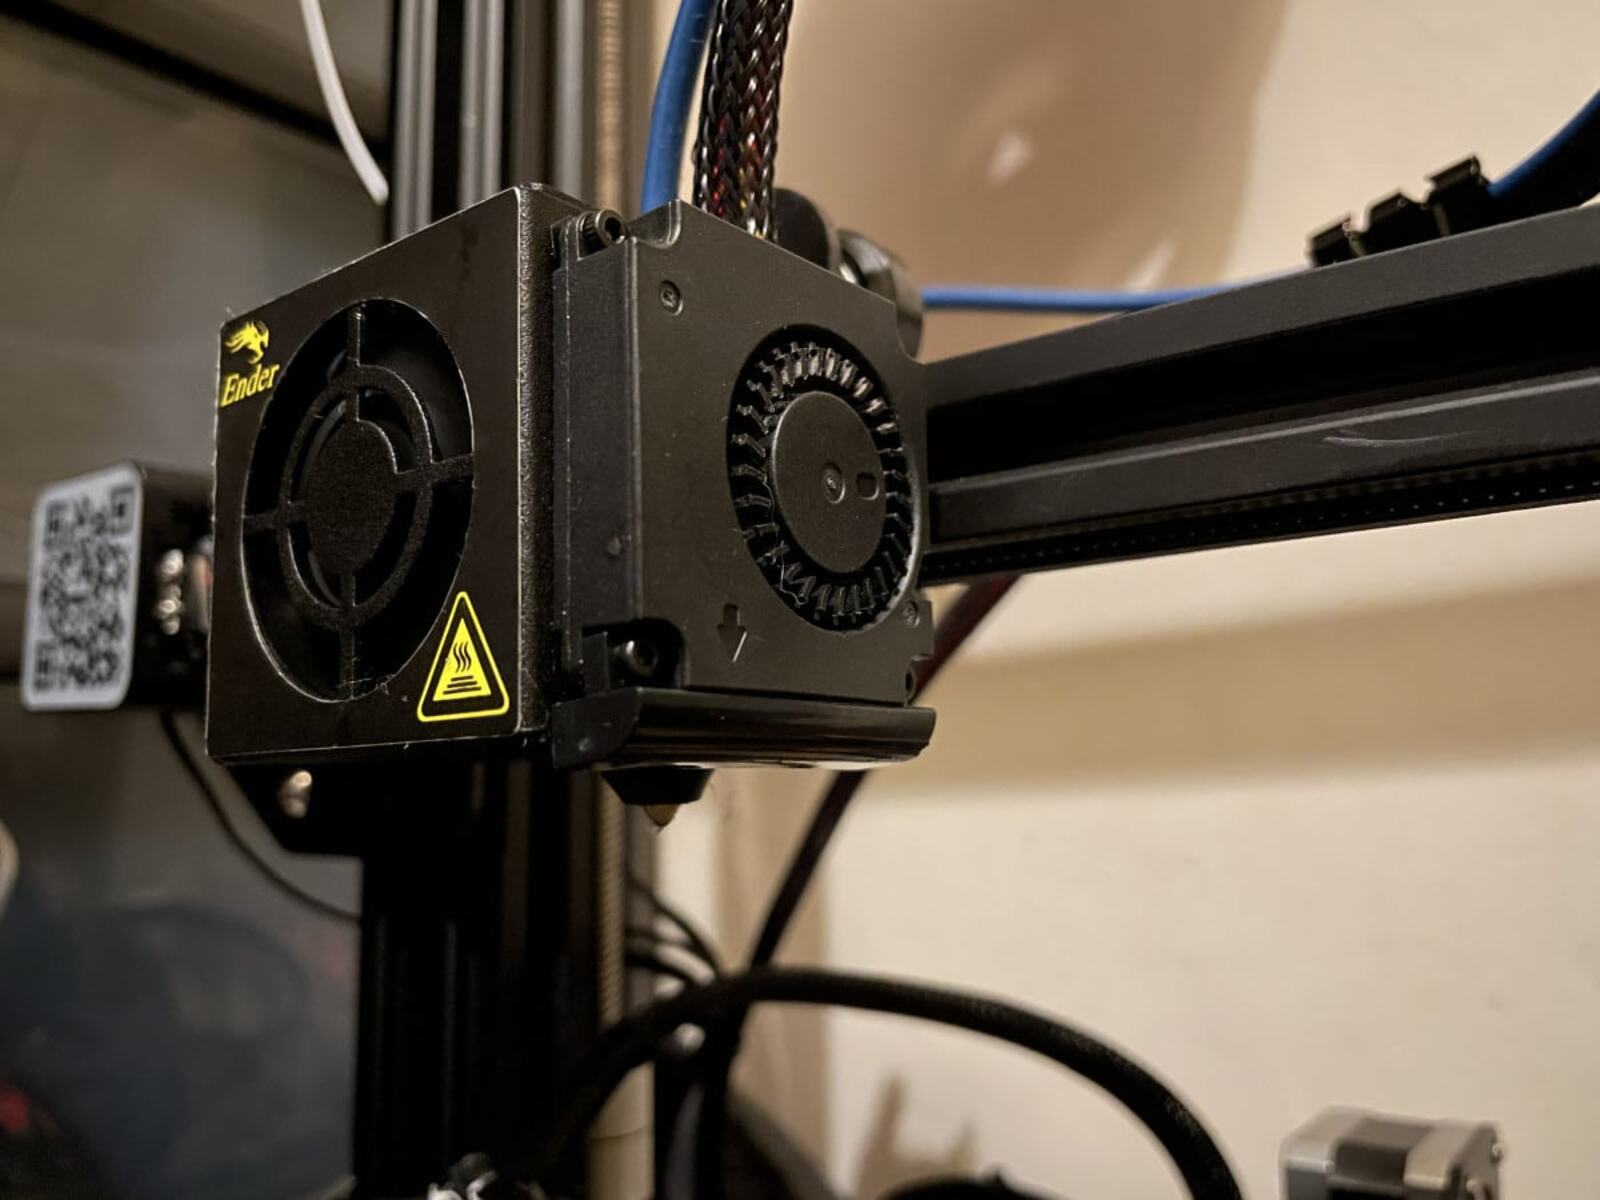
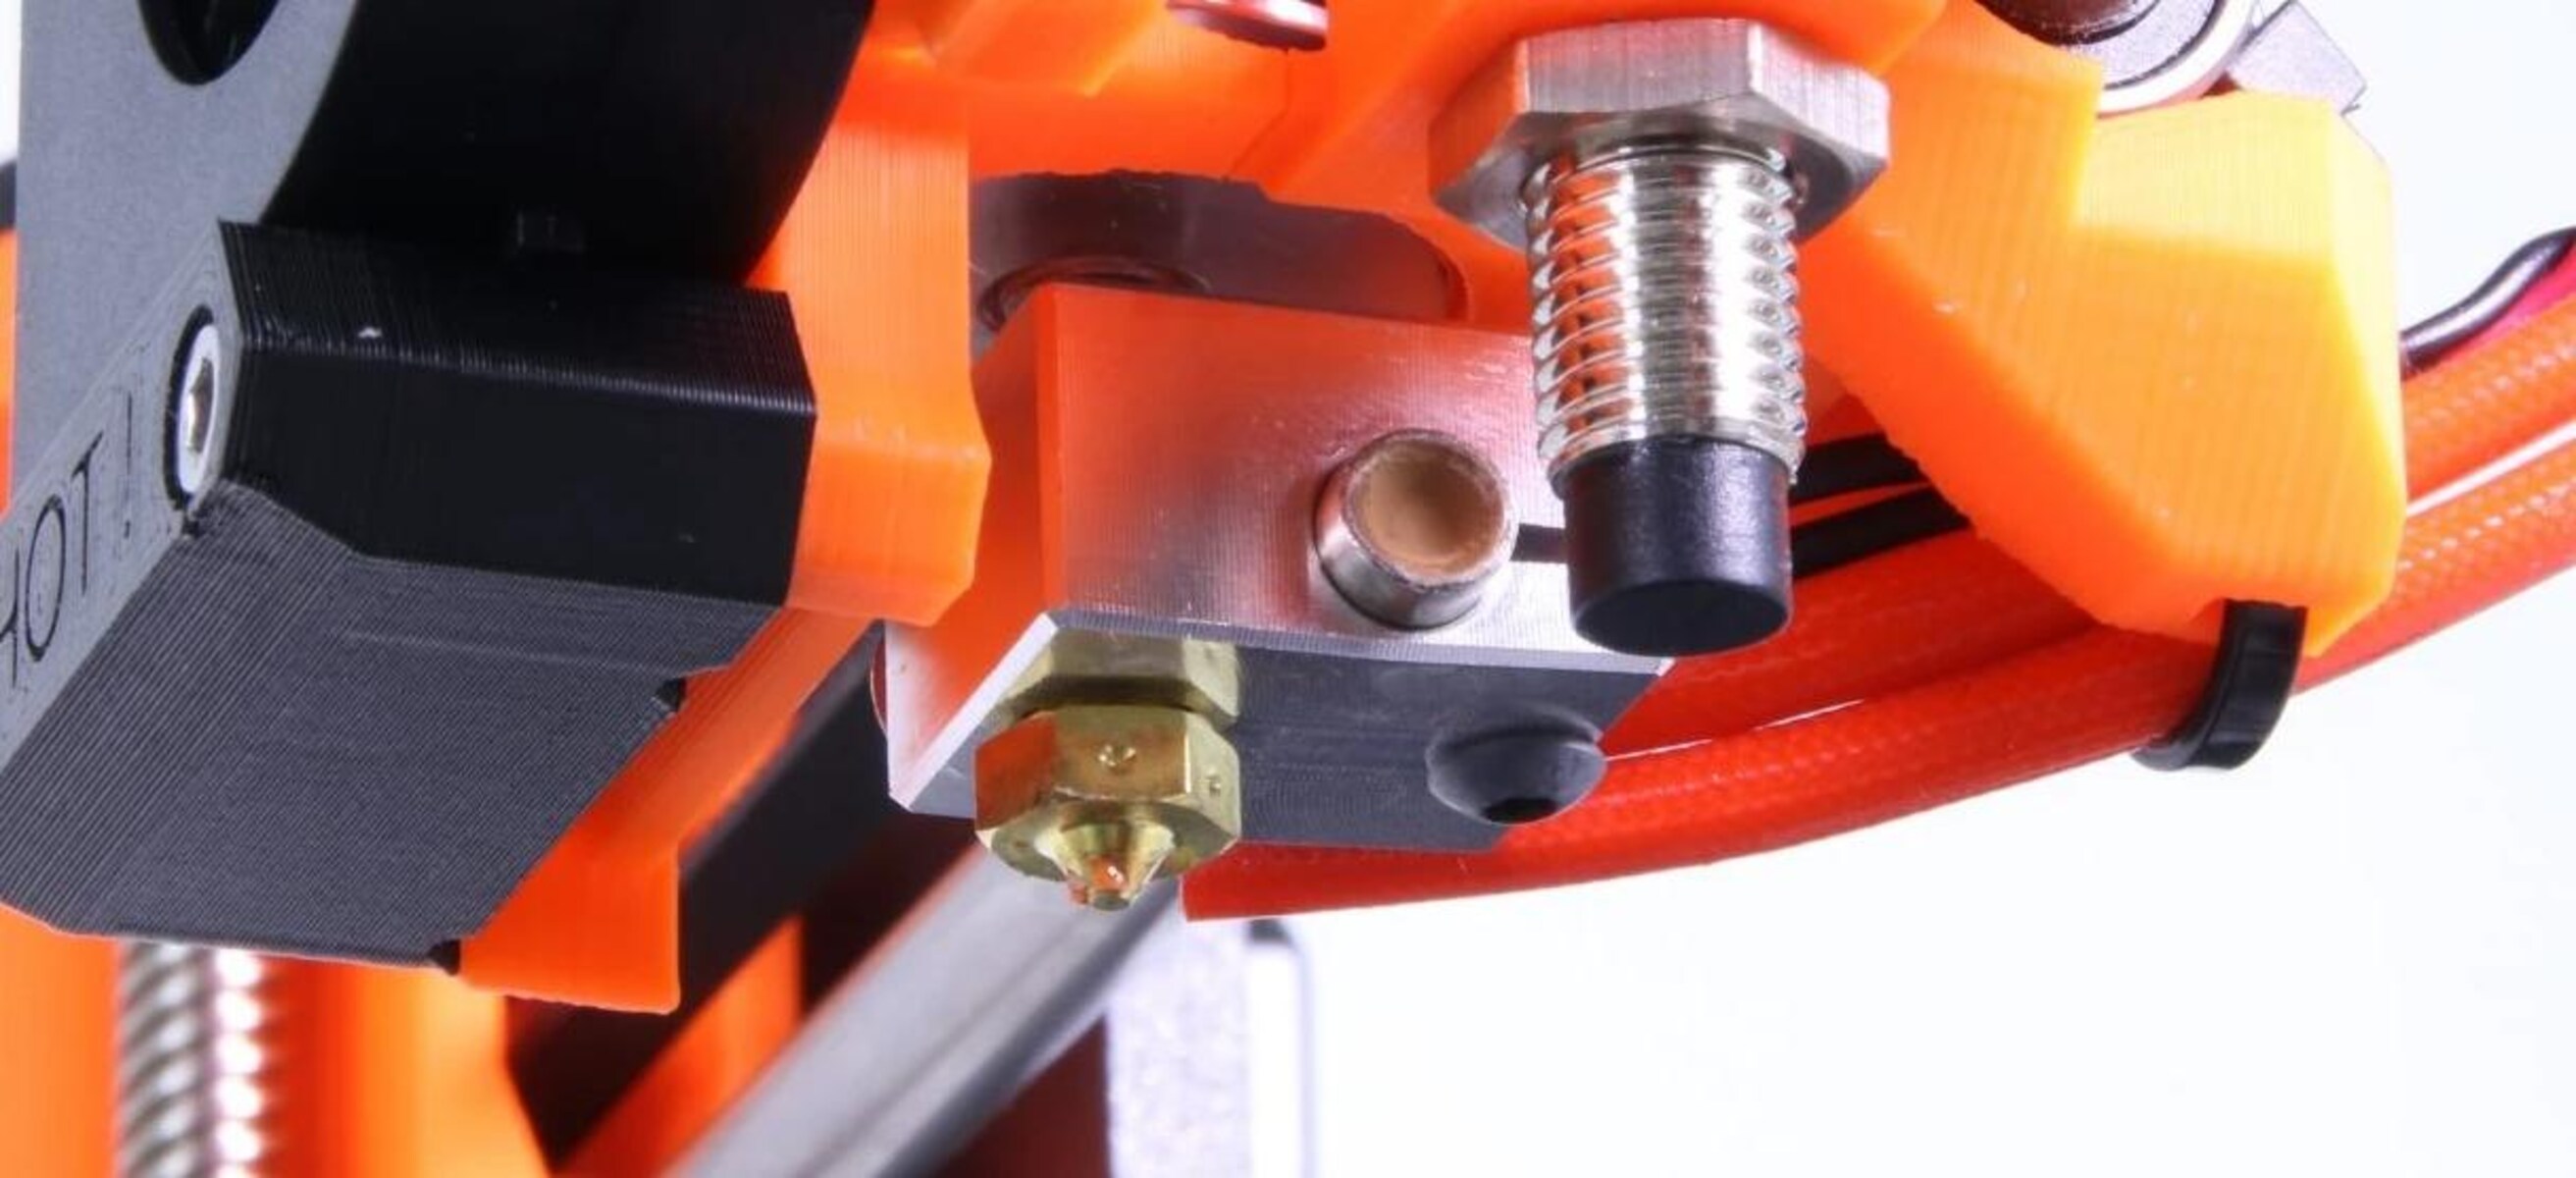
- Locate the thermistor: Identify the thermistor on your printer. It is usually located near the hot end or heated bed. Consult your printer’s manual or documentation if you are unsure about its location.
- Disconnect the thermistor wires: Carefully detach the thermistor wires from the printer’s controller board. Take note of their positions or mark them if necessary to ensure correct reconnection later.
- Set up the multimeter: Set your multimeter to the resistance (ohms) mode. If your multimeter has multiple resistance ranges, start with a suitable range, such as 1K ohms, and adjust as needed for accurate readings.
- Connect the multimeter probes: Attach the multimeter probes to the thermistor wires. You can use alligator clips to secure the probes if available. Make sure the connections are firm and secure.
- Read the resistance: With the multimeter connected to the thermistor, read and record the resistance value displayed on the multimeter. This reading represents the current temperature reading of the thermistor.
- Compare with calibration chart: Refer to the thermistor calibration chart or lookup table for your specific thermistor model. Match the resistance value you obtained with the corresponding temperature value on the chart.
- Calibrate if necessary: If the measured resistance deviates significantly from the expected values on the calibration chart, calibration may be required. Adjust the resistance using calibration settings or replace the thermistor if it is faulty.
- Reconnect the thermistor wires: After testing and calibration (if necessary), carefully reconnect the thermistor wires to their original positions on the printer’s controller board.
- Power on the printer: Once the thermistor is reconnected, power on your 3D printer and monitor the temperature readings to ensure they are accurate and stable.
By following these step-by-step instructions, you can successfully test your thermistor using a multimeter. However, there is an alternative method to test the thermistor using a 3D printer controller board, which we will explore in the next section.
Method 1: Using a multimeter
Testing a thermistor using a multimeter is a common and effective method. Here’s how you can test your thermistor using a multimeter:
- Prepare the printer: Ensure that your 3D printer is turned off and unplugged for safety.
- Locate the thermistor: Identify the thermistor on your printer. It is typically located near the hot end or heated bed.
- Disconnect the thermistor wires: Carefully detach the thermistor wires from the printer’s controller board. Take note of their positions or mark them if necessary for correct reconnection later.
- Set up the multimeter: Set your multimeter to the resistance (ohms) mode. Choose an appropriate range, such as 1K ohms, that is suitable for the expected resistance value.
- Connect the multimeter probes: Attach the multimeter probes to the thermistor wires. Ensure that the connections are secure by using alligator clips if available.
- Read the resistance: With the multimeter connected, read the resistance value displayed on the multimeter and record it. This value represents the current temperature reading of the thermistor.
- Compare with calibration chart: Consult the thermistor calibration chart or lookup table specific to your thermistor model. Match the resistance value you obtained with the corresponding temperature value on the chart.
- Calibrate if necessary: If the measured resistance significantly deviates from the expected values on the calibration chart, calibration may be required. Adjust the resistance using calibration settings or consider replacing the thermistor if it is faulty.
- Reconnect the thermistor wires: After testing and calibration (if necessary), carefully reconnect the thermistor wires to their original positions on the printer’s controller board.
- Power on the printer: Once the thermistor is reconnected, power on your 3D printer and monitor the temperature readings to ensure they are accurate and stable.
Using a multimeter is a simple and effective method to test a thermistor. However, if you prefer an alternative method, you can test the thermistor using a 3D printer controller board, as described in the next section.
Method 2: Using a 3D printer controller board
Another method to test a thermistor on your 3D printer is by utilizing the capabilities of the printer’s controller board. Follow these steps to test the thermistor using a 3D printer controller board:
- Prepare the printer: Ensure that your 3D printer is turned off and unplugged for safety.
- Locate the thermistor connection: Identify the thermistor connection on the printer’s controller board. It is usually labeled and can be found near the hot end or heated bed connectors.
- Disconnect the thermistor connector: Carefully unplug the thermistor connector from the controller board. Take note of its orientation to ensure correct reconnection later.
- Power on the printer: Plug in and power on your 3D printer. Make sure it is connected to a reliable power source.
- Monitor the temperature readings: With the printer powered on, navigate to the temperature settings menu on the printer’s control interface. Monitor the temperature readings for the hot end or heated bed, depending on the thermistor you are testing.
- Compare with room temperature: If the temperature readings on the control interface match the ambient room temperature, it suggests that the thermistor is not providing accurate readings and may need to be replaced.
- Reconnect the thermistor connector: After testing, ensure that the printer is turned off and unplugged. Carefully reconnect the thermistor connector to its original position on the controller board. Ensure that it is properly aligned and securely plugged in.
- Power on the printer: Once the thermistor is reconnected, power on your 3D printer and monitor the temperature readings to ensure they are accurate and stable.
By utilizing the 3D printer’s controller board, you can assess the temperature readings and quickly identify any inconsistencies. This method provides a convenient way to determine if the thermistor is functioning properly. However, if you encounter any issues or the readings are not accurate, further troubleshooting may be required.
Common issues and troubleshooting
While testing a thermistor on your 3D printer, you may encounter certain issues that can affect the accuracy of temperature readings. Here are some common issues and troubleshooting steps:
- Inconsistent temperature readings: If you notice inconsistent temperature readings, it could indicate a loose connection between the thermistor and the controller board. Double-check the connections and ensure they are secure. If the issue persists, consider replacing the thermistor.
- Fluctuating temperature readings: Fluctuations in temperature readings could be caused by electrical interference or a faulty thermistor. Check for any potential sources of interference, such as nearby power cables or electronic devices. If the issue persists, try replacing the thermistor.
- Incorrect temperature readings: If the temperature readings on the control interface or multimeter do not match the actual temperature, it may indicate a faulty thermistor. Consider calibrating or replacing the thermistor to ensure accurate temperature monitoring.
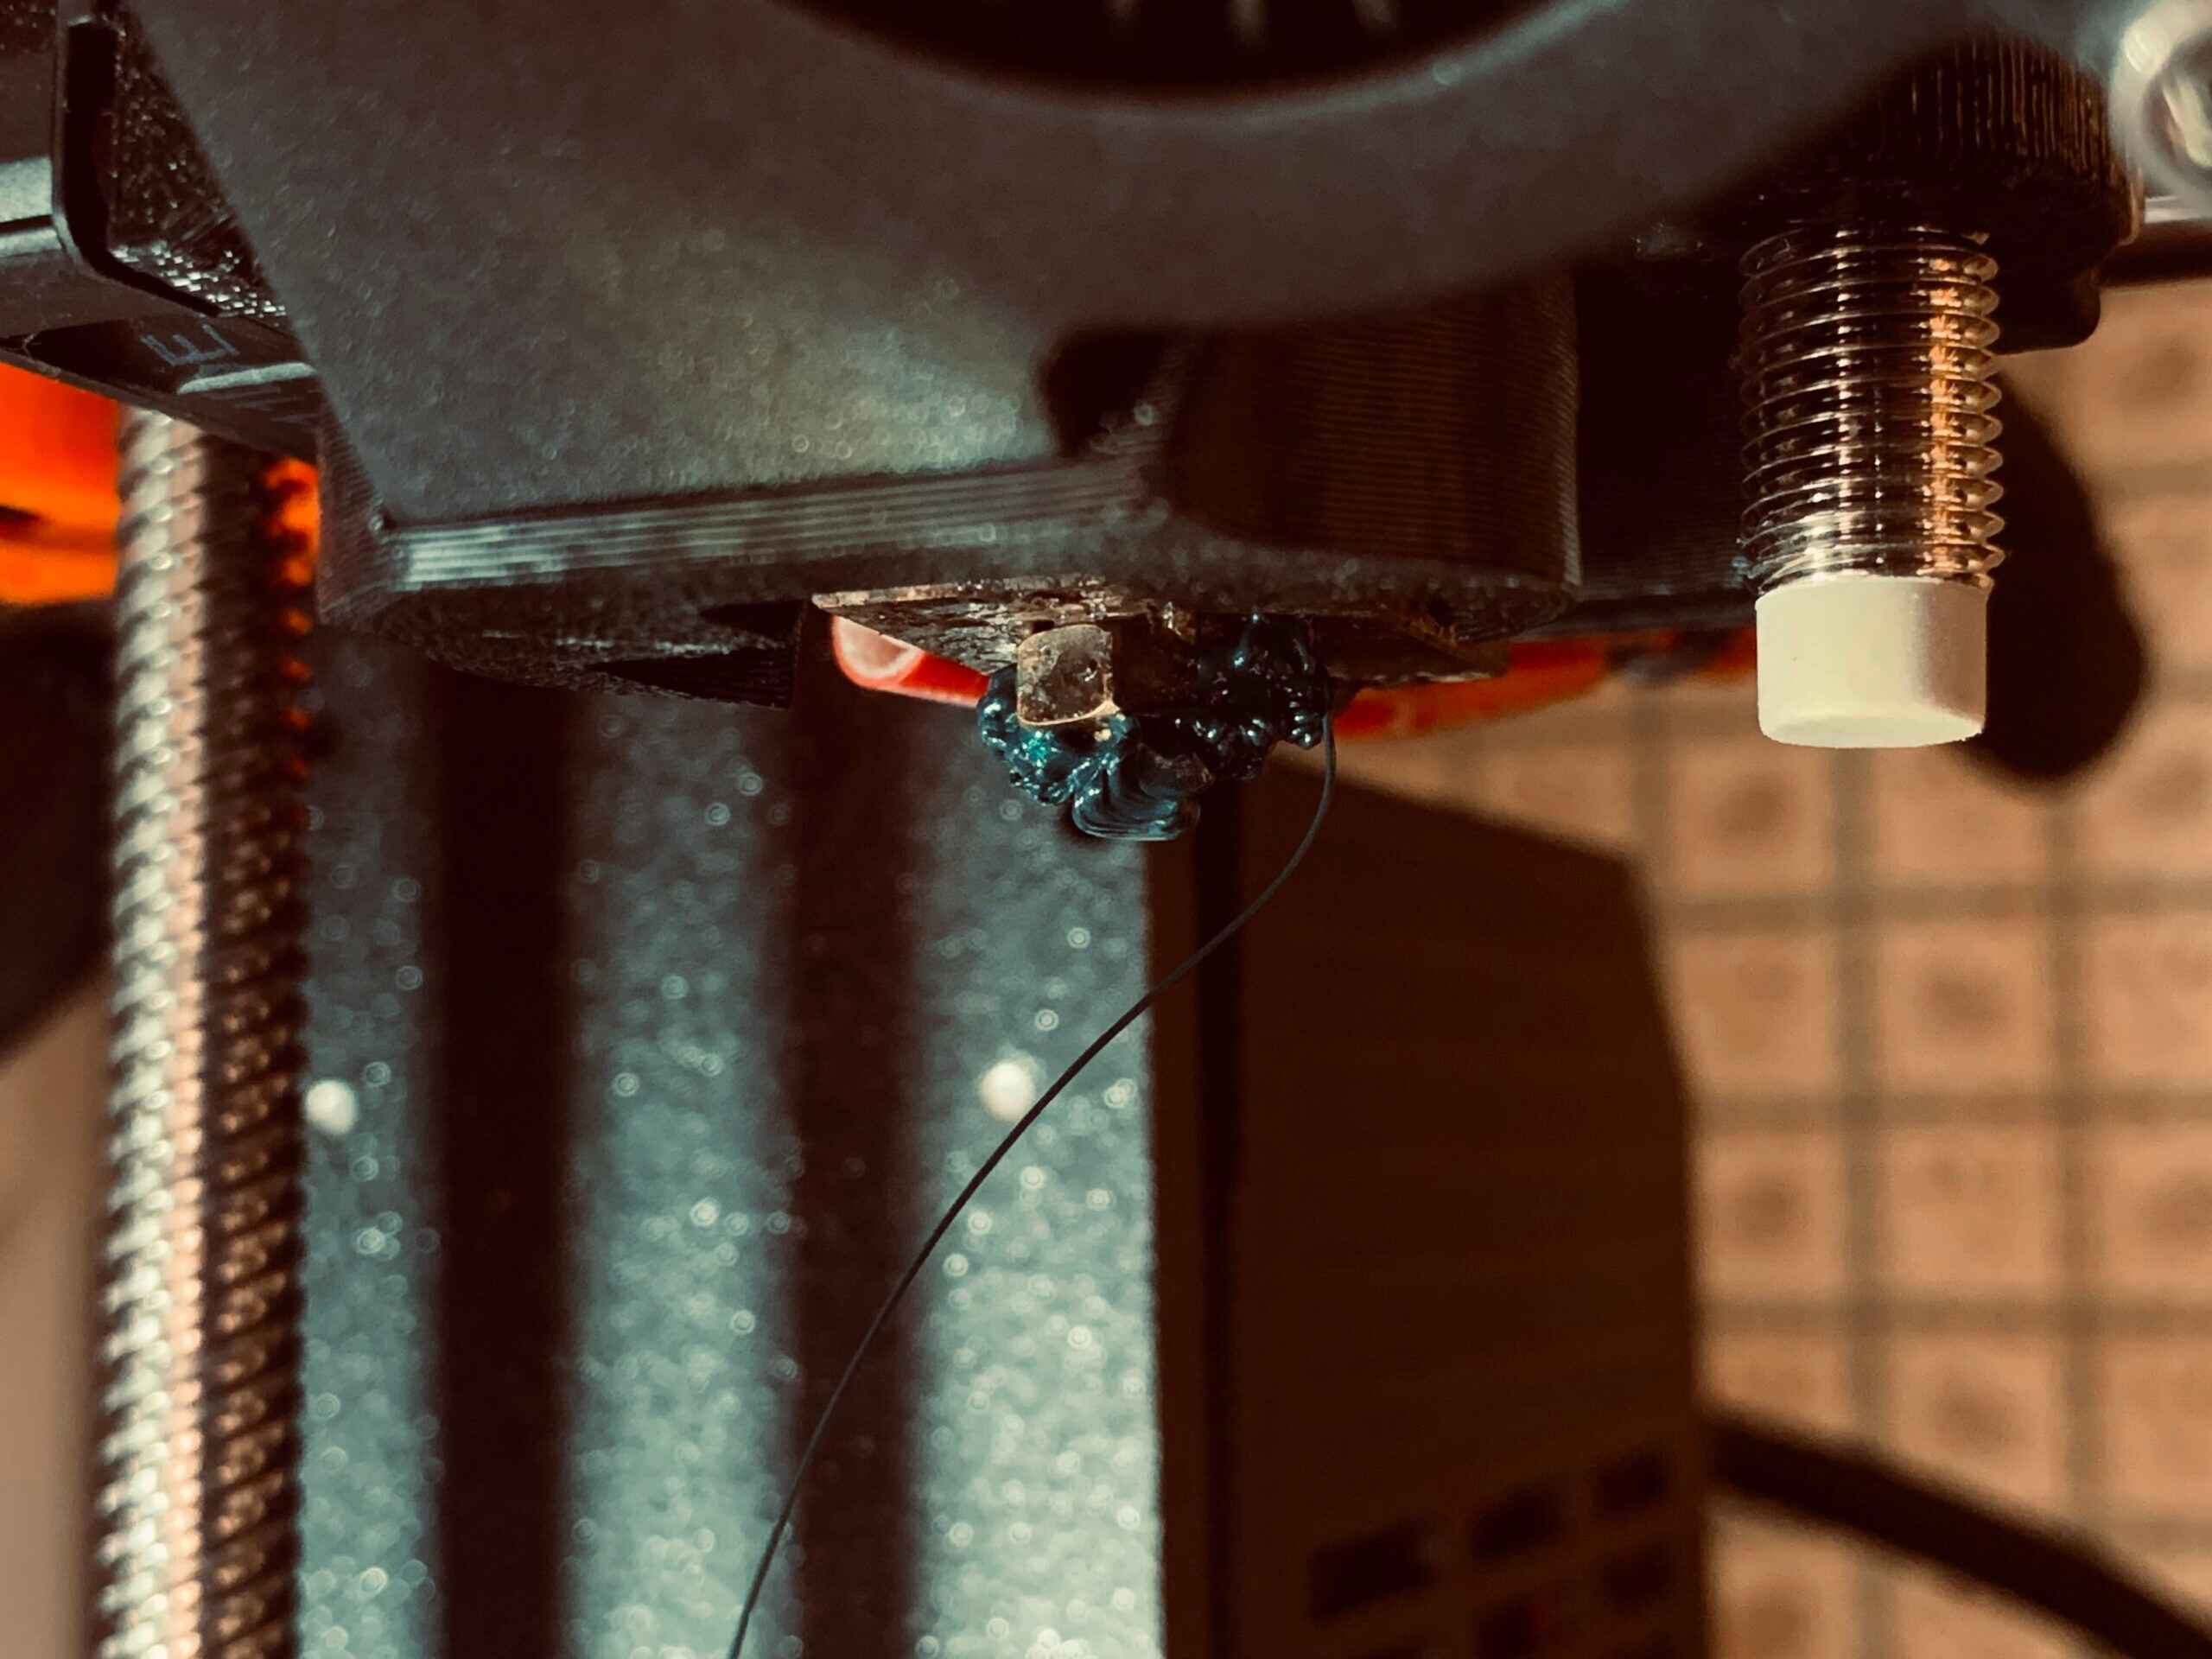
- Thermistor damage: Physical damage to the thermistor, such as a broken or cracked component, can lead to inaccurate readings or a complete malfunction. Inspect the thermistor for any visible signs of damage and replace it if necessary.
- Miswiring: Incorrectly wiring the thermistor can result in irregular or nonsensical temperature readings. Double-check the wiring connections and refer to the printer’s documentation for the correct wiring order.
- Controller board issues: If the thermistor appears to be in good condition and properly connected, but you are still experiencing temperature reading problems, there may be issues with the printer’s controller board. In such cases, consult the printer’s manufacturer or seek assistance from a technician for further troubleshooting and possible repairs.
Remember, troubleshooting issues related to thermistors requires a meticulous approach. It is recommended to refer to your printer’s documentation, join online forums or communities, and seek professional help if needed. Identifying and resolving these common issues ensures accurate temperature control and helps maintain the overall performance of your 3D printer.
Conclusion
Testing a thermistor is an important step in maintaining the performance and reliability of your 3D printer. By ensuring accurate temperature readings, you can achieve optimal print quality and prevent potential issues such as underextrusion, filament jams, or overheating.
In this article, we explored two methods for testing a thermistor: using a multimeter and utilizing a 3D printer controller board. Both methods provide effective ways to assess the functionality of the thermistor and make necessary calibrations or replacements.
We discussed the tools and materials required for testing, as well as provided step-by-step guides for each method. Additionally, we highlighted common issues that may arise during testing and offered troubleshooting advice to help you overcome them.
Remember to exercise caution while testing the thermistor, ensuring that your printer is turned off and unplugged to prevent any electrical accidents. Take your time and pay attention to details, as accuracy is key in obtaining reliable temperature readings.
By regularly testing and maintaining the thermistor on your 3D printer, you can ensure consistent and high-quality prints. Proper temperature control is vital for successful 3D printing, and testing the thermistor allows you to identify and address any issues that may affect the printing process.
We hope that this article has provided you with valuable insights and guidance on how to test a thermistor. As you continue your 3D printing journey, remember that regular maintenance and troubleshooting are crucial to keep your printer operating at its best.