Introduction
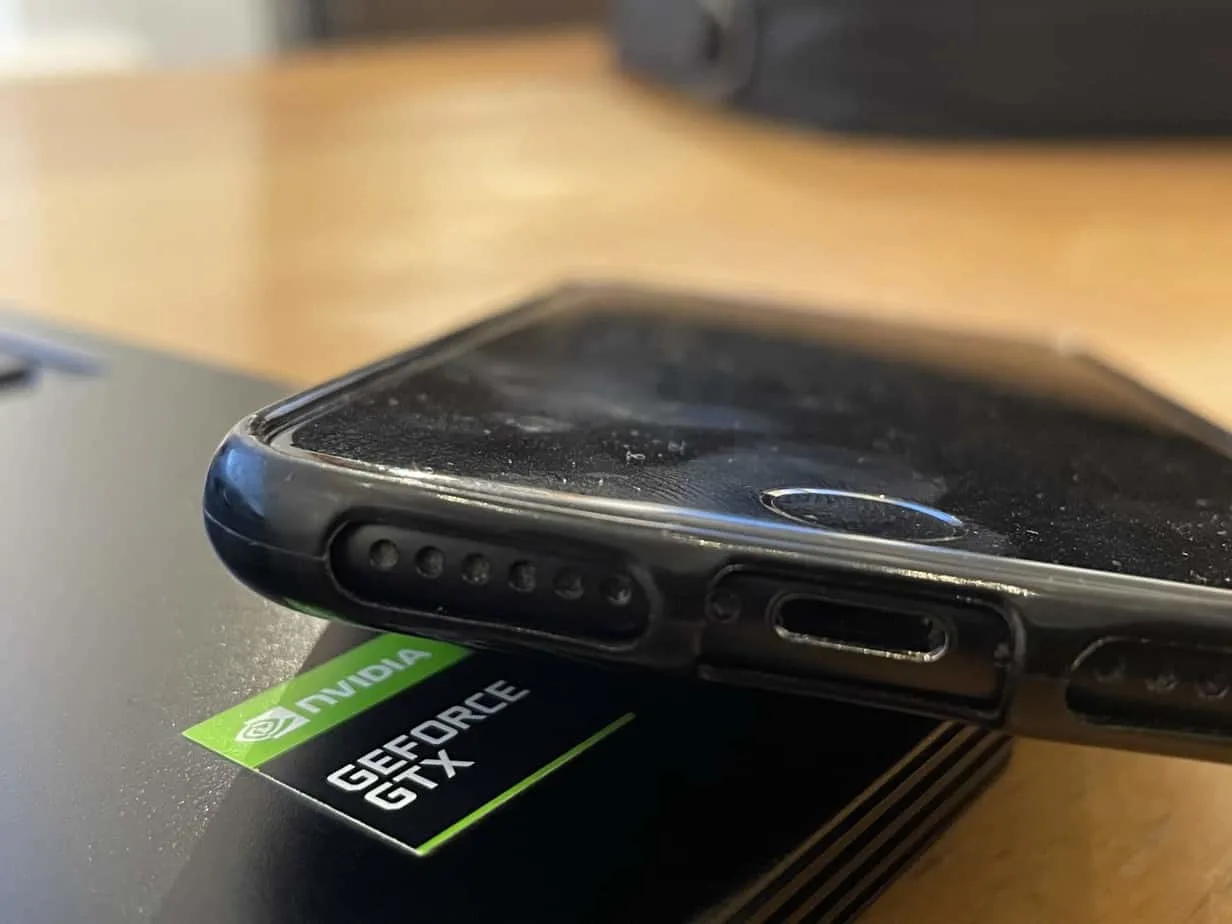
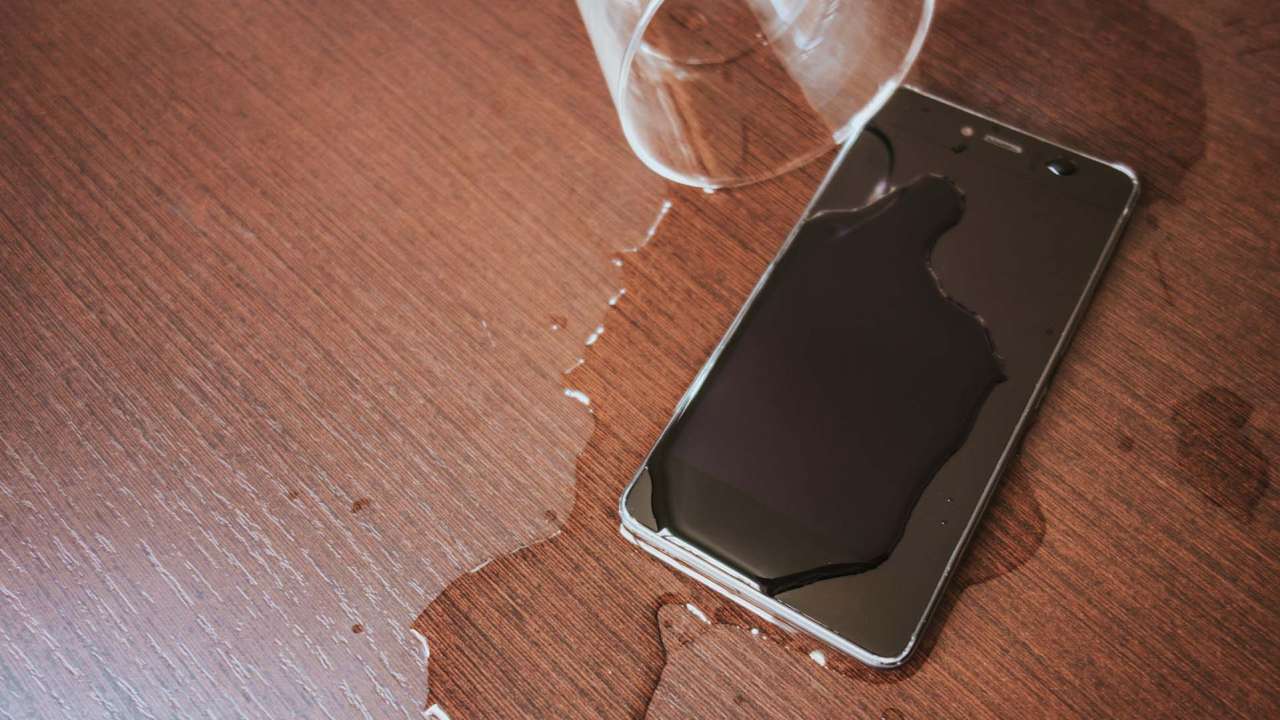
Water damage to an iPhone's speaker can be a frustrating and worrisome issue for many users. Whether it's due to an accidental drop in water or exposure to moisture, the result is often muffled or distorted sound, or even complete audio failure. However, there are several effective methods to address this problem and restore your iPhone's speaker functionality.
In this comprehensive guide, we will walk you through the step-by-step process of fixing water damage in your iPhone speaker. From simple DIY solutions to professional repair options, we've got you covered. By following these methods, you can increase the chances of salvaging your iPhone's speaker and avoiding costly repairs or replacements.
It's important to note that immediate action is crucial when dealing with water damage. The longer the water remains in the speaker, the higher the risk of permanent damage. Therefore, it's recommended to address the issue as soon as possible to prevent further complications.
So, if you've accidentally exposed your iPhone to water and are now experiencing speaker issues, don't panic. With the right approach and a bit of patience, you can potentially resolve the problem and get your iPhone's speaker back to its optimal performance. Let's dive into the step-by-step methods to fix water damage in your iPhone speaker.
Step 1: Power Off Your iPhone
Upon discovering water damage to your iPhone speaker, the first and most crucial step is to power off your device immediately. Water and electronic devices are a risky combination, and leaving the iPhone on could lead to short circuits and further damage. By turning off the device, you reduce the risk of electrical components being compromised, ultimately increasing the chances of successful restoration.
To power off your iPhone, press and hold the power button until the “slide to power off” slider appears on the screen. Slide the button to power off the device completely. If your iPhone has physical buttons for power, press and hold the power button along with the volume button until the power-off slider appears. Once the device is off, do not attempt to turn it back on until the speaker has been thoroughly dried and the water damage has been addressed.
It’s important to resist the temptation to test the speaker or use any audio functions at this stage, as doing so could exacerbate the damage. Instead, focus on the next steps to dry the device and mitigate the effects of the water exposure.
Remember, acting swiftly and decisively is key to minimizing the impact of water damage on your iPhone’s speaker. By powering off the device as soon as possible, you set the stage for the subsequent steps aimed at restoring the speaker’s functionality.
Step 2: Drying the Exterior
After powering off your iPhone, the next step is to focus on drying the exterior of the device. Start by carefully wiping the surface of the iPhone with a soft, absorbent cloth to remove any visible moisture. Pay close attention to the speaker area, gently dabbing around it to absorb as much water as possible. Avoid using excessive force or rubbing, as this could potentially drive the water deeper into the device.
Once you have removed the surface moisture, consider using a can of compressed air to blow air into the speaker grill and other openings of the iPhone. This can help dislodge any remaining water droplets that may be trapped in the speaker or other crevices. Hold the can of compressed air at a slight distance from the device to prevent excessive pressure and use short, controlled bursts of air.
If compressed air is not available, you can use a hairdryer on its lowest and coolest setting to gently blow air over the iPhone, focusing on the speaker area. Keep the hairdryer at a safe distance from the device to avoid exposing it to excessive heat, which could cause damage to the internal components. It’s important to exercise caution and avoid prolonged exposure to heat during this process.
Additionally, you may consider placing the iPhone in a well-ventilated area with low humidity, such as a room with a dehumidifier or near a fan. Allowing the device to air dry in such an environment can aid in the evaporation of any residual moisture within the speaker and the overall exterior of the iPhone.
By effectively drying the exterior of the iPhone, you can mitigate the immediate effects of water exposure and lay the groundwork for addressing the water damage within the speaker. This proactive approach can contribute to the overall success of restoring your iPhone’s speaker functionality.
Step 3: Using a Vacuum
When dealing with water damage in your iPhone speaker, utilizing a vacuum can be an effective method to extract residual moisture from the device. This approach is particularly useful for drawing out water that may have seeped into the speaker grill and other openings.
To begin, ensure that your iPhone is powered off and proceed with caution to avoid causing any additional damage. Use the soft brush attachment or a crevice tool on a low-power setting to gently vacuum the speaker grill and any other accessible openings on the iPhone. The goal is to create suction that can help remove trapped moisture without directly applying physical force to the device.
It’s important to note that the vacuuming process should be approached with care to avoid causing damage to the iPhone’s delicate components. Avoid using high-powered or industrial vacuums, as they may generate excessive suction force, potentially leading to unintended consequences. Instead, opt for a household vacuum cleaner with adjustable settings or a handheld vacuum designed for delicate electronics.
If you don’t have access to a suitable vacuum, an alternative method involves using a small, clean, and dry brush to gently dislodge any visible moisture from the speaker grill. This can be followed by carefully tapping the iPhone against your hand or a soft surface to encourage the release of any trapped water droplets.
By employing a vacuum or gentle brushing technique, you can aid in the removal of residual moisture from the speaker area, potentially improving the chances of restoring your iPhone’s audio functionality. This step, when performed with precision and caution, can contribute to the overall drying process and help address the effects of water damage within the speaker.
Step 4: Rice Method
The rice method, often considered a DIY remedy for addressing water damage in electronic devices, can be an accessible and potentially effective approach for mitigating the effects of water exposure on an iPhone’s speaker. This method involves using uncooked rice as a desiccant to help absorb moisture from the device.
To begin, power off your iPhone if you haven’t already done so and carefully remove any protective case. Next, fill a sealable plastic bag or a container with uncooked rice, ensuring that there is enough to fully submerge the iPhone. Place the iPhone into the rice, ensuring that it is completely surrounded by the rice, and seal the bag or container tightly. The rice acts as a natural desiccant, drawing moisture away from the device over time.
It’s important to leave the iPhone in the rice for a minimum of 24 to 48 hours to allow for thorough moisture absorption. During this period, it’s advisable to keep the bag or container in a dry and warm environment, as this can facilitate the drying process. However, it’s crucial to avoid exposing the iPhone to excessive heat, direct sunlight, or high humidity, as these conditions may pose additional risks to the device.
While the rice method is a popular DIY technique, it’s essential to manage expectations and recognize that its effectiveness may vary based on the extent of the water damage. Additionally, it’s important to exercise caution when using this method, as rice particles can potentially enter the iPhone’s openings and cause further complications. To mitigate this risk, consider wrapping the iPhone in a breathable fabric or placing it in a sealable plastic bag before submerging it in the rice.
By employing the rice method with care and patience, you can take a proactive step in addressing water damage within the iPhone speaker. This method, when utilized alongside other drying techniques, can contribute to the overall efforts aimed at restoring the functionality of your iPhone’s audio system.
Step 5: Silica Gel Pack
Utilizing silica gel packs to address water damage in an iPhone’s speaker is another method that holds promise for effectively absorbing moisture from the device. Silica gel, known for its exceptional ability to adsorb water vapor, can aid in the drying process and contribute to the restoration of the speaker’s functionality.
To begin, ensure that your iPhone is powered off and carefully remove any external accessories or protective coverings. Next, acquire several silica gel packs, commonly found in packaging for various consumer products. Place the iPhone and the silica gel packs in a sealable plastic bag or a container, ensuring that the device is fully surrounded by the gel packs. Seal the bag or container securely to create an environment conducive to moisture absorption.
It’s important to leave the iPhone in the presence of the silica gel packs for an extended period, ideally 24 to 48 hours, to allow for thorough moisture extraction. During this time, it’s advisable to store the bag or container in a cool, dry area with low humidity, as this can enhance the effectiveness of the silica gel in drawing moisture away from the device.
One of the advantages of using silica gel packs is their reusability. After the initial drying period, the silica gel packs can be reconditioned by heating them in an oven to drive out the absorbed moisture, making them ready for future use. This reusability factor adds to the practicality and cost-effectiveness of employing silica gel in addressing water damage in electronic devices.
When using silica gel packs, it’s essential to handle them with care and avoid direct contact with the iPhone’s openings to prevent any gel particles from entering the device. To minimize this risk, consider wrapping the iPhone in a breathable fabric or placing it in a sealable plastic bag before placing it alongside the silica gel packs.
By leveraging the moisture-absorbing properties of silica gel packs, you can contribute to the comprehensive drying process and potentially enhance the prospects of restoring your iPhone’s speaker to its optimal functionality. This method, when employed with diligence and attention to detail, can play a valuable role in addressing water damage within the iPhone speaker.
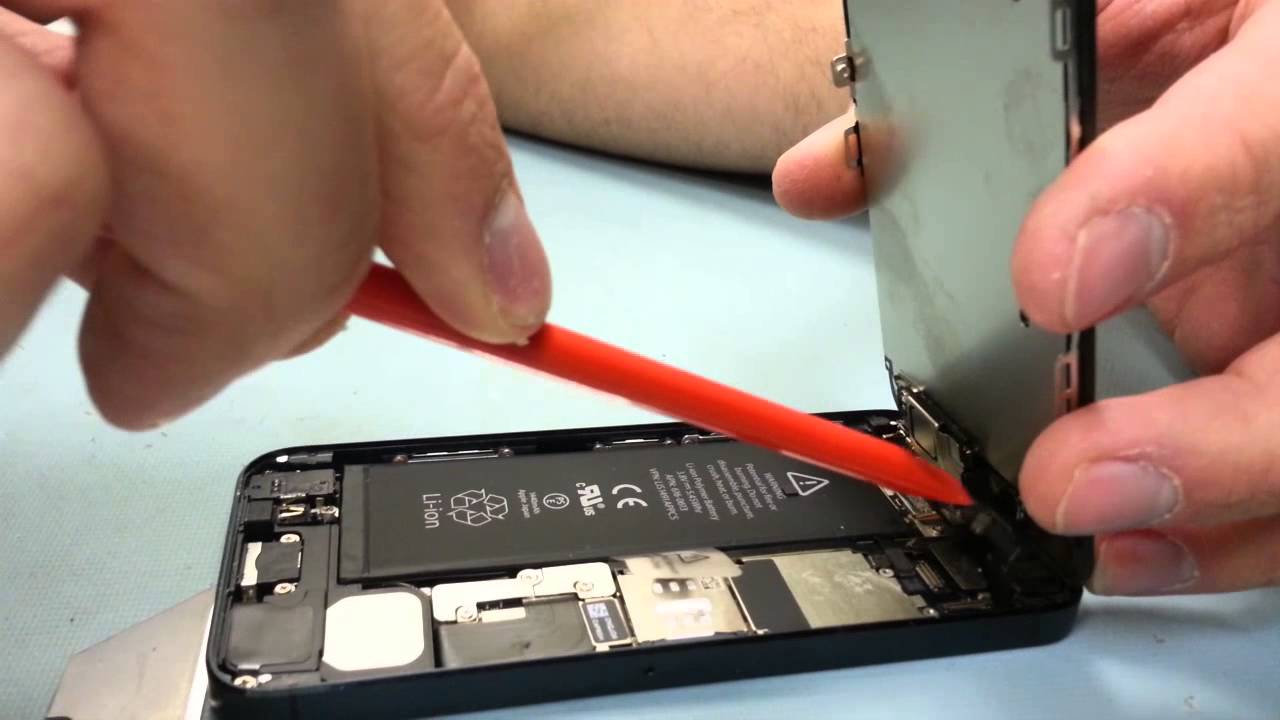
Step 6: Professional Repair Option
If DIY methods and home remedies do not yield the desired results in restoring your iPhone’s speaker functionality after water damage, seeking a professional repair option may be the most viable course of action. Professional repair services offered by authorized technicians or Apple-certified specialists can provide a comprehensive and expert approach to addressing water damage within the iPhone speaker.
When opting for professional repair, it’s essential to engage with reputable and certified service providers who possess the expertise and technical knowledge required to diagnose and rectify water-related issues in electronic devices. These professionals are equipped with specialized tools and resources to assess the extent of the damage, disassemble the device if necessary, and implement targeted solutions to restore the speaker’s functionality.
Upon contacting a professional repair service, you may be required to provide details about the water exposure incident and the subsequent symptoms observed in the iPhone’s speaker. This information can aid the technicians in formulating an appropriate course of action tailored to the specific nature of the water damage.
Professional repair options may encompass various strategies, including thorough cleaning of the internal components, targeted drying techniques using professional-grade equipment, and, if necessary, the replacement of damaged speaker components. These measures are executed with precision and adherence to industry standards, aiming to minimize the long-term impact of water damage and ensure the optimal functioning of the iPhone’s speaker.
It’s important to note that professional repair services may involve associated costs, which can vary based on the extent of the damage and the specific interventions required. However, the expertise and assurance of quality provided by professional technicians can offer peace of mind and a higher likelihood of successful restoration compared to DIY methods alone.
By considering the professional repair option, you can access specialized expertise and resources dedicated to addressing water damage in your iPhone speaker. This approach presents a reliable and comprehensive solution, particularly in cases where DIY methods have proven insufficient in resolving the water-related issues affecting the device’s audio functionality.
Conclusion
Addressing water damage in an iPhone’s speaker requires a proactive and systematic approach to mitigate the effects of moisture and restore the device’s audio functionality. By following the comprehensive step-by-step guide outlined in this article, you have gained valuable insights into various methods for fixing water damage in your iPhone speaker.
From the critical initial steps of powering off the device and drying the exterior to the utilization of DIY remedies such as the rice method and silica gel packs, you have been equipped with practical strategies to address water-related issues affecting the iPhone’s speaker. Additionally, the consideration of professional repair options underscores the importance of seeking expert assistance when DIY methods prove insufficient in resolving the damage.
It’s essential to emphasize the significance of acting swiftly and decisively when confronted with water damage in an iPhone’s speaker. The immediate implementation of drying techniques, coupled with the cautious utilization of DIY methods, can significantly influence the outcome of the restoration process. Furthermore, the option of professional repair services serves as a valuable recourse for comprehensive and expert interventions tailored to the specific nature of the water damage.
As you navigate the process of addressing water damage in your iPhone speaker, remember to exercise patience and diligence, particularly when employing DIY methods such as the rice technique and the use of silica gel packs. These methods, when executed with care and attention to detail, can contribute to the overall success of restoring your iPhone’s speaker functionality.
By integrating the insights and strategies presented in this guide, you are well-equipped to approach water damage in your iPhone speaker with confidence and informed decision-making. Whether opting for DIY remedies or seeking professional assistance, your proactive efforts can significantly influence the prospects of salvaging the speaker and preserving the optimal performance of your iPhone.
Ultimately, the successful resolution of water damage in your iPhone’s speaker hinges on a combination of timely action, informed choices, and a comprehensive approach to drying and restoration. With the knowledge and strategies at your disposal, you are empowered to address water-related issues in your iPhone speaker effectively and navigate the path toward restoring its audio functionality.