Introduction
Welcome to this DIY guide on building a speaker for your phone! In this step-by-step tutorial, we will explore the process of creating a portable and functional speaker that can amplify the sound of your smartphone. By following this guide, you can transform everyday materials into a custom-built speaker, enhancing your audio experience without breaking the bank.
Building your own speaker is not only a fun and rewarding project, but it also provides a deeper understanding of how speakers work and the principles of sound amplification. Whether you are an audio enthusiast, a hands-on learner, or simply someone looking to enhance their smartphone’s sound output, this guide is designed to walk you through the process in a clear and accessible manner.
Throughout this DIY journey, you will have the opportunity to unleash your creativity, experiment with different materials, and gain valuable insights into the mechanics of speaker design. With some basic tools and a handful of affordable components, you can craft a unique and functional speaker that reflects your personal style and technical prowess.
So, roll up your sleeves, gather your materials, and get ready to embark on an exciting DIY adventure. Whether you are a seasoned DIY enthusiast or a newcomer to the world of hands-on projects, this guide is tailored to equip you with the knowledge and skills needed to construct a speaker that will elevate your audio experience. Let’s dive in and start building your very own speaker for your phone!
Tools and Materials Needed
Before diving into the construction of your DIY speaker, it’s essential to gather the necessary tools and materials. Here’s a comprehensive list of what you’ll need to complete this project:
- Cardboard or Wooden Box: The base of your speaker will require a sturdy and hollow structure to house the components.
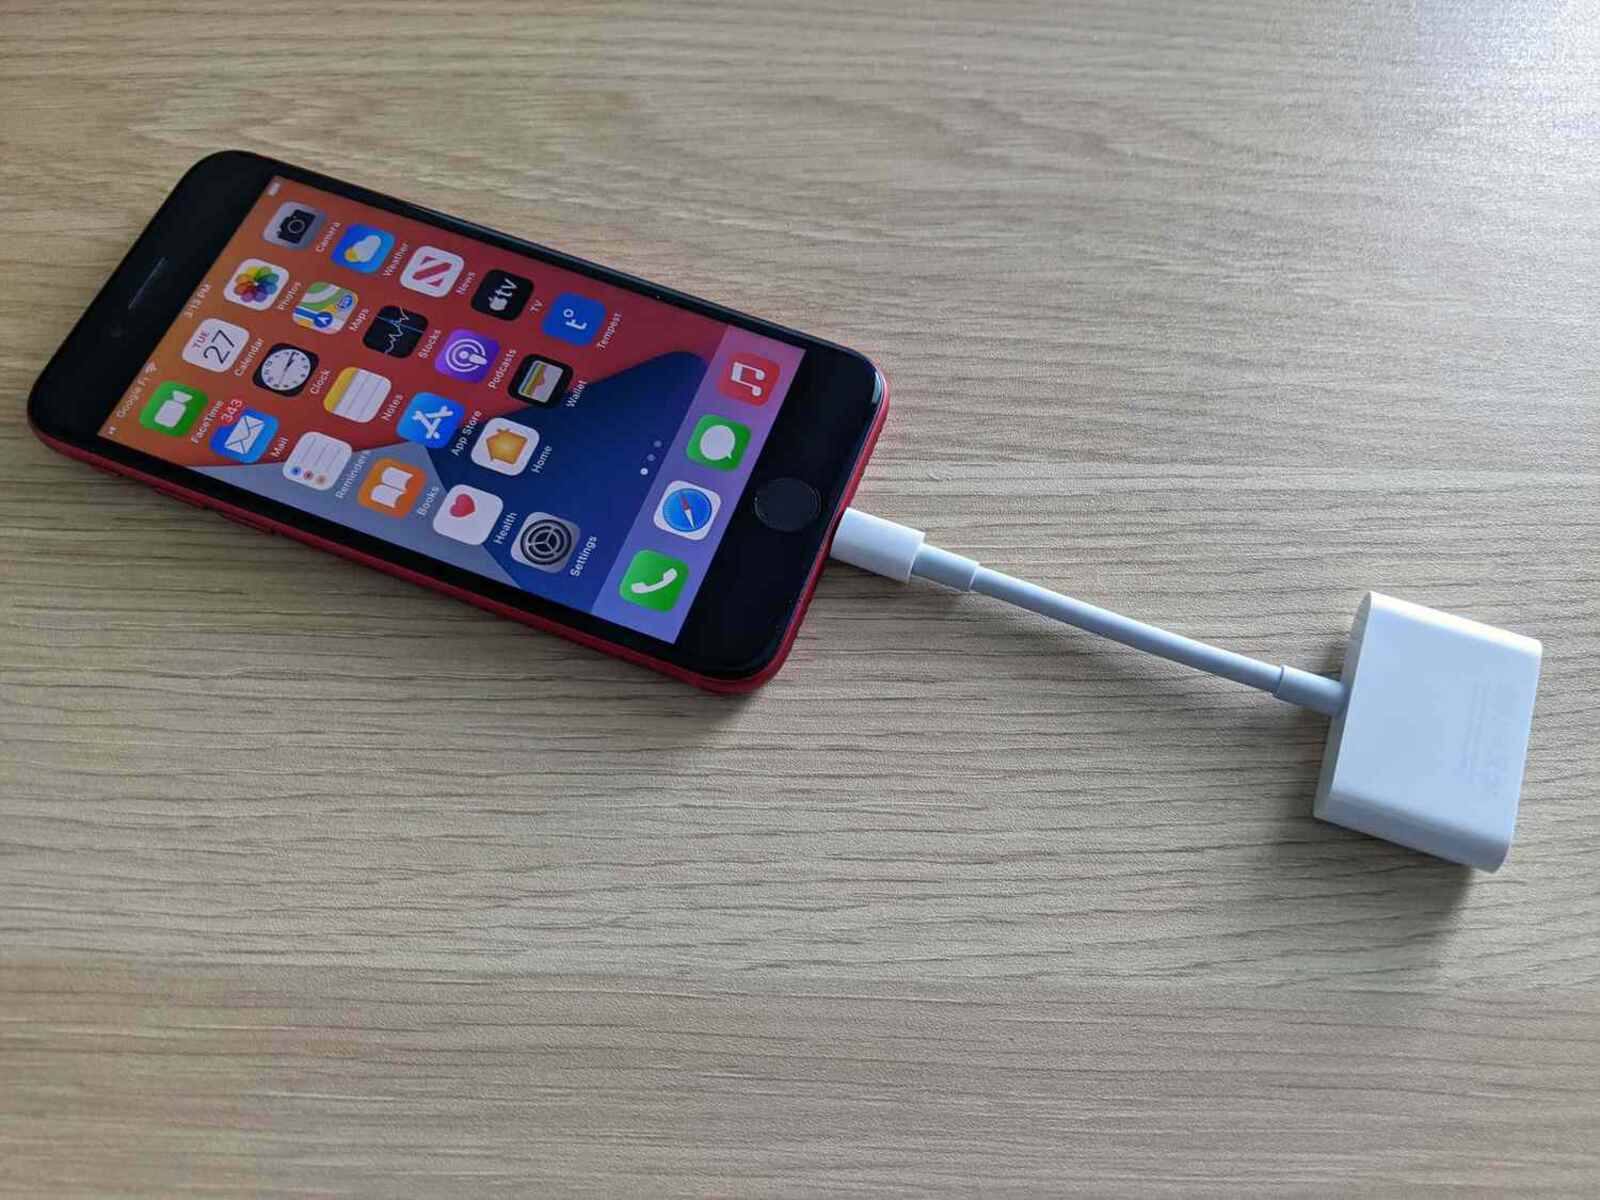
- Stereo Audio Cable: This cable will connect your phone to the speaker, transmitting the audio signal.
- Speaker Driver: The core component responsible for converting electrical signals into sound waves.
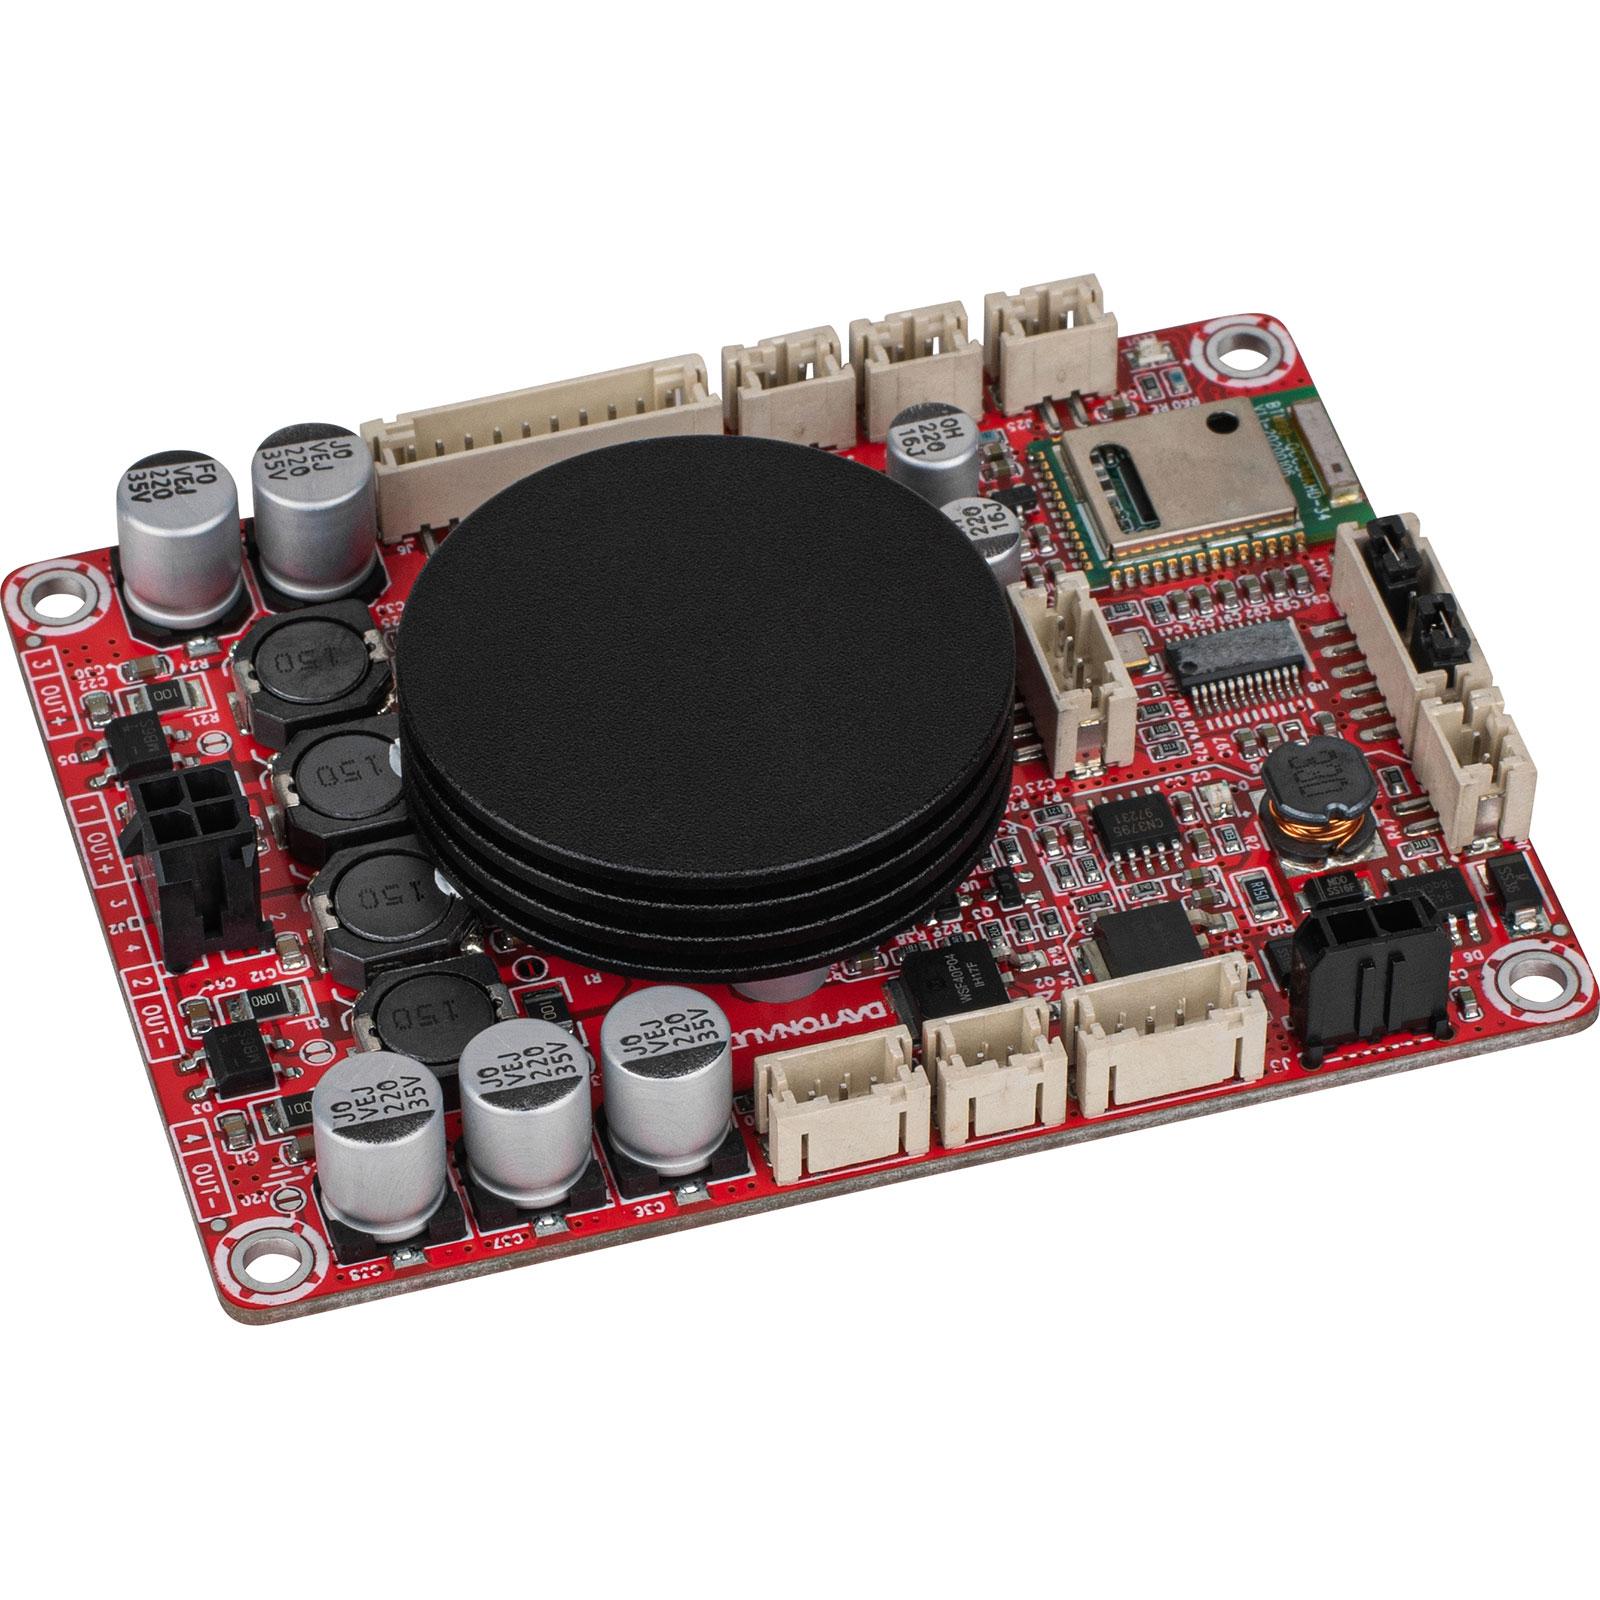
- Amplifier: To boost the audio signal and ensure adequate volume and clarity.
- Battery Pack: A portable power source to make your speaker truly mobile.
- Wire Strippers and Cutters: Essential for preparing and connecting wires.
- Soldering Iron and Solder: Used for securely joining electrical components.
- Hot Glue Gun: Ideal for affixing components and providing structural support.
- Utility Knife and Scissors: For precise cutting of materials and trimming wires.
- Electrical Tape: To insulate and secure electrical connections.
- Decorative Materials (Optional): Personalize your speaker with paint, fabric, or other decorative elements.
With these tools and materials at your disposal, you’ll be well-equipped to proceed with the construction of your DIY speaker. Feel free to get creative with the design and make adjustments based on your preferences and available resources. Once you have everything on hand, it’s time to move on to the next step: designing the speaker.
Step 1: Designing the Speaker
Designing your DIY speaker is an exciting phase that allows you to unleash your creativity while considering the functional aspects of the project. Here are the key steps to guide you through the design process:
- Conceptualization: Start by envisioning the overall look and functionality of your speaker. Consider the size, shape, and aesthetic elements that align with your personal style and practical needs. Whether you opt for a sleek, modern design or a retro-inspired look, this is the stage to let your imagination run wild.
- Component Placement: Visualize where each component will be positioned within the speaker. This includes the speaker driver, amplifier, and battery pack. Efficient placement ensures optimal sound projection and ease of access for future maintenance or modifications.
- Material Selection: Choose the material for the speaker’s housing. Whether you prefer a cardboard box for a rustic charm or a wooden enclosure for a polished finish, the material should complement the overall design and provide structural integrity.
- Portability Consideration: If portability is a priority, factor this into your design. Consider the weight and dimensions of the speaker, as well as the inclusion of a handle or carrying strap for convenience.
- Personalization: Explore opportunities to personalize your speaker. This could involve incorporating decorative elements, such as custom paint, fabric coverings, or embellishments that reflect your individuality.
By carefully considering these design elements, you can create a speaker that not only delivers impressive audio but also resonates with your personal style and preferences. Once you have finalized the design, you’re ready to move on to the next phase: gathering the components needed to bring your vision to life.
Step 2: Gathering the Components
As you embark on the journey of building your own speaker, the next crucial step is to gather the essential components that will bring your design to fruition. Here’s a detailed breakdown of the components you’ll need:
- Speaker Driver: Select a speaker driver that suits your audio requirements. Consider factors such as power handling, impedance, and frequency response to ensure it aligns with your desired sound output.
- Amplifier: Choose an amplifier that complements the specifications of your speaker driver. Ensure the amplifier provides adequate power and is compatible with your chosen power source.
- Battery Pack: Opt for a portable and rechargeable battery pack to power your speaker. Consider the battery’s capacity and voltage output to sustain extended usage.
- Audio Cable: Acquire a stereo audio cable with the appropriate connectors to link your phone to the speaker. Ensure the cable length suits your design and usage preferences.
- Enclosure Material: If you opted for a wooden or cardboard enclosure, ensure you have the necessary materials in the required dimensions. If personalization is a priority, gather any decorative materials you plan to use.
- Wire and Connectors: Obtain insulated wire of suitable gauge for connecting components. Additionally, gather connectors and terminals for secure and reliable electrical connections.
- Tools: Ensure you have the essential tools, including wire strippers, soldering iron, hot glue gun, utility knife, and scissors, to facilitate the assembly process.
- Personalization Materials (Optional): If you plan to customize the appearance of your speaker, gather any paint, fabric, or decorative elements to add a personalized touch.
With these components at your disposal, you are well-prepared to move on to the exciting phase of assembling your DIY speaker. The careful selection of components tailored to your design will lay the foundation for a unique and functional audio device that reflects your creative vision. Now, let’s delve into the assembly process and bring your speaker to life!
Step 3: Assembling the Speaker
As you transition into the assembly phase, you’ll have the opportunity to bring your meticulously designed speaker to life. Follow these step-by-step instructions to ensure a seamless assembly process:
- Prepare the Enclosure: If you’re using a cardboard or wooden box, ensure it is clean and free from any debris. If personalization is part of your design, this is the stage to apply paint, fabric, or decorative elements to the enclosure.
- Position the Components: Place the speaker driver, amplifier, and battery pack within the enclosure according to your pre-determined design. Ensure the components are securely positioned and allow for efficient wiring and accessibility.
- Wire Connections: Use wire strippers to prepare the wires for connections. Follow the wiring diagram for the speaker driver, amplifier, and power source, ensuring proper polarity and insulation with electrical tape.
- Soldering and Securing: Use a soldering iron to securely join the electrical connections. Exercise caution and follow safety guidelines when using the soldering iron. Once the connections are made, use hot glue to reinforce and insulate the soldered joints.
- Audio Cable Integration: Connect the stereo audio cable to the input of the amplifier, ensuring a secure and stable connection. This cable will serve as the link between your phone and the speaker, transmitting the audio signal.
- Power Up the Speaker: Connect the battery pack to the amplifier, ensuring the correct polarity. Power up the speaker and test the functionality of the components. Adjust the volume and assess the sound output to ensure everything is functioning as intended.
- Final Checks: Inspect the overall assembly, ensuring all components are securely positioned and the wiring is tidy and free from any potential hazards. Make any necessary adjustments to optimize the functionality and aesthetics of the speaker.
By diligently following these assembly steps, you will transform the conceptualized design into a tangible and functional speaker. The assembly phase is where your vision takes shape, and the culmination of your efforts begins to resonate audibly. With the speaker assembled and tested, you’re now ready to move on to the pivotal phase of testing the speaker’s performance.
Step 4: Testing the Speaker
As you approach the final phase of this DIY journey, it’s time to put your custom-built speaker to the test. Follow these essential steps to ensure that your speaker is delivering the sound quality and performance you envisioned:
- Audio Source Connection: Connect your smartphone or preferred audio device to the speaker using the stereo audio cable. Ensure the connection is secure and the cable length allows for convenient placement.
- Power On: Activate the speaker by turning on the power source, whether it’s a built-in battery pack or an external power supply. Verify that the power is flowing to the amplifier and speaker driver.
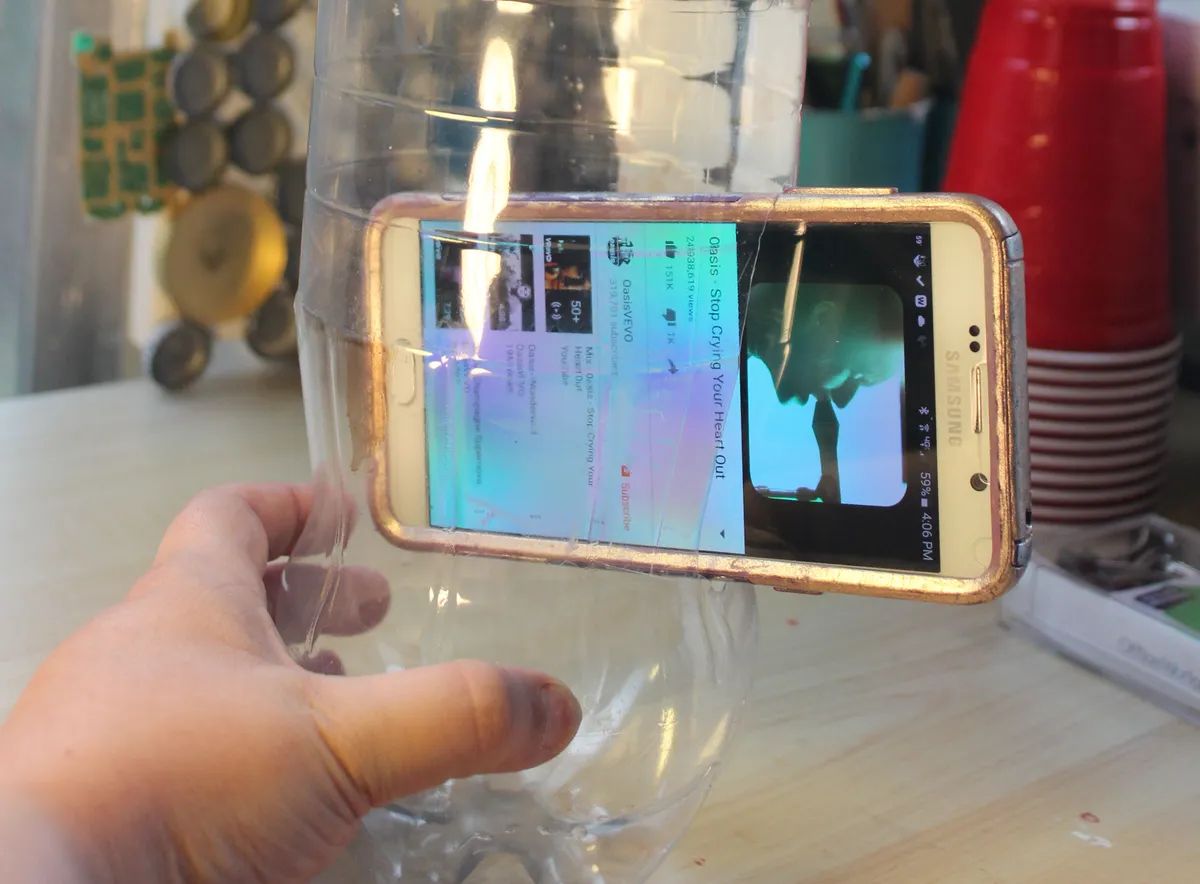
- Audio Playback: Play a variety of audio tracks through the speaker to gauge its performance. Listen for clarity, volume, and overall sound quality. Adjust the volume levels and equalization settings to optimize the audio output.
- Bass and Treble Evaluation: Assess the speaker’s ability to reproduce both low-frequency (bass) and high-frequency (treble) sounds. Pay attention to the balance and richness of the audio across the frequency spectrum.
- Portability Test: If portability was a consideration in your design, evaluate the ease of carrying the speaker and its overall mobility. Consider testing it in different environments to gauge its adaptability and performance in various settings.
- Feedback and Fine-Tuning: Gather feedback from friends or family members who can provide valuable insights into the speaker’s performance. Use their input to fine-tune the speaker’s settings and address any potential areas for improvement.
By subjecting your DIY speaker to rigorous testing, you can ensure that it meets your expectations in terms of sound quality, functionality, and design integrity. The testing phase allows you to appreciate the fruits of your labor and make any necessary adjustments to perfect the speaker’s performance. With the speaker successfully tested, you’ve now completed the comprehensive process of building and evaluating your very own custom speaker.
Conclusion
Congratulations on successfully completing the journey of building your very own custom speaker for your phone! Throughout this DIY guide, you’ve delved into the intricacies of speaker design, gathered essential components, meticulously assembled the speaker, and put it through rigorous testing. The result is a unique and functional audio device that amplifies your smartphone’s sound in a personalized and innovative manner.
By embarking on this DIY project, you’ve not only enhanced your audio experience but also gained valuable insights into the principles of sound amplification, electrical connections, and the creative process of designing and building a functional device. The hands-on nature of this endeavor has likely sparked a sense of accomplishment and ignited your passion for DIY projects and technological innovation.
Moreover, the process of designing and constructing your own speaker has provided a platform for self-expression and creativity. Whether you opted for a sleek, modern design or incorporated personal touches to reflect your individuality, your speaker is a testament to your ingenuity and technical prowess.
As you enjoy the immersive sound emanating from your custom-built speaker, take pride in the fact that you’ve ventured beyond the realm of off-the-shelf audio devices and crafted a unique solution tailored to your preferences. The skills and knowledge acquired during this project can serve as a springboard for future DIY endeavors, empowering you to explore further innovations and hands-on creations.
With your DIY speaker now ready to amplify your favorite tunes, podcasts, and audio content, you’ve not only crafted a functional device but also a conversation piece that showcases your resourcefulness and passion for audio technology. Whether it’s for personal enjoyment, sharing music with friends, or simply relishing the satisfaction of a successful DIY project, your custom speaker stands as a testament to your creativity and technical acumen.
As you continue to explore the realms of DIY innovation, remember that the skills and experiences gained from this project will continue to inspire and empower you in your future endeavors. Let the journey of building your own speaker serve as a testament to the endless possibilities that await when creativity, technology, and hands-on craftsmanship converge.