Introduction
Virtual Reality (VR) technology has been rapidly advancing, transforming the way we experience digital content. While there are many high-end VR headsets available on the market, building your own VR headset can be a rewarding and cost-effective alternative. Not only does it allow you to customize the design and features according to your preferences, but it also provides a deeper understanding of the technology behind VR.
Building your own VR headset requires some technical knowledge and access to specific tools and materials. However, with the right guidance and a bit of patience, you can create a VR headset that offers an immersive experience without breaking the bank.
In this guide, we will walk you through the step-by-step process of building your own VR headset. From choosing the appropriate display and assembling the frame to wiring the components and adding audio, we will cover all the necessary steps to complete your DIY VR headset project.
Before we dive into the details, it’s important to note that building a VR headset requires precision and attention to detail. If you are not familiar with electronics, soldering, or working with delicate components, it might be wise to seek assistance from someone with experience or consider starting with a simpler DIY project to build your skills. Safety should always be a priority, so make sure to follow all safety precautions and handle tools and materials with care.
Now, let’s get started with the tools and materials you’ll need for this exciting DIY VR headset project.
Tools and Materials Needed
Before you begin building your own VR headset, it’s essential to gather all the necessary tools and materials. Here’s a comprehensive list of what you’ll need to embark on this DIY project:
- Virtual Reality Display: Choose a high-resolution display that is compatible with your VR project. Options include small OLED displays, LCD screens, or smartphone screens.
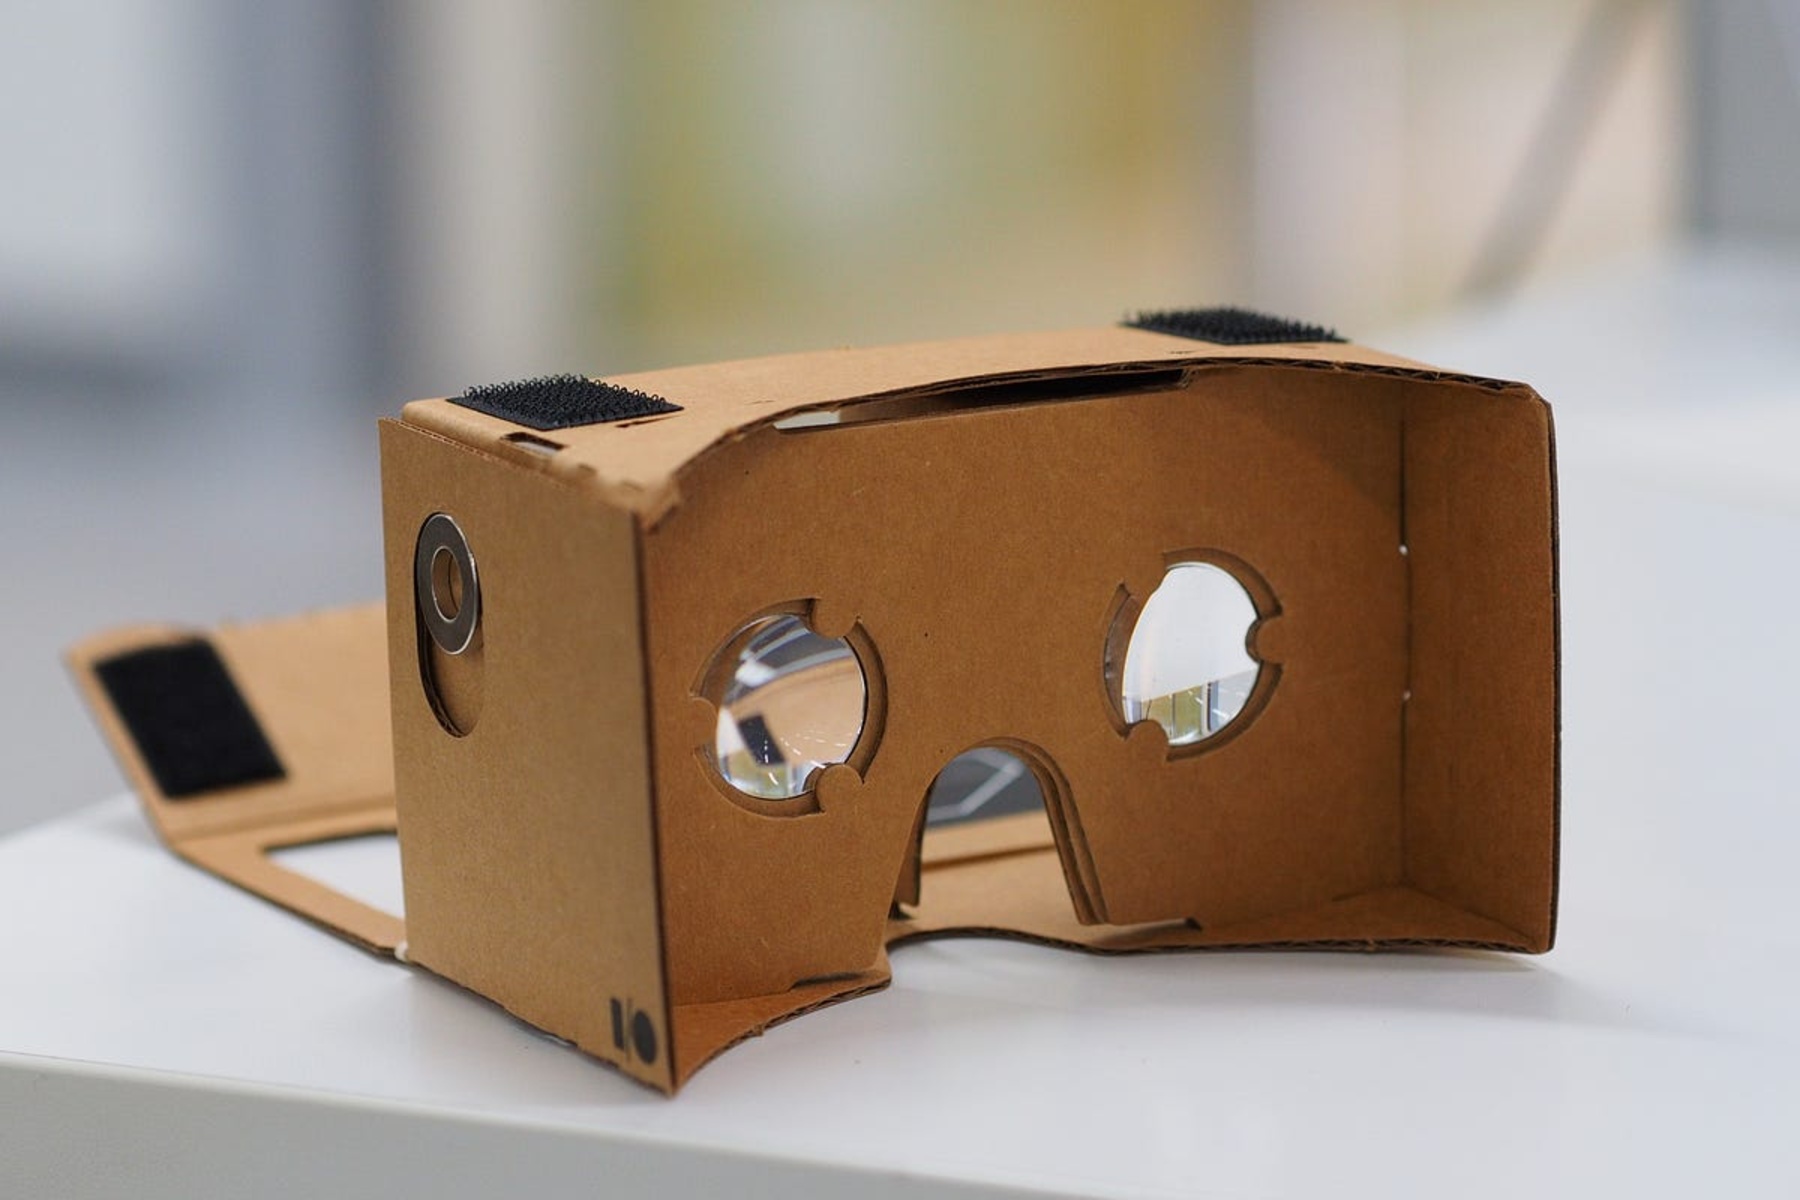
- Frame Components: Look for lightweight materials such as plastic or 3D-printed parts to construct the frame of your VR headset. You’ll need parts for the main body, faceplate, and lens housing.
- Optics: Optics play a crucial role in enhancing the VR experience. Acquire high-quality lenses that offer a wide field of view (FOV) for a more immersive effect.
- Electronics: Obtain an Arduino or similar microcontroller along with appropriate sensors, resistors, capacitors, and connecting wires. These will help with tracking motion and providing input to the VR system.
- Audio Components: Choose speakers or headphones that provide clear and immersive audio. Consider obtaining a Bluetooth module if you prefer a wireless audio experience.
- Straps and Padding: Look for comfortable and adjustable head straps to securely hold the VR headset in place during use. Additionally, foam padding or cushions will improve comfort and prevent skin irritation.
- Screwdrivers and Soldering Tools: Ensure you have a set of screwdrivers and a soldering iron with the necessary soldering accessories for assembling and connecting components.
- 3D Printing or Laser Cutting Access: If you choose to fabricate some of the parts using 3D printing or laser cutting, make arrangements to access these technologies.
These are the essential tools and materials you’ll need to build your own VR headset. It’s important to gather everything before diving into the construction process to ensure a smooth experience without any unnecessary delays.
Step 1: Choosing the Right Display
The display is one of the most critical components of a VR headset. It determines the visual quality and the level of immersion you will experience. When choosing a display for your DIY VR headset, consider the following factors:
- Resolution: Look for a display with a high resolution to achieve sharp and clear visuals. Higher resolutions, such as 1080p or even 4K, offer more detailed and realistic VR experiences.
- Refresh Rate: The refresh rate refers to how many times the display updates the image each second. Higher refresh rates, such as 90Hz or 120Hz, result in smoother motion and reduce motion sickness.
- Compatibility: Ensure that the display you choose is compatible with the other components of your VR headset. Consider factors like the interface type (HDMI, VGA, etc.) and the ease of integration with your chosen microcontroller.
- Size: The size of the display affects the field of view (FOV) you’ll experience in VR. Larger displays provide a more immersive experience by covering a wider area of your vision.
- Weight and Compactness: Opt for a display that is lightweight and compact, ensuring it is comfortable to wear for extended periods without straining your neck or causing discomfort.
Once you have considered these factors, you can explore various display options. You can use small OLED displays, LCD screens, or even repurpose smartphone screens for your DIY VR headset. Smartphone screens are particularly popular due to their high resolutions, easy availability, and compatibility with a wide range of microcontrollers.
Remember to research thoroughly, compare specifications, and read user reviews before making your selection. Consider your budget and desired level of quality to make an informed decision that best suits your needs.
Choosing the right display is the first step in building your own VR headset. Once you have made your selection, you can move on to the next steps in the construction process and start assembling the frame of your VR headset.
Step 2: Assembling the Frame
Now that you’ve selected the display for your DIY VR headset, it’s time to move on to assembling the frame. The frame serves as the structure that holds all the components together and provides support for the display and lenses. Follow these steps to assemble the frame of your VR headset:
- Prepare the Frame Components: Gather all the frame components, including the main body, faceplate, and lens housing. Ensure they are clean and free of any debris.
- Attach the Faceplate: Start by attaching the faceplate to the main body of the VR headset. Use screws or clips to secure it firmly in place. Make sure it aligns properly with the display area.
- Mount the Display: Carefully mount the chosen display onto the faceplate. Align it precisely to ensure that the display is centered and securely attached. Follow the manufacturer’s instructions for mounting and connecting the display.
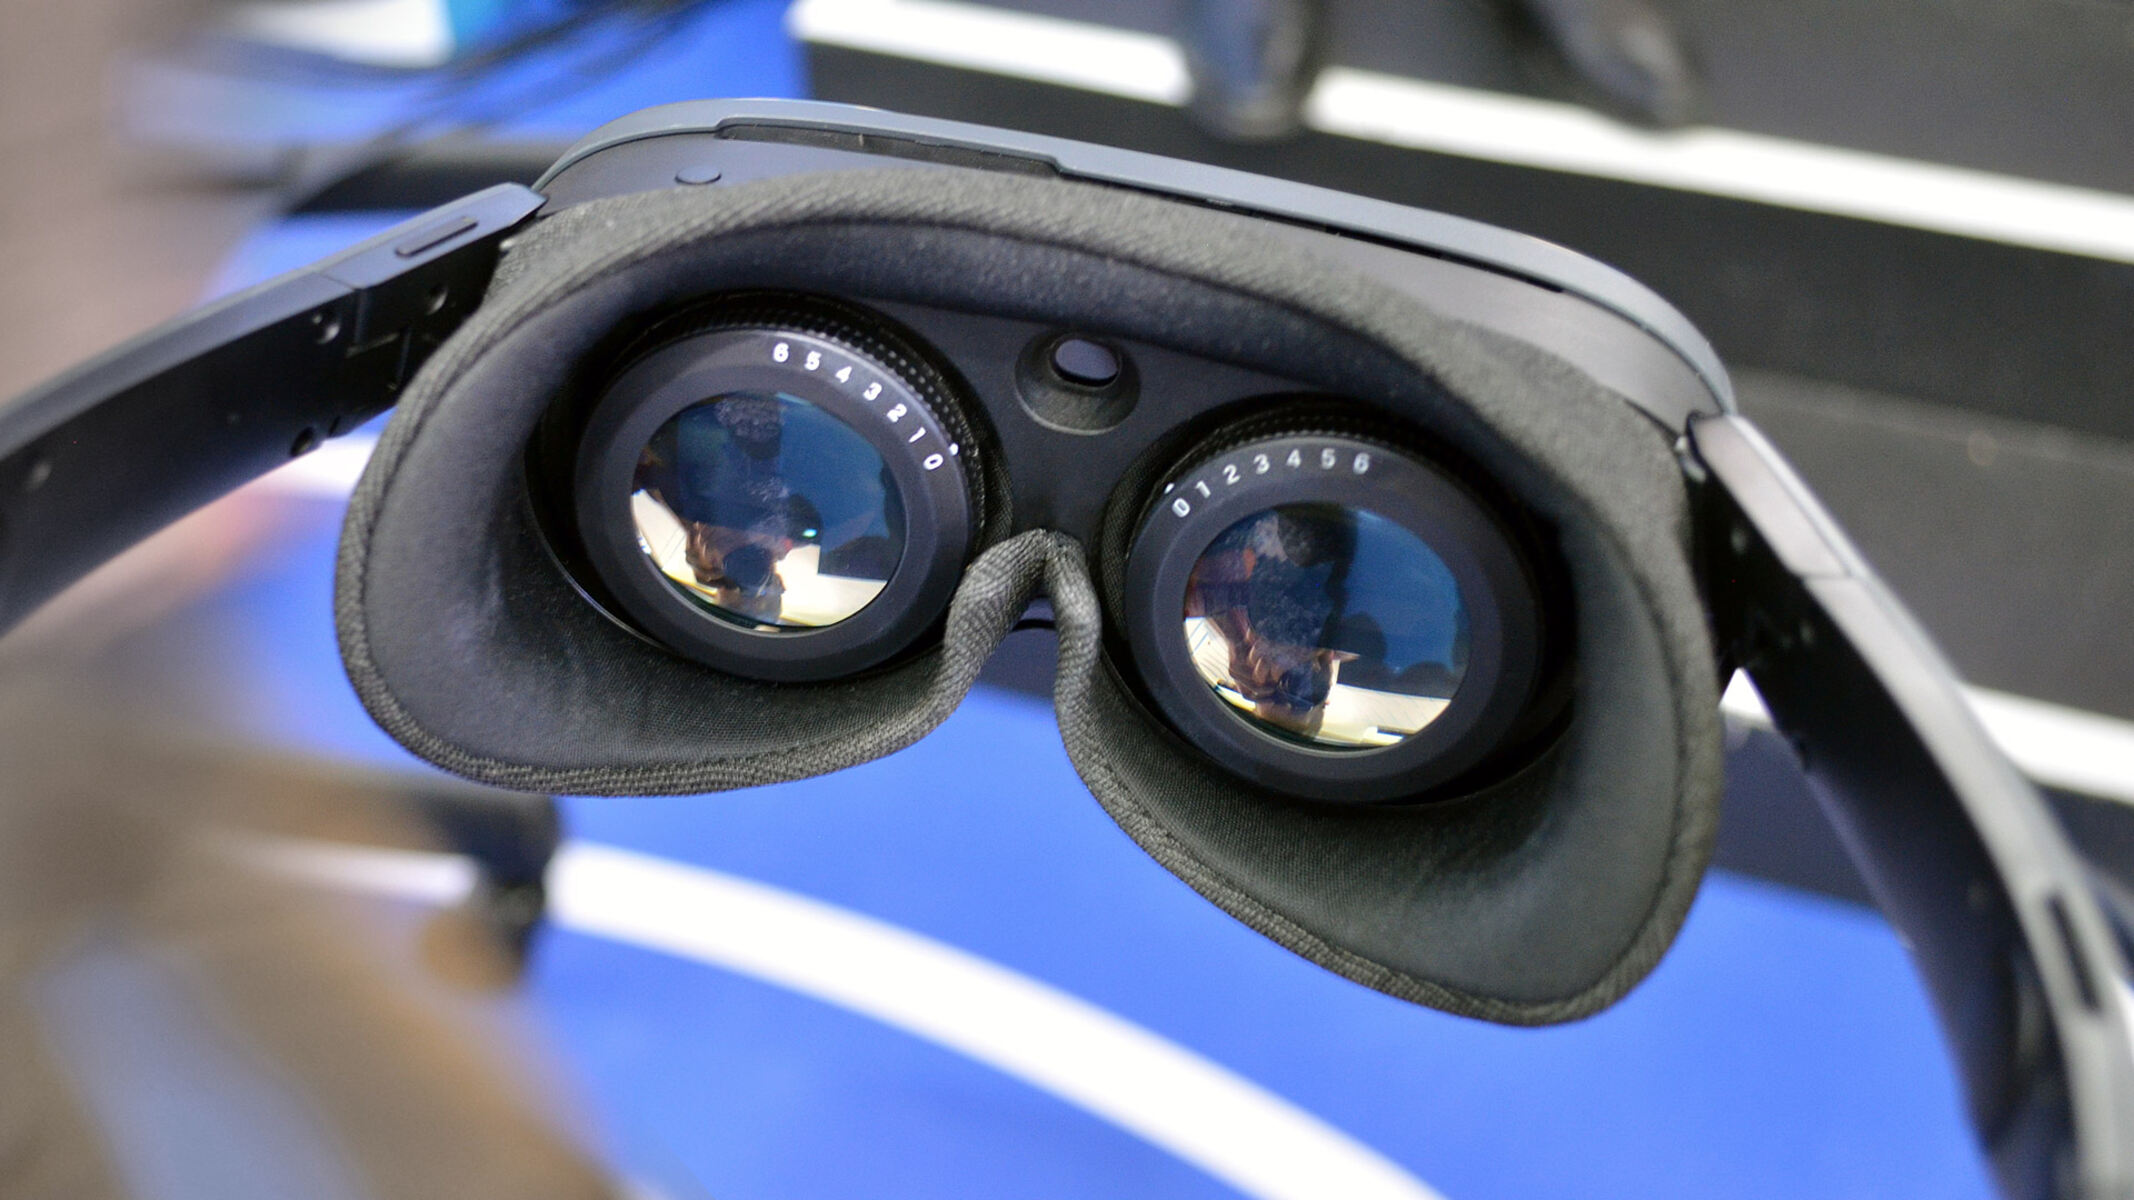
- Insert the Lenses: Place the lenses into the lens housing, ensuring they are clean and free of any scratches. Fit the lens housing onto the display area, aligning it properly with the lenses and securing it in place.
- Secure the Components: Double-check that all the components are securely attached and properly aligned. Tighten any screws or fasteners as needed, but be cautious not to overtighten and risk damaging the components.
It’s essential to take your time during the assembly process to ensure a solid and stable frame. A well-assembled frame will provide a comfortable and secure foundation for the other components of your VR headset.
Once you have completed the frame assembly, you can move on to the next steps, which involve wiring and connecting the various components of your DIY VR headset.
Step 3: Wiring and Connecting Components
After assembling the frame of your DIY VR headset, it’s time to wire and connect the various components that bring your virtual reality experience to life. This step is crucial for ensuring smooth functionality and seamless integration of all the necessary elements. Follow these steps to wire and connect the components:
- Identify the Components: Familiarize yourself with each component’s wiring requirements. This includes the display, microcontroller, sensors, and audio components.
- Soldering and Wiring: Use a soldering iron to connect wires between the components. Follow circuit diagrams, pin configurations, and datasheets for proper connections. Take care to insulate and protect the wires to prevent short circuits.
- Power Supply: Ensure that all components have a reliable power source. Connect batteries, power banks, or an external power supply to the microcontroller and other components that require power.
- Microcontroller Setup: Program and configure the microcontroller to communicate with the display, sensors, and audio components. Install the necessary libraries and follow the instructions provided by the microcontroller manufacturer.
- Audio Connections: Connect the audio components such as speakers or headphones to the microcontroller or an audio module. Ensure proper audio input/output routing to achieve high-quality sound.
- Sensor Integration: If your VR headset includes motion tracking or position sensing, connect and integrate the appropriate sensors. Follow the sensor manufacturer’s instructions to calibrate and configure them correctly.
When wiring and connecting the components, it’s crucial to double-check your work, especially for soldered connections. Ensure that all connections are secure and there are no loose wires or potential points of failure. Take your time to troubleshoot any wiring issues and test the functionality of each component as you progress through the process.
Remember to follow safety guidelines and handle electronic components with care. If you’re unsure about any aspect of the wiring and connecting process, consult online resources, forums, or seek assistance from someone with experience in electronics assembly.
With the components properly wired and connected, you’re ready to move on to the next step: Building the headstrap for your DIY VR headset.
Step 4: Building the Headstrap
The headstrap is an essential component of a VR headset as it provides stability and comfort during extended use. Building a headstrap for your DIY VR headset ensures a secure fit and allows for adjustability to accommodate different head sizes. Follow these steps to build the headstrap for your VR headset:
- Select a Headstrap Design: Determine the type of headstrap that best suits your preferences and budget. You can choose from various options, including elastic straps, adjustable bands, or even repurposing a pre-existing headband.
- Measure and Cut: Measure the required length for the headstrap based on your head circumference. Ensure that it is long enough to provide a secure fit without causing discomfort. Cut the straps accordingly.
- Attach Fasteners: Attach fasteners, such as Velcro or buckles, to the ends of the straps. These will allow you to easily adjust the headstrap and secure it in place.
- Mount the Headstrap: Depending on the design of your frame, find suitable anchor points to attach the headstrap. These anchor points should be stable and provide a balanced distribution of weight for comfortable wear.
- Test and Adjust: Put on the VR headset with the headstrap and test its fit and comfort. Make any necessary adjustments to the strap length or fastener placement for an optimal fit.
Building the headstrap ensures that your DIY VR headset stays securely in place, allowing you to fully immerse yourself in the virtual reality experience without worrying about it slipping or causing discomfort.
Remember to consider ergonomics and user comfort when constructing the headstrap. The goal is to create a custom fit that evenly distributes the weight of the VR headset across your head, minimizing strain during prolonged usage.
Step 5: Adding Audio
Adding audio to your DIY VR headset enhances the immersive experience by providing sound that complements the visual content. Whether you prefer headphones or speakers, integrating audio components into your VR headset is a crucial step. Follow these steps to add audio to your VR headset:
- Select the Audio Components: Choose the type of audio setup you desire, whether it’s headphones or speakers. Consider factors such as sound quality, comfort, and compatibility with your chosen microcontroller.
- Wiring and Connection: Depending on your chosen audio components, wire and connect them to the microcontroller or an audio module. Ensure proper routing of audio signals and follow the manufacturer’s instructions for proper connections.
- Audio Calibration: Adjust the audio settings on the microcontroller or audio module to achieve the desired sound quality. Experiment with different audio profiles and equalizer settings to enhance the VR experience.
- Placement and Attachment: Determine the ideal placement for the audio components within your VR headset. For headphones, ensure they are securely attached and provide a comfortable fit. For speakers, find suitable locations within the frame for optimal sound output.
- Test Audio Performance: Put on your VR headset and test the audio performance. Make any necessary adjustments to volume levels, audio balance, or positioning of the audio components to achieve the best audio experience.
Adding audio to your DIY VR headset brings another layer of immersion to your virtual reality adventures. Whether you’re in a virtual gaming world or exploring interactive experiences, high-quality audio enhances the overall sense of presence and realism.
Remember to consider the comfort and ergonomics of the audio components when integrating them into your VR headset. Ensure they do not obstruct or interfere with other components and that they are positioned optimally for the best audio experience.
Step 6: Install and Configure Tracking Sensors
Installing and configuring tracking sensors is an important step to enable accurate and responsive tracking of your movements within the virtual environment. These sensors capture data on your head movements and translate them into corresponding movements in the VR world. Follow these steps to install and configure tracking sensors for your DIY VR headset:
- Choose Tracking Sensor Technology: Decide on the type of tracking technology you want to implement. Options include infrared (IR) sensors, gyroscope- or accelerometer-based sensors, or even camera-based tracking systems.
- Select Sensor Placement: Determine the optimal placement of the tracking sensors on your VR headset. Depending on the chosen technology, sensors could be mounted on the front, sides, or back of the frame.
- Secure Sensor Attachments: Use adhesive, mounting brackets, or 3D-printed holders to secure the sensors to the VR headset. Ensure they are firmly attached and positioned to accurately capture your movements.
- Wiring and Connection: Connect the tracking sensors to the microcontroller or tracking module using the appropriate wiring and connectors. Follow the manufacturer’s instructions for proper wiring and hookup.
- Calibration and Configuration: Install the necessary software or libraries provided by the sensor manufacturer. Follow the calibration and configuration instructions to ensure accurate tracking data and adjust sensitivity settings if needed.
- Test the Tracking: Put on your VR headset and move your head around to test the tracking accuracy. Make any necessary adjustments to sensor placement or configuration settings to improve tracking performance.
Installing and configuring tracking sensors is crucial for a fully immersive VR experience. Accurate tracking allows you to interact with the virtual environment more fluidly and enhances the sense of presence within the VR world.
Keep in mind that different tracking technologies have their own strengths and limitations. Research each option thoroughly and experiment with various configurations to find the tracking system that best suits your needs and provides the most reliable and responsive tracking experience.
With the tracking sensors installed and configured, you’re ready for the final step: the assembly and testing of your completed DIY VR headset.
Step 7: Final Assembly and Testing
Congratulations! You’ve reached the final step of building your DIY VR headset. In this step, you will assemble all the components you’ve prepared and test the functionality of your completed VR headset. Follow these steps to complete the final assembly and testing:
- Gather All Components: Ensure you have all the components, including the frame with the display and lenses, wired and connected electronics, the headstrap, audio components, and tracking sensors.
- Check Connections: Double-check all the wiring connections to ensure they are secure and properly connected. Make sure there are no loose wires or potential points of failure.
- Attach the Headstrap: Fasten the headstrap to the frame, ensuring a snug and comfortable fit. Adjust the straps to your head size and preferences for a secure and stable wearing experience.
- Position the Audio Components: Place the audio components in their designated spots within the frame, whether it’s headphones or speakers. Ensure they are securely positioned and provide optimal audio output.
- Mount the Tracking Sensors: Attach the tracking sensors to their designated locations on the VR headset frame. Ensure they are firmly attached and properly aligned to accurately capture your movements.
- Test the VR Experience: Put on your DIY VR headset and activate the system. Test the display, audio, and tracking functionalities by engaging with virtual reality applications, games, or experiences.
- Make Adjustments if Necessary: Based on your testing, make any necessary adjustments to improve comfort, audio quality, or tracking accuracy. Fine-tune the settings and configurations as needed to maximize your VR experience.
The final assembly and testing stage is where you bring all the components together to create a functional DIY VR headset. It’s crucial to pay attention to details and fine-tune the setup to ensure the best possible VR experience.
Remember to take breaks and rest periodically during the testing phase, especially if you plan to wear the VR headset for an extended period. Prioritize comfort, safety, and adjustability to make the most of your DIY VR headset.
Once you are satisfied with your DIY VR headset’s functionality and performance, it’s time to enjoy the immersive world of virtual reality that you have created!
Conclusion
Congratulations on successfully building your own DIY VR headset! Throughout this guide, we have covered the step-by-step process of creating a customized virtual reality experience. From selecting the right display to assembling the frame, wiring the components, adding audio, installing and configuring tracking sensors, and completing the final assembly, you’ve gained insights into the intricacies of building a VR headset from scratch.
Building your own VR headset not only provides a cost-effective alternative to commercial options but also grants you the flexibility to customize and personalize your VR experience. By understanding the components and technology behind VR, you have developed valuable skills in electronics, wiring, and assembly.
During the building process, it’s important to prioritize safety precautions and attention to detail. Don’t hesitate to seek assistance or guidance if you encounter any challenges or difficulties along the way. Remember to test and adjust your DIY VR headset to ensure optimal functionality, comfort, and performance.
Now that you have completed your DIY VR headset, it’s time to explore the vast possibilities of virtual reality. Immerse yourself in breathtaking virtual worlds, engage in interactive experiences, and unlock new dimensions of entertainment and education.
Building a VR headset is just the beginning. As technology advances, there will always be room for further exploration and customization. Take the knowledge gained from this project and continue to refine and enhance your VR headset in the future.
Enjoy your journey into the world of virtual reality and let your creativity and imagination thrive within the limitless possibilities of this immersive technology.