Introduction
Building your own AV (audio-video) receiver can be a rewarding and cost-effective endeavor. An AV receiver serves as the central hub for your home entertainment system, combining audio amplification, video processing, and connectivity features. By assembling your own AV receiver, you can customize it to meet your specific needs and preferences, while also gaining a deeper understanding of its inner workings.
In this guide, we will walk through the process of building an AV receiver, from understanding the essential components to assembling and testing the system. Whether you are an audio enthusiast, a DIY hobbyist, or simply looking to create a personalized home entertainment setup, this step-by-step guide will provide you with the knowledge and confidence to embark on this exciting project.
Building an AV receiver from scratch may seem daunting at first, but with the right guidance and a bit of patience, it can be a highly rewarding experience. Not only will you have a sense of accomplishment from creating a custom audio-video solution, but you will also gain valuable insights into the functionality and intricacies of AV technology.
Throughout this guide, we will explore the key components required for an AV receiver, delve into the process of selecting the right components for your setup, and provide detailed instructions for assembling and testing your DIY AV receiver. By the end of this journey, you will be equipped with the knowledge and skills to create a high-quality, tailor-made AV receiver that suits your unique audio and video preferences. Let's dive in and discover the exciting world of building an AV receiver from the ground up.
Understanding the Components
Before embarking on the construction of an AV receiver, it is essential to have a comprehensive understanding of the key components that make up this integral part of a home entertainment system. Each component plays a crucial role in delivering high-quality audio and video performance, and knowing their functions will guide you in selecting the right parts for your DIY receiver.
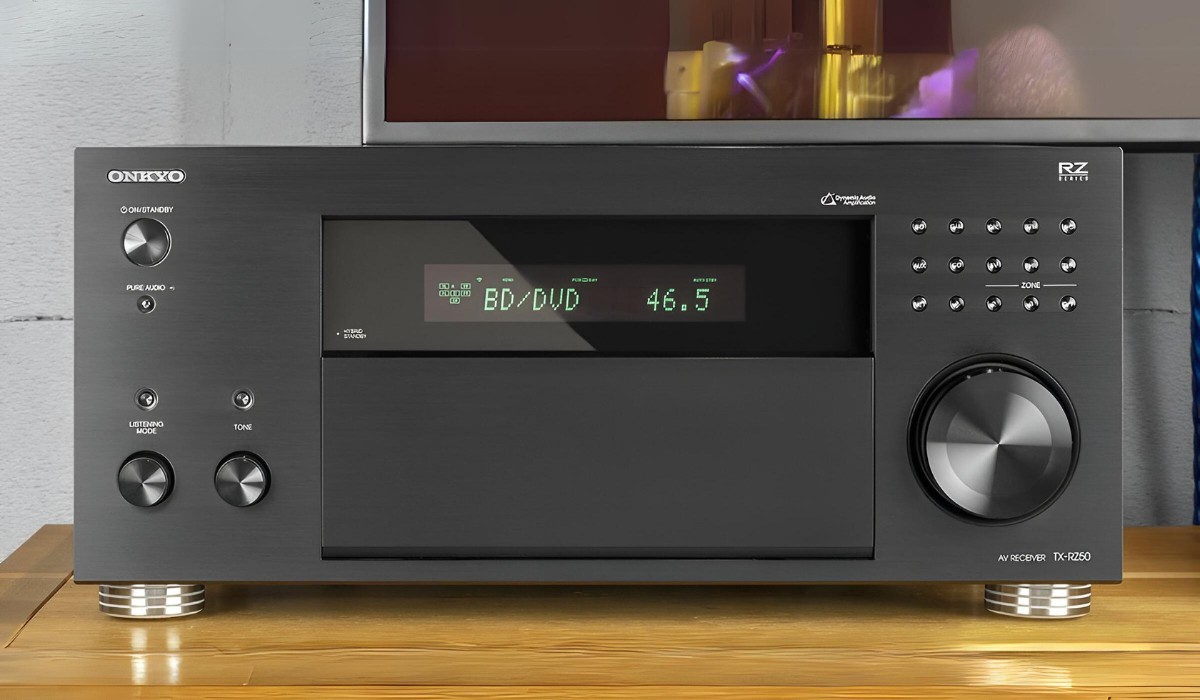
Main Processor: The main processor, often referred to as the heart of the AV receiver, handles audio and video signal processing, decoding, and distribution. It is responsible for managing various audio formats, video resolutions, and input/output connections, providing the foundation for seamless integration of multiple media sources.
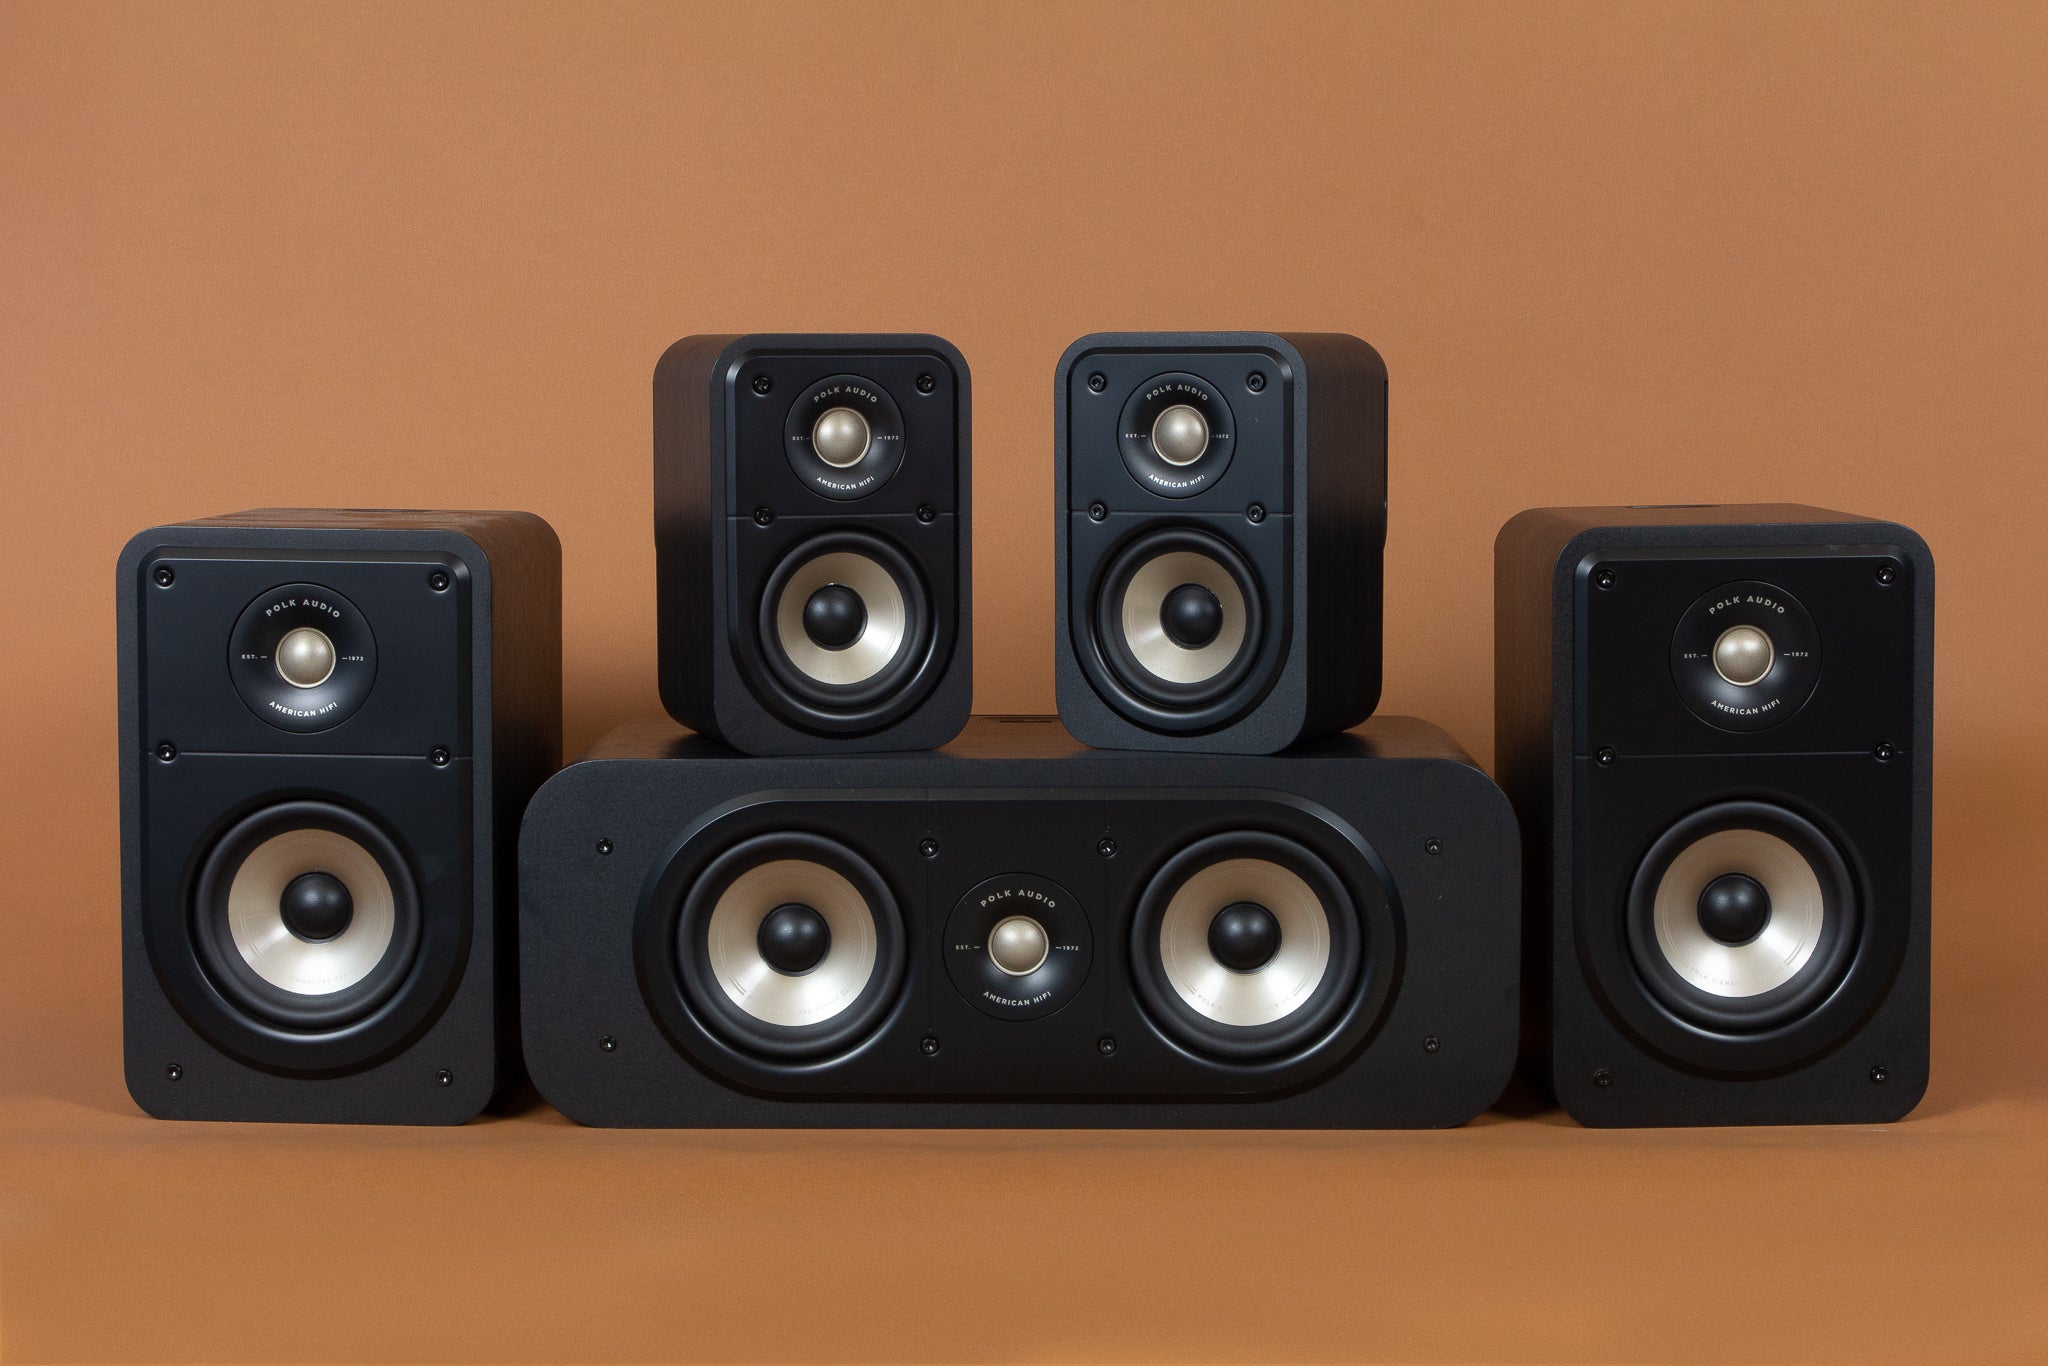
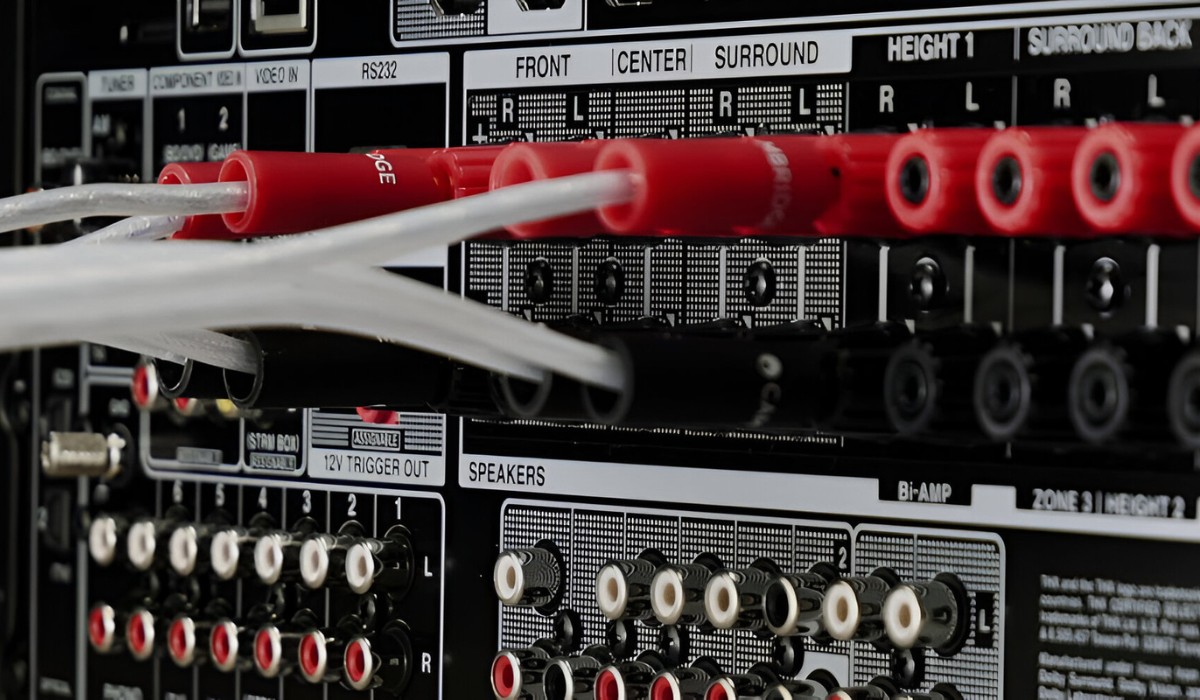
Amplifier Section: The amplifier section is responsible for powering the speakers and delivering audio signals with the desired volume and clarity. It consists of multiple channels, each dedicated to driving specific speakers in a surround sound setup, such as front, center, surround, and subwoofer channels.
Audio Decoders: These specialized components decode audio signals encoded in various formats, including Dolby Atmos, DTS:X, and other surround sound technologies. They ensure that the AV receiver can process and reproduce immersive, multi-channel audio content with precision and fidelity.
Video Processing Unit: The video processing unit manages the incoming video signals, performing tasks such as upscaling, color calibration, and format conversion to ensure optimal visual output on the connected display devices. It is crucial for maintaining high-quality video performance across different sources and display resolutions.
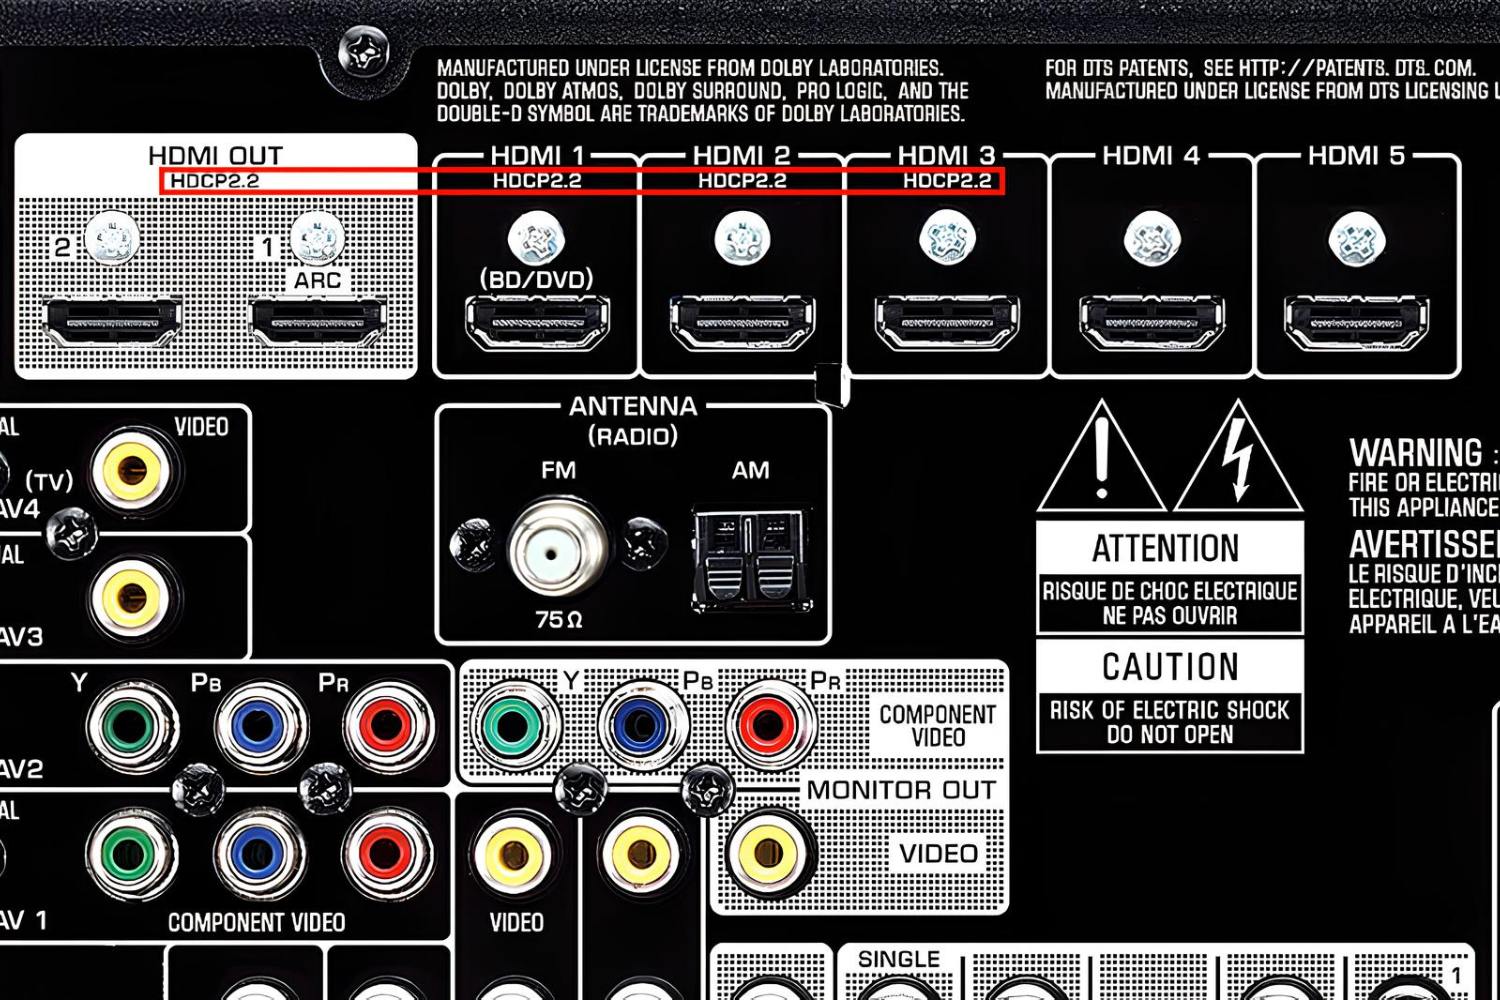
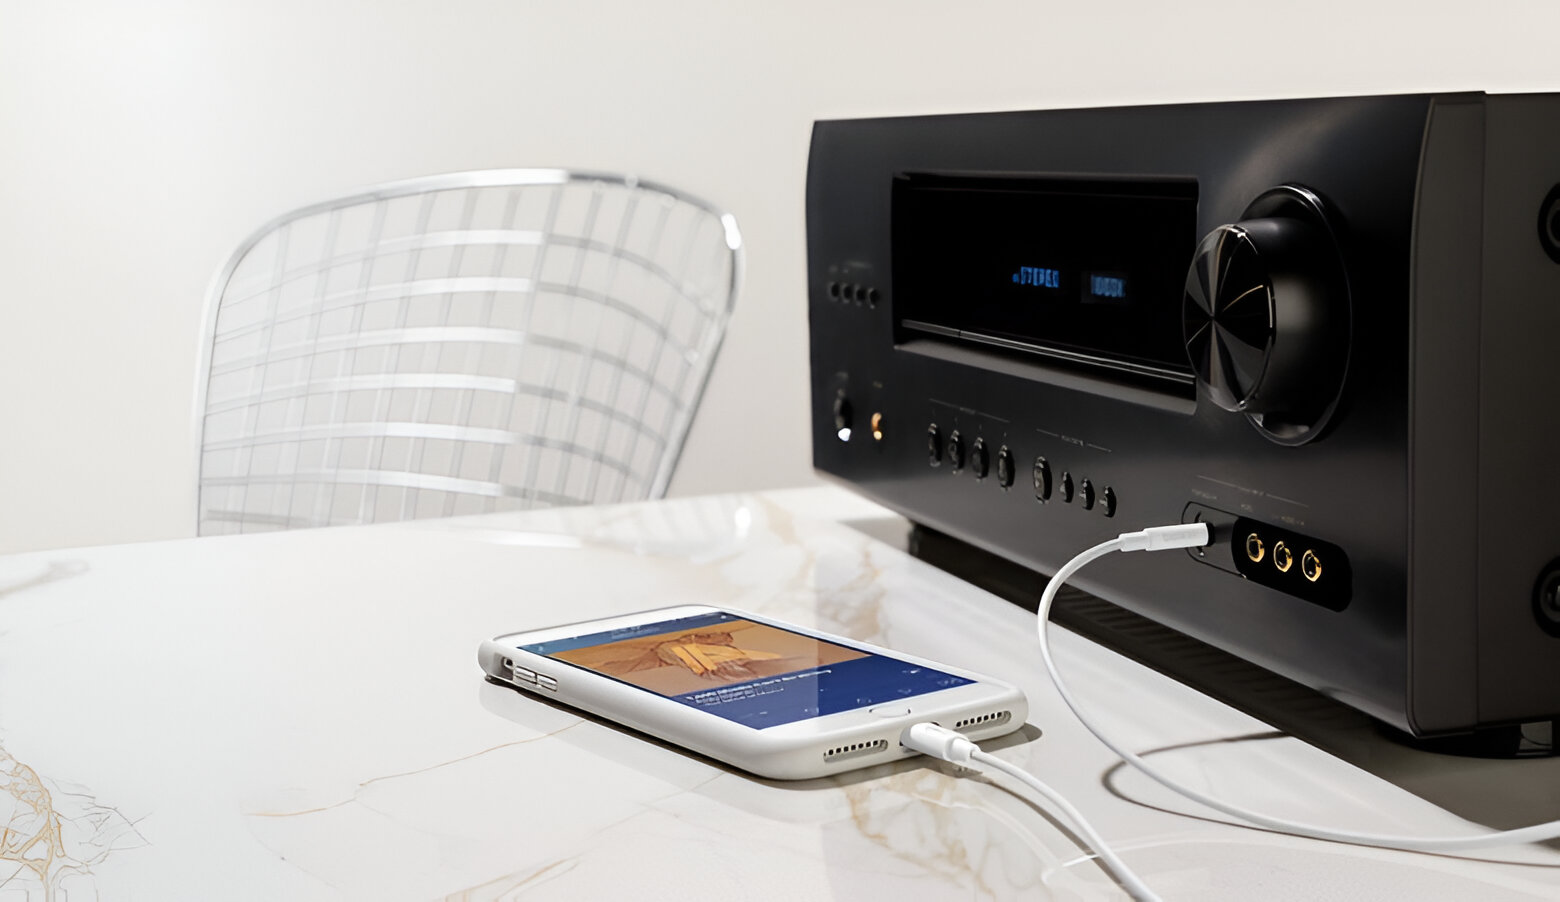
Input/Output Interfaces: These interfaces encompass a variety of connections, including HDMI, optical, coaxial, and analog audio/video inputs and outputs. They enable seamless connectivity with external devices such as Blu-ray players, gaming consoles, set-top boxes, and televisions, facilitating the integration of diverse audio and video sources into the AV receiver.
By familiarizing yourself with the essential components of an AV receiver, you can gain a clearer understanding of their roles and functionalities, paving the way for informed decision-making when selecting the components for your DIY project. With this knowledge in hand, you are ready to delve into the process of choosing the right components to build a custom AV receiver that aligns with your audio and video preferences.
Choosing the Right Components
When it comes to building an AV receiver, the selection of components is a critical step that directly influences the performance, compatibility, and versatility of the final system. By carefully choosing the right components, you can tailor the AV receiver to meet your specific audio and video requirements while ensuring seamless integration with your existing home entertainment setup.
Compatibility and Integration: Consider the compatibility of each component with the rest of the system. Ensure that the main processor, amplifier section, audio decoders, and video processing unit are compatible with one another, supporting the audio and video formats you intend to utilize. Additionally, verify that the input/output interfaces align with the connectivity needs of your media devices.
Audio and Video Features: Assess the audio and video capabilities of the components. Look for features such as support for high-resolution audio formats, advanced surround sound processing, 4K and HDR video pass-through, and upscaling capabilities. These features contribute to an immersive and visually stunning home theater experience.
Channel Configuration: Determine the desired channel configuration based on your speaker setup and room size. Whether you opt for a 5.1, 7.1, or more complex surround sound layout, ensure that the amplifier section and audio decoders support the required number of channels to drive your speakers effectively.
Build Quality and Reliability: Prioritize components known for their build quality and reliability. Look for reputable brands and read user reviews to gauge the performance and durability of the components. Investing in high-quality parts can contribute to the longevity and stability of your DIY AV receiver.
Future Expansion and Upgradability: Anticipate future expansion and upgradability options. Select components that offer flexibility for future enhancements, such as additional channels, advanced audio processing capabilities, and connectivity for emerging audio and video technologies. This forward-looking approach can future-proof your AV receiver.
By carefully evaluating these factors and conducting thorough research on the available components, you can assemble a cohesive and high-performing AV receiver tailored to your specific preferences and entertainment needs. With the right components in hand, you are ready to embark on the exciting process of assembling your DIY AV receiver and bringing your personalized home entertainment system to life.
Assembling the AV Receiver
Assembling your DIY AV receiver involves carefully integrating the selected components into a cohesive and functional system. This process requires attention to detail, precision, and a methodical approach to ensure that each part is interconnected correctly, and the overall setup operates seamlessly. Let’s explore the essential steps involved in assembling an AV receiver from the ground up.
- Component Placement: Begin by identifying the optimal placement for each component within the AV receiver chassis or housing. Consider factors such as heat dissipation, cable routing, and accessibility for future maintenance. Securely mount the main processor, amplifier section, audio decoders, and video processing unit in their designated positions.
- Power and Signal Connections: Establish power and signal connections between the components, adhering to the manufacturer’s guidelines and specifications. Ensure that power cables, audio interconnects, and video cables are routed neatly and organized to minimize interference and signal degradation.
- Cooling and Ventilation: Pay attention to the cooling and ventilation requirements of the components. Proper airflow and cooling mechanisms, such as fans or heatsinks, are essential to prevent overheating and maintain the optimal operating conditions for the AV receiver.
- Chassis Grounding: Implement effective chassis grounding to mitigate the risk of electrical interference and ensure electrical safety. Grounding points should be established in accordance with industry standards and best practices for audio-video equipment.
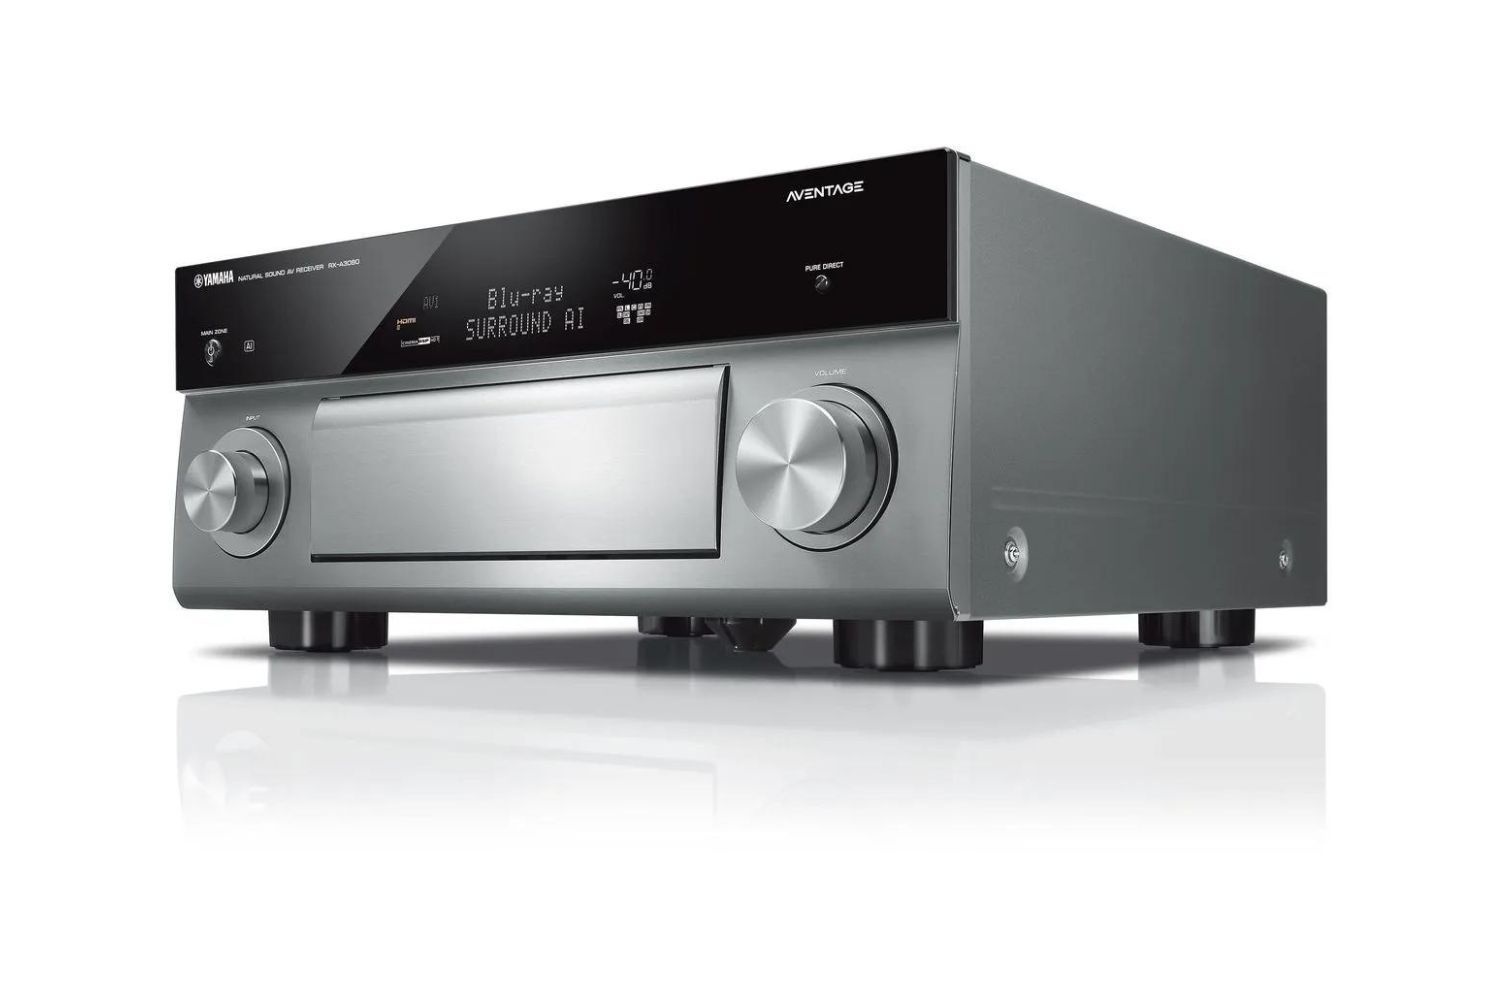
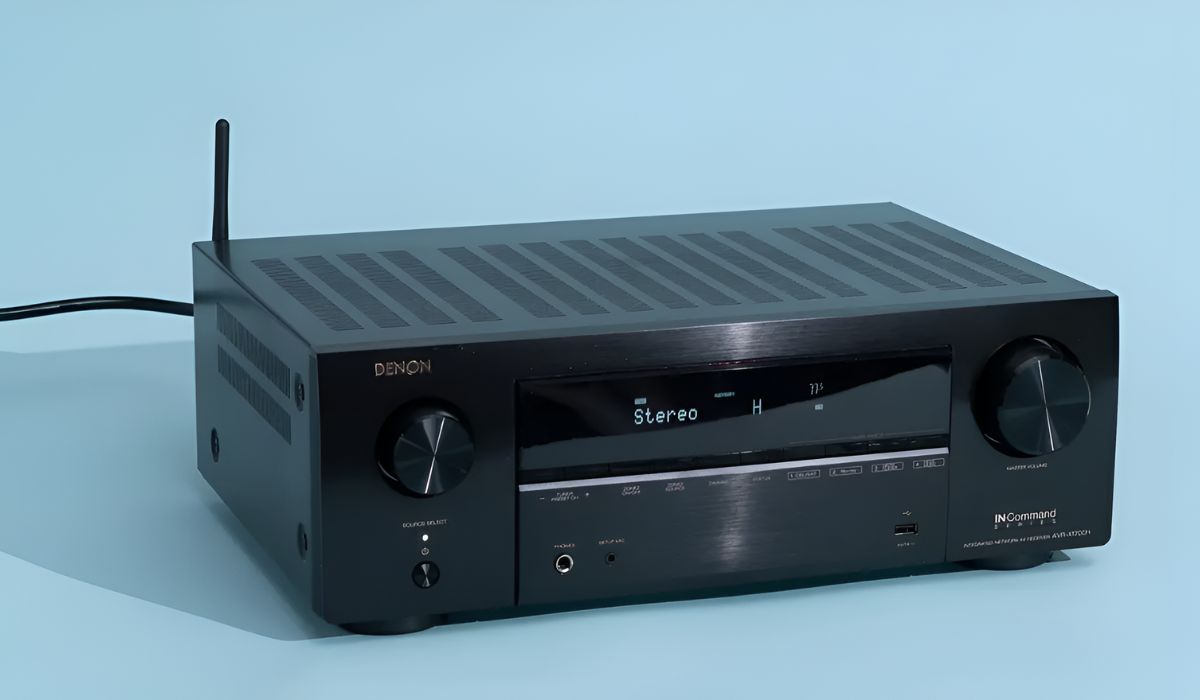
- Front Panel and Controls: Install and configure the front panel display, user interface controls, and input selection mechanisms. These elements contribute to the user experience and accessibility of the AV receiver, allowing for intuitive operation and control of audio and video settings.
- Testing and Initial Power-Up: Conduct thorough testing of the assembled components before the initial power-up. Verify the integrity of power connections, signal pathways, and control functionalities. Address any anomalies or discrepancies to ensure a smooth and safe power-up process.
By following these steps and exercising care and precision during the assembly process, you can bring together the individual components of your DIY AV receiver to create a unified and functional audio-video system. Each step contributes to the overall performance, reliability, and user-friendliness of the assembled AV receiver, setting the stage for an immersive and tailored home entertainment experience.
Testing and Troubleshooting
Upon completing the assembly of your DIY AV receiver, thorough testing and troubleshooting are essential to ensure that the system functions as intended and delivers the expected audio and video performance. The testing phase involves a series of checks, verifications, and adjustments to identify and resolve any potential issues or inconsistencies in the system’s operation.
- Functional Testing: Initiate functional testing by powering up the AV receiver and verifying the basic functionalities of the audio and video components. Confirm that the main processor, amplifier section, audio decoders, and video processing unit respond as expected, and that the input/output interfaces facilitate seamless connectivity with external devices.
- Audio Calibration: Calibrate the audio settings and speaker configurations to optimize the sound output for your listening environment. Utilize built-in calibration tools or external audio measurement devices to ensure balanced sound distribution, accurate channel levels, and proper speaker integration.
- Video Performance Evaluation: Assess the video performance by testing various video sources and resolutions. Verify that the video processing unit effectively processes and displays content, maintaining color accuracy, resolution integrity, and compatibility with different display devices.
- Signal Integrity Checks: Perform signal integrity checks to identify and address potential signal degradation, noise interference, or connectivity issues. Inspect the quality of audio and video signals at different input and output points, ensuring that the system maintains high fidelity and signal integrity throughout.
- Heat and Power Management: Monitor the temperature and power consumption of the AV receiver during extended operation. Ensure that the cooling mechanisms effectively dissipate heat, and that the power supply functions within safe operating parameters to prevent overheating and component stress.
- Troubleshooting and Resolution: If any issues or irregularities are detected during testing, systematically troubleshoot and address them. Identify potential causes of malfunctions, such as loose connections, configuration errors, or component compatibility issues, and implement corrective measures to resolve the issues.
Through comprehensive testing and meticulous troubleshooting, you can fine-tune the performance and reliability of your DIY AV receiver, ensuring that it meets your expectations for audio and video quality, system stability, and seamless integration with your home entertainment setup. The testing phase serves as a critical checkpoint to validate the functionality and performance of the assembled AV receiver, setting the stage for a rewarding and immersive home theater experience.
Final Thoughts
Embarking on the journey of building your own AV receiver is a testament to your passion for audio and video technology, as well as your desire to create a personalized home entertainment experience. As you reach the culmination of this DIY project, it’s important to reflect on the knowledge gained, the skills honed, and the excitement of bringing a custom AV receiver to life.
Throughout the process of understanding the components, choosing the right parts, assembling the system, and meticulously testing its performance, you have delved into the intricacies of audio-video technology, honed your problem-solving abilities, and gained a deeper appreciation for the craftsmanship behind a high-quality AV receiver.
By crafting a DIY AV receiver, you have tailored a home entertainment solution to your unique preferences, whether it’s immersive surround sound for cinematic experiences, high-fidelity audio for music aficionados, or seamless connectivity for a diverse range of media sources. The satisfaction of creating a system that aligns with your specific audio and video needs is a testament to your dedication and ingenuity.
Moreover, the journey of building an AV receiver extends beyond the technical aspects. It embodies the spirit of exploration, creativity, and the joy of hands-on craftsmanship. As you fine-tune the audio calibration, troubleshoot any challenges, and revel in the immersive sound and visuals that your DIY receiver produces, you are experiencing the fulfillment of a project that combines technical expertise with a personal touch.
As you integrate your DIY AV receiver into your home entertainment setup, it becomes more than just a collection of components—it becomes a reflection of your passion for audio and video, your commitment to craftsmanship, and your dedication to creating a tailored experience for yourself and others to enjoy.
With your DIY AV receiver as the centerpiece of your home entertainment system, you have not only built a functional audio-video solution but also cultivated a deeper connection to the technology that enriches your daily life. The journey of building an AV receiver has empowered you to shape your audio and video experiences, and the knowledge and skills gained along the way will continue to inspire your exploration of the ever-evolving world of home entertainment technology.