Introduction
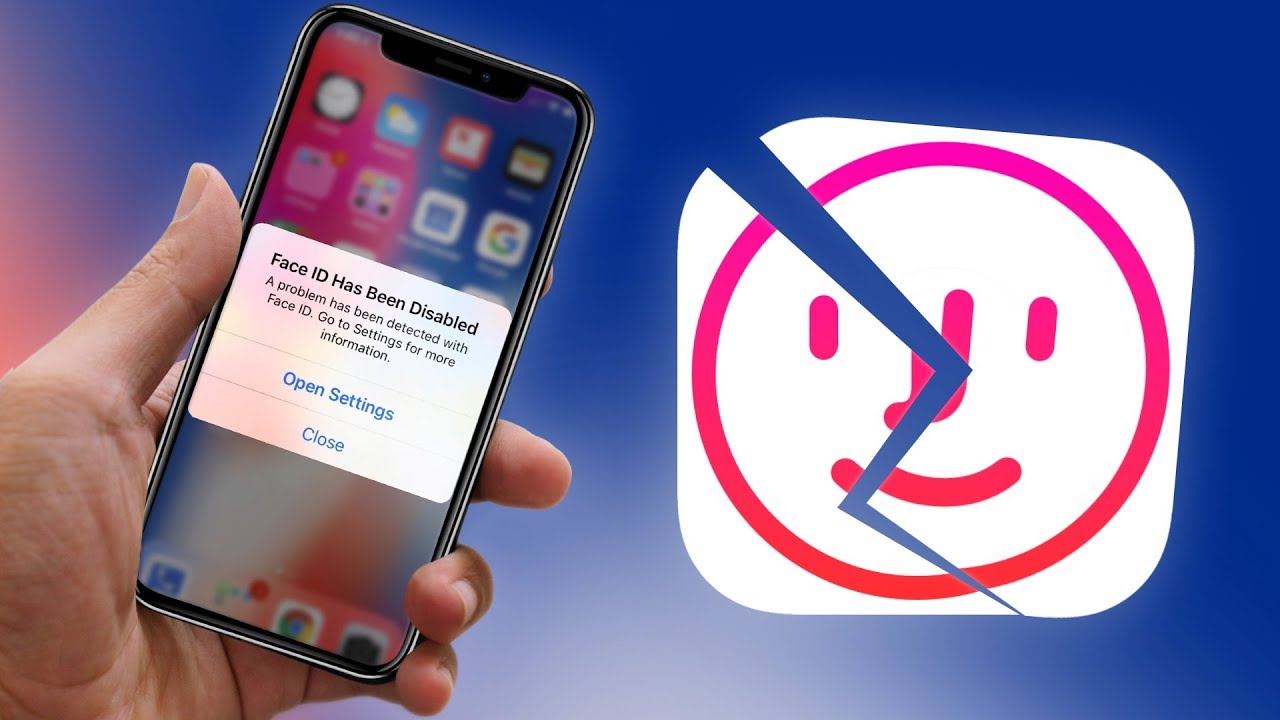
Face ID has become an integral part of our daily lives, offering a seamless and secure way to unlock our devices, authorize payments, and access various applications. However, accidents happen, and sometimes, our beloved devices are exposed to water damage. When this happens, the Face ID feature can be affected, leading to functionality issues. But don’t worry, in this article, we will guide you through the steps to fix Face ID after water damage.
Water damage can be detrimental to electronic devices, especially delicate components like the TrueDepth camera system responsible for Face ID recognition. If your iPhone or iPad has been exposed to water or any other liquid, it is crucial to take immediate action to prevent further damage. By following the right steps, you can increase the chances of restoring the Face ID functionality.
Before we dive into the solutions, it is essential to understand the importance of swift action. When water enters your device, it can cause corrosion and short circuits, potentially damaging the internal components. Therefore, the quicker you address the water damage, the higher the chances of salvaging the Face ID feature and preventing further issues with your device.
In the next sections, we will outline the step-by-step process to fix Face ID after water damage. We will explore methods to dry the device, avoid additional damage, and provide helpful tips to expedite the recovery process. However, it is important to note that these solutions are general guidelines, and the success of fixing Face ID may vary depending on the severity of the water damage and the specific device model.
Step 1: Dry the device immediately
When your device comes into contact with water, the first and most crucial step is to remove any excess moisture as quickly as possible. The longer water remains in contact with the internal components, the higher the risk of permanent damage and functionality issues with Face ID.
Start by gently shaking the device to remove any water that may be trapped in the ports or speaker grills. Be careful not to exert too much force, as this could cause further damage. Once you’ve shaken off the excess water, use a soft, absorbent cloth to dab the device gently. Avoid rubbing the device, as this could spread the water further.
If your device is an iPhone X or later, it is equipped with an IP67 or IP68 rating, meaning it is water-resistant to a certain degree. However, it’s important to note that this rating is for accidental splashes and brief exposure to water, not for submersion. Even with water resistance, it is crucial to act swiftly to avoid any potential damage.
To further aid in the drying process, you can use a vacuum cleaner or a can of compressed air to carefully blow air into the ports and crevices. This gentle airflow can help remove trapped moisture, but be cautious not to apply excessive force or get too close to the device’s components.
Remember, time is of the essence when drying your device after water exposure. The longer the moisture lingers, the greater the chance of irreversible damage. Therefore, proceed to the next steps as quickly as possible to ensure the best chance of restoring Face ID functionality.
Step 2: Do not charge or use the device
After experiencing water damage, it is crucial to resist the urge to charge or use the device until it is completely dry. Connecting the device to a power source while moisture is still present can cause a short circuit, which can further damage the internal components and potentially hinder the restoration of Face ID functionality.
By refraining from charging or using the device, you minimize the risk of any electrical current flowing through the wet components, reducing the chances of irreversible damage. Additionally, using the device while it is still wet can lead to malfunctioning buttons, unresponsive touchscreens, and other issues.
It’s important to exercise patience during this stage. While you may be eager to test if the device is working properly, allowing it to dry completely is paramount for a successful recovery. The drying process can take several hours or even days, depending on the extent of the water exposure and the specific device model.
During this time, it is advisable to keep the device in a dry and well-ventilated area. Avoid placing it near heaters, radiators, or direct sunlight, as excessive heat can warp or damage the internal components. Instead, opt for a cool and dry environment, which promotes faster evaporation of moisture.
Remember, patience and caution are key. Rushing to use or charge the device before it is thoroughly dry can cause irreversible damage. So, resist the temptation and proceed to the next steps to ensure the best chances of restoring Face ID functionality after water damage.
Step 3: Avoid using heat sources
While it may be tempting to accelerate the drying process by using heat sources such as hairdryers or heaters, it is important to avoid doing so. Exposing your device to excessive heat can cause more harm than good and potentially permanently damage the internal components, including the TrueDepth camera system responsible for Face ID recognition.
High temperatures can cause the delicate circuits inside the device to expand rapidly, leading to warping or even melting of the internal components. This can result in irreparable damage and render Face ID and other functionalities unusable.
It’s far safer and more effective to let the device dry naturally in a cool and dry environment. Placing it in a well-ventilated area with good air circulation will promote the evaporation of moisture without exposing it to excessive heat. Additionally, avoiding heat sources will also eliminate the risk of overheating the battery, which can lead to further issues with the device’s functionality.
If you notice that the device feels warm to the touch during the drying process, it is a sign that moisture is still present. In this case, stop the drying process and allow the device to cool down before continuing. Patience is essential in ensuring the best chances of restoring Face ID after water damage, so resist the temptation to speed up the process with heat sources.
Remember, the water damage recovery process requires patience and caution. By avoiding heat sources and allowing the device to dry naturally, you minimize the risk of causing further damage and increase the likelihood of successful restoration of Face ID functionality.
Step 4: Remove the SIM card
When your device has been exposed to water, it is important to remove the SIM card promptly. This small card, located in a slot on the side or top of your device, stores important data and connects you to your cellular network. By removing the SIM card, you minimize the risk of it being damaged and ensure that you can still access your network services once the device is fully restored.
To remove the SIM card, you will need a SIM card removal tool or a small paperclip. Insert the tool or unbent paperclip into the small hole near the SIM card tray, and gently push to pop out the tray. Remove the SIM card from the tray, being careful not to touch the gold contacts. If the SIM card shows signs of moisture or damage, it is advisable to replace it with a new one.
Removing the SIM card also allows for better airflow within the device during the drying process. It gives the internal components more exposure to air and aids in the evaporation of any trapped moisture. This step can potentially speed up the recovery process and improve the chances of restoring Face ID functionality.
Once the SIM card has been safely removed, set it aside in a dry place. It is recommended to avoid reinserting the SIM card until the device has fully dried and you are ready to power it back on. This precaution helps prevent any potential short circuits or damage to the SIM card itself.
Remember, removing the SIM card is an essential step in the water damage recovery process. By taking this precautionary measure, you protect your SIM card from potential damage and ensure its proper functioning once the device is ready to be used again.
Step 5: Expose the device to moisture-absorbing materials
To aid in the drying process and further remove moisture from your device, it is helpful to expose it to moisture-absorbing materials. These materials can help absorb any remaining moisture and speed up the recovery of Face ID functionality.
One of the most commonly used moisture-absorbing materials is uncooked rice. Place your device in a bowl or bag filled with uncooked rice, ensuring that it is completely immersed in the rice. Rice has natural moisture-absorbing properties and can help draw out the water trapped in your device. Leave your device in the rice for at least 24-48 hours to allow ample time for the moisture to be absorbed.
Another option is to use silica gel packets, which are commonly found in packaging for electronic devices, shoes, and other products. Silica gel is a desiccant, meaning it has the ability to absorb moisture from the surrounding environment. Place your device in a ziplock bag or a container with a few silica gel packets and seal it tightly. Let it sit for 24-48 hours to allow the silica gel to absorb the moisture.
It’s important to note that while these moisture-absorbing materials can be helpful, they are not guaranteed to work in every case. The effectiveness may vary depending on the severity of the water damage and the specific device model. However, many people have found success with these methods in drying out their devices and restoring functionality.
During this time, avoid turning the device on or attempting to charge it. Allow the moisture-absorbing materials to do their job and give your device ample time to dry thoroughly. Patience is key in ensuring a successful recovery.
After the designated period has passed, carefully remove your device from the rice or silica gel, ensuring no grains or packets are stuck inside the device’s ports. Proceed to the next step to ensure that the device is completely dry before testing the Face ID functionality.
Step 6: Allow the device to dry completely
After removing the device from the moisture-absorbing materials, it is important to give it sufficient time to dry completely. Even if the external surfaces appear dry, there may still be residual moisture internally that needs to evaporate. Allowing the device to dry thoroughly is crucial before attempting to power it on and test the Face ID functionality.
Place the device on a clean and dry surface, preferably on a soft cloth or towel, to prevent any scratches or further damage. It is advisable to leave the device in a cool and well-ventilated area, away from direct sunlight or heat sources. This allows for effective evaporation of any remaining moisture without subjecting the device to extreme temperatures.
The drying process can take anywhere from 24 to 72 hours, depending on the severity of the water damage and the specific device model. It is important to exercise patience during this stage and resist any temptation to turn on or charge the device prematurely. Rushing the process can lead to further damage and hinder the chances of restoring Face ID functionality.
To check if the device is sufficiently dry, you can use a flashlight to inspect the device’s ports and openings for any signs of moisture. If you notice any lingering moisture, it is advisable to continue the drying process until the device is completely dry. Be thorough in your assessment, as any residual moisture can potentially cause problems down the line.
Only proceed to the next step when you are confident that the device has dried completely. This patience and diligence will greatly increase the chances of successfully restoring Face ID after water damage and ensuring the long-term functionality of your device.
Step 7: Test the Face ID functionality
Once you are certain that your device has dried completely, it’s time to test the Face ID functionality and see if it has been restored. This step will help determine if your efforts to fix Face ID after water damage have been successful.
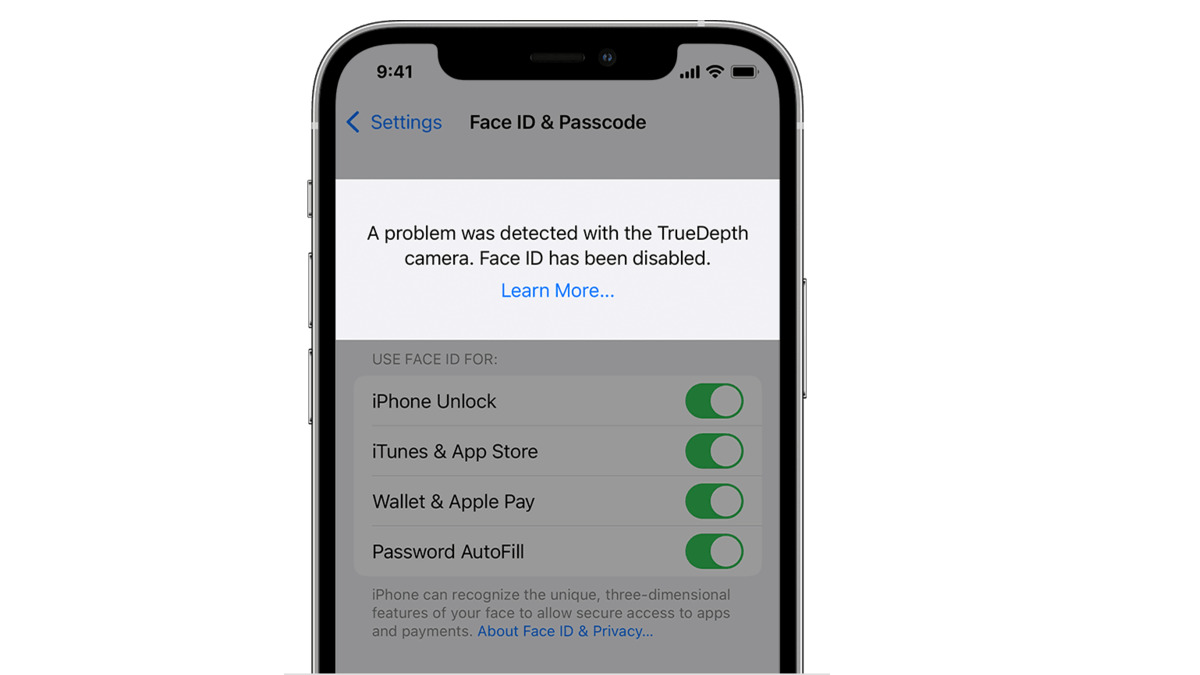
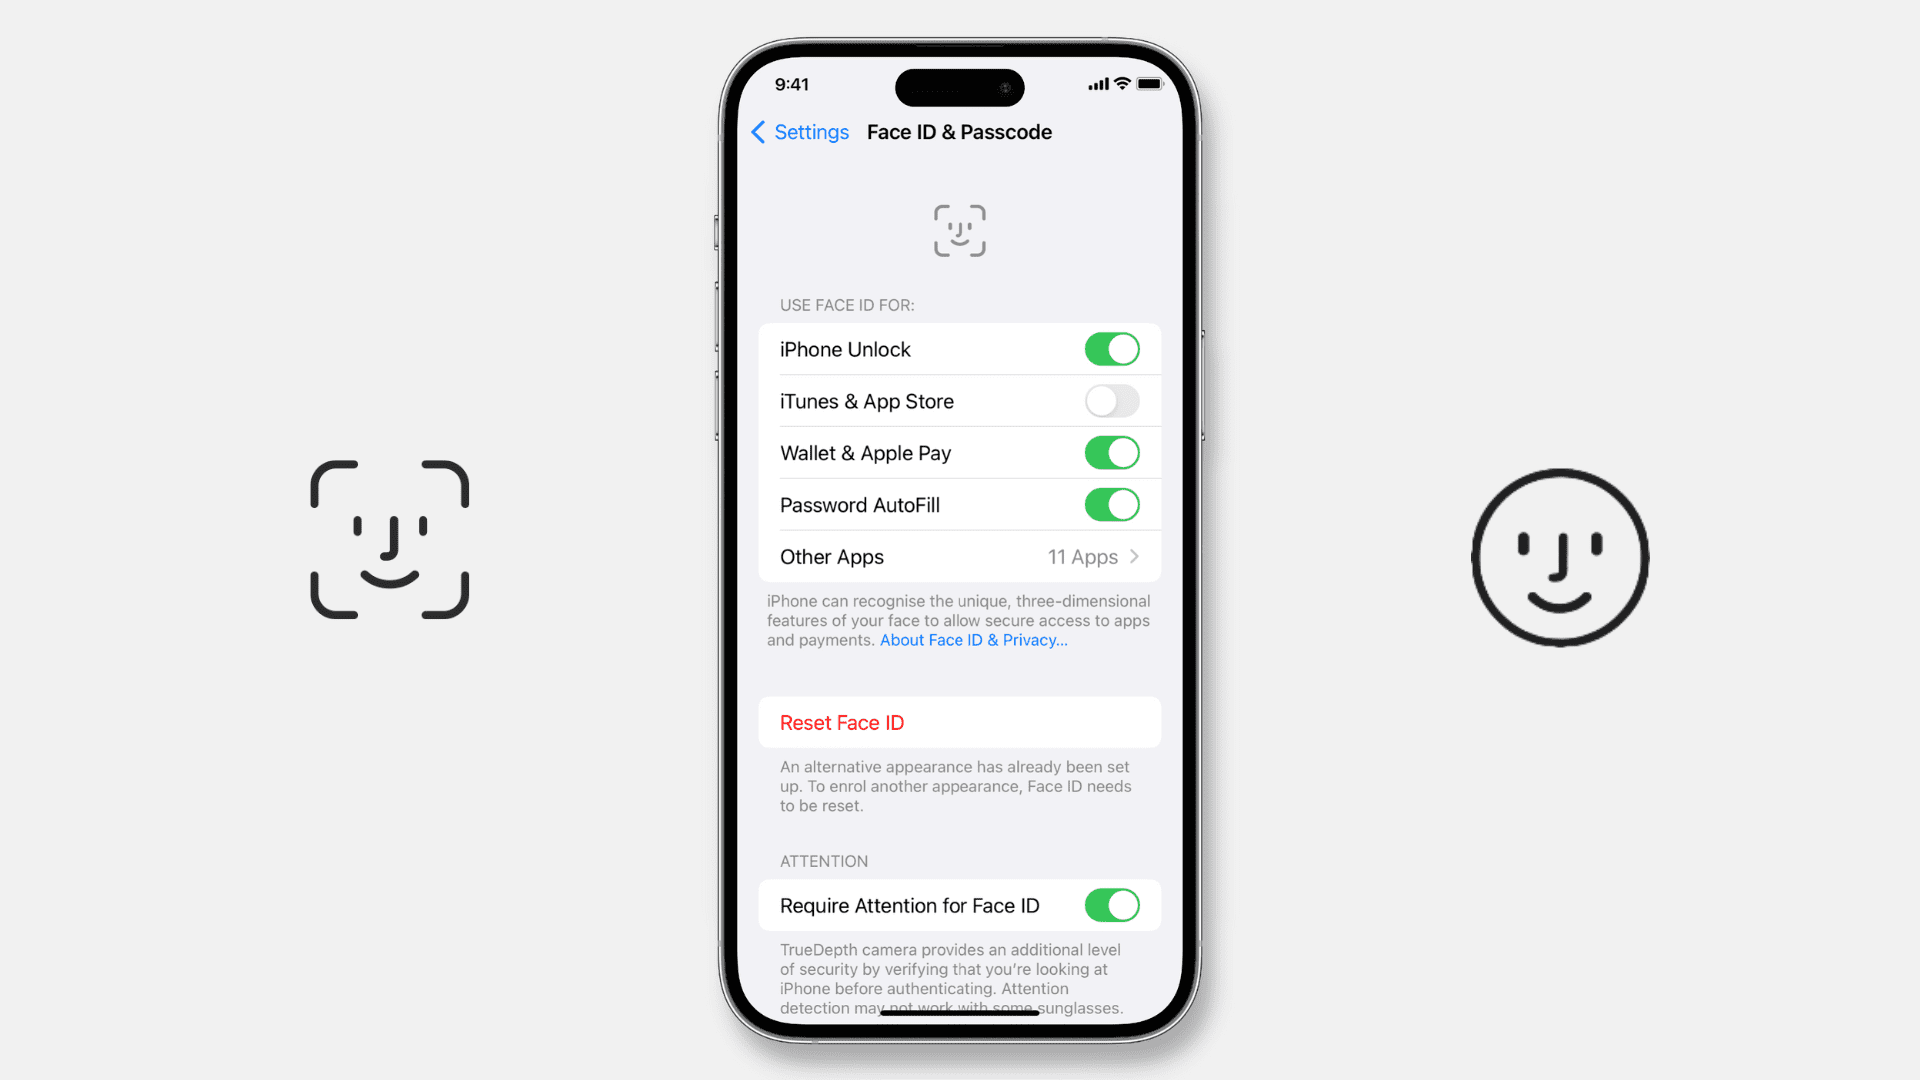
Power on your device and navigate to the settings menu. Look for the Face ID & Passcode option and select it. You will be prompted to enter your passcode as an added security measure. Once inside the Face ID settings, follow the on-screen instructions to set up Face ID again. This involves positioning your face within the designated frame and allowing the device to capture your facial data.
During this process, pay close attention to any error messages or indications that Face ID is not functioning properly. If you encounter any issues, such as the device not recognizing your face or displaying error messages, try cleaning the TrueDepth camera system with a microfiber cloth. Dust or debris on the camera can sometimes interfere with Face ID functionality.
If the issue persists and Face ID is still not working, it may be necessary to contact an authorized technician or visit an Apple Store for further assistance. They will be able to assess the device and provide specialized solutions to fix any underlying issues that may be causing Face ID problems after water damage.
It is worth noting that restoring Face ID functionality after water damage is not always possible. Depending on the severity of the water exposure and the extent of the damage, some devices may require professional repair or replacement of internal components. However, by following the steps outlined in this guide, you have increased the chances of successful restoration.
Remember to be patient and persistent in troubleshooting the Face ID functionality. Sometimes, it may take several attempts or seeking professional help to fully resolve the issue. The important thing is to remain proactive and explore all available options before conceding to more extensive repairs or replacement.
Step 8: Consult an authorized technician if issues persist
If you have followed all the previous steps and the Face ID functionality is still not working properly after water damage, it is recommended that you consult an authorized technician or visit an Apple Store for further assistance. These professionals have the expertise and specialized tools necessary to diagnose and troubleshoot internal components.
When visiting the technician, be sure to provide them with details about the water exposure and the steps you have taken to dry and restore the device. This information will help them assess the situation more accurately and determine the best course of action.
The technician may perform additional tests, clean certain components, or conduct more advanced diagnostics to identify any underlying issues causing the Face ID malfunction. Depending on the severity of the damage, they may recommend repair or replacement of specific components to restore Face ID functionality.
Keep in mind that the cost of repairs will vary depending on the device model, warranty status, and the extent of the damage. The technician will provide you with a comprehensive assessment and a cost estimate for the necessary repairs.
It is important to consult an authorized technician rather than attempting to repair the device yourself or seeking help from unauthorized repair shops. Unauthorized repairs can potentially void your device’s warranty and may not provide the same level of expertise and genuine replacement parts that authorized technicians offer.
By seeking professional assistance, you are ensuring that your device is handled by experts who have the necessary knowledge and experience to fix complex issues. Their guidance can make a significant difference in successfully restoring Face ID functionality and preserving the overall performance and longevity of your device.
Remember, the aim is to find a lasting solution for the Face ID issues caused by water damage. By consulting an authorized technician, you are taking the necessary steps to ensure the best possible outcome for your device.
Conclusion
Facing issues with Face ID after water damage can be frustrating, but with the right steps and precautions, you can increase the chances of successful restoration. Taking immediate action to dry the device, avoiding the use of heat sources, removing the SIM card, utilizing moisture-absorbing materials, allowing the device to dry completely, and testing the Face ID functionality are crucial steps in the recovery process.
However, it’s important to note that not all cases of water damage can be fixed through these methods. If the Face ID functionality is still not restored after following the steps outlined in this guide, it is advisable to consult an authorized technician or visit an Apple Store for further evaluation and professional assistance.
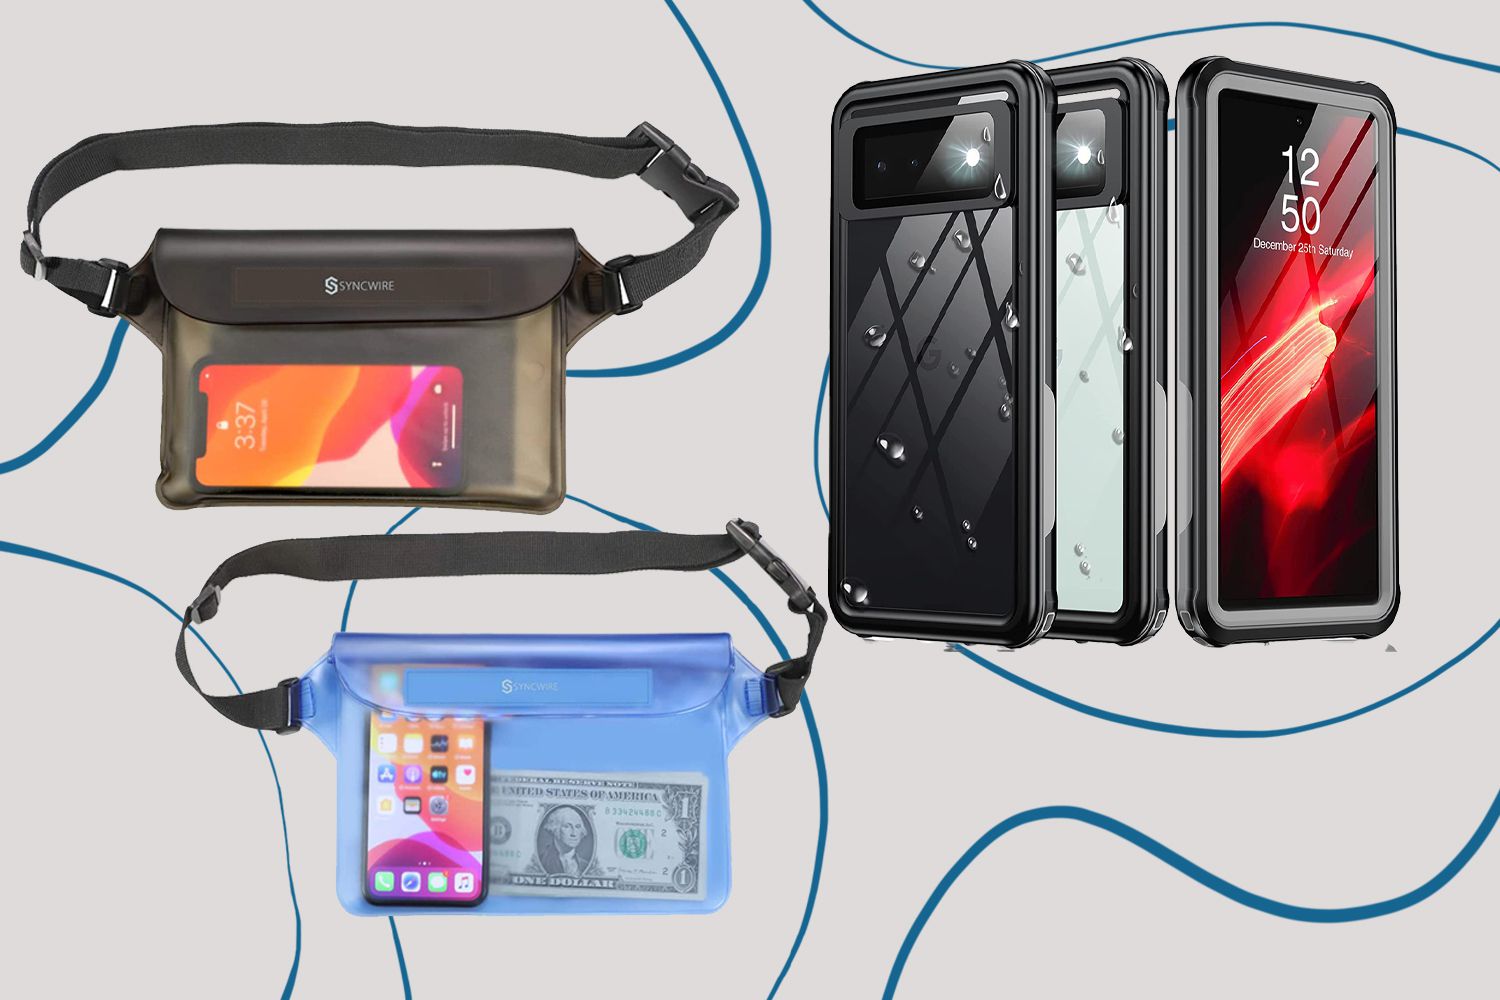
Remember, prevention is always better than cure. To minimize the risk of water damage, it is recommended to use water-resistant cases, avoid exposing your device to liquids, and always handle it with care around water sources.
We hope this guide has provided you with helpful insights and steps to fix Face ID after water damage. By following these guidelines, you can increase the probability of restoring Face ID functionality and ensuring the long-term performance of your device.
If you have any concerns or questions regarding specific device models or situations, it is always recommended to refer to the official Apple support resources or seek assistance from authorized technicians. They have the knowledge and expertise to address any additional concerns you may have.
Remember, patience and persistence are key when dealing with water damage. By taking the appropriate steps and seeking professional help if needed, you can maximize the chances of restoring Face ID functionality and getting your device back to full working order.