Introduction
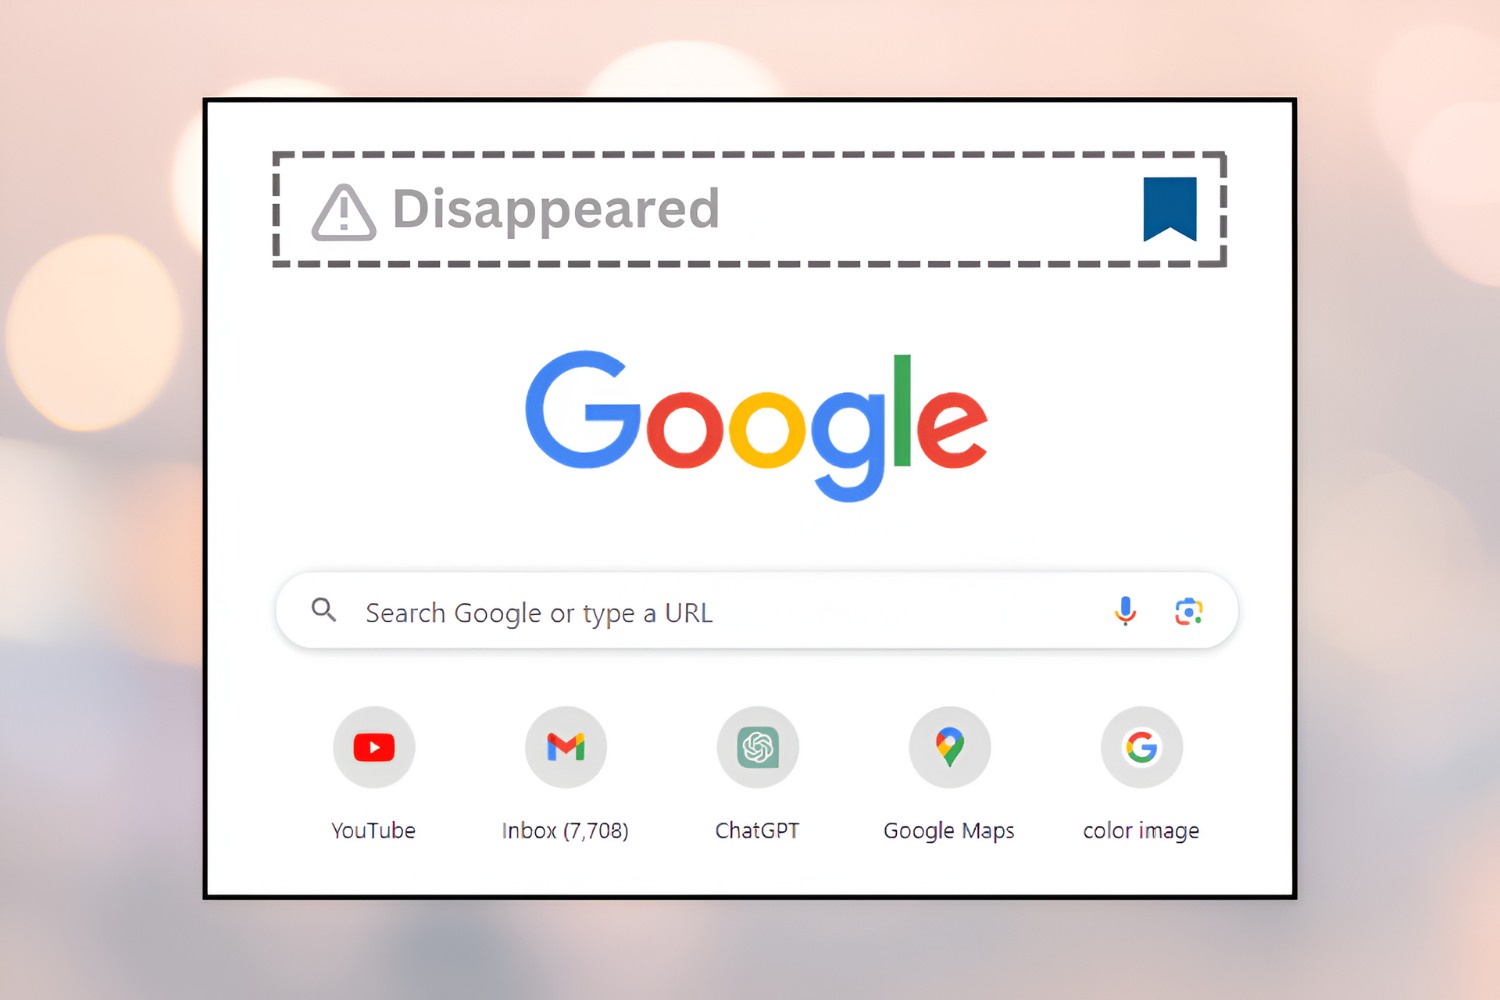
Have you ever experienced the frustration of opening Google Chrome, only to find that your carefully curated tabs have mysteriously vanished into thin air? It's a perplexing and exasperating situation that many of us have encountered at some point. Whether you were in the midst of important research, catching up on the latest news, or simply browsing for entertainment, the sudden disappearance of your tabs can disrupt your workflow and leave you feeling bewildered.
In this article, we'll delve into the potential reasons behind this confounding occurrence and explore practical solutions to help you recover your missing tabs and prevent similar mishaps in the future. From updating Chrome to checking for malware, disabling extensions, clearing cache and cookies, to resetting Chrome settings, we'll cover a range of troubleshooting steps to address this disconcerting issue.
So, if you've ever found yourself asking, "Why did my tabs disappear in Chrome?" or if you're keen to arm yourself with the knowledge to tackle this predicament should it arise, you're in the right place. Let's embark on this journey to unravel the mystery of vanishing tabs and equip ourselves with the tools to navigate the digital realm with confidence and ease.
Update Chrome
Keeping your web browser up to date is crucial for optimal performance and security. Google Chrome regularly releases updates to enhance its features, address vulnerabilities, and improve overall stability. If you've encountered the disconcerting disappearance of tabs in Chrome, ensuring that you are using the latest version of the browser can potentially resolve this issue.
To update Chrome to the latest version, follow these simple steps:
-
Access the Menu: Open Chrome and click on the three-dot menu icon located in the top-right corner of the browser window.
-
Navigate to Settings: From the dropdown menu, hover over "Help" and then click on "About Google Chrome." This will direct you to the Chrome settings page, where the browser will automatically check for updates.
-
Update Chrome: If an update is available, Chrome will begin downloading and installing it. Once the update is complete, you will be prompted to relaunch the browser to apply the changes.
By ensuring that you are running the most recent version of Chrome, you can take advantage of the latest bug fixes and security patches, which may help mitigate the occurrence of tab disappearance and other unexpected browser behaviors.
In addition to addressing potential tab-related issues, updating Chrome can also introduce new features, improve performance, and fortify the browser against security threats. Therefore, making it a habit to regularly check for and install updates is a proactive measure that can contribute to a smoother and more secure browsing experience.
By staying vigilant about keeping Chrome up to date, you can harness the full potential of the browser while minimizing the likelihood of encountering perplexing tab-related anomalies. So, take a moment to ensure that your Chrome browser is running on the latest version, and empower yourself with a more robust and reliable digital browsing environment.
Check for Malware
The presence of malware on your computer can wreak havoc on your browsing experience, leading to a myriad of issues, including the sudden disappearance of tabs in Google Chrome. Malicious software can interfere with the normal functioning of your browser, causing unexpected behavior and disrupting your online activities. Therefore, conducting a thorough check for malware is a crucial step in troubleshooting the vanishing tabs phenomenon.
To begin the malware detection process, you can utilize reputable antivirus and anti-malware software. These tools are designed to scan your system for any malicious programs, files, or scripts that may be lurking in the shadows. By running a comprehensive malware scan, you can identify and eliminate any potential threats that could be causing disruptions in Chrome, including the unexplained disappearance of tabs.
In addition to using dedicated security software, you can also leverage Chrome's built-in security features to bolster your defenses against malware. Chrome offers a range of protective measures, such as Safe Browsing, which helps to identify and block malicious websites and downloads. By enabling and utilizing these security features, you can fortify your browser's defenses and reduce the risk of encountering malware-related issues.
Furthermore, it's essential to exercise caution when downloading and installing software from the internet. Be mindful of the sources from which you obtain programs and files, and prioritize reputable and trusted sources to minimize the likelihood of inadvertently introducing malware into your system.
By conducting regular malware checks and adopting proactive security practices, you can safeguard your computer and browsing environment from the disruptive influence of malicious software. This, in turn, can contribute to a more stable and secure browsing experience, reducing the chances of encountering perplexing issues such as the sudden disappearance of tabs in Chrome.
In essence, checking for malware is a fundamental aspect of maintaining a secure and reliable digital ecosystem. By remaining vigilant and proactive in your approach to cybersecurity, you can mitigate the impact of potential threats and enjoy a smoother and more secure browsing experience.
Disable Extensions
Extensions, while offering valuable functionality and customization options, can sometimes be the culprits behind unexpected browser behavior, including the sudden disappearance of tabs in Google Chrome. When extensions encounter conflicts or experience glitches, they can disrupt the normal operation of the browser, leading to perplexing issues that may leave users scratching their heads in bewilderment.
To address the potential impact of extensions on tab disappearance, it's prudent to consider disabling or temporarily removing extensions from Chrome. This can help isolate the source of the problem and restore stability to the browser environment.
Here's how you can disable extensions in Chrome:
-
Access the Extensions Menu: Open Chrome and click on the three-dot menu icon in the top-right corner of the browser window. From the dropdown menu, navigate to "More tools" and then select "Extensions." This will direct you to the Extensions page, where you can view a list of installed extensions.
-
Disable Extensions: In the Extensions page, you will see a list of all the extensions currently installed in Chrome. To disable an extension, simply toggle off the switch next to the respective extension. This action temporarily deactivates the extension, allowing you to assess its impact on the browser's behavior.
-
Test Chrome: After disabling the extensions, relaunch Chrome and observe its performance. Check if the issue of tab disappearance persists. If the problem is resolved, it indicates that one or more of the disabled extensions may have been contributing to the erratic behavior of the browser.
-
Identify the Culprit: To identify the specific extension causing the issue, re-enable the extensions one by one, relaunching Chrome after each reactivation. By systematically re-enabling the extensions, you can pinpoint the culprit that triggers the tab disappearance, allowing you to take appropriate action, such as removing or updating the problematic extension.
In addition to disabling extensions through the Chrome menu, you can also employ Chrome's Incognito mode to test the browser without extensions. Incognito mode runs Chrome without extensions, providing a way to determine if the issue is related to an extension's interference.
By systematically evaluating the impact of extensions on Chrome's behavior, you can gain insights into their influence on the browser's performance and stability. This proactive approach enables you to identify and address potential conflicts or issues arising from extensions, ultimately contributing to a more seamless and reliable browsing experience.
In essence, the process of disabling extensions serves as a valuable troubleshooting step, allowing users to identify and mitigate the impact of extensions on Chrome's behavior. By exercising control over the extensions installed in the browser, users can proactively manage potential conflicts and enhance the overall stability and performance of their browsing environment.
Clear Cache and Cookies
Clearing the cache and cookies in Google Chrome is a fundamental maintenance task that can help address a myriad of browsing issues, including the perplexing disappearance of tabs. The cache and cookies stored by the browser serve various purposes, such as storing website data to facilitate faster loading times and retaining user-specific information for a personalized browsing experience. However, over time, these stored data can accumulate and potentially lead to unexpected browser behavior.
To clear the cache and cookies in Google Chrome, follow these simple steps:
-
Access Chrome Settings: Open Chrome and click on the three-dot menu icon located in the top-right corner of the browser window. From the dropdown menu, navigate to "Settings."
-
Navigate to Privacy and Security: In the Settings page, scroll down and click on "Privacy and security" in the left-hand menu.
-
Clear Browsing Data: Under the "Privacy and security" section, click on "Clear browsing data." This will open a window where you can select the types of data to clear.
-
Choose Data Types: In the "Clear browsing data" window, you can choose the types of data to clear, including browsing history, cookies and other site data, cached images and files, and more. Ensure that "Cookies and other site data" and "Cached images and files" are selected.
-
Select Time Range: You can also specify the time range for which you want to clear the data. Options include "Last hour," "Last 24 hours," "Last 7 days," "Last 4 weeks," and "All time."
-
Clear Data: After selecting the desired data types and time range, click on "Clear data" to initiate the clearing process.
By clearing the cache and cookies in Chrome, you effectively remove temporary files and stored website data that may be contributing to browser irregularities. This action can help refresh the browser's data cache and eliminate potential conflicts or issues stemming from outdated or corrupted data.
Furthermore, clearing cookies can reset website-specific preferences and login sessions, providing a clean slate for your browsing activities. While this means you may need to re-enter login credentials and reconfigure certain website settings, it can also resolve persistent issues related to stored cookies.
In essence, clearing the cache and cookies in Google Chrome is a proactive maintenance task that can contribute to a more stable and predictable browsing experience. By periodically clearing accumulated data, users can mitigate the impact of outdated or corrupted information, potentially addressing the enigmatic disappearance of tabs and other browser-related anomalies.
Reset Chrome Settings
When all else fails and the enigmatic disappearance of tabs in Google Chrome persists despite your best efforts, resetting the browser's settings can serve as a comprehensive solution to address underlying issues. Resetting Chrome settings effectively restores the browser to its default state, eliminating potential misconfigurations, conflicts, or irregularities that may be contributing to the perplexing behavior of tab disappearance.
To initiate the process of resetting Chrome settings, follow these steps:
-
Access Chrome Settings: Open Chrome and click on the three-dot menu icon located in the top-right corner of the browser window. From the dropdown menu, navigate to "Settings."
-
Navigate to Advanced Settings: In the Settings page, scroll down and click on "Advanced" to reveal additional options.
-
Reset Settings: Under the "Reset and clean up" section, click on "Restore settings to their original defaults." This action will open a window where you can review the components that will be reset, including startup page, search engine, and pinned tabs.
-
Confirm Reset: After reviewing the components to be reset, click on "Reset settings" to initiate the process. Chrome will then proceed to reset the selected settings to their default configurations.
By resetting Chrome settings, you effectively eliminate potential sources of irregularities and conflicts that may be contributing to the disconcerting disappearance of tabs. This action provides a clean slate for the browser's settings, allowing you to start afresh and potentially resolve persistent issues that have eluded other troubleshooting measures.
It's important to note that resetting Chrome settings will not affect your bookmarks, browsing history, or saved passwords. However, it will reset browser preferences, homepage settings, and search engine configurations to their default states. Therefore, it's a comprehensive yet non-destructive approach to addressing underlying issues without compromising essential user data.
In essence, the process of resetting Chrome settings serves as a powerful tool to restore the browser to a stable and predictable state, potentially resolving the confounding issue of tab disappearance. By leveraging this troubleshooting step, users can navigate the digital realm with renewed confidence, armed with a browser environment that is primed for a seamless and reliable browsing experience.