Introduction
Google Chrome is a powerful and versatile web browser that offers a wide range of features and customization options to enhance your browsing experience. One of the many ways you can personalize Chrome to suit your needs is by adding a toolbar. Toolbars can provide quick access to frequently used tools, shortcuts, and functions, making it easier to navigate the web and manage your online activities.
Whether you're looking to streamline your workflow, access specific tools with a single click, or simply want to customize your browsing environment, adding a toolbar to Google Chrome can be a game-changer. With the right toolbar extension, you can bring additional functionality and convenience to your browser, tailored to your unique preferences and requirements.
In this guide, we'll walk you through the step-by-step process of adding a toolbar to Google Chrome. From accessing the Chrome menu to finding and installing the perfect toolbar extension, you'll learn how to customize and make the most of your new toolbar. By the end of this tutorial, you'll have the tools and knowledge to personalize your browsing experience and optimize your workflow with a custom toolbar in Google Chrome.
Step 1: Open Google Chrome
To begin the process of adding a toolbar to Google Chrome, the first step is to open the browser. You can do this by locating the Google Chrome icon on your desktop or taskbar and clicking on it. Alternatively, you can search for Google Chrome in your computer's applications or programs and launch it from there.
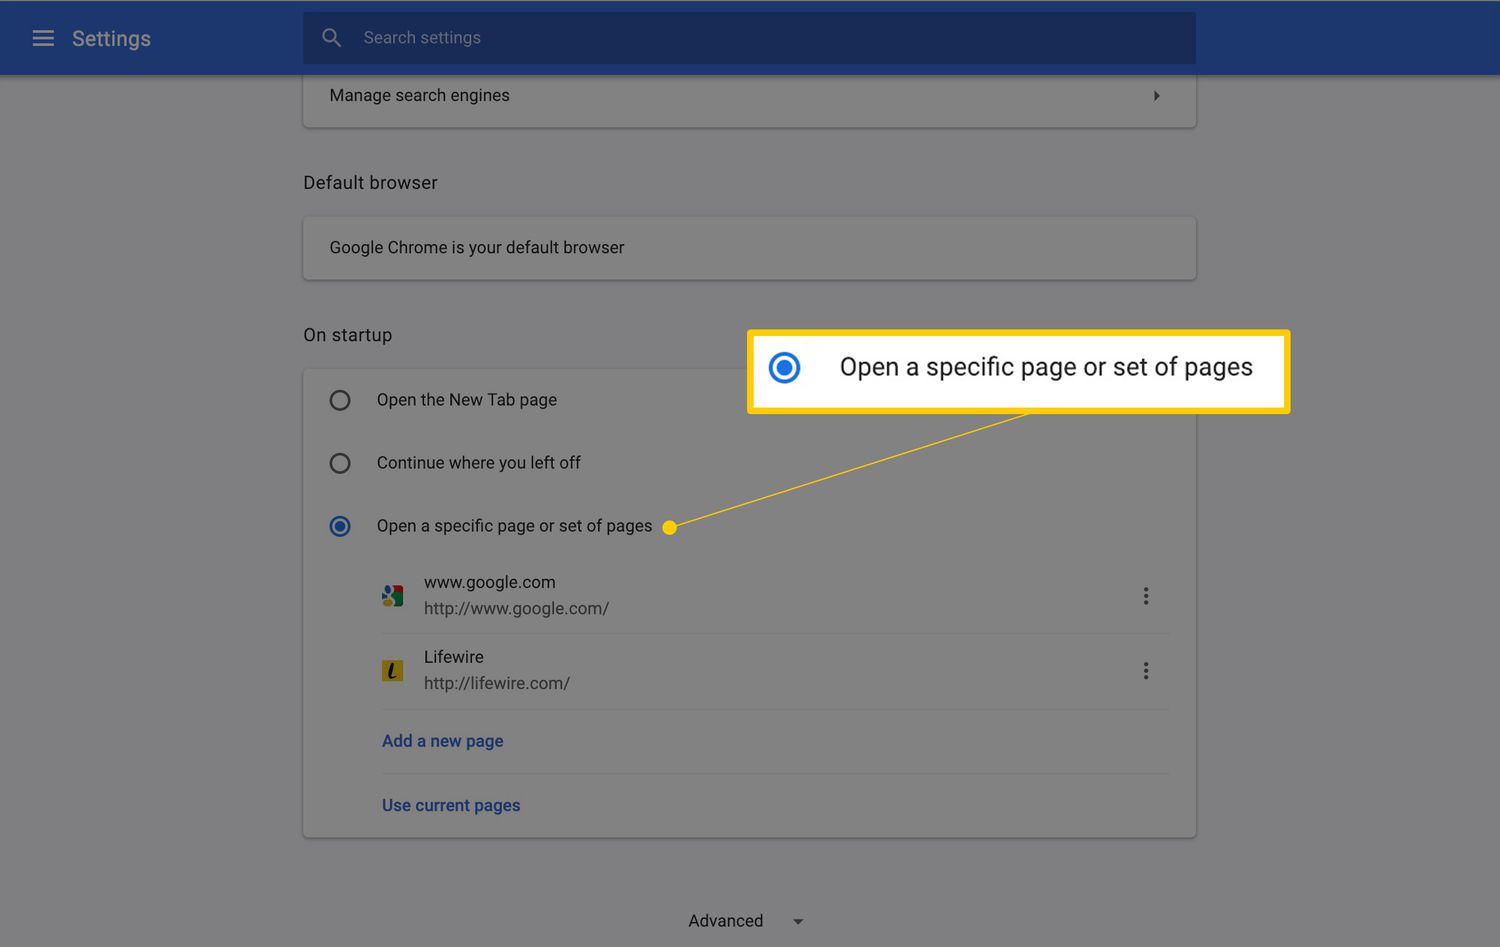
Once Google Chrome is open, you will be greeted by the familiar interface, featuring the address bar, tabs, and various menu options. If you have set a specific homepage, it will load automatically. If not, Chrome may display a new tab page with shortcuts to frequently visited sites and a search bar.
Opening Google Chrome is the initial step in customizing your browsing experience with a toolbar. With the browser launched and ready for use, you can proceed to the next steps in adding a toolbar to enhance your productivity and streamline your online activities.
By opening Google Chrome, you are taking the first step toward unlocking the full potential of the browser's customization options. Whether you're a casual user looking to simplify your browsing experience or a power user seeking to optimize workflow and efficiency, adding a toolbar can significantly enhance your interaction with the web.
Now that Google Chrome is open, you're ready to move on to the next step in the process of adding a toolbar. With the browser at your fingertips, you're just a few clicks away from accessing the menu and exploring the wide array of customization options available to personalize your browsing environment.
Opening Google Chrome is the gateway to a world of possibilities for tailoring your browsing experience to your specific needs and preferences. As you progress through the steps to add a toolbar, keep in mind that each action brings you closer to creating a more efficient, convenient, and personalized browsing environment within Google Chrome.
Step 2: Click on the Menu Icon
Upon opening Google Chrome, the next step in adding a toolbar is to locate and click on the Menu icon, which is represented by three vertical dots arranged in a column. This icon is typically positioned in the top-right corner of the browser window, adjacent to the address bar. Clicking on the Menu icon triggers a dropdown menu that provides access to a wide range of browser functions and settings.
By clicking on the Menu icon, you initiate the process of customizing your browsing experience and accessing the tools necessary to add a toolbar to Google Chrome. This action opens up a world of possibilities, allowing you to explore the browser's features and extensions, including the option to install a toolbar that aligns with your specific needs and preferences.
The Menu icon serves as the gateway to Chrome's customization options, offering a convenient and intuitive way to access essential functions and features. Whether you're a seasoned Chrome user or new to the browser, the Menu icon provides a central point for managing your browsing environment and tailoring it to suit your individual requirements.
Upon clicking the Menu icon, you'll notice a dropdown menu that presents a variety of options, including "New tab," "History," "Downloads," "Bookmarks," "Zoom," "Settings," and more. This menu is designed to provide quick access to commonly used functions and settings, allowing you to navigate Chrome with ease and efficiency.
In addition to the standard options available in the dropdown menu, clicking on the Menu icon also grants access to the "More tools" submenu, where you can explore additional features and extensions to enhance your browsing experience. This submenu serves as a launchpad for discovering and managing extensions, including the toolbar extension that you'll be adding to Chrome.
By clicking on the Menu icon and exploring the available options, you're taking an important step toward personalizing your browsing environment and optimizing your workflow. This action sets the stage for the subsequent steps in the process of adding a toolbar, empowering you to make informed decisions about the extensions and customizations that will best serve your browsing needs.
As you click on the Menu icon and familiarize yourself with the dropdown menu and its contents, you're positioning yourself to make informed choices about the toolbar extension that will complement your browsing habits and enhance your productivity. This proactive approach to customization empowers you to create a tailored browsing experience that aligns with your unique preferences and requirements.
With the Menu icon clicked and the dropdown menu at your disposal, you're ready to proceed to the next steps in adding a toolbar to Google Chrome. By leveraging the accessibility and functionality offered through the Menu icon, you're well-equipped to navigate the customization process and make meaningful enhancements to your browsing environment.
Step 3: Select "More Tools" and then "Extensions"
After clicking on the Menu icon and exploring the dropdown menu, the next crucial step in adding a toolbar to Google Chrome is to navigate to the "More tools" submenu and select "Extensions." This action opens the Extensions page, where you can manage and customize the extensions installed in your browser.
To access the "More tools" submenu, simply hover your cursor over the options listed in the dropdown menu that appears when you click on the Menu icon. This action reveals a secondary menu containing additional tools and features designed to enhance your browsing experience. Among the options presented in this submenu, you'll find "Extensions," which is the gateway to installing and managing toolbar extensions and other add-ons in Google Chrome.
By selecting "More tools" and then "Extensions," you gain entry to the Extensions page, where you can explore a wide range of extensions available in the Chrome Web Store. This page serves as a central hub for managing your extensions, enabling you to install new extensions, remove existing ones, and customize their settings to suit your preferences.
Upon reaching the Extensions page, you'll encounter a list of the extensions currently installed in your browser, along with options to manage and customize them. From this page, you can explore the Chrome Web Store to discover new extensions, including toolbar options that can enhance your browsing experience and provide quick access to essential tools and functions.
The Extensions page also offers features such as "Developer mode" for advanced users, enabling the loading of unpacked extensions and access to additional developer tools. This functionality caters to users with specific customization requirements and provides a platform for creating and testing custom toolbar extensions tailored to unique preferences.
By selecting "More tools" and then "Extensions," you're taking a pivotal step toward customizing your browsing environment and unlocking the potential for enhanced functionality within Google Chrome. This action positions you to explore the diverse range of toolbar extensions available in the Chrome Web Store, empowering you to select an extension that aligns with your workflow and browsing habits.
As you navigate to the Extensions page, keep in mind that the options presented here can significantly impact your browsing experience. Whether you're seeking a toolbar for productivity, quick access to specific tools, or a personalized browsing environment, the Extensions page provides the tools and resources to make informed decisions about the extensions that best suit your needs.
With the "More tools" submenu and "Extensions" page at your disposal, you're well-equipped to embark on the next phase of adding a toolbar to Google Chrome. This step sets the stage for discovering, installing, and customizing a toolbar extension that will elevate your browsing experience and streamline your online activities.
Step 4: Find and Install a Toolbar Extension
Once you have accessed the Extensions page in Google Chrome, the next crucial step is to find and install a toolbar extension that aligns with your browsing needs and preferences. The Chrome Web Store offers a diverse array of toolbar extensions, each designed to provide specific functionalities and customization options tailored to enhance your browsing experience.
To find a suitable toolbar extension, you can utilize the search functionality within the Chrome Web Store. By entering keywords such as "toolbar," "custom toolbar," or specific terms related to the functionalities you desire, you can explore a curated selection of extensions designed to add convenience and efficiency to your browsing environment.
As you browse through the available toolbar extensions, take the time to read the descriptions, user reviews, and ratings for each extension. This information can offer valuable insights into the features, usability, and overall satisfaction of other users who have installed and utilized the toolbar extensions. Additionally, pay attention to the number of users and the extension's last update date to gauge its relevance and ongoing support.
When you have identified a toolbar extension that resonates with your browsing habits and workflow, the next step is to install it in Google Chrome. Clicking on the "Add to Chrome" button associated with the chosen extension initiates the installation process. A confirmation dialog may appear, prompting you to approve the installation. Once confirmed, the toolbar extension will be added to your browser, ready for customization and use.
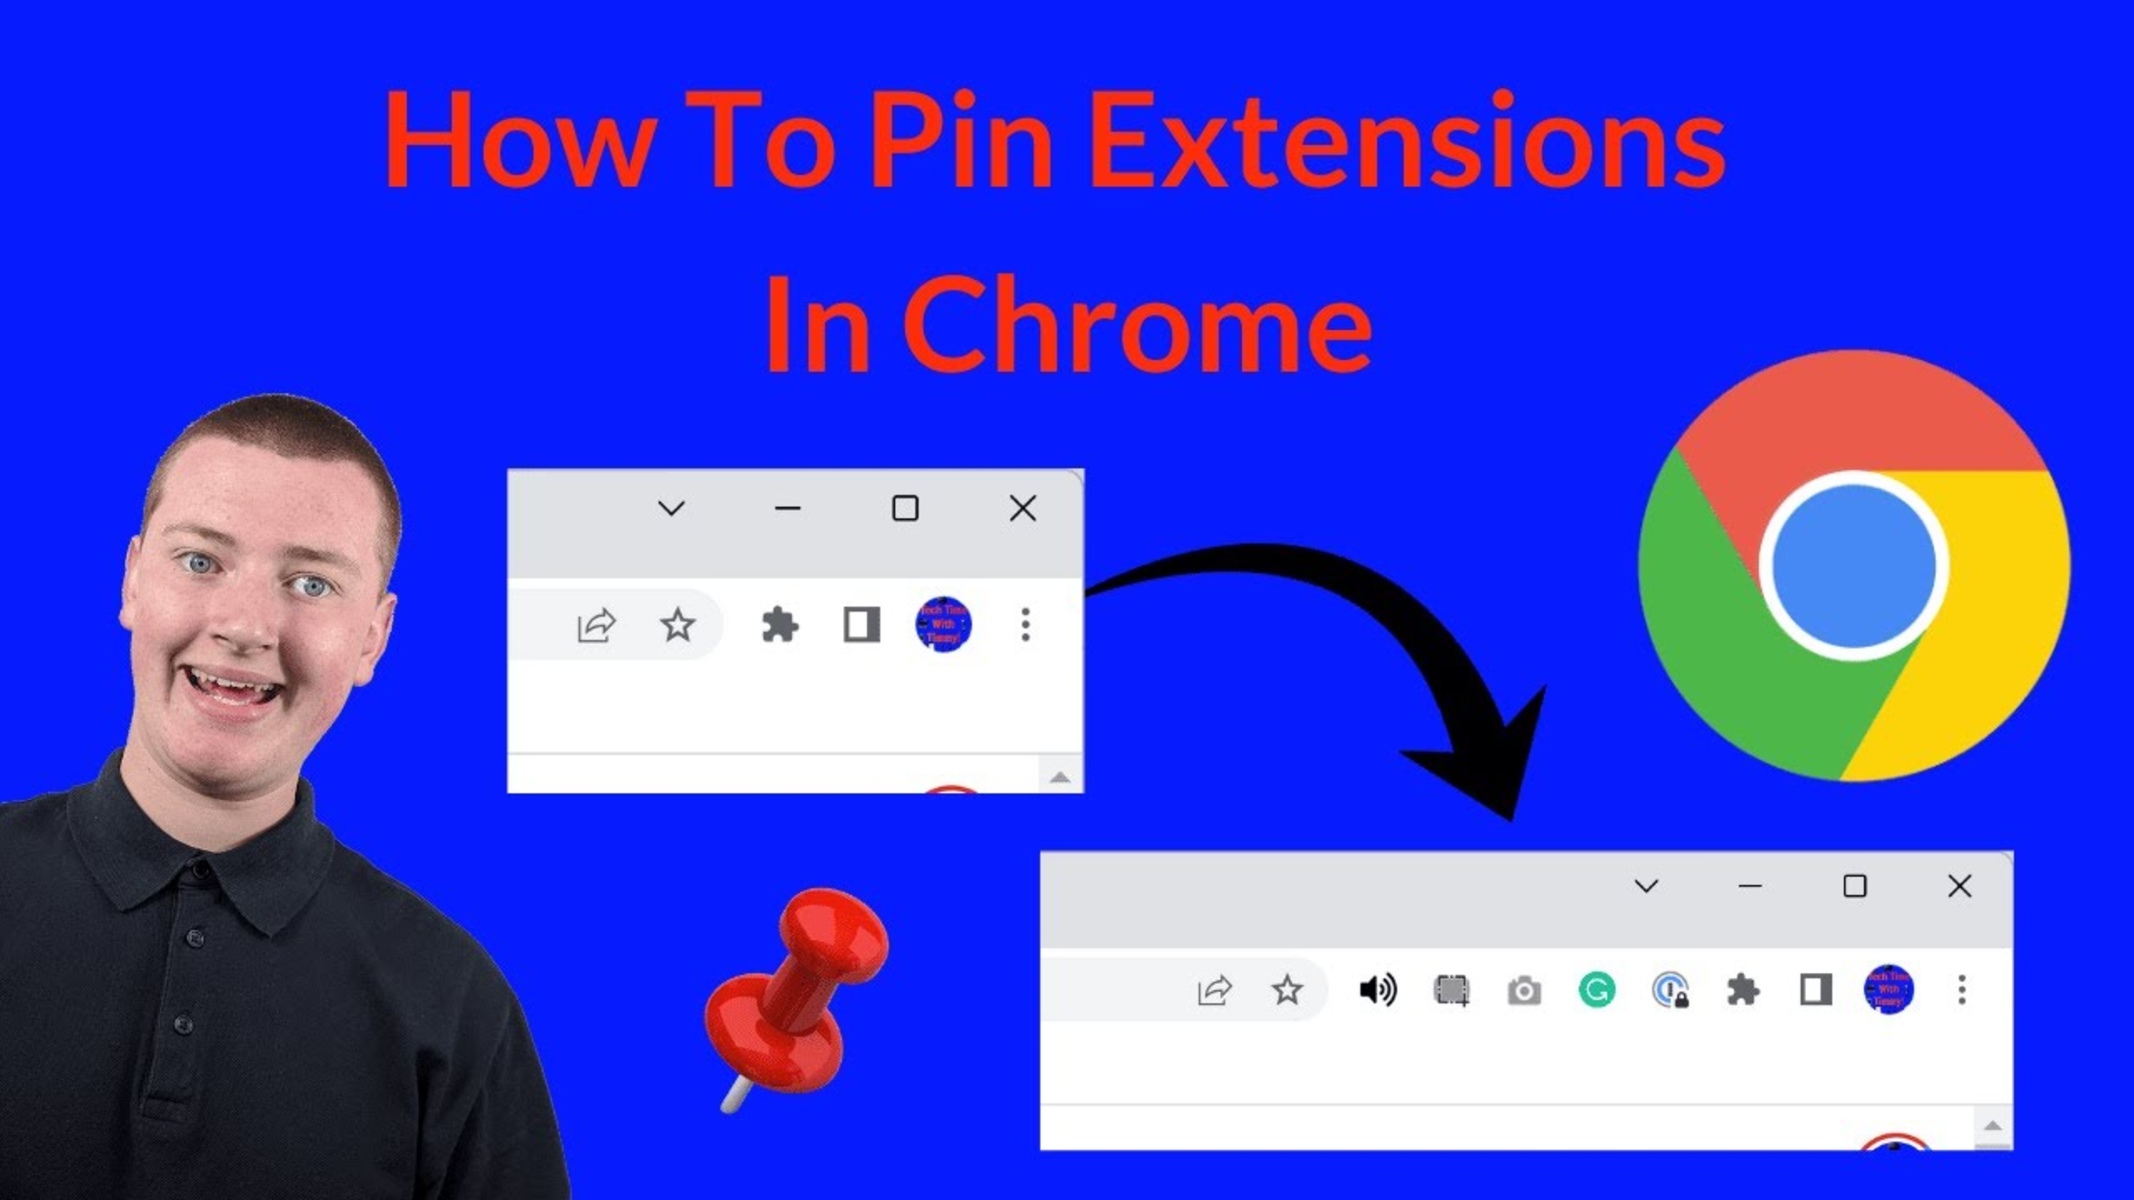
After installing the toolbar extension, you may have the option to customize its settings and appearance to better suit your preferences. This can include arranging the toolbar icons, adjusting display options, and configuring specific functionalities to align with your workflow. By customizing the toolbar extension, you can tailor it to provide quick access to essential tools, shortcuts, and functions that streamline your browsing experience.
By finding and installing a toolbar extension that complements your browsing habits and workflow, you are enhancing the functionality and convenience of Google Chrome to better suit your needs. The process of discovering, installing, and customizing a toolbar extension empowers you to create a personalized browsing environment that aligns with your unique preferences and requirements.
With the toolbar extension successfully installed and customized, you are now equipped to leverage its functionalities and streamline your online activities within Google Chrome. Whether you seek quick access to specific tools, enhanced productivity, or a tailored browsing experience, the toolbar extension serves as a valuable asset in optimizing your interaction with the web.
Step 5: Customize and Use Your New Toolbar
After successfully installing a toolbar extension in Google Chrome, the next step is to customize and utilize the new toolbar to enhance your browsing experience. Customization allows you to tailor the toolbar to your specific needs and preferences, while leveraging its functionalities can streamline your online activities and boost productivity.
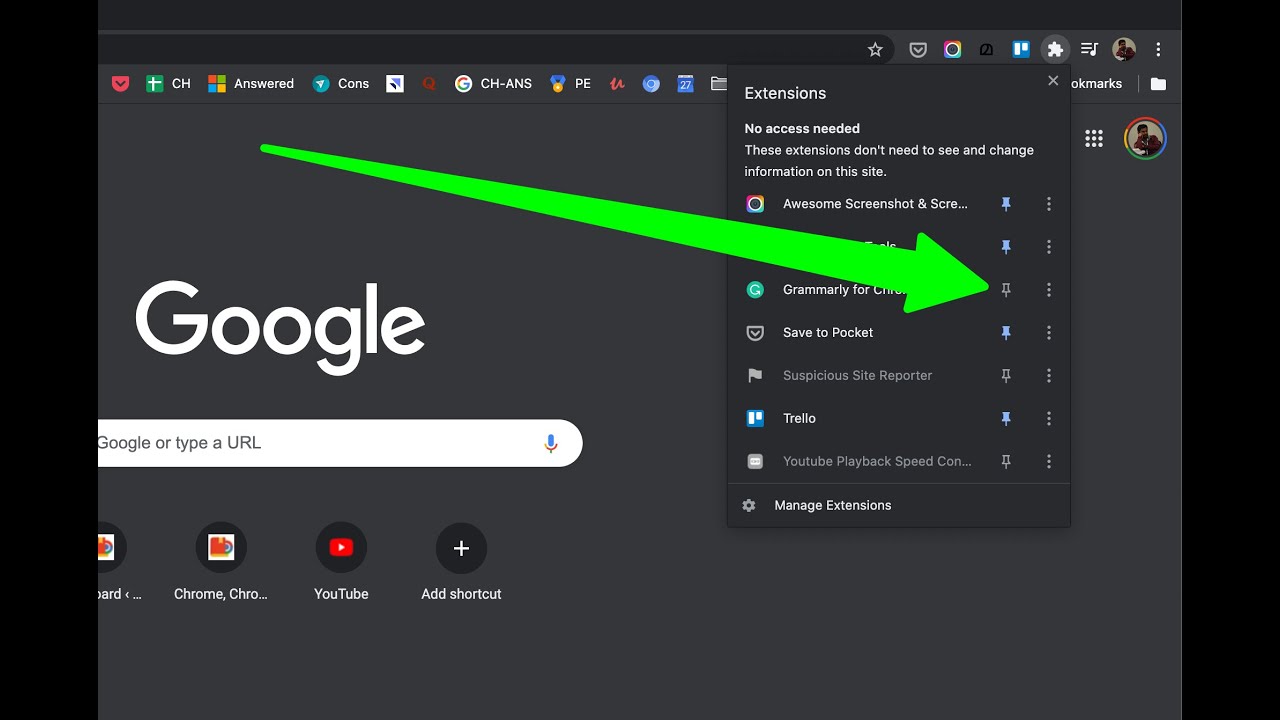
To begin customizing your new toolbar, you can typically access its settings by right-clicking on the toolbar area or using the extension's options within the Extensions page. This enables you to adjust the layout, rearrange icons, and modify display settings to create a personalized toolbar that aligns with your workflow.
Customization options may include the ability to add or remove specific tools or shortcuts, adjust the size and appearance of the toolbar icons, and configure quick access to frequently used functions. By fine-tuning the toolbar to your liking, you can optimize its usability and ensure that it provides convenient access to the tools and functionalities you use most.
Once you have customized the toolbar to suit your preferences, you can begin using it to streamline your browsing experience. The toolbar serves as a centralized hub for accessing essential tools, shortcuts, and functions, allowing you to navigate the web with efficiency and convenience.
Whether you utilize the toolbar for quick access to bookmarks, productivity tools, or specific website functionalities, its presence can significantly enhance your interaction with Google Chrome. By incorporating the toolbar into your browsing routine, you can expedite common tasks, simplify navigation, and optimize your workflow.
In addition to its practical functionalities, the customized toolbar can contribute to a more enjoyable and personalized browsing experience. Its tailored layout and quick access to essential tools can streamline your online activities, making it easier to manage tasks, access resources, and stay organized while browsing the web.
By customizing and utilizing your new toolbar, you are maximizing the potential of Google Chrome to cater to your specific needs and preferences. The personalized toolbar serves as a valuable asset in optimizing your browsing experience, providing quick access to essential tools and functions, and enhancing your overall productivity and efficiency within the browser.