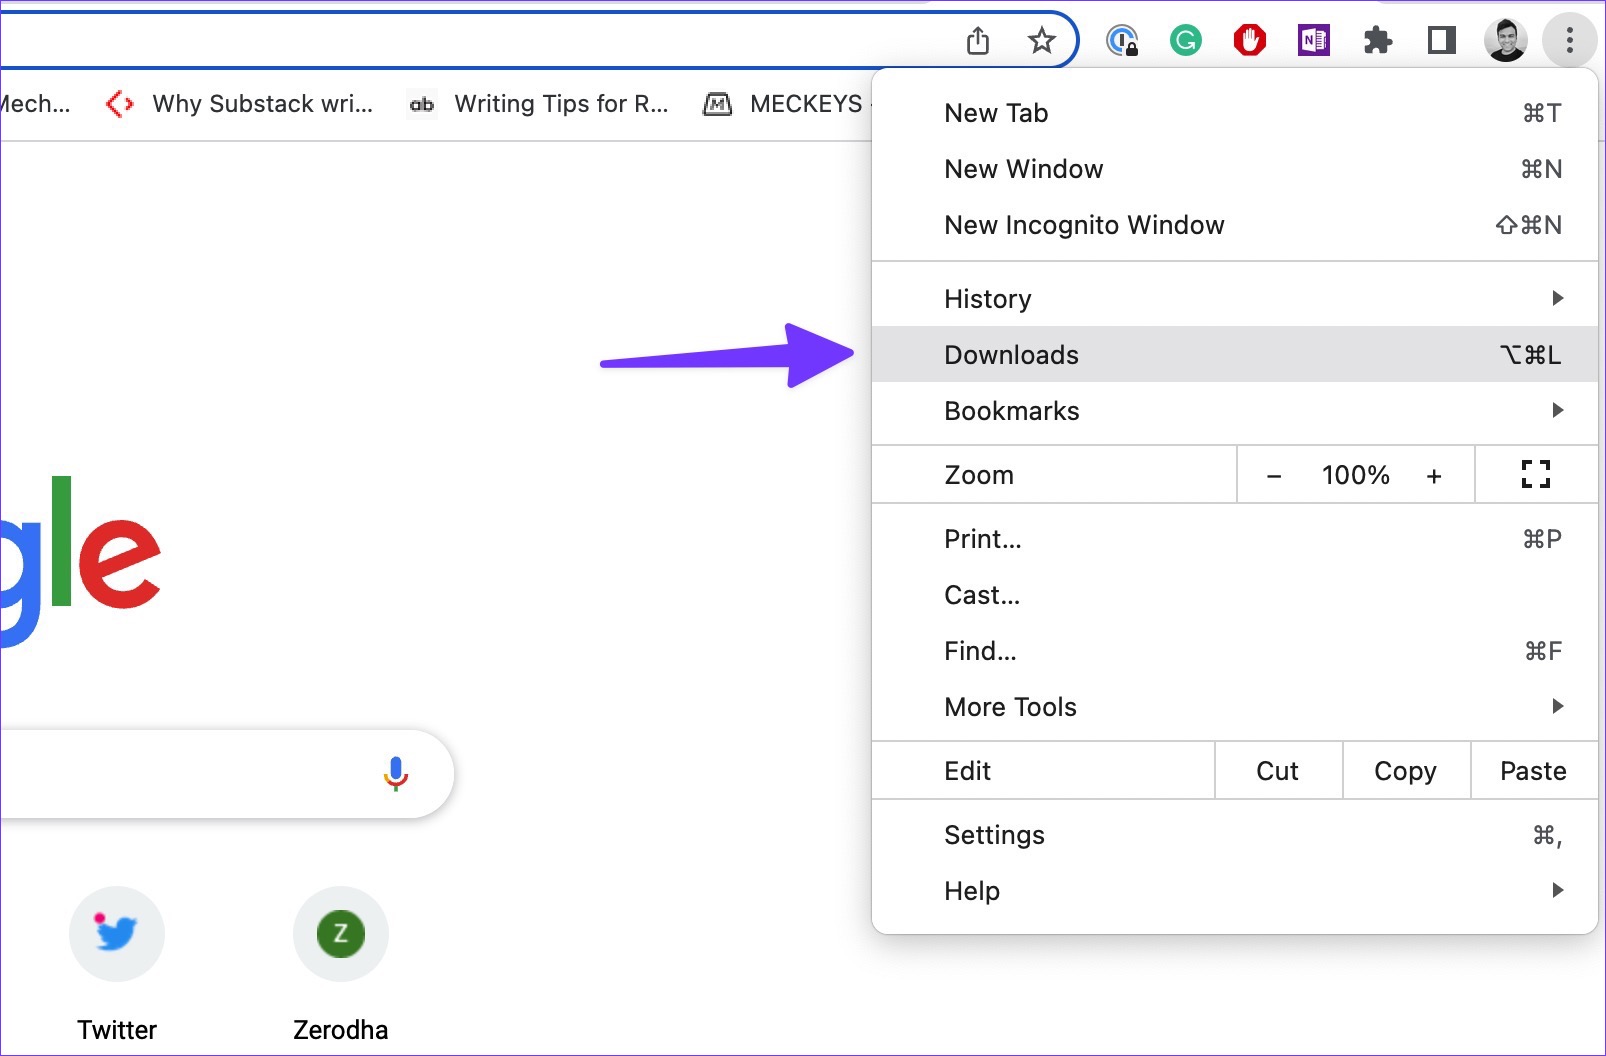
Your Chrome downloads location is the "Downloads" folder on your computer, but you can also view and manage every file you've downloaded directly inside the browser. To open that list instantly, press Ctrl+J (or Cmd+J on a Mac), or click the three vertical dots (⋮) in the top-right corner and select "Downloads."
Where is the Chrome downloads location?
The quickest way to see your recent downloads is to open the Downloads page. Click the three vertical dots (⋮) in the top-right corner of Chrome, then choose "Downloads" from the menu. Alternatively, use the keyboard shortcut Ctrl+J on Windows/Linux or Cmd+J on Mac to jump straight there. This page lists your files chronologically, with the newest at the top, and shows each file's name, size, and download status.
Your actual files are saved to a default folder on your hard drive, not inside Chrome itself. The exact path depends on your operating system:
- Windows 10 and up:
C:\Users\<YourUsername>\Downloads - Mac:
/Users/<username>/Downloads - Linux:
/home/<username>/Downloads
If you ever forget where a file went, the Downloads page will always show you the correct location.
How to open a downloaded file
On the Downloads page, simply click a file's name to open it with your computer's default application. For example, a PDF opens in your default PDF viewer, and an image opens in your default photo app. If you need to locate the file itself, say, to move it to another folder or attach it to an email, click the "Show in folder" link next to the file. This opens File Explorer (Windows) or Finder (Mac) with the file highlighted in its storage location.
How to change the default download folder
If you prefer to save downloads somewhere other than the default folder, you can change it in Chrome's settings. Follow these steps:
- Click the three vertical dots (⋮) in the top-right corner and select "Settings."
- Scroll down and click "Downloads" in the left sidebar (or find the "Downloads" section under "Advanced" on some versions).
- Next to the "Location" heading, click the "Change" button.
- Choose your desired new folder in the file picker, then confirm your selection.
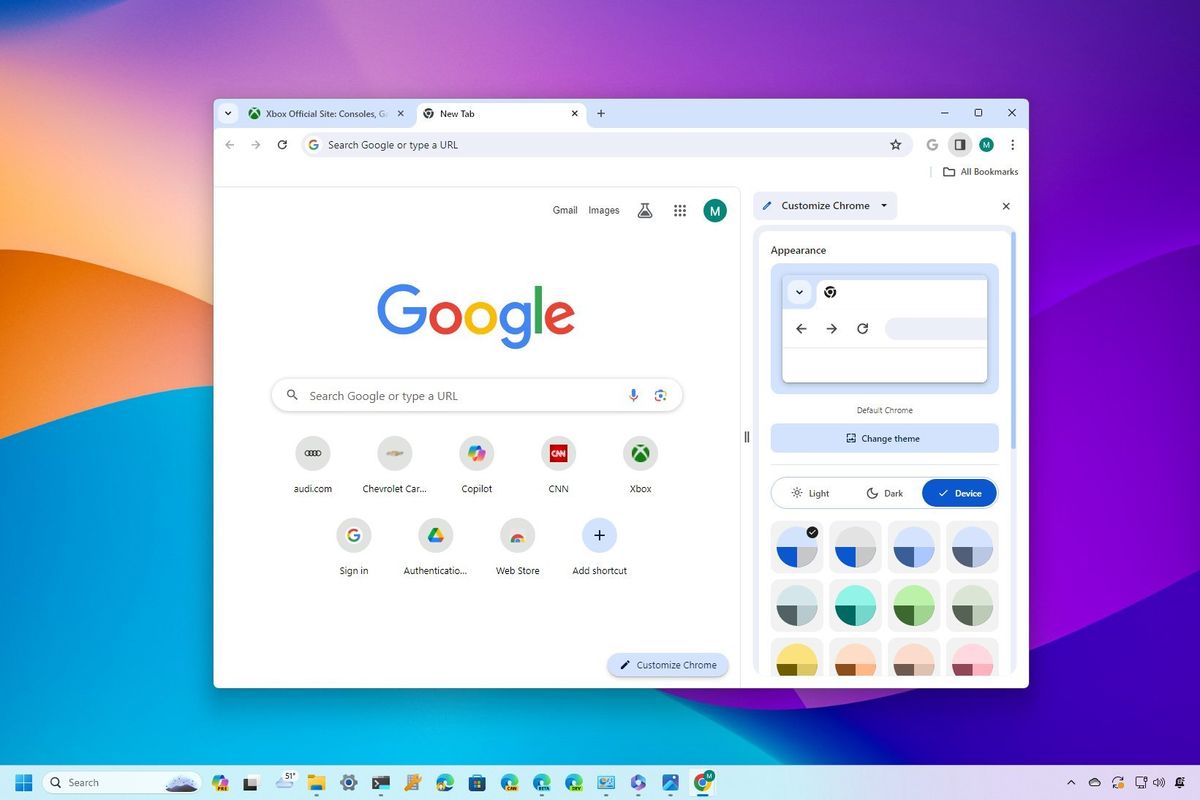
You can also enable the "Ask where to save each file before downloading" toggle in the same settings page. With this on, Chrome will prompt you to pick a destination every time you download something, giving you full control over where each file lands. This is especially useful if you're customising the Chrome homepage and shortcuts to keep your workspace tidy and want downloads to match your organisational system, and you can even add webpages to Google Chrome homepage for quick access to those key folders later.
How to clear download history or remove files
Clearing your download history and deleting the actual files are two different actions. On the Downloads page, each file has an "Remove" (X) icon next to it. Clicking that removes the entry from your Chrome download history, it does not delete the file from your computer. The file stays in your Downloads folder or wherever you saved it.
To delete the file itself, you need to remove it from your hard drive. Use "Show in folder" to locate the file, then delete it in File Explorer or Finder. This frees up storage space and removes the file entirely, while the history entry remains until you manually remove it.
How to resume interrupted downloads
If a download fails or pauses due to a network issue, you don't have to start over. Go to the Downloads page (Ctrl+J or Cmd+J) and look for the interrupted file. It will show a "Resume" button, click it, and Chrome will continue downloading from where it left off, saving you time and bandwidth. If the file is no longer available on the server, the resume option may be greyed out, but in most cases, Chrome can pick up where it stopped.
Fix Chrome downloads not appearing (macOS)
On macOS, a common issue prevents Chrome from saving downloads to the correct folder. Strict privacy permissions can block Chrome from moving temporary download files to your designated Downloads folder, leaving files stuck in a temporary location or not appearing at all. To fix this, you need to grant Chrome Full Disk Access in System Settings:
- Open System Settings (or System Preferences on older macOS versions).
- Go to "Privacy & Security" and select "Full Disk Access."
- Find Google Chrome in the list and toggle the switch to enable it.
- If Chrome is already running, restart it for the change to take effect.
After granting Full Disk Access, Chrome can move downloads to the folder you've set, and your files will appear where you expect them.
\nRelated reading: How To Resize The Google Chrome Window.