Introduction
Are you a die-hard fan of Google Chrome but find yourself using Firefox? Perhaps you've been using Firefox for a while and have grown accustomed to its features, but now you're ready to make the switch to Google Chrome. Whether it's for the sleek interface, lightning-fast performance, or seamless integration with your Google account, transitioning to Google Chrome can be a game-changer for your browsing experience.
In this guide, we'll walk you through the process of changing from Firefox to Google Chrome, ensuring a smooth transition without losing your important bookmarks, settings, and browsing history. By following these steps, you'll be able to seamlessly switch to Google Chrome and take advantage of its powerful features and user-friendly interface.
So, if you're ready to embrace the world of Google Chrome and bid farewell to Firefox, let's dive into the step-by-step process of making the switch. Get ready to experience the speed, simplicity, and customization options that Google Chrome has to offer. It's time to elevate your browsing experience and unlock the full potential of the web with Google Chrome at your fingertips.
Step 1: Download Google Chrome
To embark on your journey from Firefox to Google Chrome, the first step is to download the Google Chrome browser onto your device. Here's a comprehensive guide to help you seamlessly transition to Google Chrome:
-
Visit the Google Chrome Website: Open your Firefox browser and navigate to the official Google Chrome website. You can do this by typing "Google Chrome" into the search bar or directly entering the URL "www.google.com/chrome" in the address bar.
-
Download Google Chrome: Once you're on the Google Chrome website, you'll see a prominent "Download Chrome" button. Click on this button to initiate the download process. Google Chrome is available for various operating systems, including Windows, macOS, and Linux, so ensure that you select the version compatible with your device's operating system.
-
Accept Terms and Conditions: After clicking the "Download Chrome" button, you may be prompted to review and accept the terms and conditions of using Google Chrome. Be sure to read through the terms and conditions, and if you agree, proceed to accept them to initiate the download.
-
Run the Installer: Once the download is complete, locate the downloaded file on your device and run the installer. Follow the on-screen instructions to complete the installation process. Google Chrome will be installed on your device, ready to be customized and personalized according to your preferences.
By following these steps, you'll successfully download and install Google Chrome on your device, setting the stage for a seamless transition from Firefox to Google Chrome. With Google Chrome now at your fingertips, you're one step closer to unlocking a world of browsing speed, efficiency, and customization options. Get ready to explore the next steps in the transition process as we delve into importing bookmarks and settings from Firefox to Google Chrome.
Step 2: Import Bookmarks and Settings
Now that Google Chrome is successfully installed on your device, the next crucial step in transitioning from Firefox to Google Chrome is importing your bookmarks and settings. This ensures that you don't lose access to your favorite websites and important browsing preferences. Here's a detailed guide on how to seamlessly import your bookmarks and settings from Firefox to Google Chrome:
Importing Bookmarks:
-
Open Google Chrome: Launch Google Chrome on your device. You can find the Chrome icon in your applications folder or on your desktop if you created a shortcut during installation.
-
Access the Bookmarks Manager: Click on the three-dot menu icon in the top-right corner of the Chrome window. From the dropdown menu, navigate to "Bookmarks" and then select "Bookmark Manager." This will open the Bookmark Manager tab within Google Chrome.
-
Access the Import Tool: Within the Bookmark Manager, click on the three-dot menu icon again. From the dropdown menu, select "Import Bookmarks." This action will prompt a window to appear, allowing you to choose the browser from which you want to import bookmarks.
-
Select Firefox as the Source: In the import window, choose "Firefox" from the list of available browsers. This will instruct Google Chrome to import bookmarks and browsing history from your Firefox browser.
-
Initiate the Import Process: After selecting Firefox as the source, click "Import." Google Chrome will then begin importing your bookmarks and browsing history from Firefox. Once the process is complete, you'll have all your favorite websites and browsing history readily accessible within Google Chrome.
Importing Settings:
-
Access the Settings Menu: In Google Chrome, click on the three-dot menu icon in the top-right corner of the window. From the dropdown menu, select "Settings." This will open the Settings tab within Google Chrome.
-
Sign in to Your Google Account: If you have a Google account, sign in to it within the Settings tab. This step is crucial as it allows Google Chrome to sync your browsing settings, history, and preferences across devices.
-
Sync Your Settings: Within the Settings tab, navigate to the "Sync and Google services" section. Here, you can customize which settings you want to sync across devices. Ensure that the "Sync" option is enabled to sync your browsing settings seamlessly.
By following these steps, you'll successfully import your bookmarks and settings from Firefox to Google Chrome, ensuring a smooth transition without losing access to your favorite websites and browsing preferences. With your bookmarks and settings now seamlessly integrated into Google Chrome, you're ready to explore the next steps in customizing and optimizing your browsing experience with Google Chrome.
Step 3: Set Google Chrome as Default Browser
Setting Google Chrome as your default browser ensures that all web links and HTML files automatically open in Chrome, streamlining your browsing experience. Here's a detailed guide on how to make Google Chrome your default browser:
On Windows:
-
Access Default Apps Settings: Click on the Windows Start button and select "Settings" (the gear icon). In the Settings window, navigate to "Apps" and then select "Default apps" from the left-hand menu.
-
Choose Default Browser: Scroll down to the "Web browser" section and click on the current default browser. A list of installed web browsers will appear. Select "Google Chrome" from the list to set it as the default browser.
-
Confirm the Change: Once you've selected Google Chrome as the default browser, close the Settings window. From this point forward, all web links and HTML files will automatically open in Google Chrome.
On macOS:
-
Access System Preferences: Click on the Apple logo in the top-left corner of the screen and select "System Preferences" from the dropdown menu.
-
Set Default Browser: In the System Preferences window, click on "General." Here, you'll find the "Default web browser" option. Click on the dropdown menu and select "Google Chrome" to set it as the default browser.
-
Close System Preferences: After selecting Google Chrome as the default browser, close the System Preferences window. Google Chrome is now your default browser on macOS.
On Linux:
-
Access System Settings: The process of setting the default browser may vary based on the Linux distribution and desktop environment. In general, you can access the default applications settings through the system settings or control panel.
-
Choose Google Chrome: Navigate to the web browser settings and select "Google Chrome" as the default browser. The specific steps may vary, so refer to the documentation for your Linux distribution for detailed instructions.
By following these steps, you'll successfully set Google Chrome as your default browser on your respective operating system, ensuring that all web links and HTML files open seamlessly in Google Chrome. With Google Chrome now serving as your default browser, you're poised to enjoy a streamlined and efficient browsing experience tailored to your preferences.
Step 4: Customize Google Chrome
Now that you've successfully transitioned from Firefox to Google Chrome and set it as your default browser, it's time to explore the myriad of customization options that Google Chrome offers. Customizing Google Chrome allows you to tailor the browser to your preferences, enhance productivity, and personalize your browsing experience. Here's a comprehensive guide on how to customize Google Chrome to suit your needs:
Theme and Appearance:
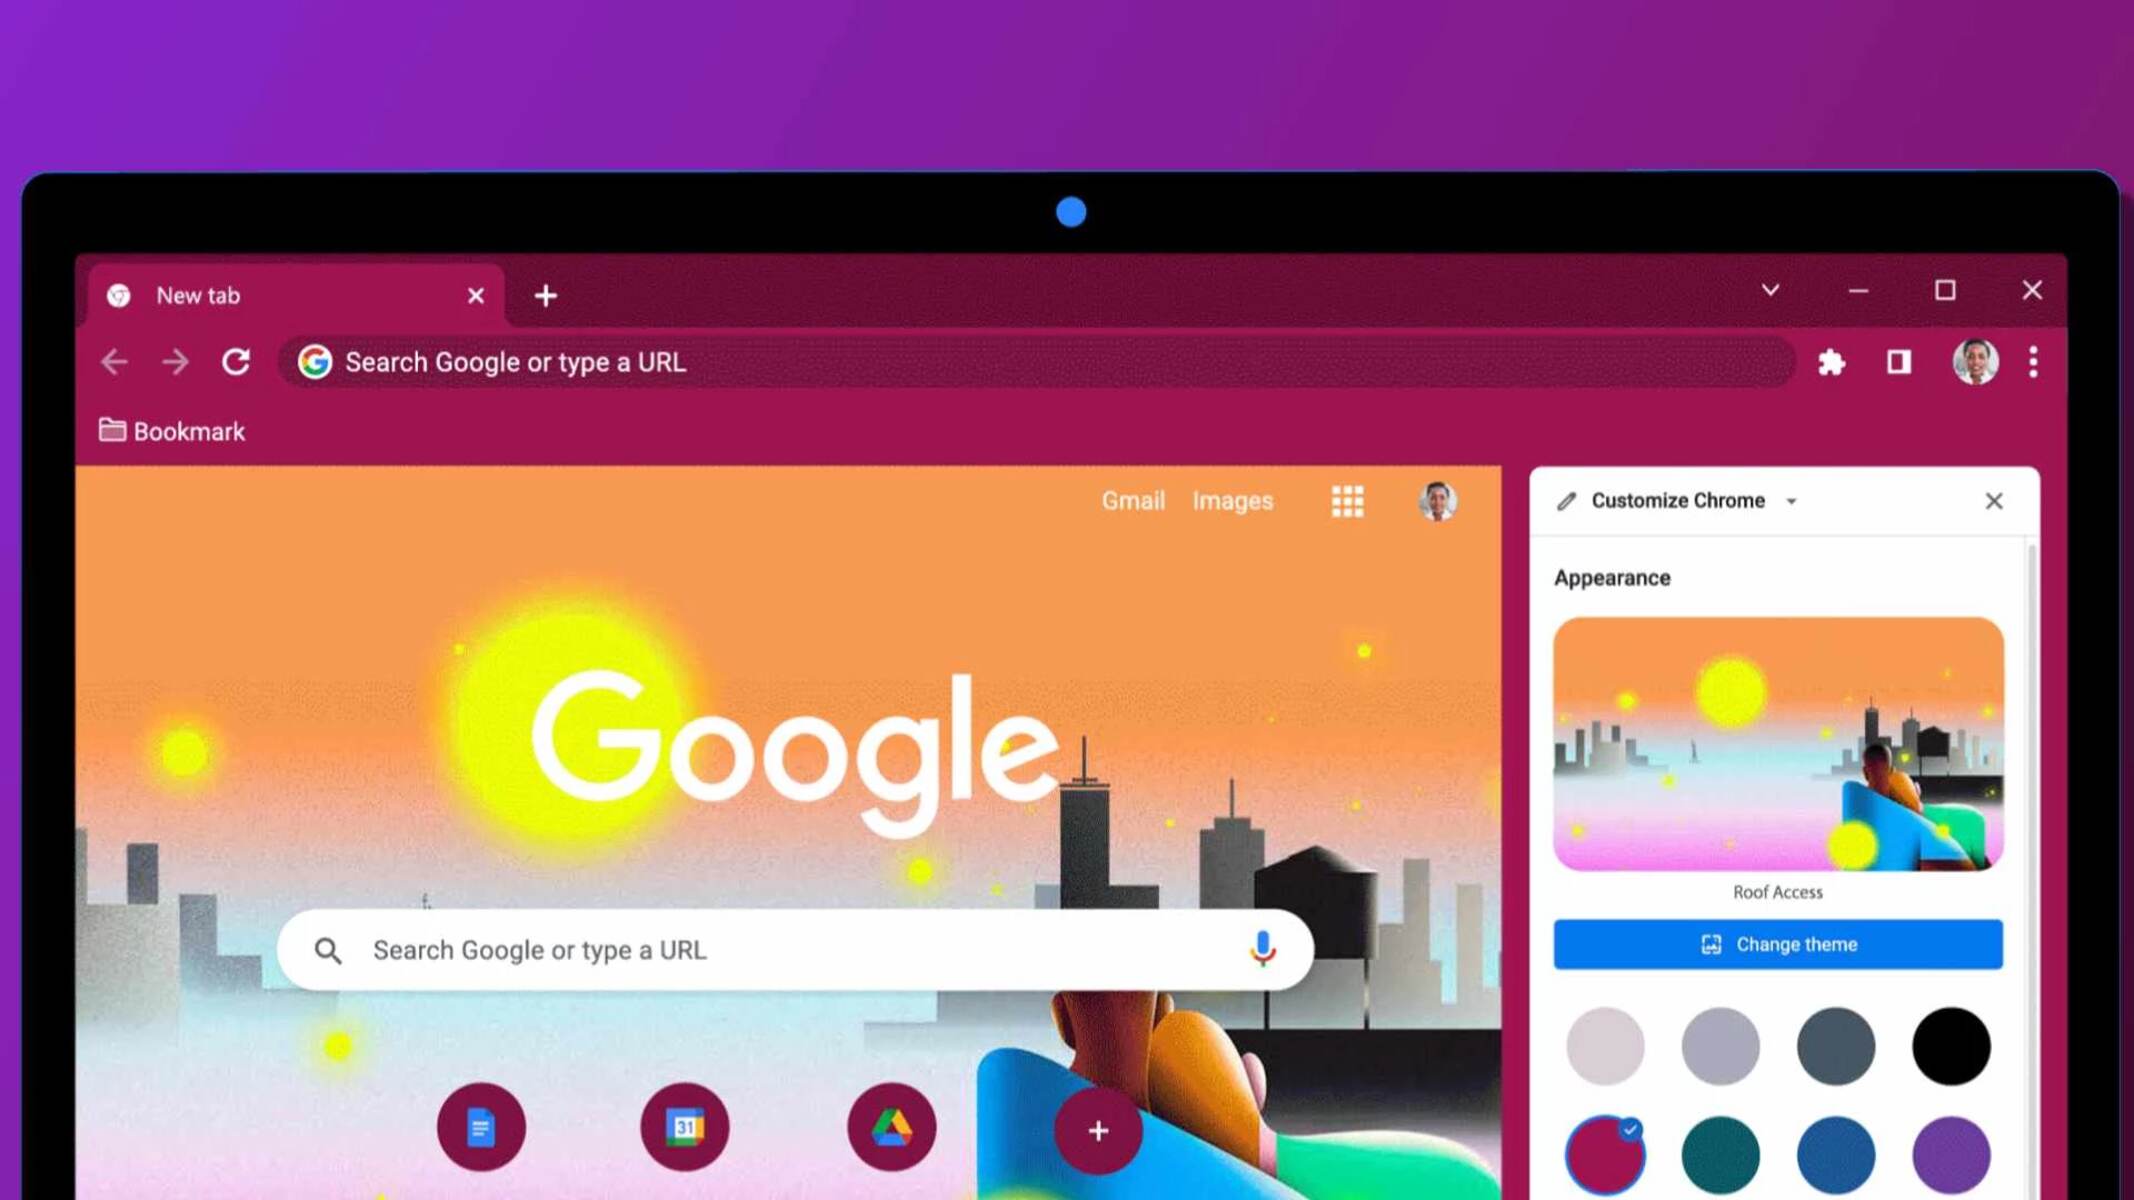
- Choose a Theme: Click on the three-dot menu icon in the top-right corner of the Chrome window, navigate to "Settings," and then select "Themes" from the left-hand menu. Browse through a wide array of themes and select one that resonates with your style and preferences. Whether it's a vibrant, artistic theme or a minimalistic design, choosing a theme adds a personal touch to your browsing experience.
Extensions and Add-Ons:
- Explore the Chrome Web Store: Access the Chrome Web Store by clicking on the three-dot menu icon, selecting "More tools," and then choosing "Extensions." Explore a diverse range of extensions and add-ons that cater to various needs, such as ad blockers, productivity tools, language translators, and more. Install the extensions that align with your browsing habits and enhance your productivity.
Customizing the New Tab Page:
- Personalize the New Tab Page: Chrome allows you to customize the New Tab page with shortcuts to your favorite websites, a personalized background image, and quick access to frequently visited sites. Click on the "+" icon on a new tab to customize the page according to your preferences, making it a convenient launchpad for your browsing activities.
Managing Bookmarks and Settings:
- Organize Bookmarks: Utilize the Bookmark Manager to organize your bookmarks into folders, edit bookmark names, and manage your bookmark bar for quick access to essential websites. This ensures that your bookmarked sites are neatly arranged and easily accessible.
Syncing Across Devices:
- Sign in to Chrome: If you have a Google account, sign in to Chrome to sync your browsing history, bookmarks, and settings across devices. This seamless synchronization ensures that your browsing experience remains consistent, whether you're using Chrome on your computer, smartphone, or tablet.
Advanced Settings and Preferences:
- Explore Advanced Settings: Delve into the advanced settings within Chrome to customize privacy and security preferences, manage site permissions, and fine-tune browsing behavior according to your preferences. This allows you to tailor Chrome to meet your specific requirements while ensuring a secure and personalized browsing experience.
By customizing Google Chrome using these diverse options, you can transform the browser into a personalized and efficient tool that aligns with your browsing habits and preferences. Whether it's adding productivity-enhancing extensions, personalizing the appearance, or fine-tuning advanced settings, customizing Google Chrome empowers you to create a browsing environment that reflects your unique style and requirements. With these customization options at your disposal, you're poised to elevate your browsing experience and harness the full potential of Google Chrome.
Conclusion
Congratulations on successfully transitioning from Firefox to Google Chrome! By following the comprehensive steps outlined in this guide, you've seamlessly made the switch to Google Chrome, ensuring that your browsing experience is now powered by the speed, efficiency, and customization options that Chrome has to offer.
As you embrace Google Chrome as your new go-to browser, it's essential to reflect on the benefits of this transition. With Google Chrome, you're now equipped with a browser that not only delivers lightning-fast performance but also seamlessly integrates with your Google account, allowing for effortless synchronization of your browsing history, bookmarks, and settings across devices. This synchronization ensures a consistent and personalized browsing experience, whether you're using Chrome on your computer, smartphone, or tablet.
Furthermore, by setting Google Chrome as your default browser, you've streamlined your web browsing activities, ensuring that all web links and HTML files automatically open in Chrome. This simple yet impactful adjustment enhances your overall browsing efficiency and ensures a seamless transition from Firefox to Google Chrome.
Customizing Google Chrome to suit your preferences and browsing habits further enhances the browsing experience. Whether it's selecting a theme that resonates with your style, exploring and installing productivity-enhancing extensions, or personalizing the New Tab page, you've tailored Chrome to meet your unique requirements. This level of customization empowers you to create a browsing environment that reflects your individuality and enhances productivity.
As you continue to explore the myriad features and capabilities of Google Chrome, remember that the transition from Firefox to Chrome represents a significant step toward optimizing your browsing experience. With Google Chrome at your fingertips, you're poised to explore the web with unparalleled speed, efficiency, and a personalized touch that aligns with your preferences.
In conclusion, the transition from Firefox to Google Chrome marks the beginning of an exciting journey into a world of seamless browsing, powerful features, and personalized customization. Embrace the speed, simplicity, and versatility that Google Chrome offers, and unlock the full potential of the web with a browser that caters to your unique browsing needs. Welcome to the world of Google Chrome, where your browsing experience is tailored to your preferences, and the possibilities are endless.


