Clear Browsing Data
Clearing browsing data is a fundamental step in optimizing the performance of Google Chrome. Over time, the browser accumulates a plethora of temporary files, cookies, and cached images, which can significantly impact its speed and responsiveness. By regularly clearing this data, you can ensure that Chrome operates at its optimal capacity.
When you clear your browsing data, you essentially remove the digital footprint of your online activities. This includes cookies, which are small pieces of data stored by websites to track your browsing behavior, as well as cached images and files that are stored to enhance the loading speed of websites you frequently visit.
To clear your browsing data in Google Chrome, simply follow these steps:
-
Open Chrome Settings: Click on the three-dot menu in the top-right corner of the browser window and select "Settings" from the dropdown menu.
-
Access Privacy and Security Settings: In the Settings menu, scroll down and click on "Privacy and security" in the left-hand sidebar.
-
Choose Browsing Data: Under the "Privacy and security" section, select "Clear browsing data."
-
Select Data to Clear: You will be presented with options to clear browsing history, cookies and other site data, as well as cached images and files. You can also choose the time range for which you want to clear the data.
-
Clear Data: Once you have selected the data you want to clear, click on the "Clear data" button to initiate the process.
By regularly clearing your browsing data, you can free up valuable disk space and remove potentially harmful or privacy-invading elements from your browser. This not only contributes to a faster browsing experience but also enhances your online privacy and security.
In addition to the manual process outlined above, Chrome also offers the option to automatically clear browsing data upon exiting the browser. This can be configured in the "Privacy and security" settings under "Site settings" and "Cookies and site data."
By making a habit of clearing your browsing data, you can ensure that your browsing experience remains smooth and efficient, free from the clutter that can accumulate over time.
Disable Unnecessary Extensions
Google Chrome's extensive library of extensions offers users a myriad of functionalities, ranging from productivity tools to entertainment add-ons. While these extensions can enhance the browsing experience, having an excessive number of them installed can lead to a significant slowdown in Chrome's performance. Disabling unnecessary extensions is a crucial step in optimizing the browser's speed and responsiveness.
When Chrome is burdened with an abundance of extensions, it not only consumes additional system resources but also increases the browser's startup time. This can result in sluggish performance, longer loading times for web pages, and even occasional crashes. Therefore, it is essential to evaluate the extensions installed and disable those that are not actively used or deemed unnecessary.
To disable unnecessary extensions in Google Chrome, follow these steps:
-
Access the Extensions Menu: Click on the three-dot menu in the top-right corner of the browser window and navigate to "More tools" and then "Extensions."
-
Review Installed Extensions: In the Extensions menu, you will find a list of all the extensions currently installed in Chrome. Take the time to review each extension and assess its utility and relevance to your browsing habits.
-
Disable Unnecessary Extensions: For each extension that is deemed unnecessary or seldom used, simply toggle the switch next to it to disable it. This action prevents the extension from running and consuming system resources while browsing.
By disabling unnecessary extensions, you can streamline Chrome's performance and reduce the strain on your system resources. This, in turn, leads to faster loading times for web pages, improved responsiveness, and a more seamless browsing experience overall.
It is important to note that while extensions can significantly impact Chrome's performance, certain extensions are essential for specific functionalities or security measures. Therefore, it is crucial to exercise discretion when disabling extensions and ensure that those vital to your browsing experience remain enabled.
Regularly reviewing and managing your extensions can help maintain Chrome's efficiency and prevent it from becoming bogged down by unnecessary add-ons. By keeping only the essential and frequently used extensions enabled, you can ensure that Chrome operates at its optimal speed and delivers a smooth and enjoyable browsing experience.
Update Google Chrome
Keeping Google Chrome updated is crucial for ensuring optimal performance, security, and access to the latest features. Regular updates not only address known issues and vulnerabilities but also introduce enhancements that contribute to a smoother and more efficient browsing experience.
When Google releases a new version of Chrome, it often includes bug fixes, stability improvements, and security patches. By updating the browser to the latest version, users can benefit from these enhancements, which collectively contribute to a more reliable and secure browsing environment.
To update Google Chrome to the latest version, follow these simple steps:
-
Access Chrome Settings: Click on the three-dot menu in the top-right corner of the browser window and select "Settings" from the dropdown menu.
-
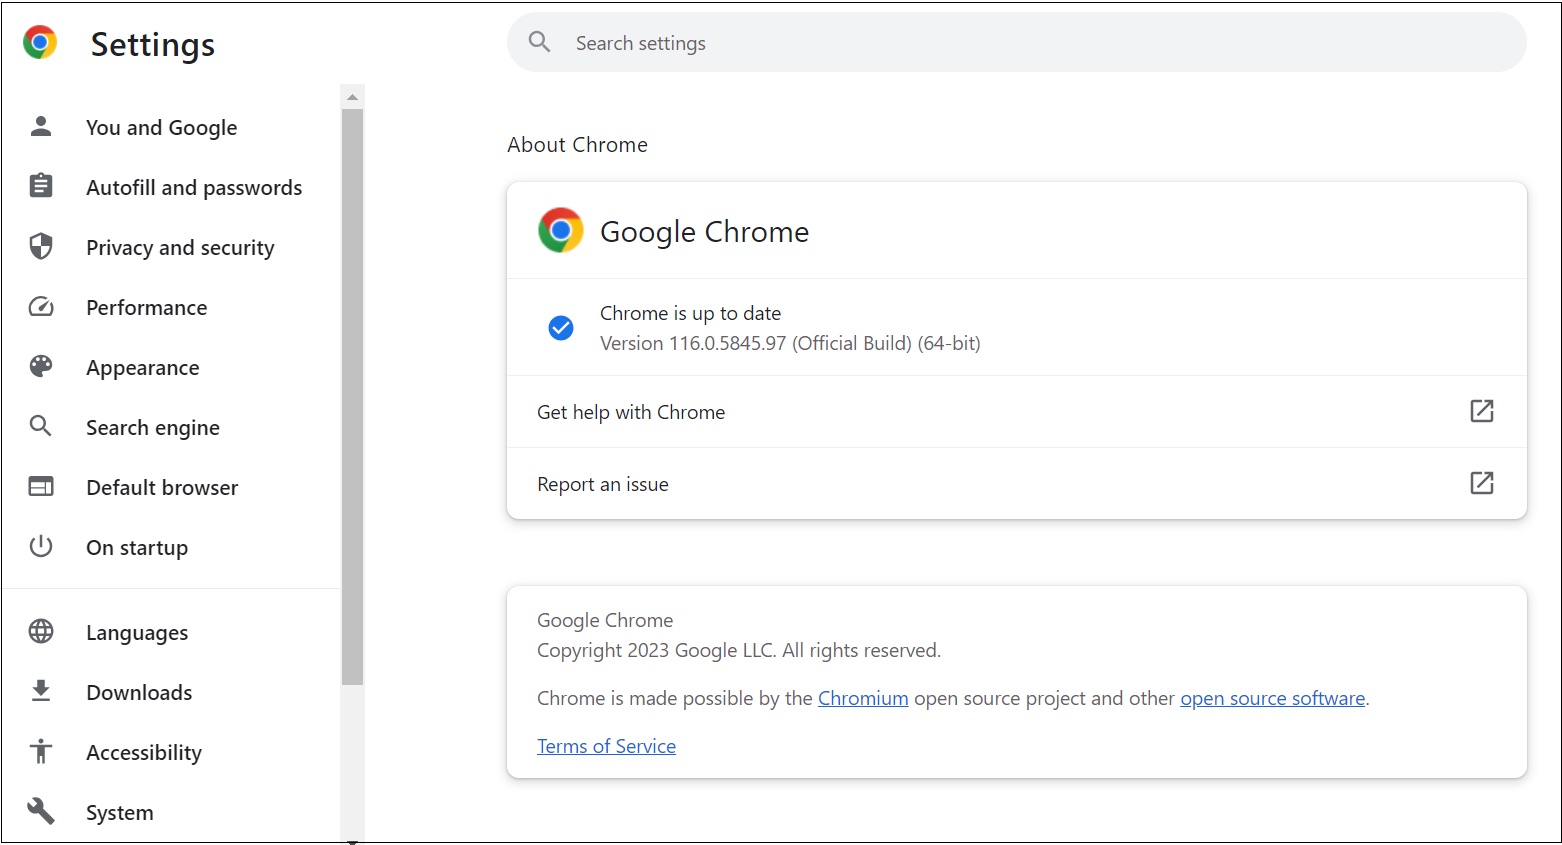
Navigate to About Chrome: In the Settings menu, scroll down and click on "About Chrome" in the left-hand sidebar. This will automatically trigger Chrome to check for updates.
-
Update Chrome: If a new version is available, Chrome will begin downloading and installing the update. Once the update is complete, you will be prompted to relaunch the browser to apply the changes.
Alternatively, you can manually check for updates by typing "chrome://settings/help" in the address bar and pressing Enter. This will direct you to the About Chrome page, where you can initiate the update process if a new version is available.
By ensuring that Google Chrome is always up to date, users can take advantage of the latest performance optimizations, security enhancements, and feature updates. This proactive approach not only safeguards against potential security threats but also ensures that users can leverage the full capabilities of the browser.
In addition to updating the browser itself, it is equally important to keep Chrome extensions and plugins up to date. Outdated extensions or plugins can pose security risks and may also contribute to performance issues. Regularly reviewing and updating extensions ensures that they remain compatible with the latest version of Chrome and function optimally.
By making a habit of updating Google Chrome and its associated components, users can enjoy a browsing experience that is not only fast and reliable but also equipped with the latest features and security measures. This proactive approach to maintenance and updates contributes to a seamless and secure browsing experience for all Chrome users.
Enable Prefetching
Enabling prefetching in Google Chrome can significantly enhance the browsing experience by proactively loading web pages and resources that are likely to be accessed. This proactive approach to fetching content can lead to faster page load times and a more seamless navigation experience for users.
Prefetching operates by predicting the links that a user is likely to click on a given web page and preemptively loading the associated content in the background. By doing so, when the user eventually clicks on the predicted link, the content is already cached and ready for immediate display, resulting in a perceptibly faster loading time.
To enable prefetching in Google Chrome, follow these steps:
-
Access Chrome Settings: Click on the three-dot menu in the top-right corner of the browser window and select "Settings" from the dropdown menu.
-
Navigate to Privacy and Security Settings: In the Settings menu, scroll down and click on "Privacy and security" in the left-hand sidebar.
-
Enable Prefetching: Under the "Privacy and security" section, select "Cookies and other site data." Here, you will find the option to "Preload pages for faster browsing and searching." Toggle the switch to enable this feature.
By enabling prefetching, users can experience a noticeable improvement in the loading speed of web pages, especially when navigating through interconnected websites or accessing content with multiple embedded links. This feature leverages Chrome's predictive algorithms to anticipate user behavior and preload content accordingly, resulting in a more responsive and fluid browsing experience.
It is important to note that while prefetching can significantly enhance browsing speed, it may consume additional network bandwidth and system resources. Therefore, users on limited data plans or older hardware should consider the potential trade-offs before enabling this feature.
Overall, enabling prefetching in Google Chrome aligns with the browser's commitment to optimizing user experience. By leveraging predictive algorithms to preload content, Chrome empowers users with faster access to web pages and resources, ultimately contributing to a more efficient and enjoyable browsing experience.
Use Data Saver Extension
The Data Saver extension for Google Chrome is a powerful tool designed to optimize browsing speed and reduce data usage, particularly beneficial for users with limited bandwidth or those seeking to minimize their data consumption. By compressing web pages before they are loaded, the Data Saver extension effectively reduces the amount of data transmitted during browsing sessions, leading to faster page load times and decreased data usage.
Upon installation, the Data Saver extension operates by rerouting web page requests through Google servers, where the pages are compressed and optimized before being delivered to the user's browser. This compression process significantly reduces the size of web pages, resulting in faster loading times and reduced data consumption, particularly advantageous for users accessing the internet on slower connections or in regions with limited network infrastructure.
The extension also provides users with insights into their data savings, displaying the amount of data saved during browsing sessions. This transparency allows users to quantify the impact of the extension and understand the tangible benefits it offers in terms of data conservation and improved browsing efficiency.
Furthermore, the Data Saver extension incorporates secure browsing protocols, ensuring that encrypted and secure connections are maintained while optimizing data usage. This commitment to security and privacy reassures users that their browsing activities remain protected, even as the extension actively reduces data consumption and enhances browsing speed.
By leveraging the Data Saver extension, users can enjoy a more streamlined and efficient browsing experience, particularly in scenarios where bandwidth is limited or costly. The extension's ability to compress web pages and minimize data usage aligns with Google Chrome's commitment to delivering a fast, secure, and accessible browsing environment for users across diverse network conditions.
In summary, the Data Saver extension for Google Chrome stands as a valuable tool for optimizing browsing speed and conserving data, catering to the needs of users seeking to maximize efficiency and minimize data usage without compromising on the quality of their browsing experience.
Enable Hardware Acceleration
Enabling hardware acceleration in Google Chrome can significantly boost the browser's performance by offloading certain tasks to the computer's GPU (Graphics Processing Unit). By leveraging the GPU's processing power, hardware acceleration accelerates the rendering of graphics-intensive elements on web pages, resulting in smoother animations, faster video playback, and overall improved responsiveness.
To enable hardware acceleration in Google Chrome, follow these simple steps:
-
Access Chrome Settings: Click on the three-dot menu in the top-right corner of the browser window and select "Settings" from the dropdown menu.
-
Navigate to Advanced Settings: In the Settings menu, scroll down and click on "Advanced" to expand the advanced settings options.
-
Enable Hardware Acceleration: Under the "System" section, toggle the switch next to "Use hardware acceleration when available" to enable this feature.
Once hardware acceleration is enabled, Chrome will utilize the GPU for rendering web content, resulting in a noticeable enhancement in the browser's performance, especially when dealing with graphics-intensive web applications, multimedia content, and complex animations.
It is important to note that while hardware acceleration can significantly improve performance, its impact may vary depending on the computer's hardware configuration. Systems with dedicated GPUs or integrated graphics processors are likely to experience the most substantial benefits from hardware acceleration, whereas older or less powerful hardware may see more modest improvements.
Furthermore, enabling hardware acceleration can lead to reduced CPU usage, as the GPU assumes some of the computational load, contributing to a more efficient utilization of system resources and a smoother browsing experience.
By harnessing the power of hardware acceleration, Google Chrome aligns with its commitment to delivering a fast, responsive, and visually engaging browsing experience for users across diverse hardware configurations. This feature underscores Chrome's dedication to leveraging cutting-edge technologies to optimize performance and ensure a seamless and enjoyable browsing experience for all users.
Use a Lightweight Theme
In the quest to optimize the browsing experience, utilizing a lightweight theme in Google Chrome can yield significant performance benefits. A lightweight theme, characterized by its minimalistic design and efficient resource utilization, contributes to a faster and more responsive browsing environment.
When users opt for a lightweight theme, they embrace a visual aesthetic that prioritizes simplicity and streamlined design elements. By minimizing the use of complex graphics, animations, and visual effects, lightweight themes reduce the strain on system resources, resulting in quicker rendering of web pages and enhanced overall performance.
In addition to the visual aspects, lightweight themes often entail smaller file sizes compared to their more elaborate counterparts. This reduction in file size translates to faster download and installation times, ensuring that users can swiftly apply the theme without experiencing delays or interruptions to their browsing activities.
Furthermore, the lightweight nature of these themes minimizes the impact on system memory and CPU usage, contributing to a more efficient allocation of resources. This, in turn, leads to improved browser responsiveness, reduced loading times for web pages, and a smoother navigation experience for users.
By adopting a lightweight theme, users can personalize their browsing environment without compromising on performance. The combination of visual simplicity, efficient resource utilization, and reduced file sizes aligns with the goal of enhancing the overall browsing experience while maintaining optimal browser speed and responsiveness.
In essence, the choice to use a lightweight theme reflects a deliberate commitment to prioritizing performance and efficiency in the browsing environment. By embracing minimalistic design principles and resource-conscious aesthetics, users can enjoy a faster, more responsive, and visually uncluttered browsing experience, ultimately enhancing their overall satisfaction with Google Chrome.