Knowing how to apply thermal paste to CPU builds can be an incredibly useful skill in the modern day. It’s especially important if you’re looking to build a PC from scratch. On the other hand, learning how to apply thermal paste to CPU units is equally important to proper maintenance.
However, it can be a tricky thing to figure out, especially if this is your first time. That’s why we’re here to tell you all the intricacies of how to apply thermal paste to CPU rigs. Without further ado, let’s get started.
What Is Thermal Paste?

Before you learn how to apply thermal paste to CPU rigs, it’s important to understand what thermal paste even is. After all, CPU parts are a delicate thing so it’s crucial to get things in the right places. If something isn’t in proper order, then it’s easy to mess things up and wind up with a broken computer.
Now, back to the thermal paste. The first thing you need to understand about thermal paste is that it’s different from thermal adhesives. It’s easy to mistake one for the other because of the confusing naming scheme. Nonetheless, thermal paste is completely different, serving a different purpose from thermal adhesives.
What’s the difference? Firstly, thermal adhesives are what you would use to stick a heatsink to an integrated circuit. On the other hand, thermal paste is what you use to channel heat from the chip to the heatsink. However, it doesn’t exactly have adhesive properties like the name implies.
How to Know When You Need Thermal Paste?
Now that you know what thermal paste is, you might be wondering why you need to apply it. Surely a good working computer has the proper parts — and pastes — in place, right?
Well, you’re certainly right about that if you’re buying a pre-built rig. However, aspiring PC builders would need to know how to apply thermal paste to CPU rigs to get things working. It’s just one part of the assembly that’s needed to make sure your CPU won’t overheat. You do this before installing your CPU’s cooling mechanism.
Also Read: The Ultimate Guide to Building a Gaming PC
On the other hand, regular PC users could also benefit from knowing how to apply thermal paste to CPU rigs. Why? That is because thermal paste needs replacing from time to time. Moreover, learning this technique is critical if you plan on upgrading your processor down the line.
With all of that said, how often should you apply thermal paste to CPU units? Is there specific timing for when this is needed? Yes, there is. More specifically, are three instances that warrant a thermal paste re-application. Those are:
- If you move around any cooler or heatsink (whether you’re researching, replacing, or loosening them)
- When any unintentional loosening or unseating happens to the heatsink or cooler
- If your computer overheats or has an unusually high temperature despite having a fully functional fan
Best Thermal Paste You Can Get
Before you start learning how to apply thermal paste to a CPU, you first have to know what thermal paste to get. This is the crucial first step to this process as it’s important to use the right kind of thermal paste to ensure that it’s conducting the heat well. Usually, this means buying the most expensive one, because in this case, it does determine quality. However, that doesn’t mean you can’t buy something cheaper if you can’t afford it.
With that, we leave you with our top recommendations for thermal paste to do the job right below:
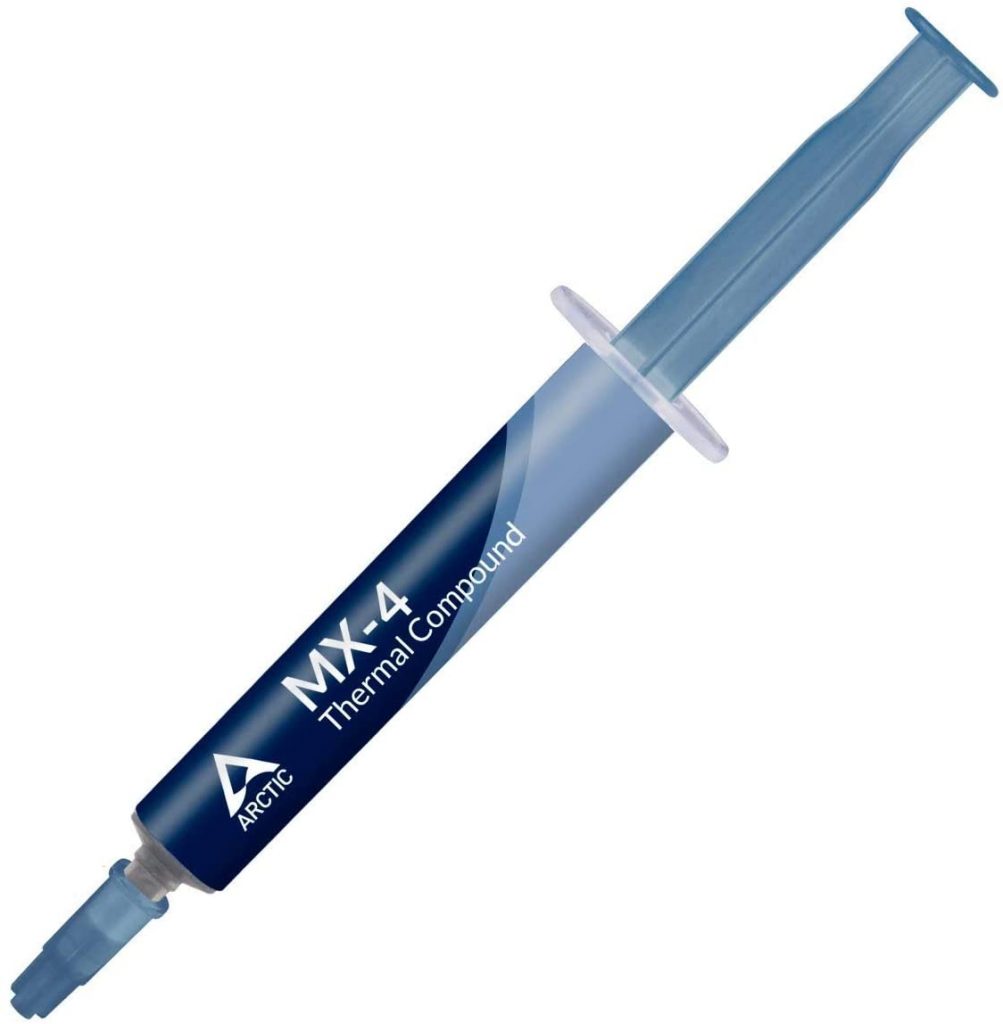
The Arctic MX-4 is one of the cheapest and easiest to use thermal pastes on the market. It’s the ideal paste if you don’t want to waste any time letting the thermal paste set. Moreover, it doesn’t conduct electricity and is easy to apply. However, it’s not the ideal paste if you tend to overclock your PC.

The Arctic Silver 5 Thermal Paste is the ideal solution if you want powerful cooling for your CPU. It’s one of the best choices if you tend to overclock your PC and run it on high heat. However, it does take some time to settle — even up to a few hours. Moreover, it’s made of almost purely micronized silver and shouldn’t get onto other parts of your computer.
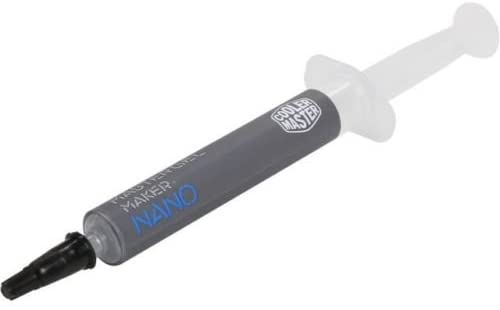
Another great performer on our list is the Cooler Master MasterGel Maker Nano Thermal Paste. It’s a pretty low-maintenance paste that’s easy to spread and even comes with a spreader. Moreover, the paste is non-conductive and can handle fairly high temperatures.

People who can’t get enough of overclocking should look to the CoolLaboratory Liquid Ultra Thermal Compound for their thermal paste. Why? That’s because it’s a liquid-metal-based compound, unlike most other grease-based materials. Hence, it can handle significantly high temperatures for performance-hungry PCs. However, it’s incompatible with aluminum-based heatsinks.
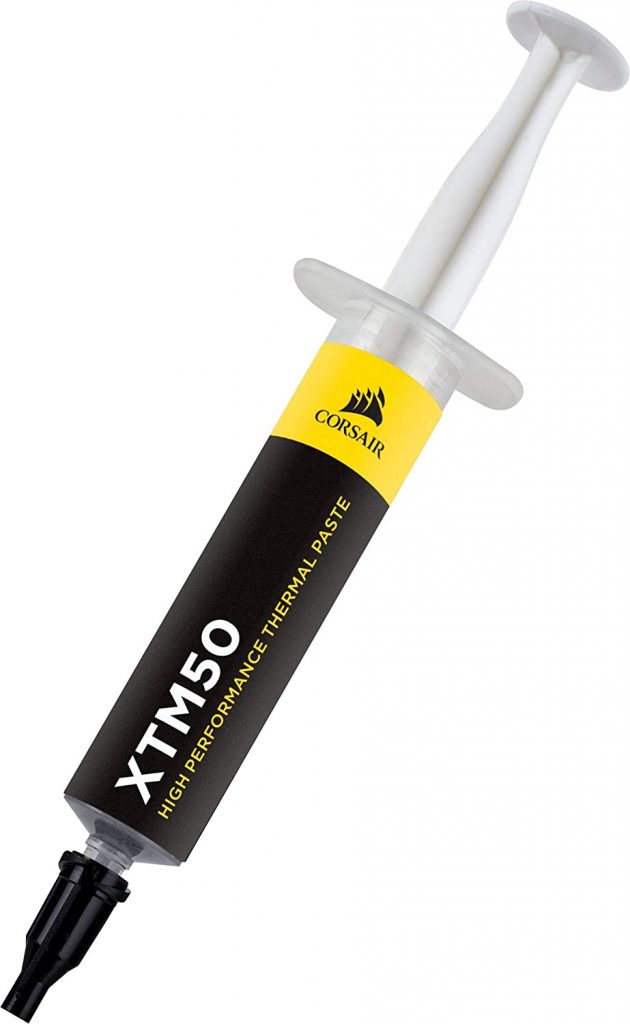
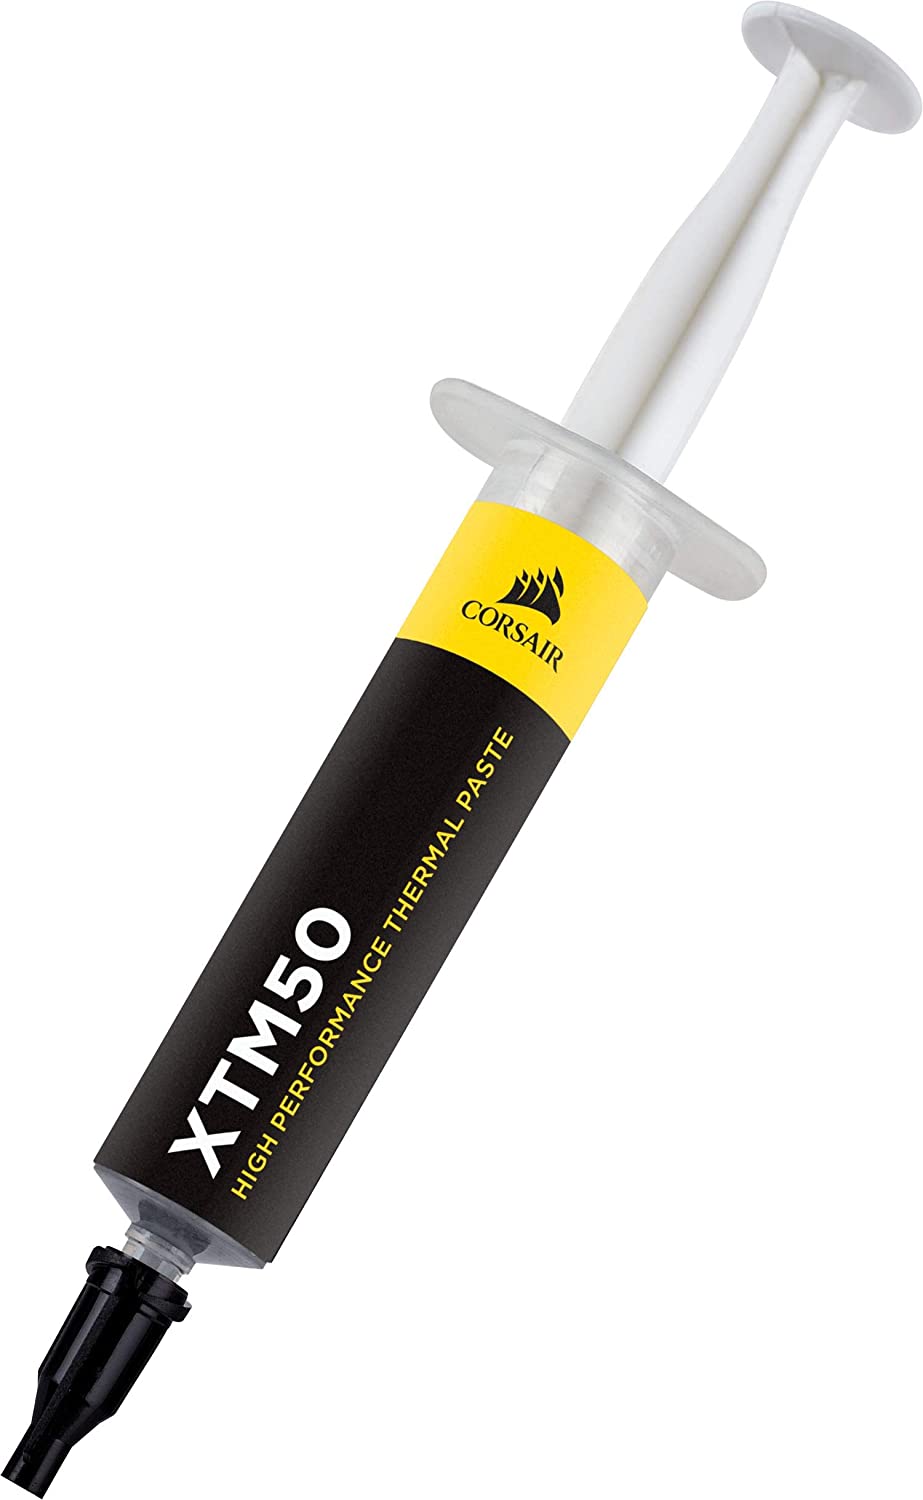
Corsair doesn’t only excel in making PC accessories, but thermal pastes as well. That’s why we can easily recommend the Corsair XTM50 Performance Thermal Paste. It’s not the most robust cooling solution, but it should be enough for the average user. Moreover, it’s a durable paste that can last you years without significant deterioration.
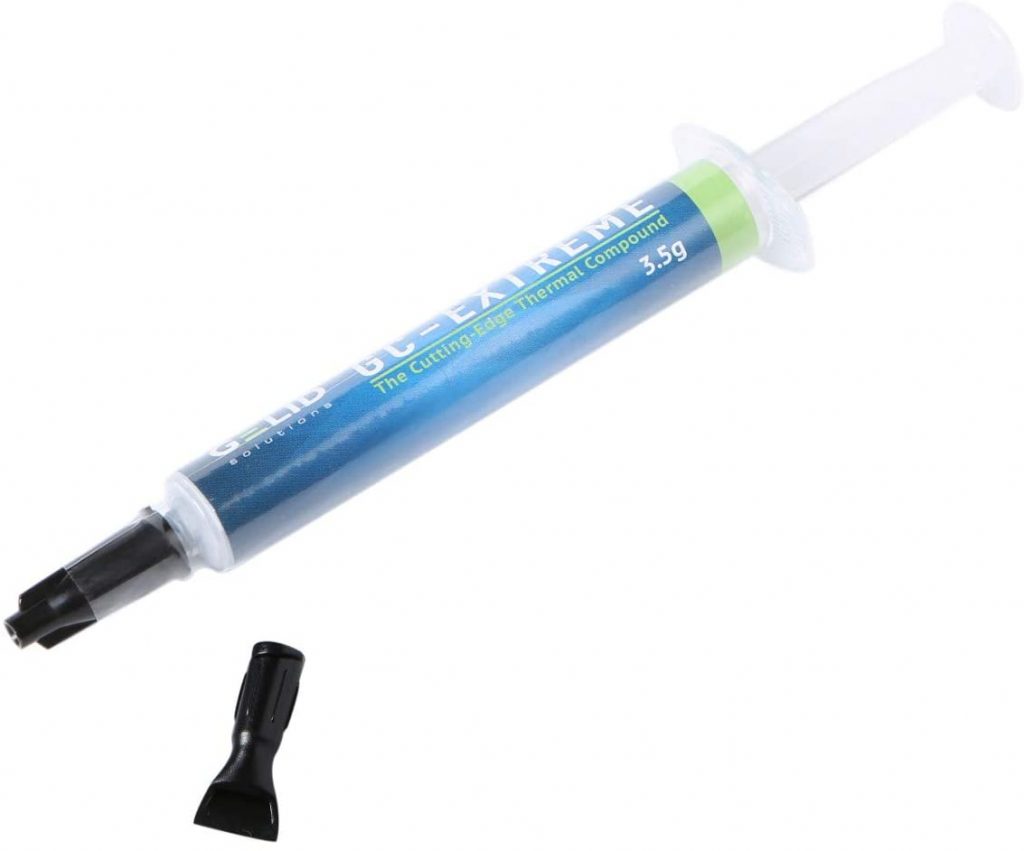
Thermal performance is the highlight of the Gelid Solutions GC-Extreme Thermal Compound, but that isn’t all. It’s also a fairly affordable non-toxic and non-corrosive solution — great for safety and budget-conscious consumers. Moreover, it’s great for overclockers, although it isn’t the best.

Fans of the Noctua NT-H1 will be thrilled once they hear of its successor, the Noctua NT-H2. It does a better job at cooling while remaining non-conductive to electricity, ensuring safety for your PC. Moreover, it has a long lifespan and can last up to five years upon application.
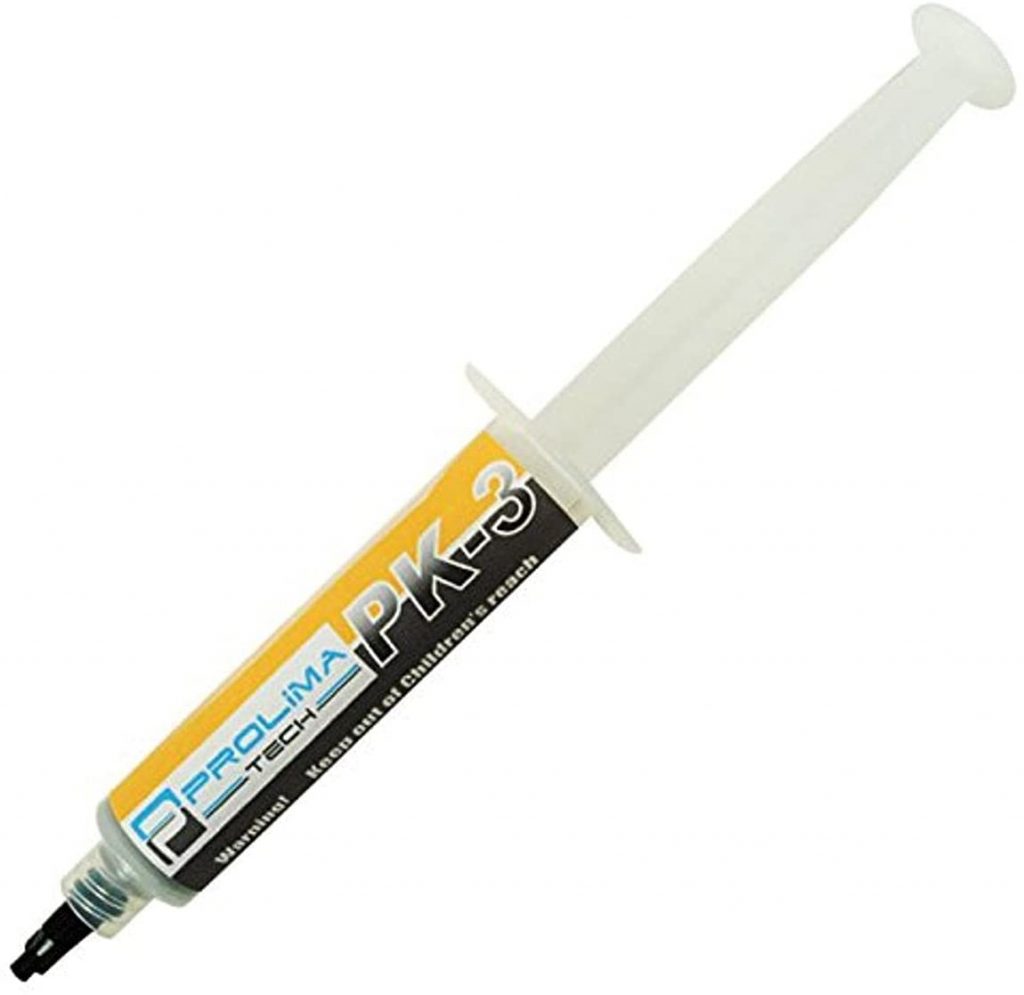
Although it’s a bit more expensive, the ProlimaTech PK-3 Nano Aluminum paste is a great performer. In fact, its cooling capabilities can even come close to liquid-metal-based compounds. Moreover, it’s very stable, easy to handle, and easy to clean.
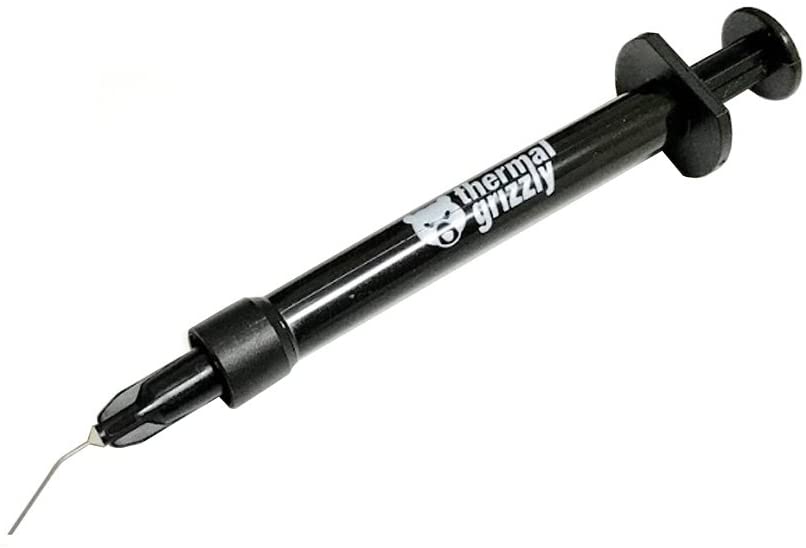
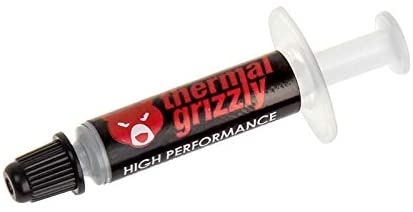
The Thermal Grizzly Conductonaut Thermal Grease Paste is ideal for performance-hungry overclockers who need robust cooling solutions. It’s somewhat thinner and runnier than others, so it’s a little difficult to apply. Moreover, it’s a conductive paste, so you have to be extra careful during application. Nonetheless, it’s a great performer if you want something powerful.
Lastly, we can also recommend the Thermal Grizzly Kryonaut Thermal Grease Paste for users who are looking for stability. This slightly viscous solution performs well how to apply thermal paste to CPU and it is simple and clean. Hence, it’s great for beginners who need something easy to work with.
How to Apply Thermal Paste to CPU?
With the options above, you should be able to pick the best thermal paste for your CPU and now start with the actual application. Here are the steps to apply thermal paste to a CPU:
Step 1: Set Up the Heatsink
The first thing you need to do is to prepare your CPU. If you’re building this rig yourself, make sure that the chip is already installed onto the motherboard beforehand. However, you should do this before you add your cooling system.
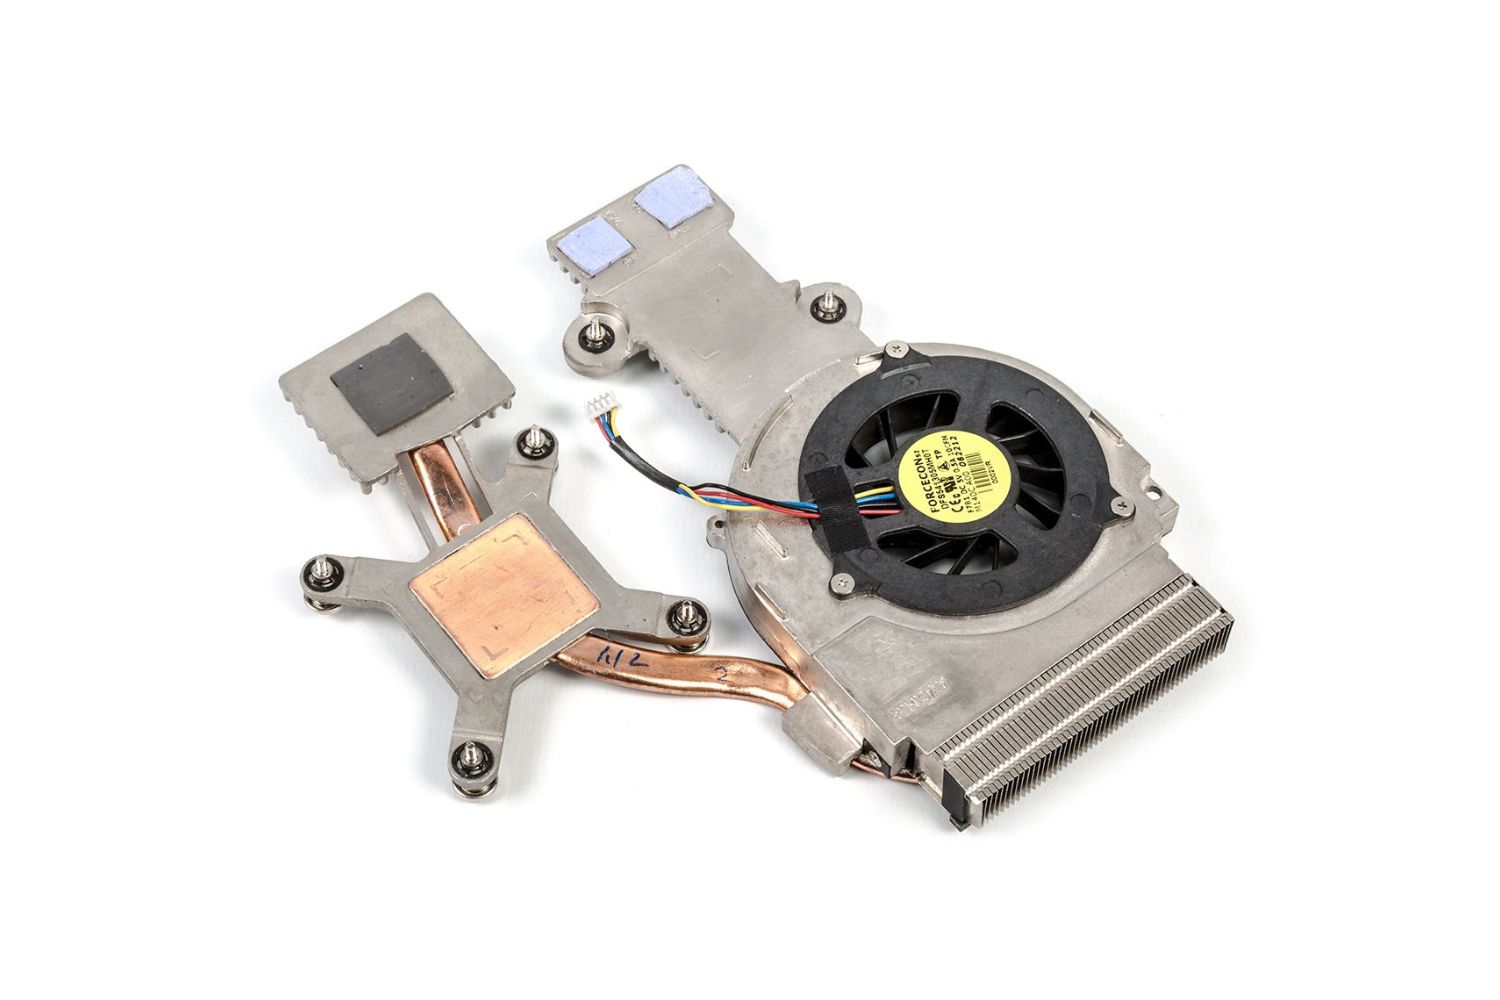
On the other hand, if you’re simply making a replacement, make sure that you remove the old thermal paste first. To do this, you need to use a tool called a spudger to scrape off the old thermal paste. Use the spudger as much as you can to remove any solidified thermal paste on the heatsink’s copper cores. However, note that it’s normal to have some residue leftover despite a thorough scraping.
Step 2: Clean the Heatsink
Afterward, it’s time to learn how to clean and apply thermal paste to CPU units. Firstly, you’ll need a coffee filter or a lint-free cloth to execute this well. Moreover, you also need isopropyl alcohol with a concentration of 90% or more to clean the residue. However, you can also opt to use a cleaning agent (the ArctiClean Thermal Material Remover, for example) instead of alcohol.
Once you have these at hand, take a clean coffee filter or cloth to clean your heatsink. Afterward, take a new cloth with some alcohol and do a second cleaning to remove the remaining oils. Make sure not to touch the heatsink or the processor to eliminate any chance of adding unnecessary grime. Then, let the heatsink air-dry completely.
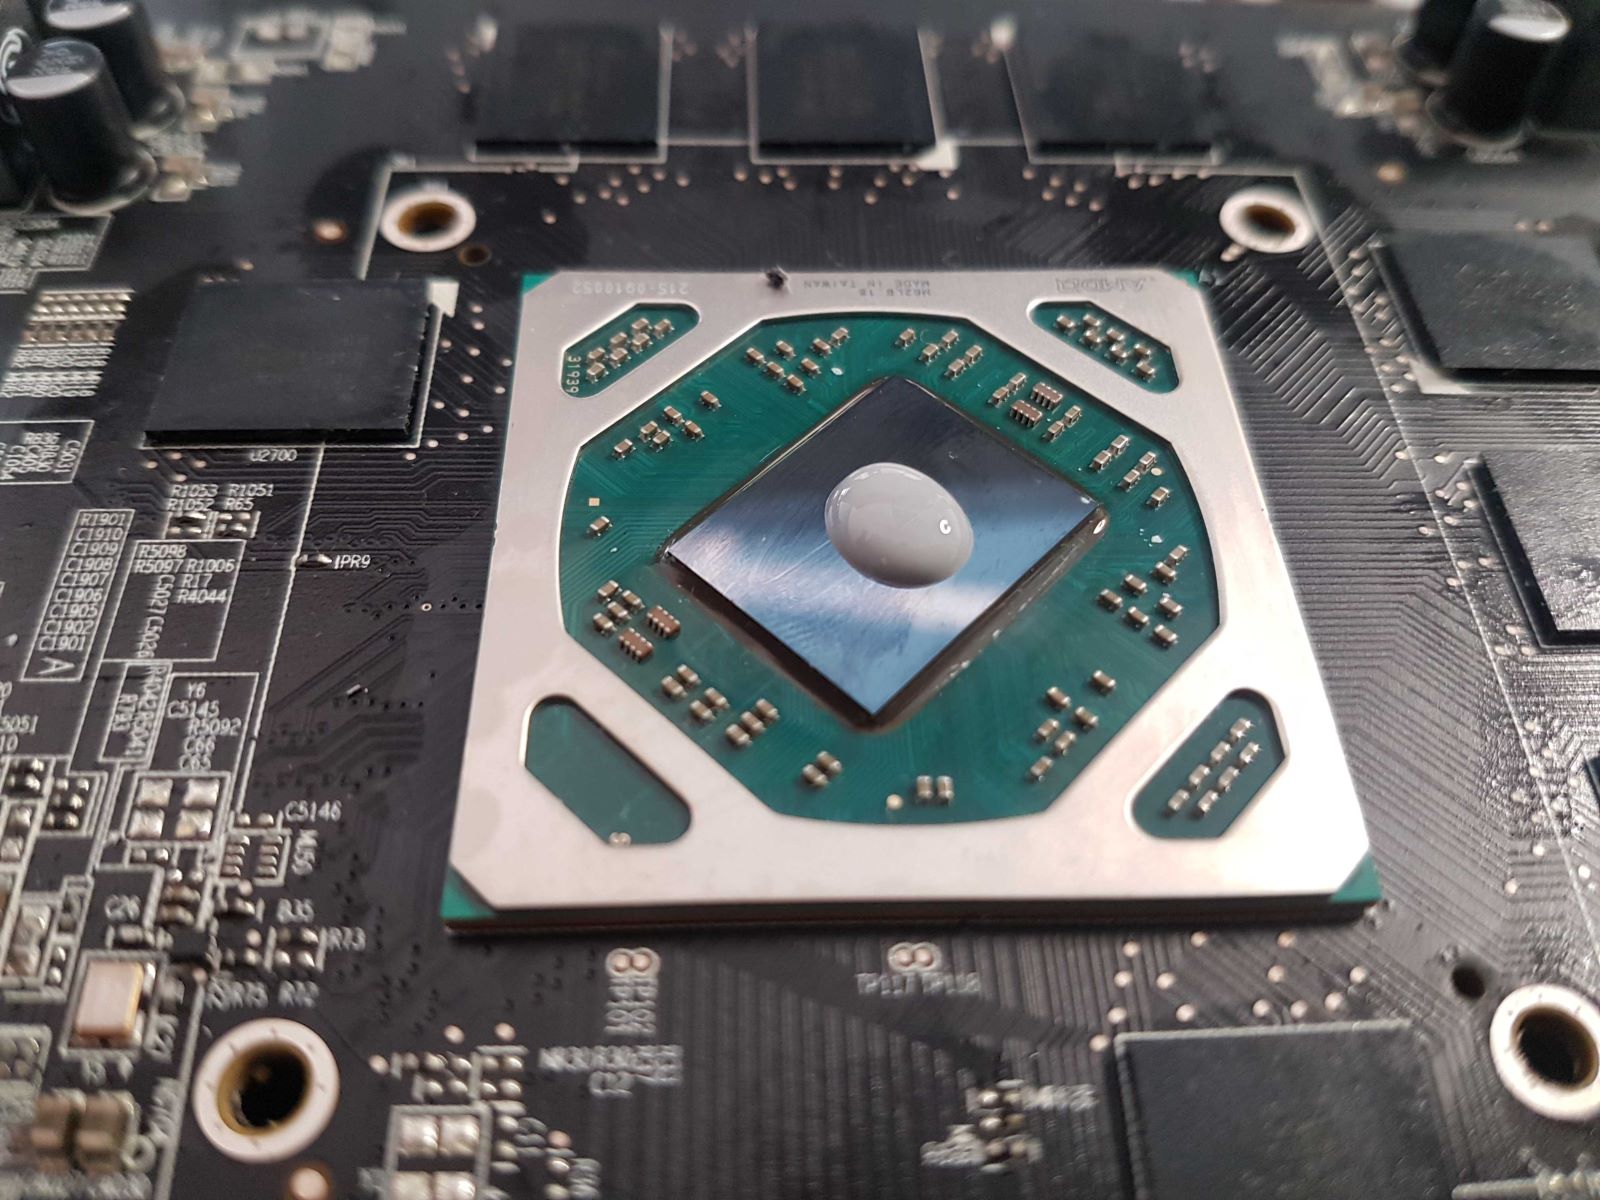
Step 3: Set Up the Processor
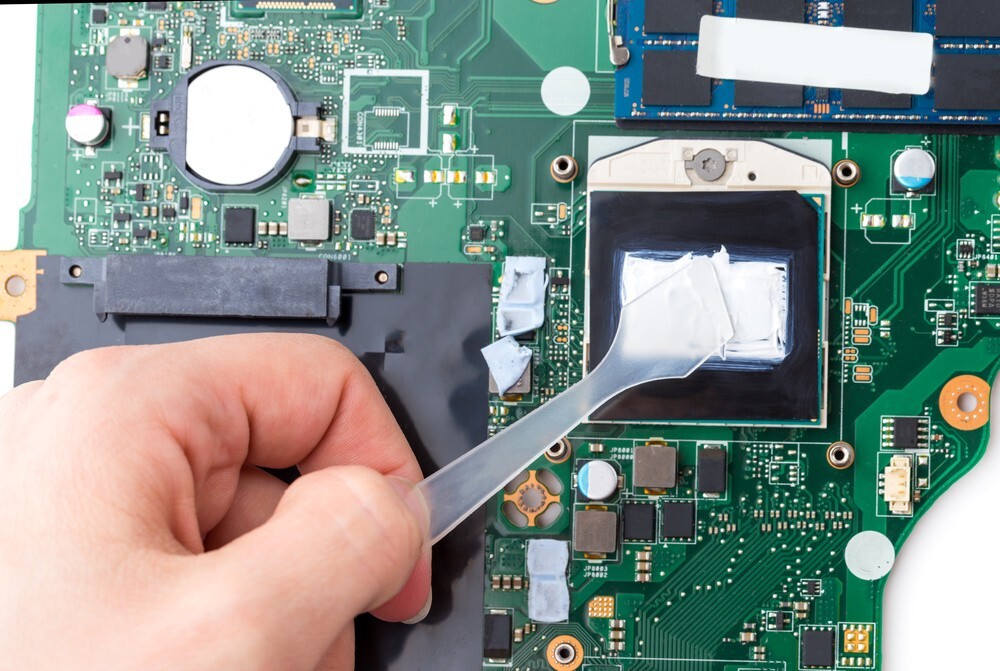
The next step before you learn how to apply thermal paste to CPU units is to clean the processor. You did this with the heatsink already. Now, it’s time to use the spudger’s plastic end to scrape off the solidified paste from the processor. However, the processor is a very sensitive component of your rig. Hence, it’s important not to use anything metal while you’re doing this.
Moreover, it’s also important that you be more careful because you could break components during this process. Don’t loosen any thermal compound on any of the parts, either. Lastly, if you’re going to remove the processor, make sure to hold it by its sides without touching the pins. Making a mistake here could cause irreparable damage to your CPU.
Step 4: Clean the Processor
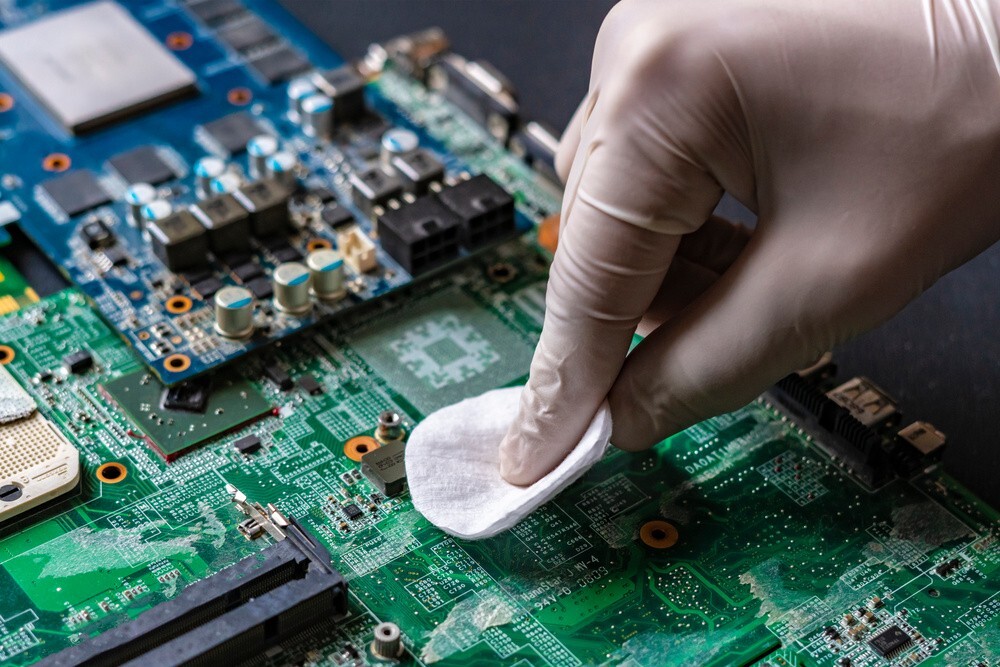
After scraping off any solidified thermal paste from the processor, it’s time for some cleaning. For this, you can also use a coffee filter or lint-free cloth with isopropyl alcohol or a cleaning solution. However, make sure to use a new and clean cloth, not the one you used for the heatsink.
Dab a bit of alcohol on the cloth and clean any leftover thermal paste. Afterward, use another, fresh cloth with some alcohol to do a second cleaning to remove the oils. Then, let the processor air-dry completely.
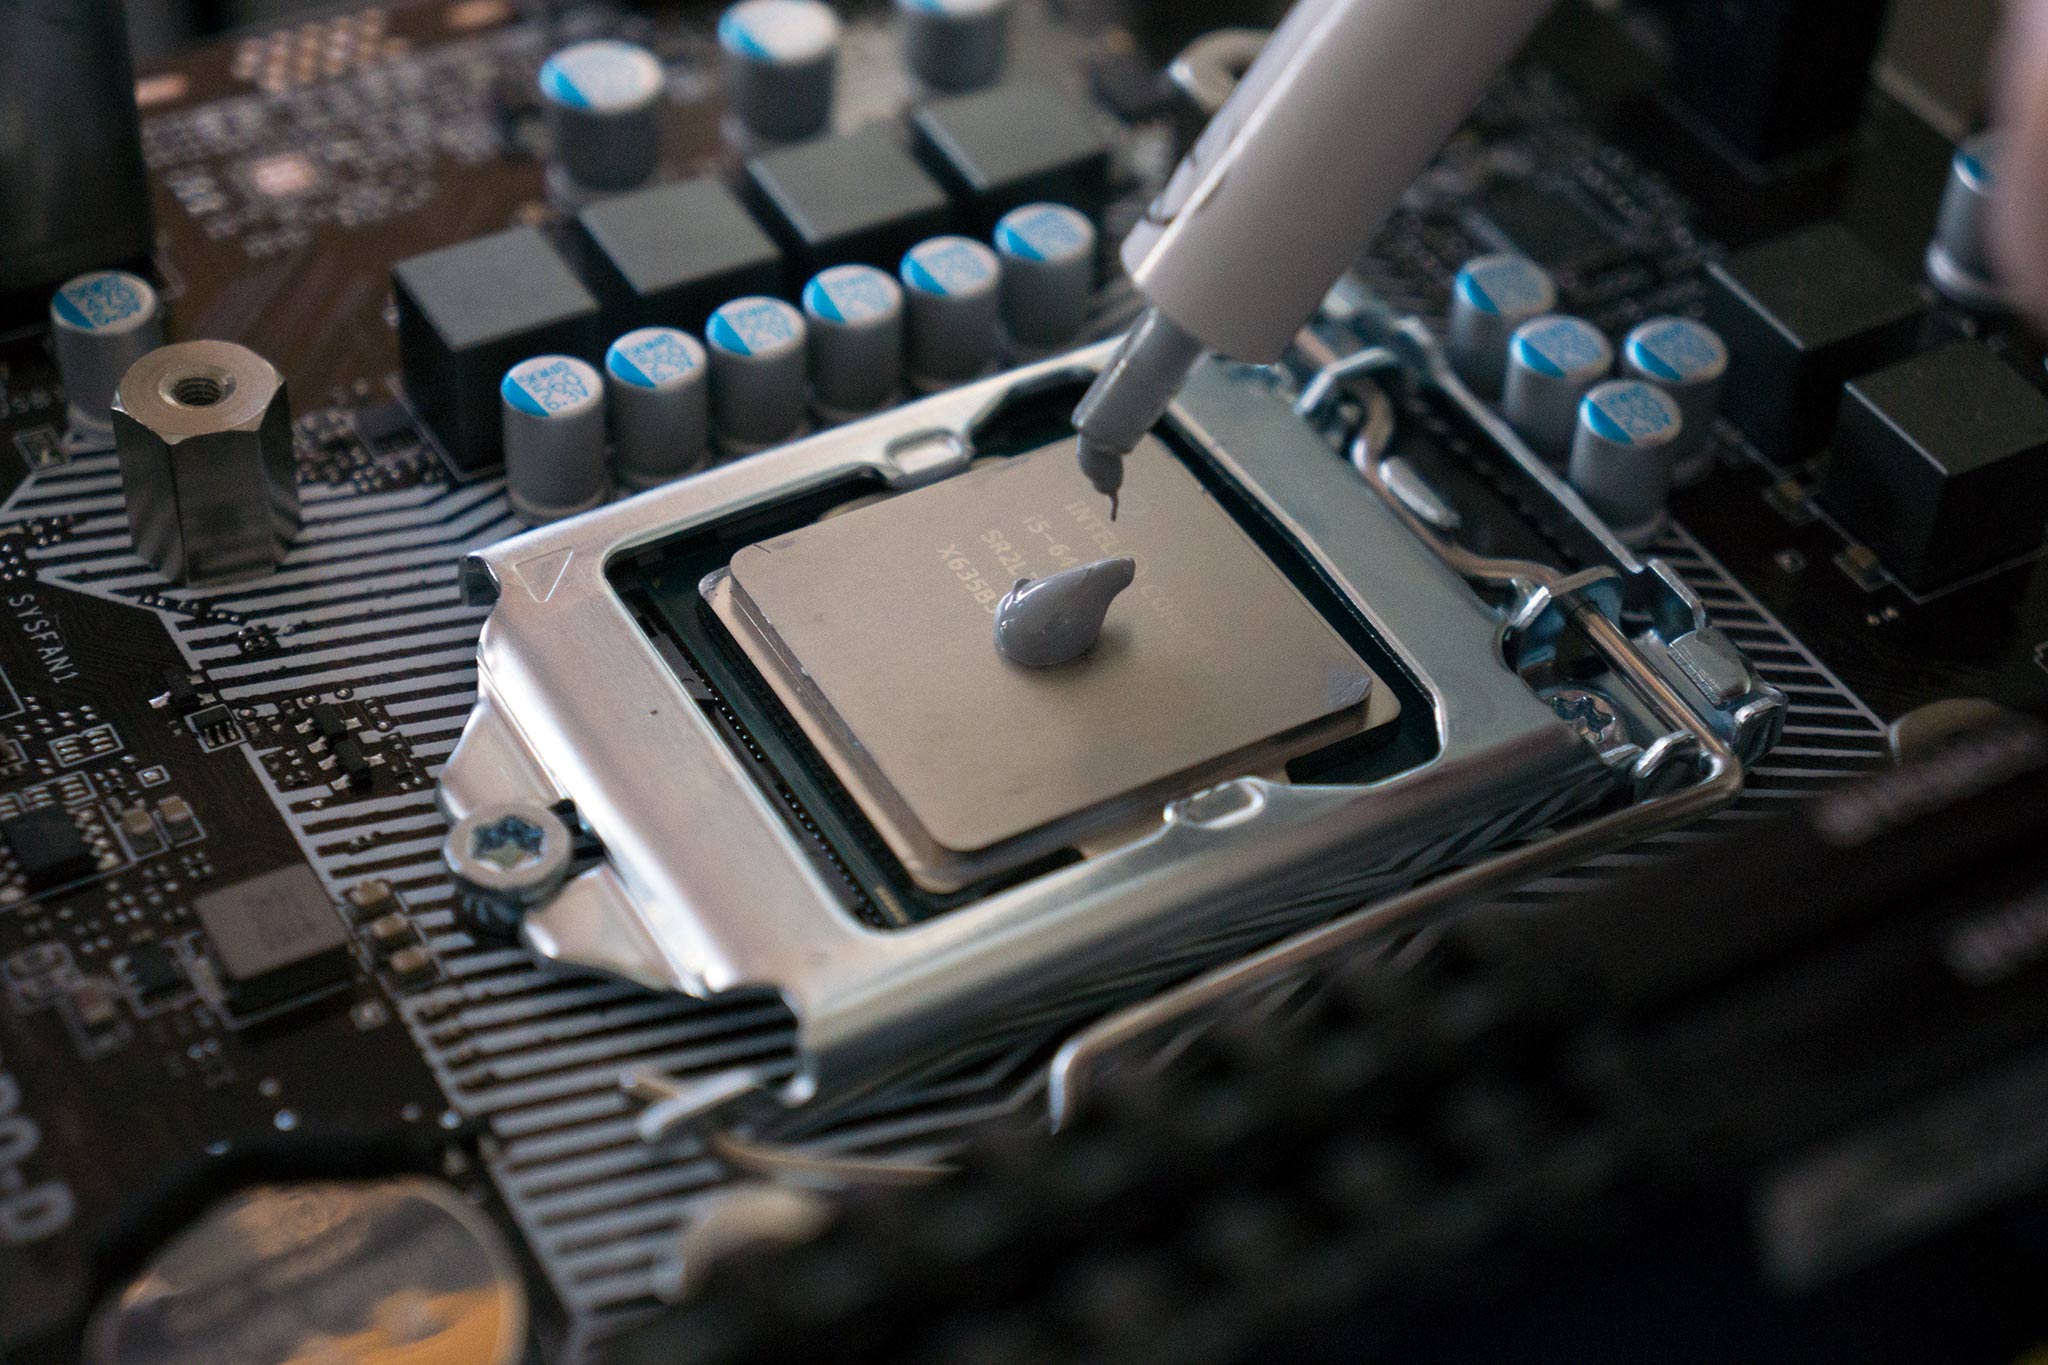
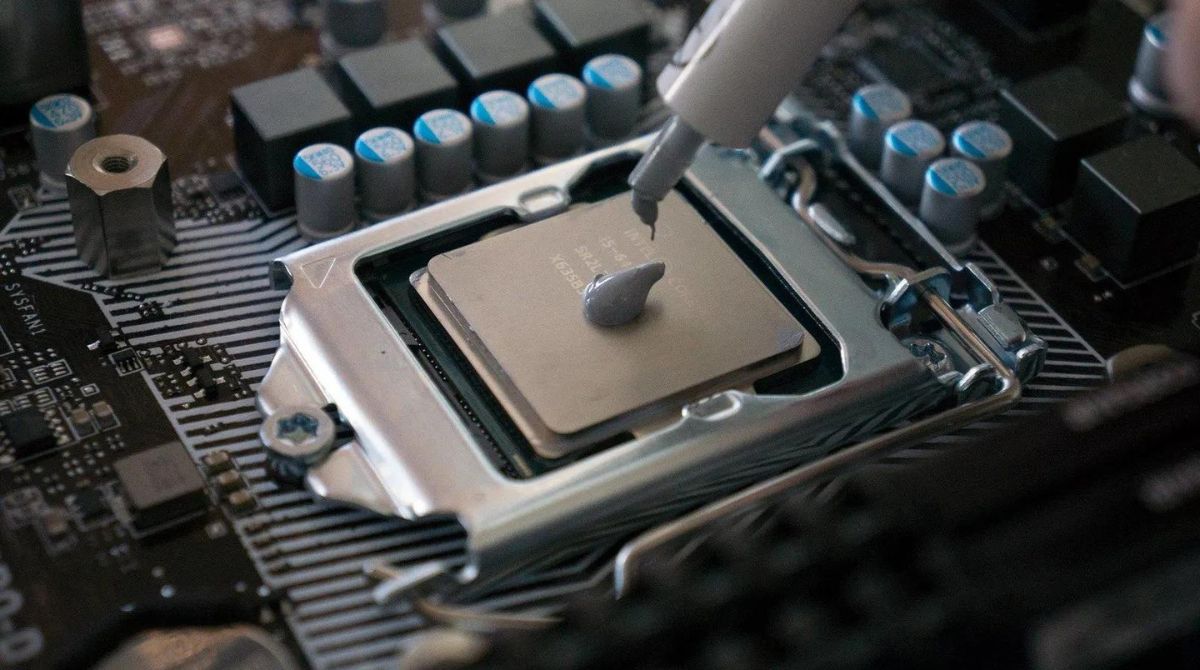
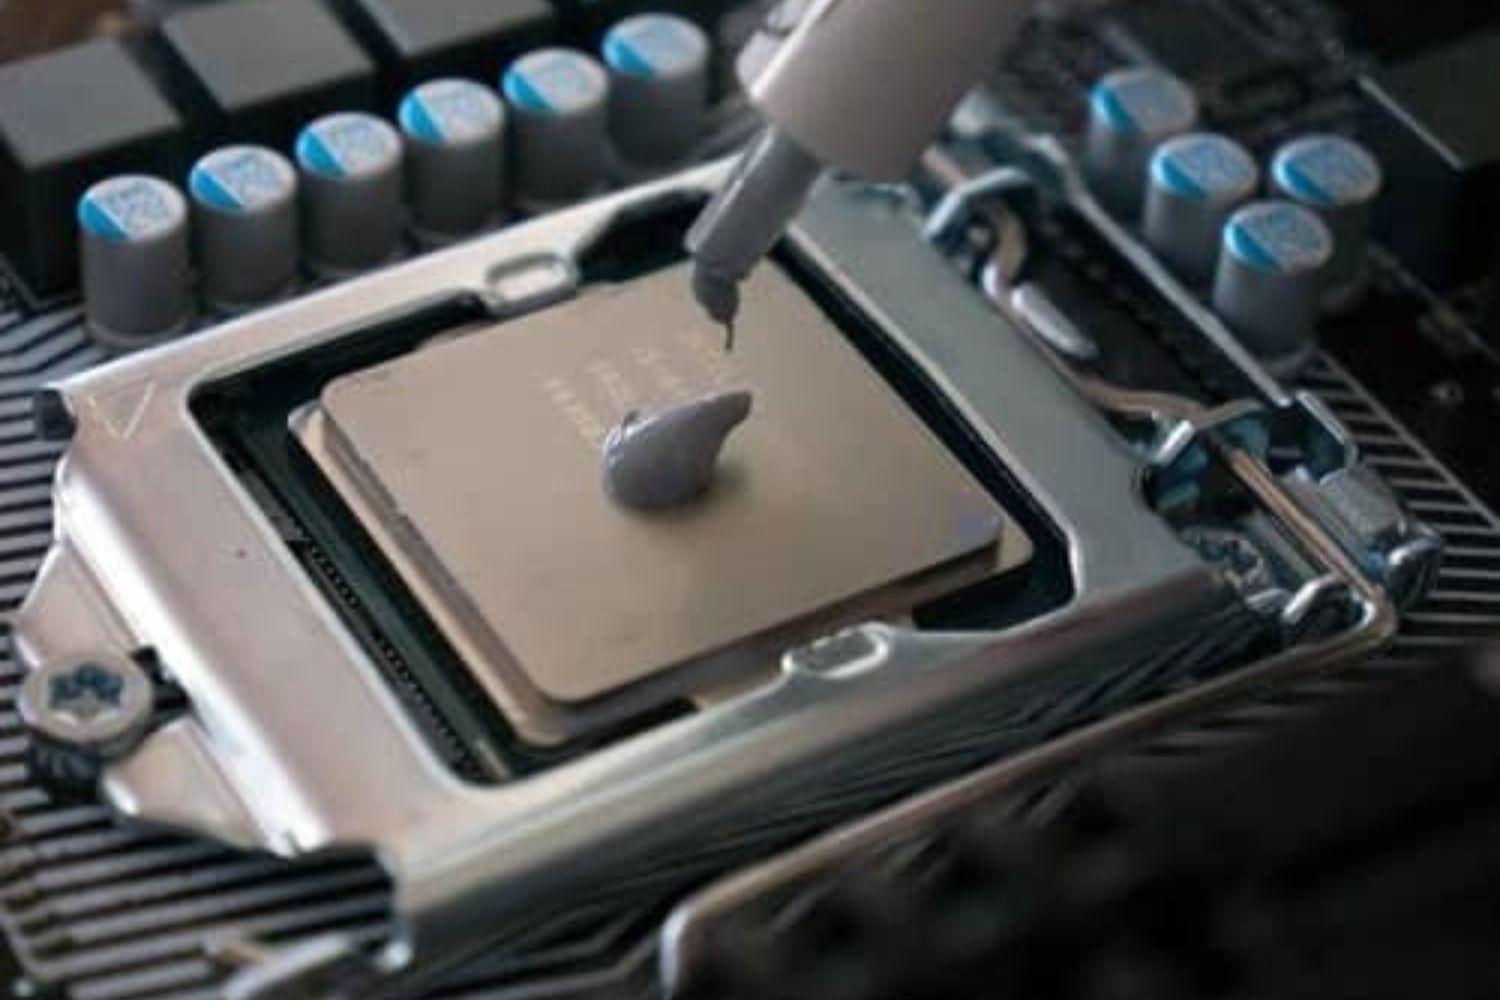
Step 5: Apply Thermal Paste
Now, it’s time to apply thermal paste to CPU units directly. However, this part is where things might get confusing because there are multiple methods to do so. Choosing the right method will depend on the type of processor you currently have. Usually, people use either the “dot method” or the “cross method” to do this. Here’s how each of them works.
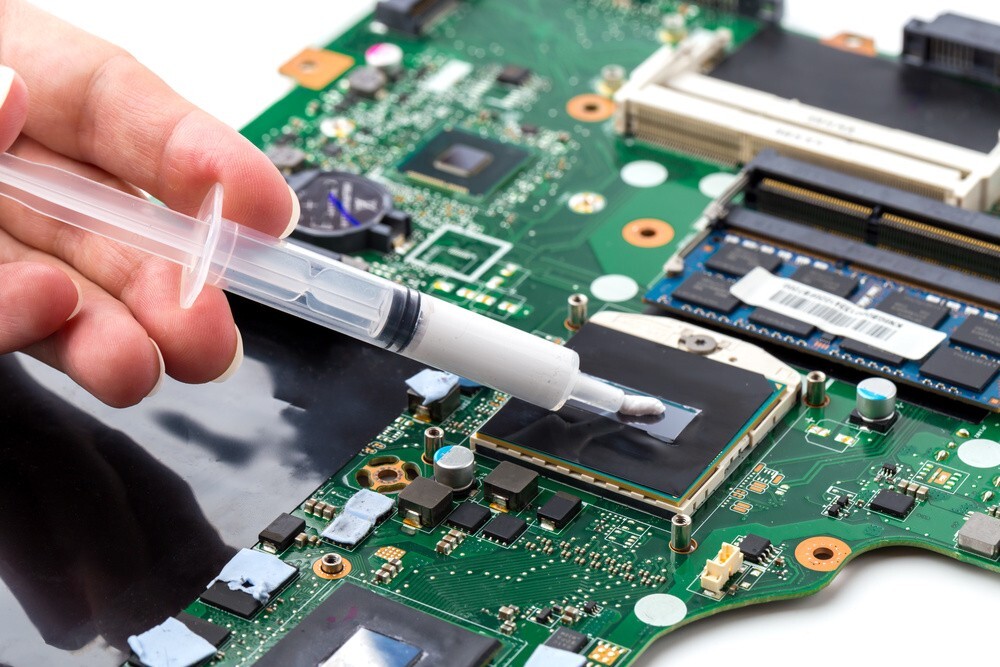
Dot Method
The first method is called the “dot method” because it requires applying a dot of thermal paste on the processor. Now, how much thermal paste to apply to CPU units using this method can vary. Usually, it should be the size of a grain of rice. However, you can also use the capacitors around the CPU as a basis for the size. Afterward, you can press down on the heatsink with a firm but gentle, equally distributed force.
Cross Method
On the other hand, you can also use the “cross method” to apply the thermal paste. This just entails marking an “X” on the area, with each tip of the “X” at each corner. However, make sure not to draw the lines slightly further in, without touching the CPU’s borders. Afterward, simply press down on the heatsink with the same kind of force and firmness as the dot method.
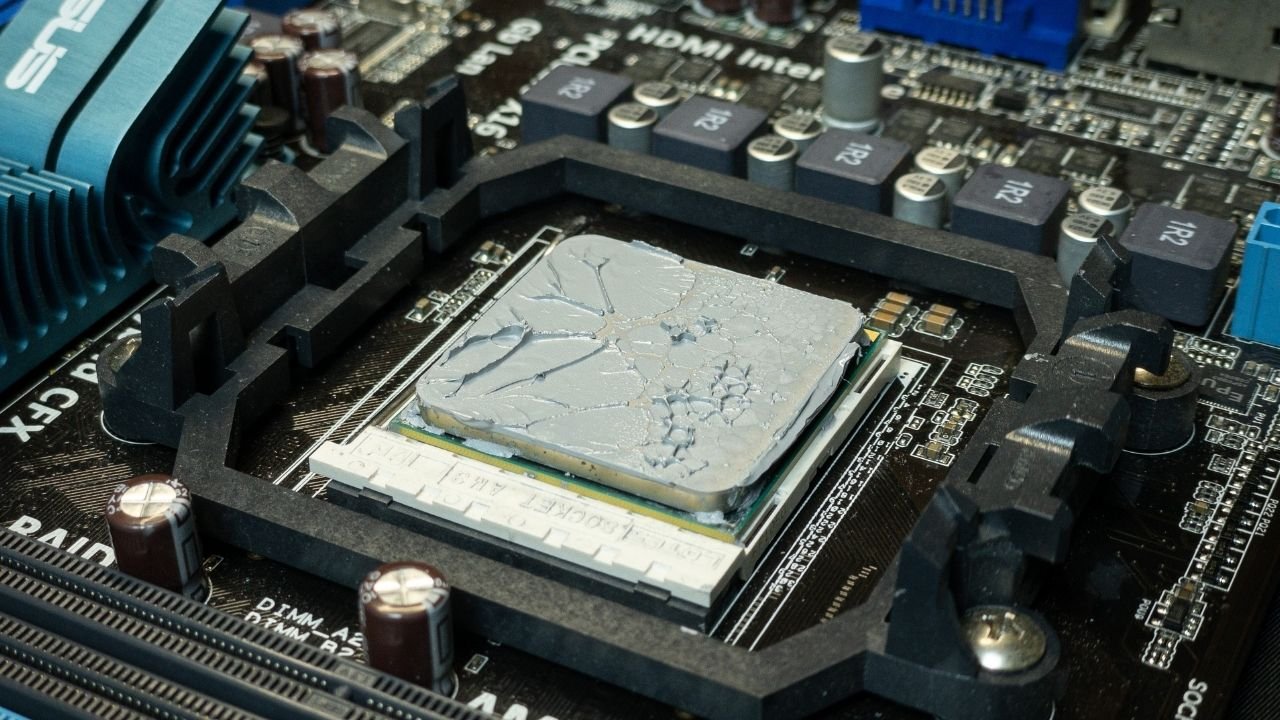
A word of caution for both methods: make sure not to apply too much thermal paste on the CPU. Yes, too little might give you overheating problems as the paste can’t conduct as much heat to the heatsink. However, too much will also cause problems because you’d need to clean the excess off the motherboard. This won’t cause any harm, thankfully, but it is cumbersome to do after all that work.
Step 6: Aftercare
After learning how to apply thermal paste to CPU units, it’s time to make sure your CPU is properly maintained. Thermal paste exists to help manage your CPU’s cooling and prevent it from overheating. However, the thermal paste is only one part of the machine that serves this function.
Making sure your fans are working properly is crucial to managing your CPU’s temperature levels. Moreover, cleaning the dust off of the surrounding areas would also benefit your CPU greatly. However, if these are properly maintained and your CPU still overheats, you can replace the thermal paste again.