Introduction
Welcome to the world of seamless networking with the Belkin Wired 8-Port 10/100 Network Switch! Whether you're a tech enthusiast, a small business owner, or a home user seeking to expand your network, this reliable and efficient network switch is designed to meet your connectivity needs. In this comprehensive guide, we will walk you through the process of setting up and optimizing the performance of the Belkin Wired 8-Port 10/100 Network Switch.
This versatile networking solution offers eight high-speed ports to accommodate a variety of devices, from computers and printers to gaming consoles and smart TVs. With its plug-and-play functionality, the Belkin network switch eliminates the complexities often associated with network expansion, making it an ideal choice for both novice and experienced users.
By following the step-by-step instructions provided in this guide, you will gain a deeper understanding of how to maximize the potential of the Belkin network switch, ensuring a smooth and uninterrupted flow of data across your network. Whether you're aiming to enhance your home entertainment setup, streamline office operations, or simply improve the connectivity of your devices, this guide will equip you with the knowledge and confidence to make the most of your network switch.
Throughout this guide, we will cover the unboxing process, power adapter connection, device integration, network testing, and troubleshooting tips to address common issues. By the end of this journey, you will have the expertise to harness the full capabilities of the Belkin Wired 8-Port 10/100 Network Switch, empowering you to create a robust and efficient network environment.
So, grab your Belkin network switch, roll up your sleeves, and let's embark on this networking adventure together! Whether you're a tech novice or a seasoned enthusiast, this guide is tailored to provide you with the knowledge and confidence to optimize your network infrastructure. Let's dive in and unlock the potential of your network with the Belkin Wired 8-Port 10/100 Network Switch.
Unboxing the Belkin Wired 8-Port 10/100 Network Switch
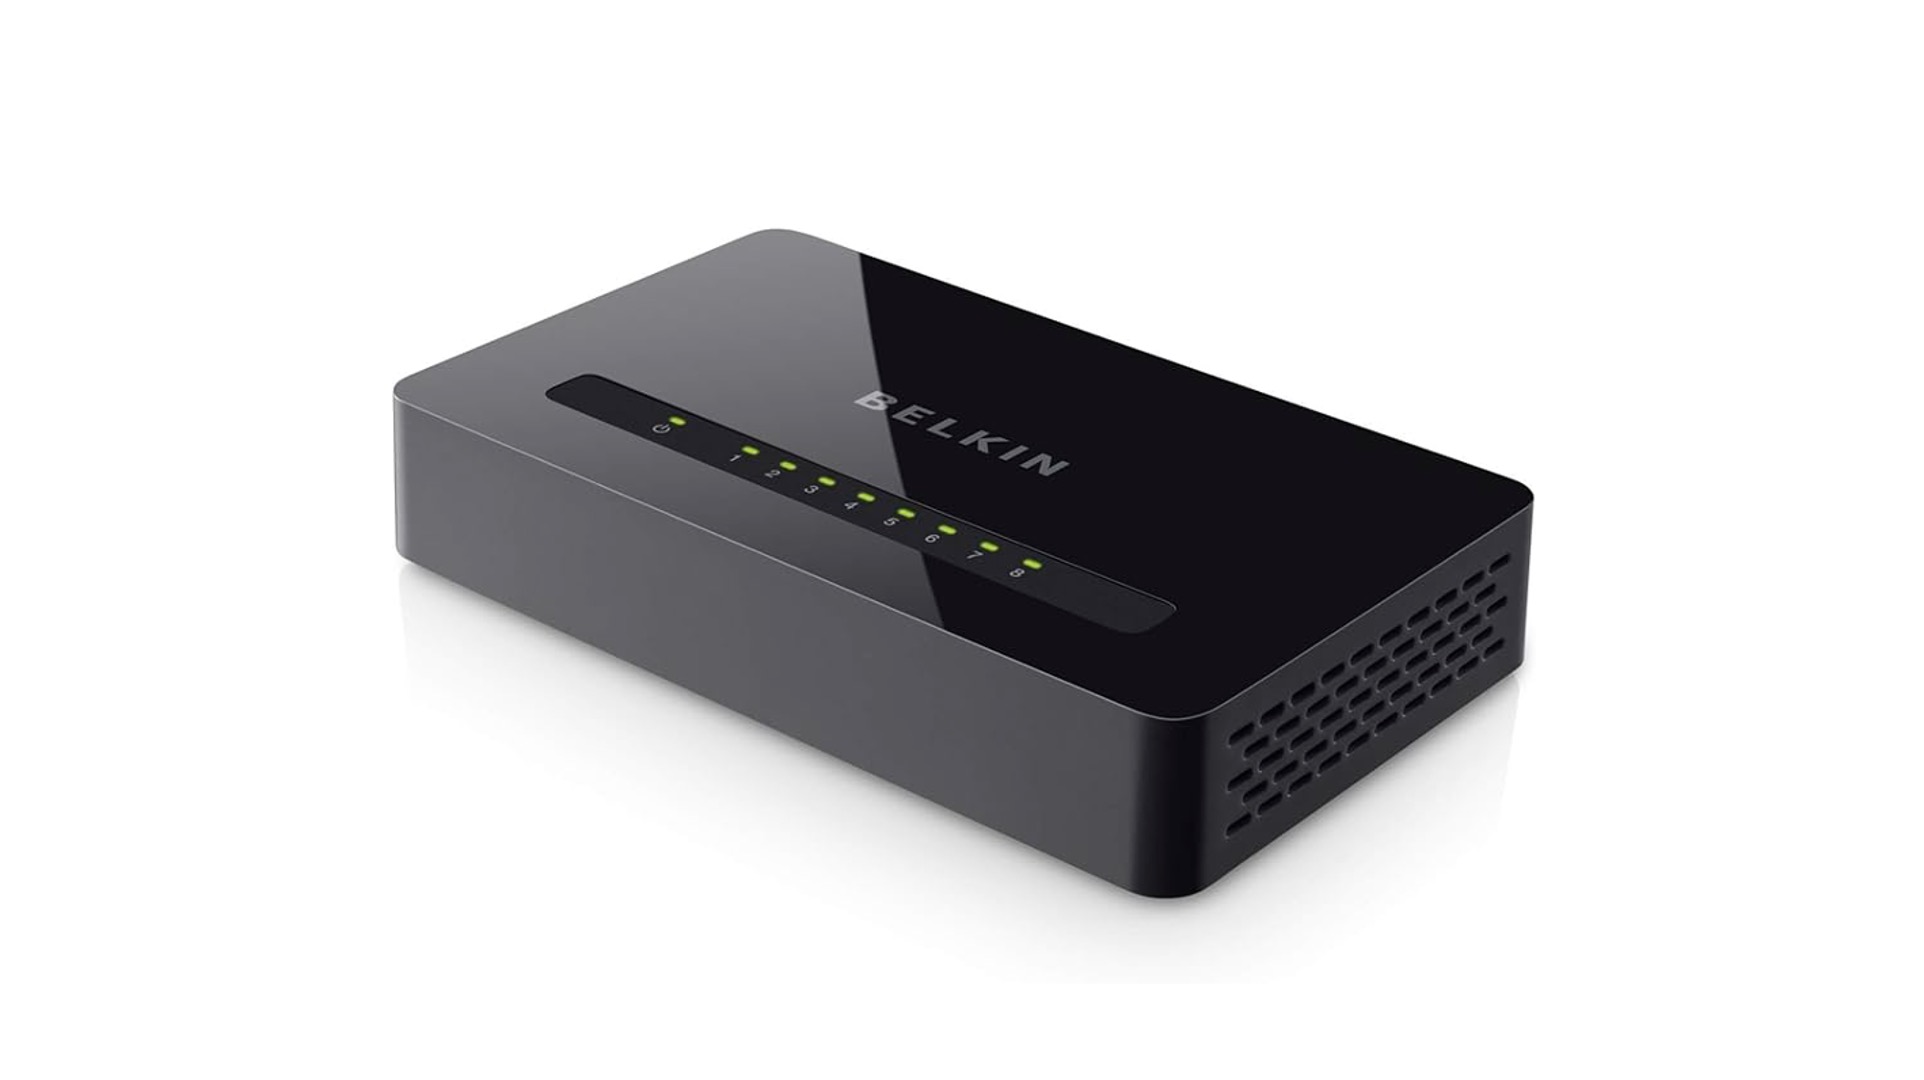
As you eagerly unbox your Belkin Wired 8-Port 10/100 Network Switch, you are greeted with a sleek and compact device that embodies the promise of enhanced connectivity. The packaging is designed to ensure the safety and integrity of the network switch during transit, reflecting Belkin’s commitment to delivering quality products.
Upon opening the box, you will find the network switch nestled within secure packaging, accompanied by essential components such as the power adapter and user manual. The minimalist yet sturdy design of the network switch exudes a sense of reliability, setting the stage for a seamless installation process.
The user manual included in the package serves as your gateway to unlocking the full potential of the Belkin network switch. It provides clear and concise instructions, empowering you to navigate through the setup process with confidence. Additionally, the manual offers insights into the various features and functionalities of the network switch, ensuring that you are well-equipped to harness its capabilities.
As you carefully handle the network switch, you’ll notice its compact form factor, which makes it suitable for placement in diverse environments, whether it’s a home office, entertainment center, or small business setting. The thoughtful design of the network switch ensures that it seamlessly integrates into your existing network infrastructure without occupying excessive space.
With its eight high-speed ports, the Belkin network switch is poised to accommodate a multitude of devices, enabling you to expand and optimize your network with ease. Whether you’re connecting computers, printers, gaming consoles, or smart home devices, this versatile network switch is engineered to meet your diverse connectivity needs.
The unboxing experience sets the stage for a journey toward enhanced connectivity and seamless networking. As you familiarize yourself with the components and design of the Belkin Wired 8-Port 10/100 Network Switch, you are one step closer to unlocking the full potential of your network infrastructure.
Now that you’ve unboxed the network switch and familiarized yourself with its design and components, it’s time to delve into the process of connecting the power adapter to initiate the setup process. Let’s embark on the next phase of this networking expedition and bring the Belkin network switch to life.
Connecting the Power Adapter
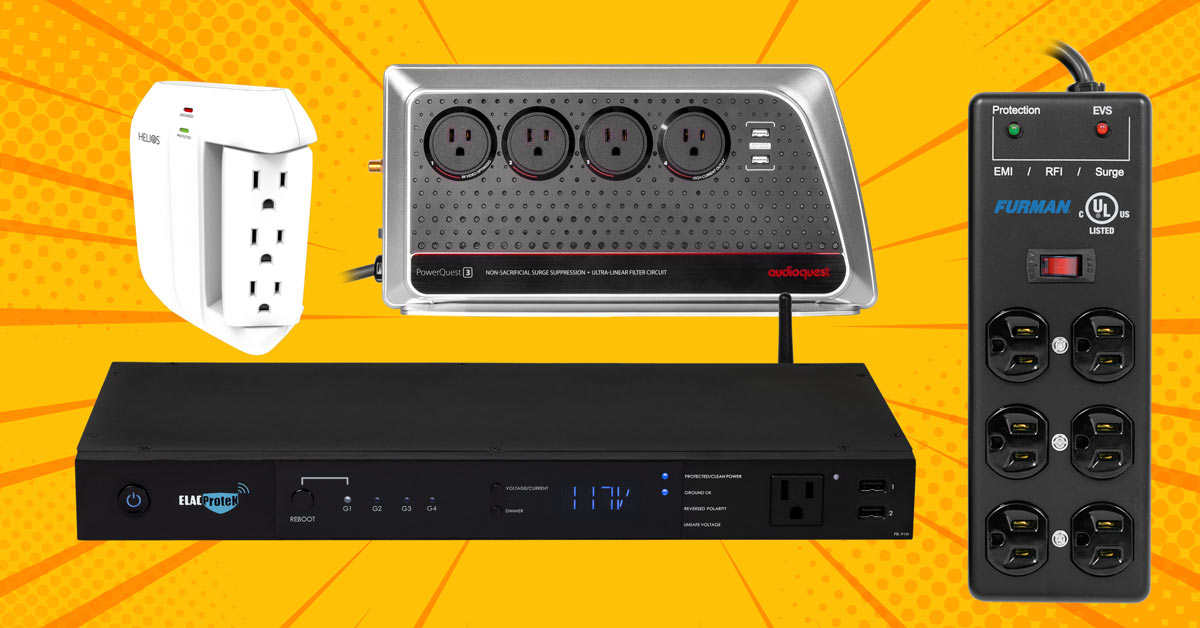
With the Belkin Wired 8-Port 10/100 Network Switch unboxed and ready for setup, the next crucial step is connecting the power adapter to initiate the seamless integration of the network switch into your environment. The power adapter serves as the lifeblood of the network switch, providing the necessary energy to fuel its operations and ensure uninterrupted connectivity.
Locate the power port on the network switch, typically positioned on the rear panel, and carefully insert the power adapter’s connector into the designated port. The secure fit of the connector ensures a stable power supply, laying the foundation for the network switch to come to life and begin facilitating the seamless flow of data across your network.
Once the power adapter is securely connected to the network switch, proceed to plug the adapter into a reliable power outlet. Ensure that the power outlet is easily accessible and free from obstructions, allowing for convenient and safe access to the network switch’s power source.
Upon plugging in the power adapter, you will notice the network switch’s indicator lights coming to life, indicating that it is receiving power and preparing to fulfill its role as a central hub for your networked devices. The illumination of these indicator lights signifies the network switch’s readiness to seamlessly integrate into your network environment.
As the network switch powers up, take a moment to appreciate the pivotal role of the power adapter in enabling the seamless operation of this essential networking device. The reliable and efficient power supply provided by the adapter ensures that the network switch remains operational, facilitating uninterrupted connectivity for your devices.
With the power adapter successfully connected and the network switch powered up, you have laid the groundwork for a robust and efficient network infrastructure. The next phase of the setup process involves seamlessly integrating your devices into the network switch, allowing you to harness its full capabilities and optimize the connectivity of your environment.
Now that the network switch is powered up and ready to facilitate seamless connectivity, it’s time to embark on the process of connecting your devices to the network switch, setting the stage for an enhanced networking experience.
Connecting Devices to the Network Switch
With the Belkin Wired 8-Port 10/100 Network Switch powered up and ready to facilitate seamless connectivity, it’s time to integrate your devices into the network switch, setting the stage for an enhanced networking experience. Whether you’re connecting computers, printers, gaming consoles, or smart home devices, the network switch’s versatile array of ports ensures that you can expand and optimize your network with ease.
Begin by identifying the devices you intend to connect to the network switch. Position the network switch in a central location that allows for convenient access to the connected devices, ensuring that the network switch serves as an efficient hub for data exchange across your networked environment.
Next, locate the high-speed ports on the network switch, each designated for connecting a specific device. The intuitive design of the network switch ensures that the ports are clearly labeled and easily accessible, streamlining the process of integrating your devices into the network infrastructure.
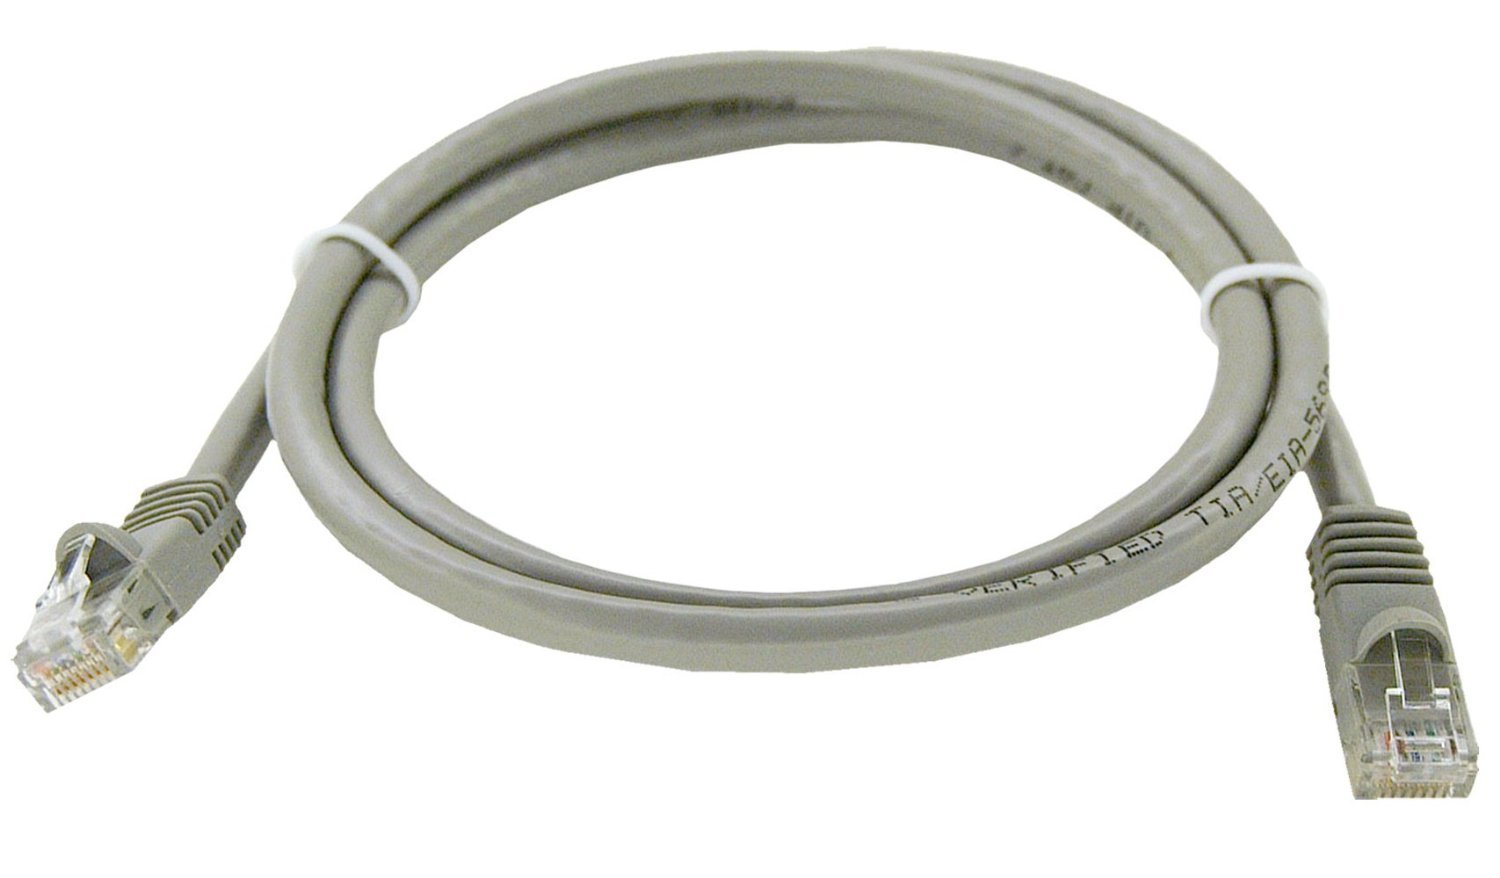
Using Ethernet cables, establish connections between the devices and the corresponding ports on the network switch. The secure and reliable nature of these connections ensures that data flows seamlessly between the devices and the network switch, fostering a cohesive and efficient network environment.
As you establish these connections, take note of the indicator lights on the network switch, which serve as visual cues, indicating successful device integration and the initiation of data exchange. The illumination of these indicator lights signifies that the network switch is actively facilitating the seamless flow of data across your networked devices.
With each device successfully integrated into the network switch, take a moment to appreciate the cohesive network environment you have established. The network switch serves as a central hub, enabling your devices to communicate effortlessly and ensuring that data flows uninterrupted across your network.
As the devices become seamlessly integrated into the network switch, you are one step closer to harnessing the full potential of your network infrastructure. The next phase of the setup process involves testing the network connection to verify the seamless operation of the network switch and the connected devices, ensuring that your network environment is optimized for efficiency and reliability.
Now that your devices are seamlessly integrated into the network switch, it’s time to embark on the process of testing the network connection, validating the seamless operation of the network switch and the connected devices. Let’s ensure that your network environment is optimized for efficiency and reliability.
Testing the Network Connection
With the devices seamlessly integrated into the Belkin Wired 8-Port 10/100 Network Switch, it’s essential to validate the seamless operation of the network switch and the connected devices through thorough network testing. This crucial step ensures that your network environment is optimized for efficiency and reliability, providing a seamless flow of data across your interconnected devices.
Begin the testing process by accessing the devices connected to the network switch and verifying their network connectivity. Whether it’s a computer, printer, gaming console, or smart TV, ensure that each device is able to establish a stable and reliable connection to the network, allowing for the seamless exchange of data and the unhindered access to network resources.
Utilize network diagnostic tools, such as pinging devices from a computer or running network speed tests, to assess the speed and reliability of the network connection facilitated by the network switch. These tests provide valuable insights into the performance of your network environment, allowing you to identify and address any potential issues that may impact the seamless flow of data.
During the testing phase, pay close attention to the indicator lights on the network switch, which serve as visual indicators of data transmission and network activity. The steady illumination of these lights signifies the efficient operation of the network switch, validating its role as a central hub for your networked devices.
As you navigate through the testing process, take note of the seamless data exchange and network responsiveness facilitated by the network switch. Verify that data flows effortlessly between the connected devices, ensuring that your network environment is optimized for productivity and reliability.
Engage in real-world usage scenarios, such as transferring files between devices, streaming media, or accessing network resources, to gauge the overall performance and responsiveness of your network environment. These practical tests provide valuable insights into the seamless operation of the network switch and the interconnected devices.
Upon completing the network testing phase, you will have gained a comprehensive understanding of the seamless operation and reliability of the Belkin network switch. The successful validation of the network connection signifies that your network environment is optimized for efficiency, enabling uninterrupted data exchange and seamless access to network resources.
With the network connection thoroughly tested and validated, you have successfully optimized your network environment for efficiency and reliability. However, in the event of any potential issues or challenges, the next section will provide valuable insights into troubleshooting common issues, empowering you to address and resolve any network-related concerns.
Troubleshooting Common Issues
While setting up and testing the Belkin Wired 8-Port 10/100 Network Switch, you may encounter common issues that can impact the seamless operation of your network environment. By addressing these issues with the following troubleshooting tips, you can effectively resolve potential challenges and ensure the optimal performance of your network switch and connected devices.
1. Connectivity Issues: If you experience challenges with device connectivity, ensure that the Ethernet cables are securely plugged into the network switch and the respective devices. Additionally, verify that the devices are configured to obtain network settings automatically, enabling them to seamlessly integrate into the network environment.
2. Slow Network Performance: In the event of sluggish network performance, consider the placement of the network switch and connected devices. Ensure that the network switch is positioned in a central location, minimizing cable length and optimizing data transmission. Additionally, assess the network load and prioritize critical devices to enhance overall network performance.
3. Indicator Light Anomalies: If the indicator lights on the network switch exhibit unusual behavior, such as flickering or remaining unlit, it may indicate potential connectivity issues or power supply concerns. Verify the integrity of the power adapter connection and the stability of the power source to ensure consistent operation of the network switch.
4. Device Recognition: Should connected devices fail to be recognized by the network switch, consider restarting the devices and the network switch to initiate a fresh connection. Additionally, verify that the devices are configured to utilize DHCP (Dynamic Host Configuration Protocol) to obtain network settings automatically, facilitating seamless integration into the network environment.
5. Network Security Concerns: If you have security-related concerns, such as unauthorized access to the network, ensure that the network switch is configured with appropriate security measures, such as MAC address filtering and network encryption. Regularly update the network switch’s firmware to mitigate potential security vulnerabilities and ensure a secure network environment.
By addressing these common issues with the provided troubleshooting tips, you can effectively optimize the performance and reliability of the Belkin network switch and create a seamless and efficient network environment. In the event of persistent challenges, consider consulting the user manual or reaching out to Belkin’s customer support for further assistance in resolving specific issues.
With the potential challenges effectively addressed through troubleshooting, you have fortified the seamless operation and reliability of your network environment. The troubleshooting process empowers you to overcome common issues and ensures that your network switch and connected devices function optimally, fostering a cohesive and efficient network infrastructure.
Conclusion
Congratulations on successfully navigating the setup, testing, and troubleshooting process for the Belkin Wired 8-Port 10/100 Network Switch. By following this comprehensive guide, you have gained valuable insights into optimizing your network infrastructure and harnessing the full capabilities of the network switch.
Throughout this journey, you have unboxed the network switch, connected the power adapter, seamlessly integrated your devices, tested the network connection, and addressed common issues through effective troubleshooting. This hands-on experience has equipped you with the knowledge and confidence to create a robust and efficient network environment.
The Belkin network switch serves as a central hub, facilitating seamless data exchange and ensuring uninterrupted connectivity for your networked devices. Its versatile array of ports, intuitive design, and reliable performance make it an essential component of your network infrastructure, whether in a home, small business, or office setting.
By validating the network connection and addressing potential challenges, you have optimized your network environment for efficiency, reliability, and seamless data exchange. The successful setup and validation of the network switch signify a significant milestone in enhancing your connectivity and network capabilities.
As you continue to explore the possibilities of your network environment, consider leveraging the advanced features and functionalities of the Belkin network switch to further enhance your connectivity and streamline data exchange. Whether it’s expanding your network, prioritizing critical devices, or implementing advanced security measures, the network switch empowers you to create a tailored and efficient networking experience.
Should you encounter new challenges or seek to further optimize your network environment, remember that ongoing support is available through resources such as the user manual, online forums, and Belkin’s customer support. These avenues provide valuable assistance in addressing specific concerns and maximizing the potential of your network infrastructure.
With the knowledge and expertise gained from this guide, you are well-prepared to embark on a seamless networking journey, unlocking the full potential of the Belkin Wired 8-Port 10/100 Network Switch. As you continue to integrate new devices, explore innovative networking solutions, and adapt to evolving connectivity needs, the network switch will remain a reliable and essential component of your interconnected environment.
Thank you for embarking on this networking adventure with us. We trust that the insights and guidance provided in this guide will continue to serve as valuable resources as you optimize and expand your network infrastructure. Here’s to a seamless, efficient, and interconnected network environment powered by the Belkin network switch.