Connecting a Printer to a Network Switch: Simplifying Your Printing Setup
Introduction
Setting up a printer to work with a network switch can streamline printing processes, allowing multiple users to access the printer from various devices. This guide will walk you through the steps to connect a printer to a network switch, ensuring that you can efficiently print from any connected device on the network.
Having a printer connected to a network switch offers flexibility and convenience, enabling seamless printing across the network. Whether you're in a small office, a home setting, or a larger organization, this setup can enhance productivity and accessibility. By following the steps outlined in this guide, you can easily configure your printer to work with a network switch and enjoy the benefits of a shared printing environment.
In the following sections, we will cover the necessary equipment, the process of connecting the printer to the network switch, configuring the printer settings, and testing the connection to ensure everything is functioning as expected. By the end of this guide, you will have a clear understanding of how to connect your printer to a network switch, empowering you to optimize your printing setup for greater efficiency and convenience. Let's dive into the first step: gathering the necessary equipment.
Step 1: Gather Necessary Equipment
Before you begin the process of connecting your printer to a network switch, it’s essential to ensure that you have all the necessary equipment at hand. Gathering the required items beforehand will streamline the setup process and prevent any interruptions. Here’s a list of the essential equipment you’ll need:
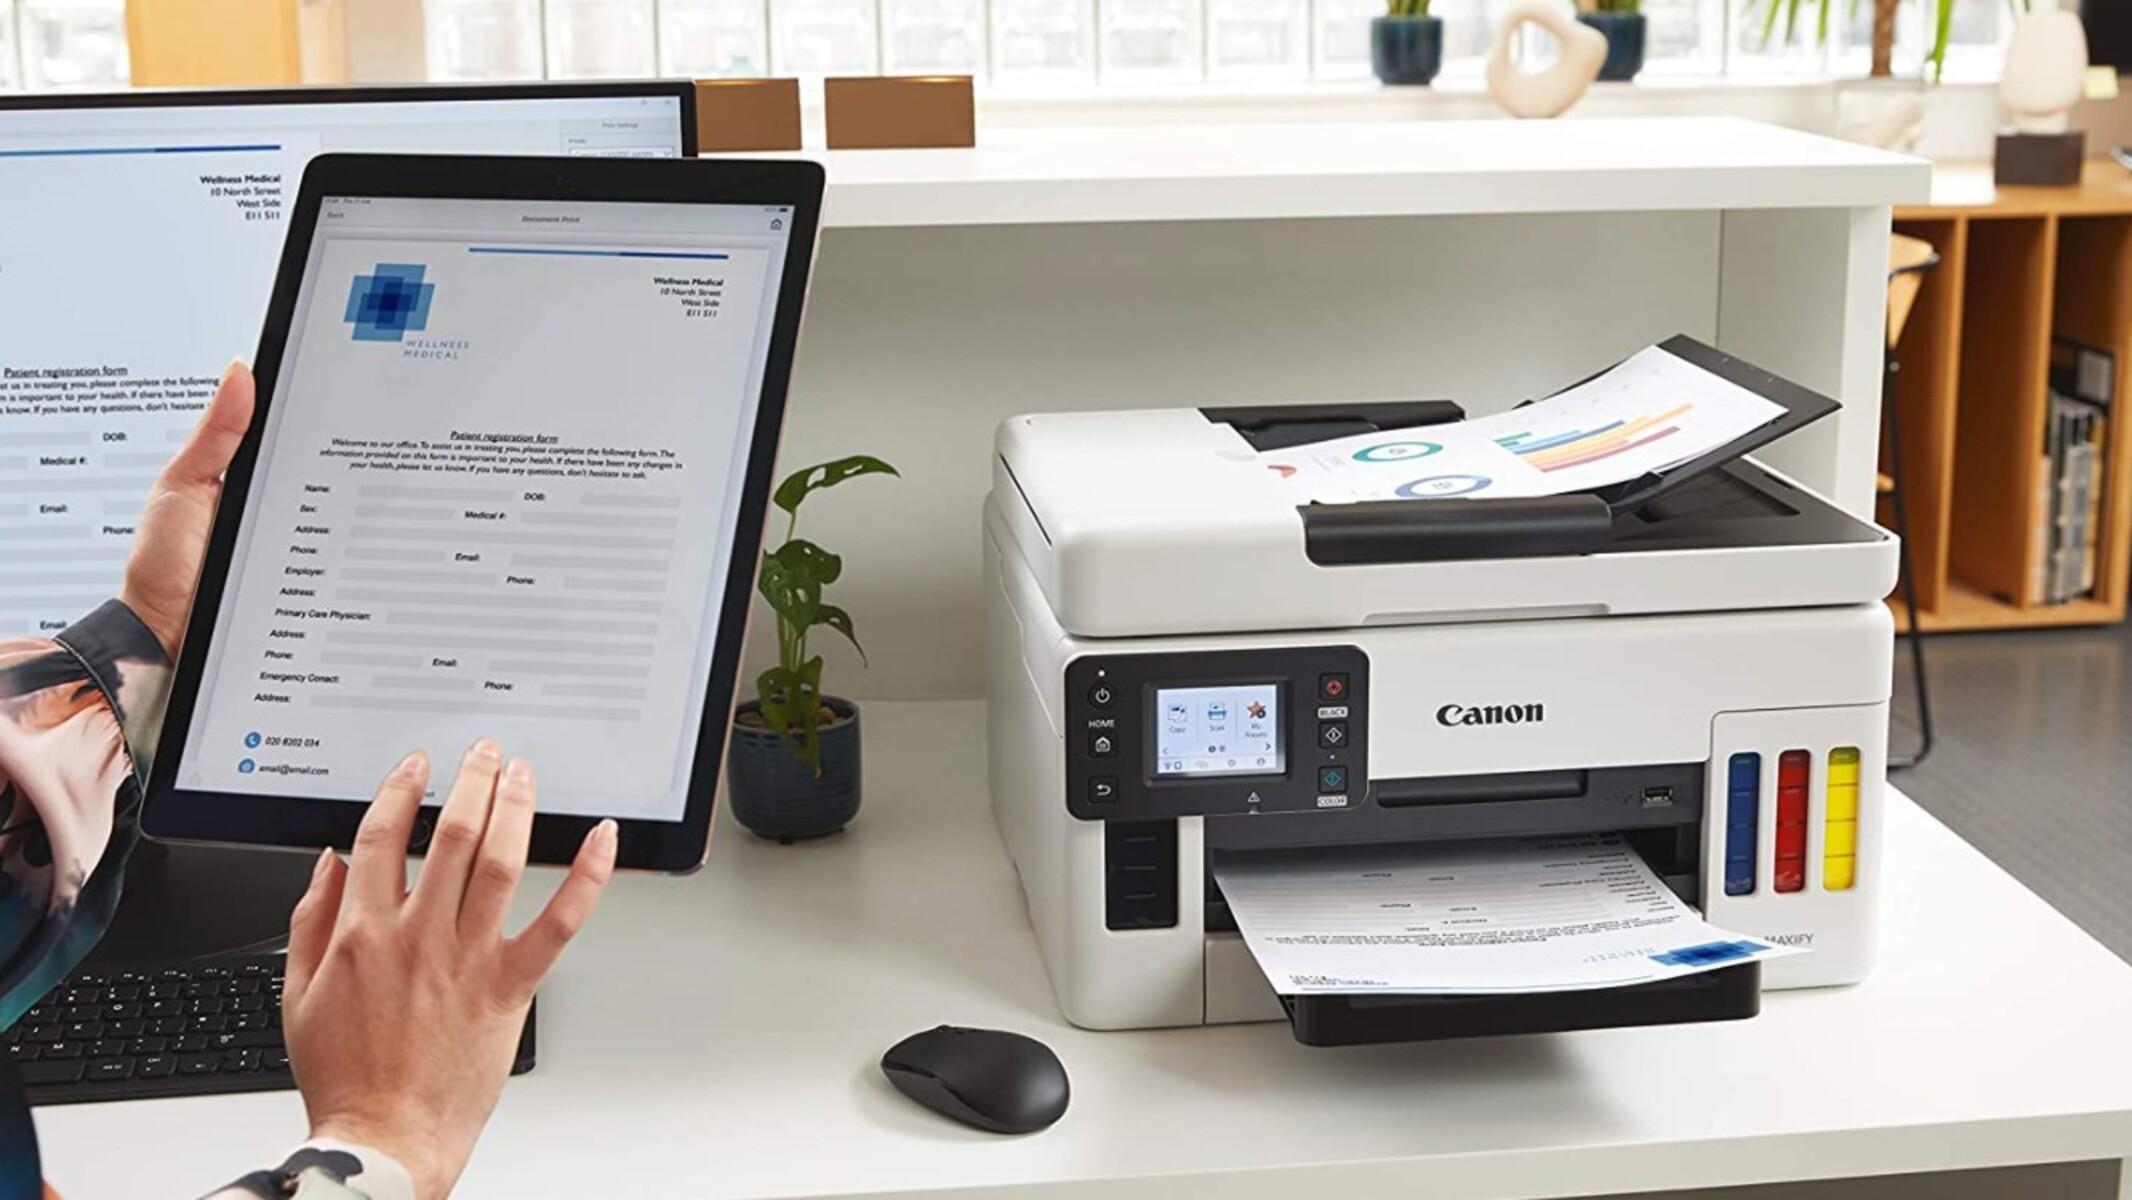
- Printer: Select the printer that you want to connect to the network switch. Ensure that the printer is in working condition and has the necessary connectivity options, such as an Ethernet port, to establish a connection with the network switch.
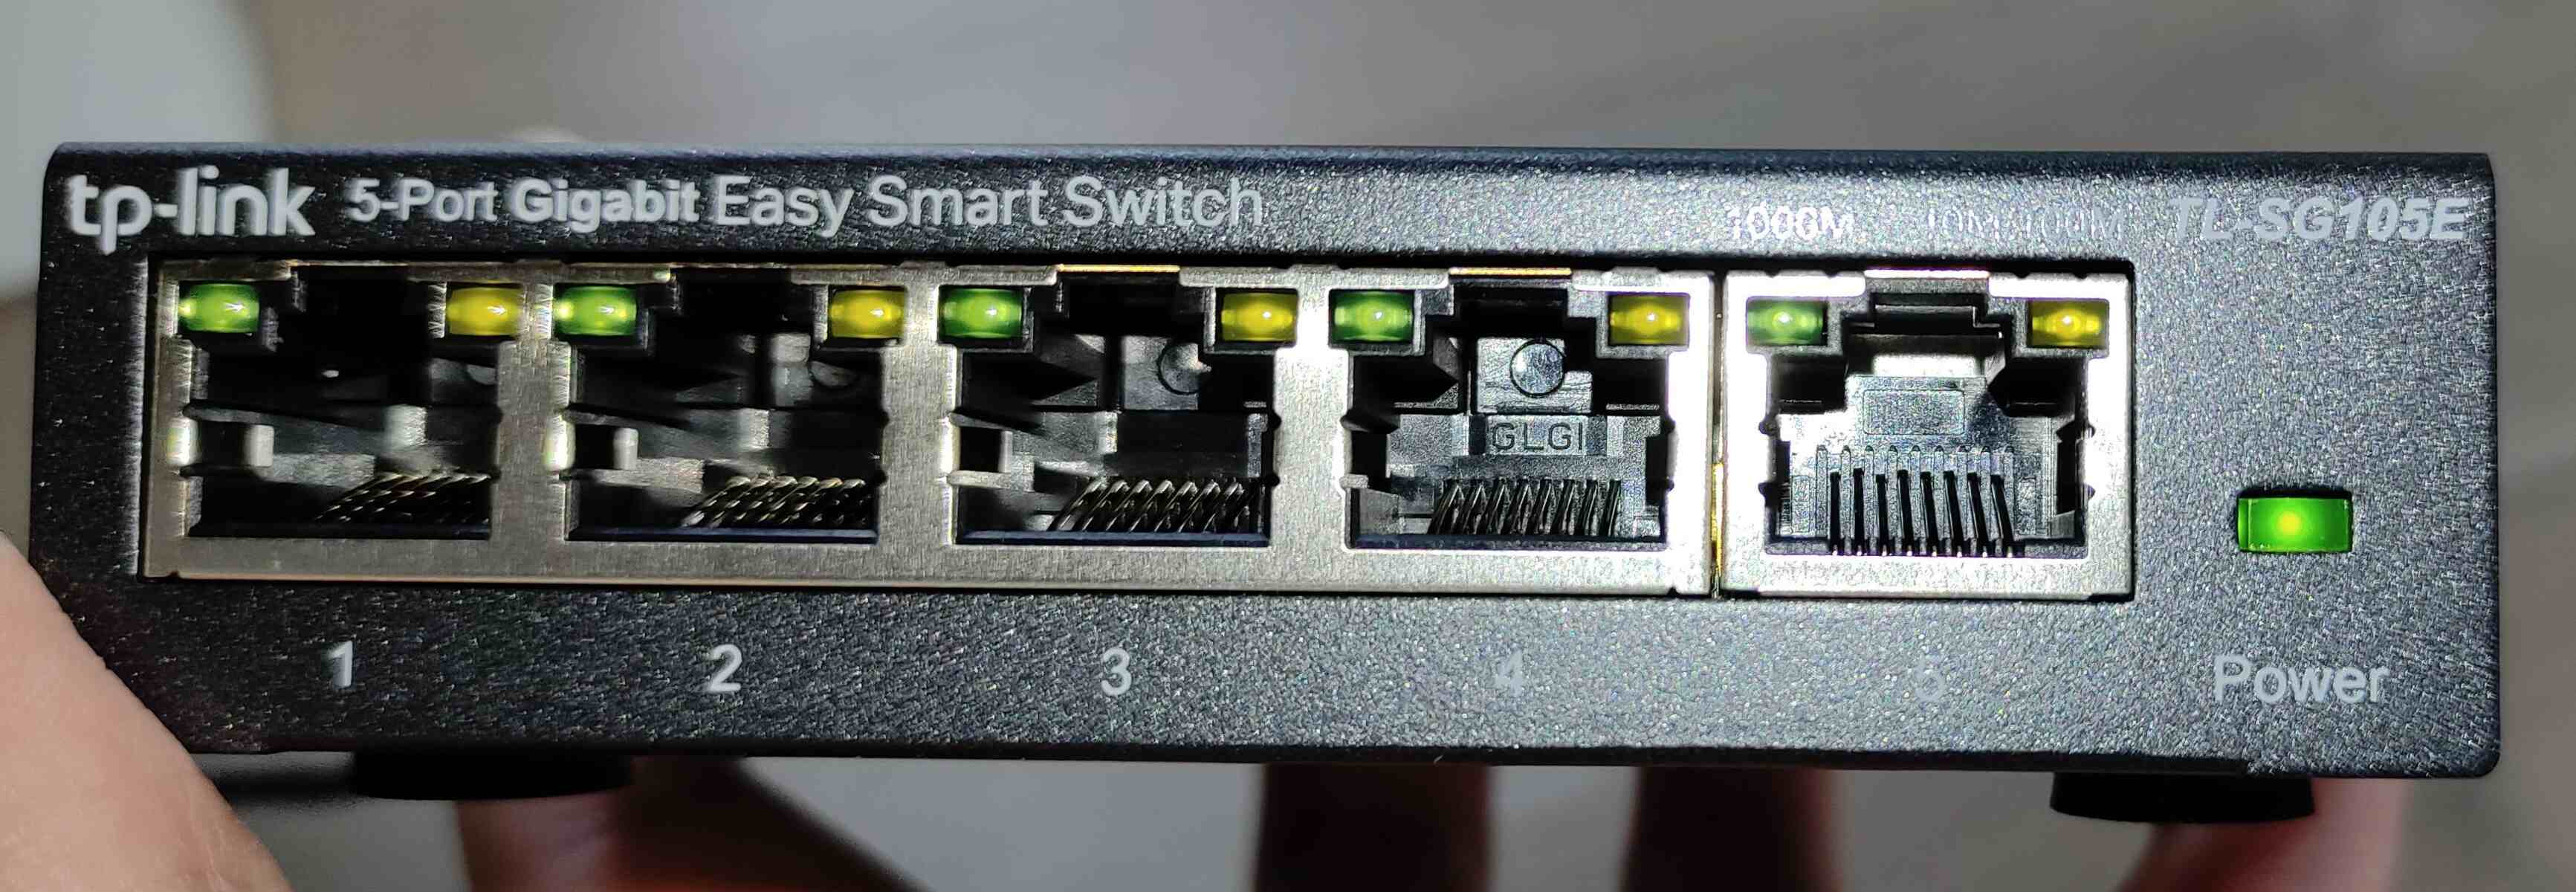
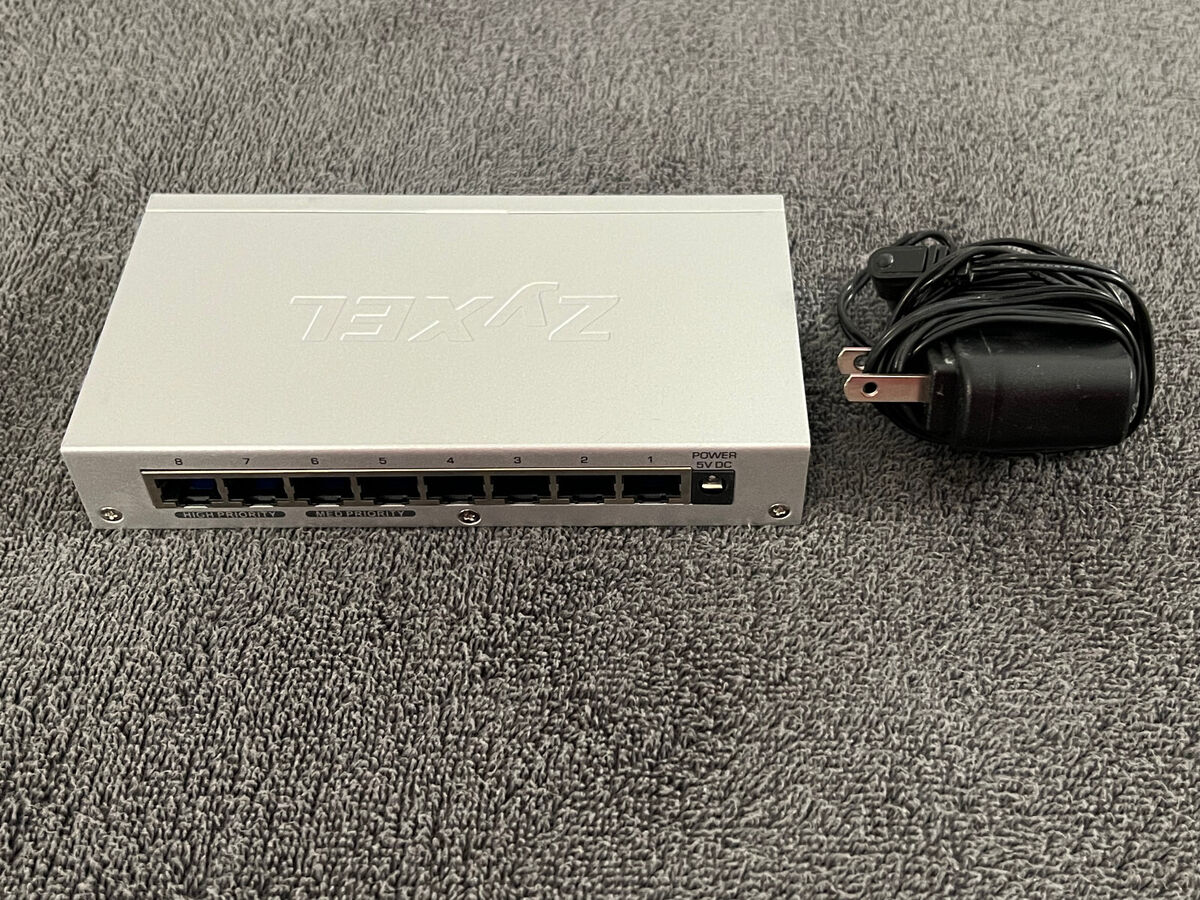
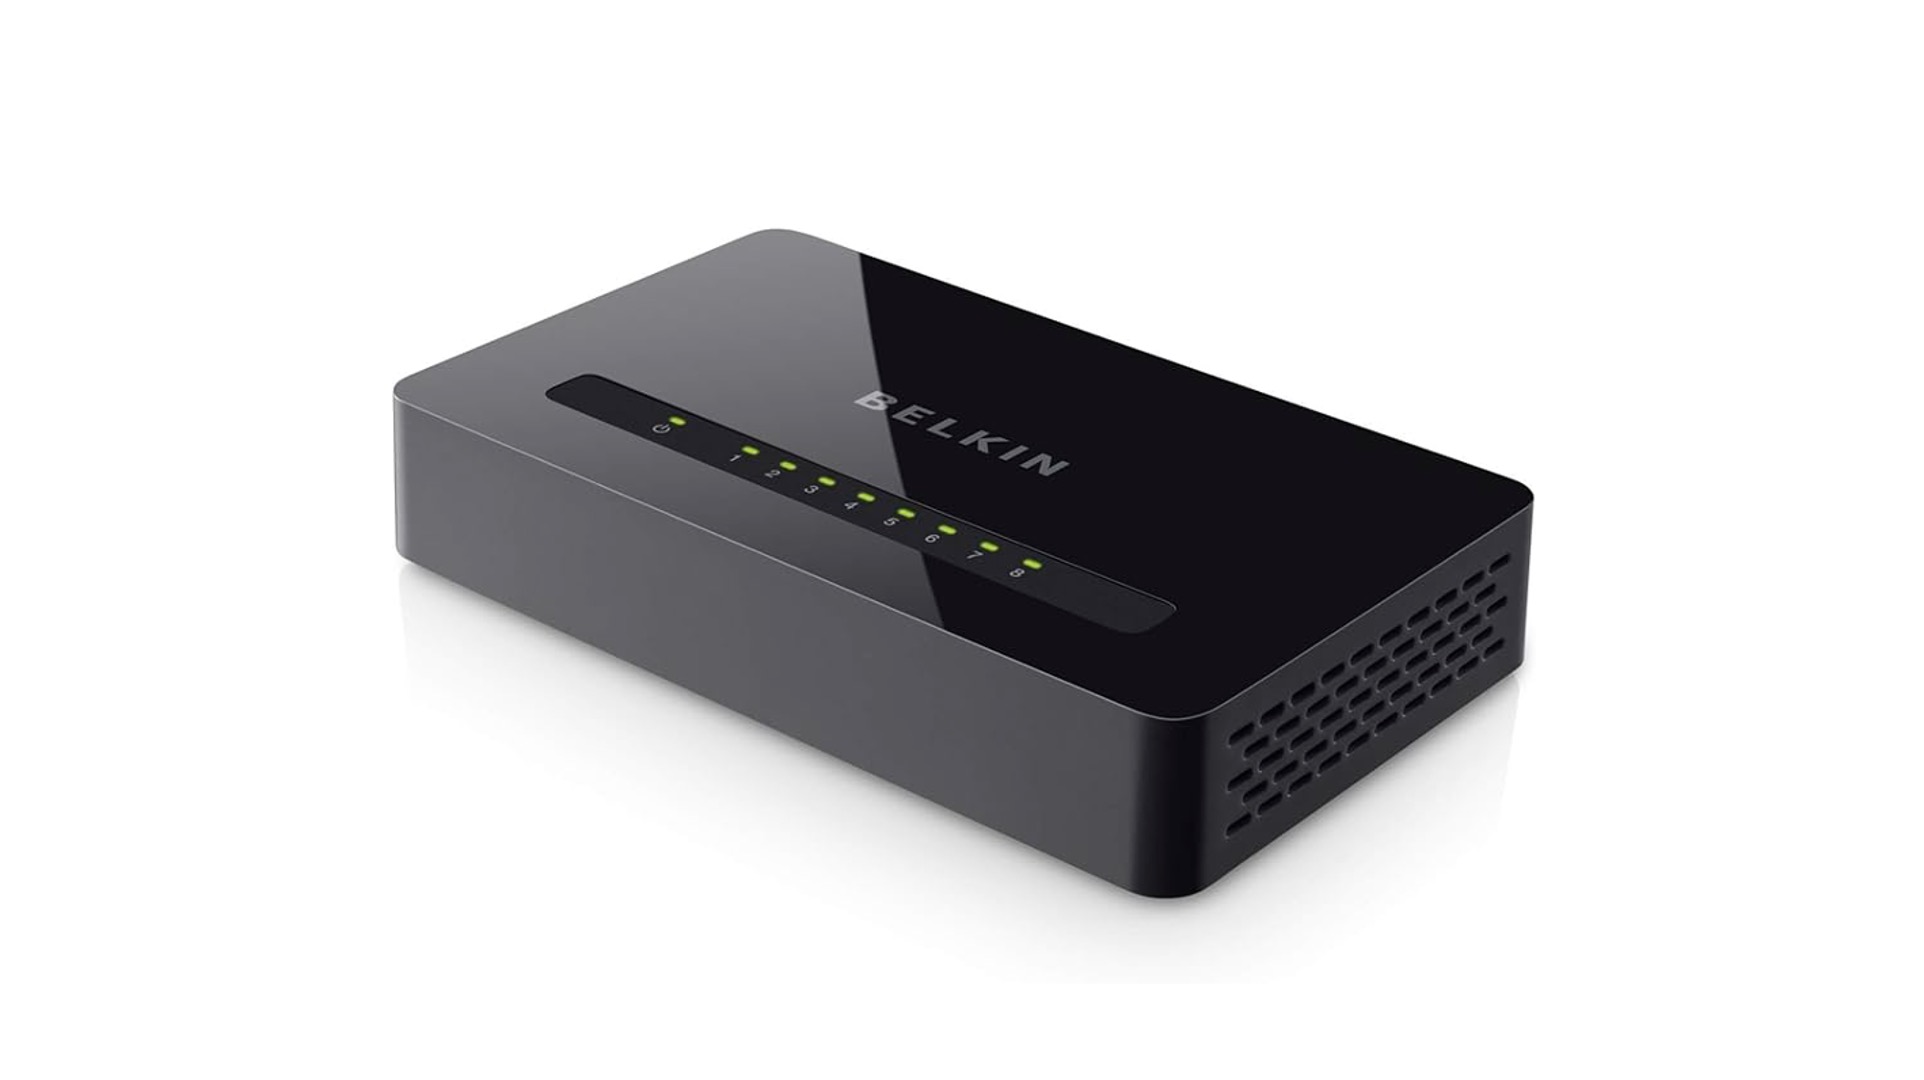
- Network Switch: Acquire a network switch that suits your requirements. Depending on the number of devices you intend to connect and the network speed you desire, choose a network switch with the appropriate number of ports and speed capabilities.
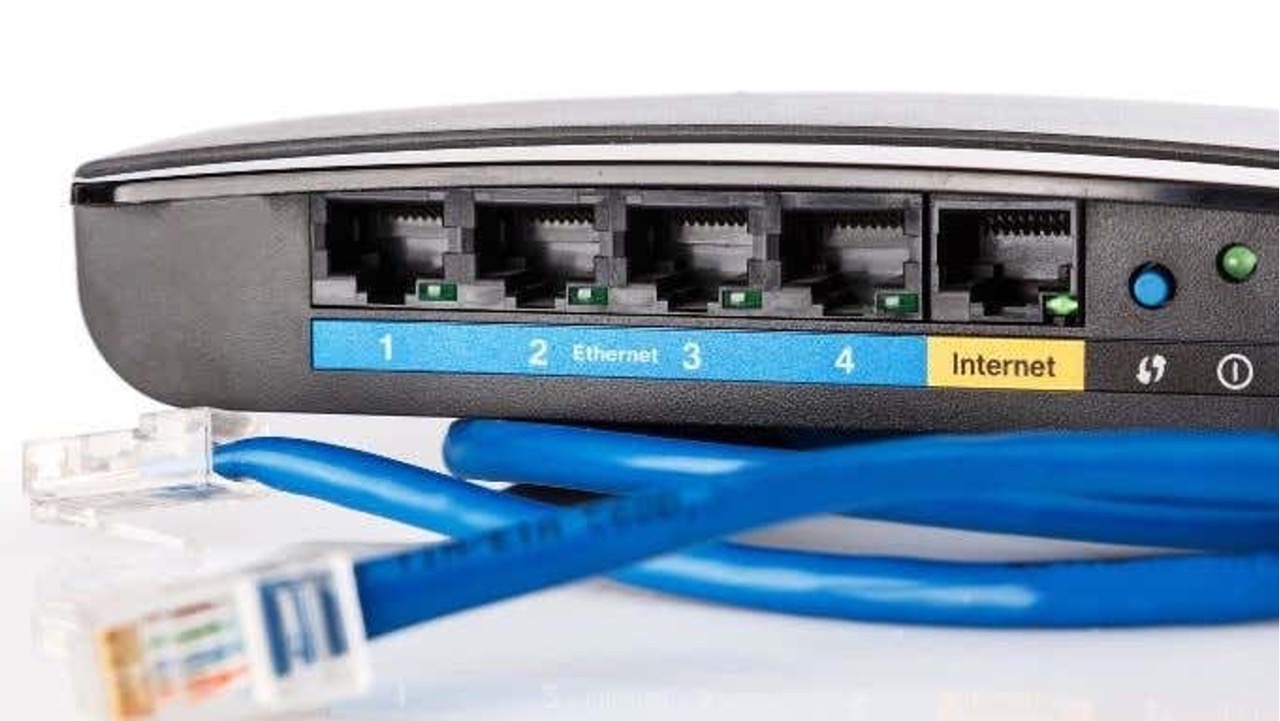
- Ethernet Cables: Prepare Ethernet cables of sufficient length to connect the printer to the network switch. The length of the cables will depend on the distance between the printer and the network switch.
- Power Cables: Ensure that you have power cables for both the printer and the network switch. These cables are essential for providing power to the devices and keeping them operational.
- Network Configuration Details: If your network requires specific configuration details, such as IP addresses, subnet masks, and gateway information, gather these details beforehand. This information will be necessary when configuring the printer to communicate with the network switch and other devices on the network.
By having these items ready, you can proceed with the setup process without any delays. Once you have gathered all the necessary equipment, you’ll be prepared to move on to the next step: connecting the printer to the network switch.
Step 2: Connect the Printer to the Network Switch
Once you have gathered the required equipment, the next step is to establish the physical connection between the printer and the network switch. This process involves connecting the printer to the network switch using Ethernet cables, enabling the printer to communicate with other devices on the network. Follow these steps to connect the printer to the network switch:
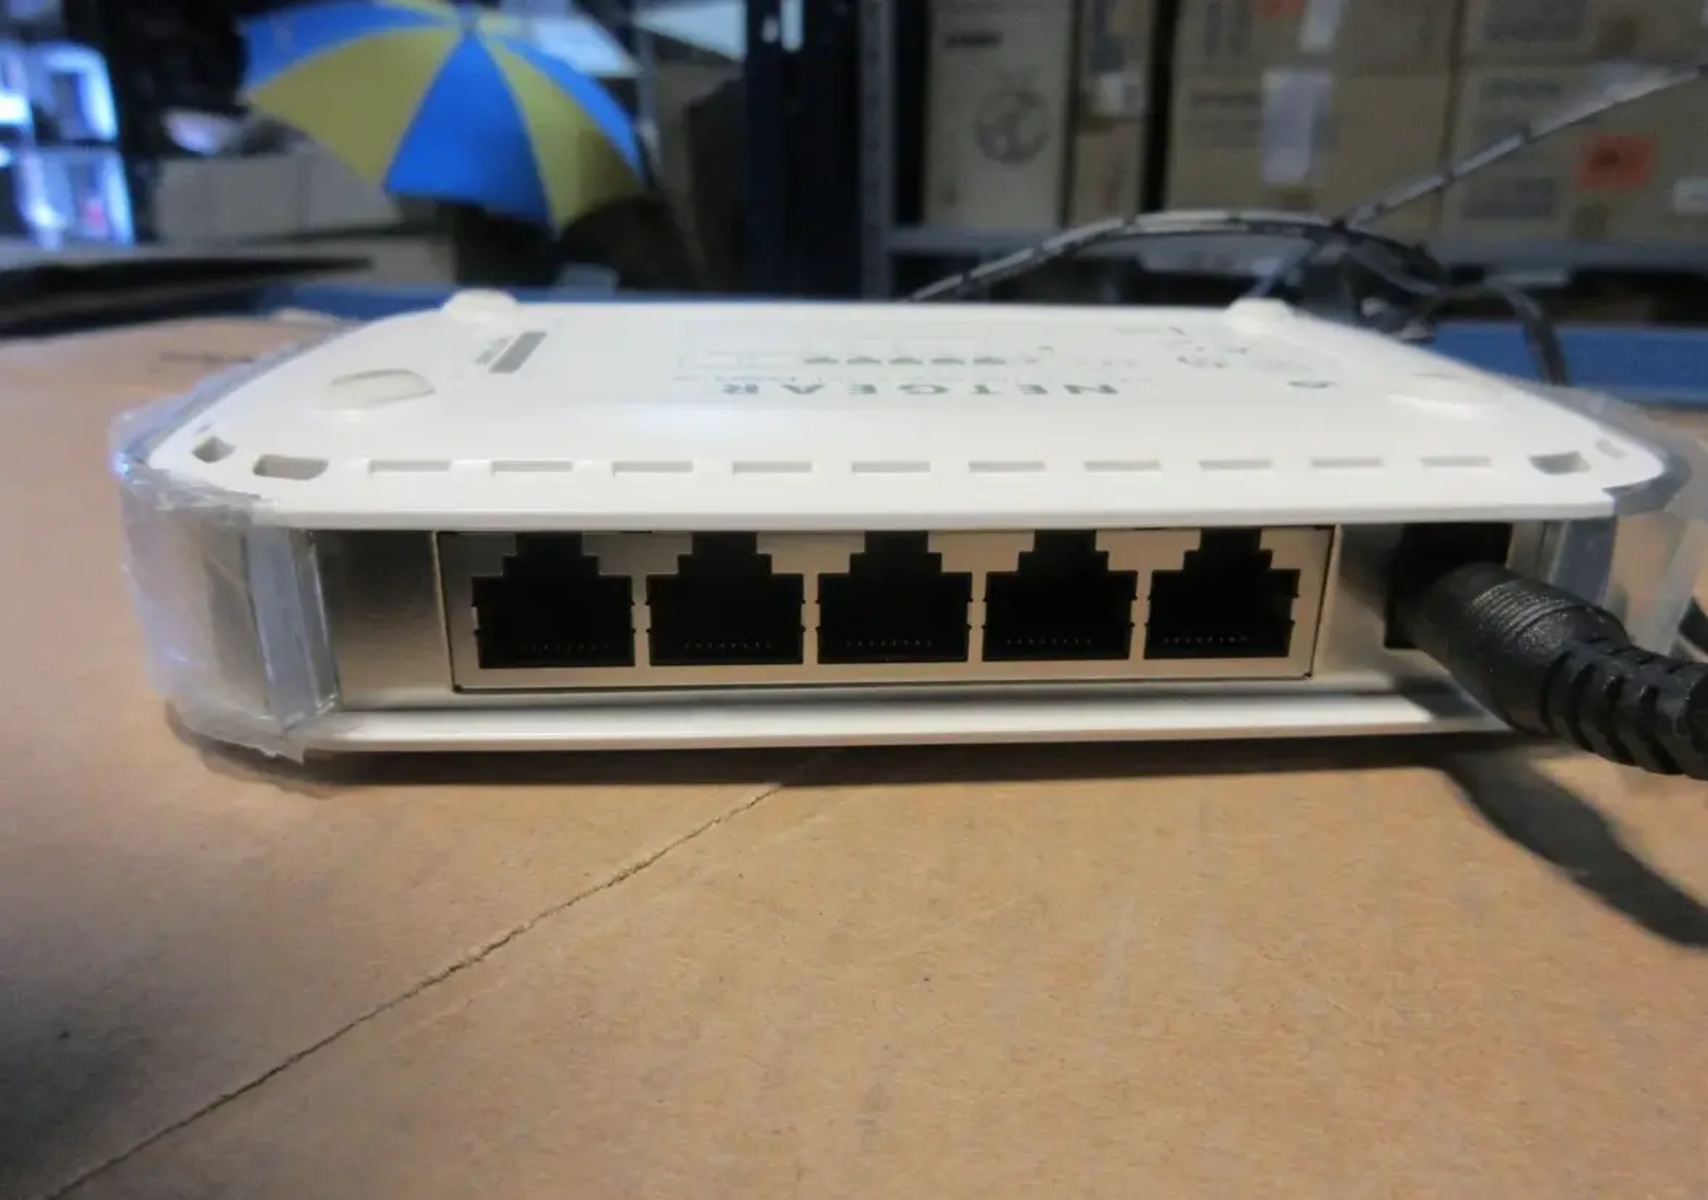
- Locate an Available Ethernet Port: Identify an available Ethernet port on the network switch to which you can connect the printer. If the network switch has multiple ports, choose one that is not already in use by another device.
- Connect the Ethernet Cable: Take one end of the Ethernet cable and insert it into the Ethernet port on the printer. Ensure that the cable is securely plugged in to establish a stable connection.
- Connect the Other End to the Network Switch: Take the other end of the Ethernet cable and insert it into the selected Ethernet port on the network switch. Once again, ensure that the connection is secure to prevent any disruptions in communication.
- Power On the Devices: Power on the printer and the network switch by connecting them to a power source using the respective power cables. Wait for the devices to boot up and initialize their network connections.
Upon completing these steps, the physical connection between the printer and the network switch will be established, allowing data to be transmitted between the printer and the devices connected to the network switch. With the printer now connected to the network switch, you can proceed to the next step: configuring the printer settings to enable seamless communication within the network.
Step 3: Configure the Printer Settings
With the physical connection between the printer and the network switch in place, the next crucial step is to configure the printer settings to ensure seamless communication within the network. By adjusting the printer settings, you can enable the printer to interact with the devices connected to the network switch. Follow these steps to configure the printer settings:
- Access the Printer’s Control Panel: Navigate to the printer’s control panel or display screen. Depending on the printer model, you may need to access the settings menu or network configuration options.
- Locate the Network Settings: Within the printer’s settings menu, locate the network or connectivity settings. Look for options related to network setup, Ethernet configuration, or TCP/IP settings.
- Enter Network Details: If required, enter the network configuration details that are relevant to your network, such as the IP address, subnet mask, and gateway information. This information enables the printer to communicate with other devices on the network.
- Confirm the Connection: Once the network details are entered, verify the connection between the printer and the network switch. The printer should establish a connection to the network switch, allowing it to send and receive data across the network.
- Test the Connectivity: Print a test page or perform a network connectivity test from the printer to ensure that it can communicate with other devices on the network. This step helps confirm that the printer is successfully configured to work with the network switch.
By following these steps, you can effectively configure the printer settings to integrate the printer into the network environment. Once the printer settings are adjusted and the connectivity is verified, you can proceed to the final step: testing the connection to ensure that the printer operates smoothly within the network.
Step 4: Test the Connection
After connecting the printer to the network switch and configuring the printer settings, it’s essential to test the connection to ensure that the printer can effectively communicate with the devices on the network. Testing the connection allows you to confirm that the printer is accessible and operational from various devices within the network. Follow these steps to test the connection:
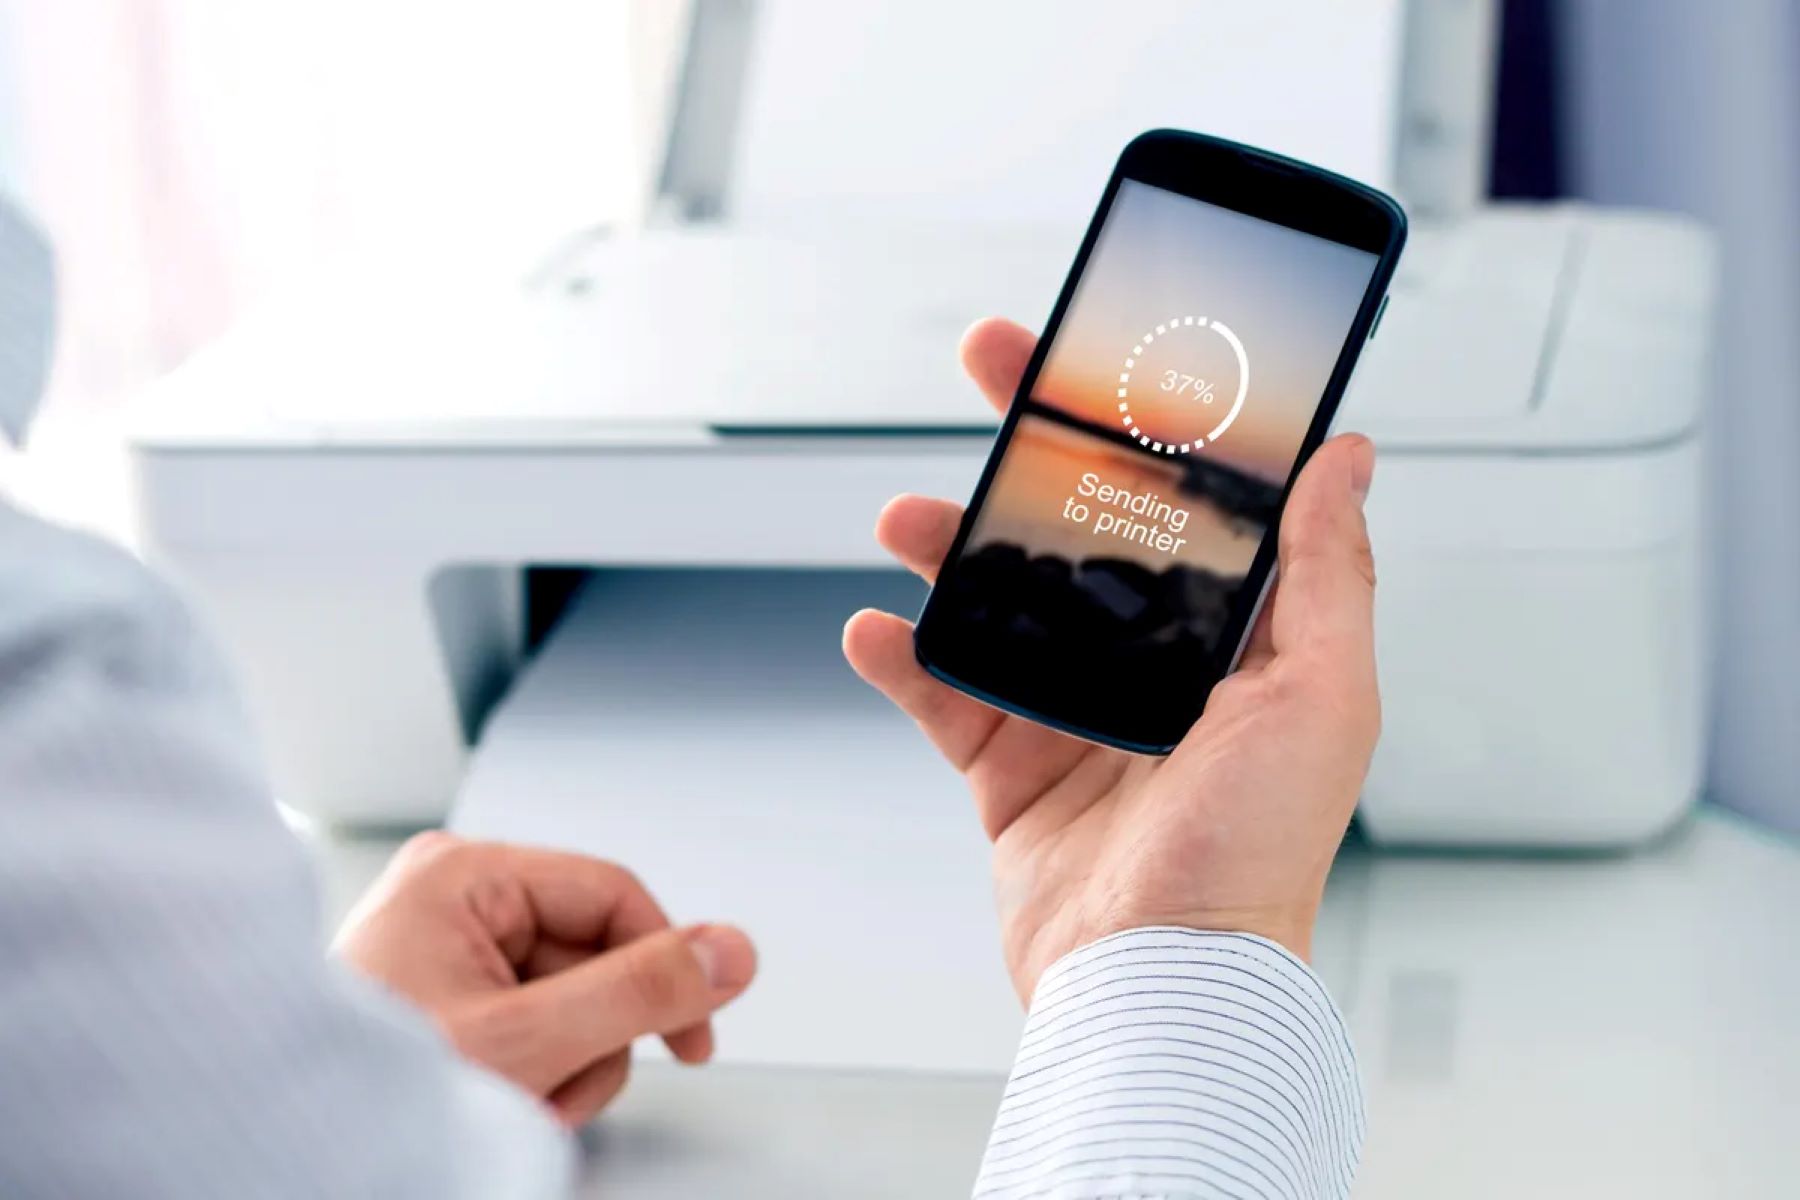
- Print a Test Page: Send a print command from a connected device, such as a computer or mobile device, to the printer. Verify that the printer successfully receives the print job and produces the printed output. This test confirms that the printer can receive and process print requests from devices on the network.
- Check Network Accessibility: From a different device on the network, attempt to access the printer through the network connection. Ensure that the printer is visible and accessible from other devices, allowing users to send print jobs to the printer as needed.
- Verify Multi-Device Connectivity: If multiple devices are connected to the network switch, test the printer’s ability to handle print requests from different devices simultaneously. This step ensures that the printer can efficiently serve multiple users across the network.
- Confirm Print Quality and Speed: Evaluate the quality and speed of the printed output to ensure that the printer delivers the expected results. Verify that the printed documents meet the desired quality standards and are produced within a reasonable timeframe.
By performing these tests, you can validate the successful integration of the printer into the network environment. Verifying the printer’s accessibility, multi-device connectivity, and print quality ensures that the printer operates seamlessly within the network, meeting the printing needs of the users. With the connection successfully tested, you have completed the process of connecting your printer to a network switch, enabling efficient printing across the network.
Conclusion
Connecting a printer to a network switch opens up a world of possibilities for streamlined printing across multiple devices. By following the steps outlined in this guide, you have successfully established a connection between your printer and the network switch, enabling efficient printing within your network environment. From gathering the necessary equipment to testing the printer’s connectivity, each step has contributed to creating a seamless printing setup. As a result, you can now enjoy the benefits of shared printing capabilities and enhanced accessibility.
With the printer connected to the network switch, multiple users can conveniently send print jobs to the printer from their respective devices, fostering collaboration and productivity. The shared printing environment simplifies the printing process, eliminating the need for direct connections between individual devices and the printer. Whether in a home setting, a small office, or a larger organization, the setup you’ve implemented offers flexibility and convenience for all users.
Furthermore, the successful configuration of the printer settings ensures that the printer can effectively communicate with the network switch and other devices on the network. This seamless integration allows for smooth data transmission and print job processing, contributing to an efficient printing workflow. Additionally, the testing of the connection has validated the printer’s accessibility, multi-device connectivity, and print quality, ensuring that it meets the printing needs of the users within the network.
By connecting your printer to a network switch, you have optimized your printing setup for greater efficiency and convenience. This streamlined approach to printing simplifies the overall printing process, enhances accessibility, and promotes collaborative work environments. As technology continues to evolve, the ability to connect devices seamlessly within a network environment is increasingly valuable, and your successful implementation of this setup places you at the forefront of efficient printing practices.
With your printer now seamlessly integrated into the network environment, you are well-equipped to leverage the benefits of shared printing capabilities and enjoy a more efficient and collaborative printing experience across your network.