Introduction
Welcome to the world of networking, where the seamless flow of data is made possible through the intricate web of devices and connections. In this comprehensive guide, we will delve into the fascinating realm of network switches, exploring the process of building a network switch from scratch. Whether you are an aspiring network engineer or a tech enthusiast eager to expand your knowledge, this step-by-step walkthrough will equip you with the fundamental understanding and practical skills needed to construct your very own network switch.
The ability to construct a network switch from the ground up not only provides valuable hands-on experience but also grants you a deeper insight into the inner workings of these essential networking devices. By comprehending the intricate components and configurations involved in building a network switch, you will gain a profound understanding of how data is efficiently routed and managed within a network infrastructure.
Throughout this guide, we will demystify the technical aspects of network switches, elucidating the core components required for the hardware assembly, the intricate process of installing and configuring the essential software, and the crucial testing and troubleshooting procedures. By the end of this journey, you will have the knowledge and confidence to embark on your own network switch-building endeavor, empowered to tailor the switch to your specific networking needs.
So, fasten your seatbelt and get ready to embark on an exciting exploration of network switches, where we will unravel the complexities and unveil the art of crafting a robust and efficient networking powerhouse. Let's dive in and lay the foundation for your network switch-building adventure!
Understanding Network Switches
Before delving into the process of building a network switch, it is essential to grasp the fundamental role and functionality of these pivotal networking devices. At its core, a network switch serves as a central hub for data traffic within a local area network (LAN), facilitating the seamless communication between multiple devices such as computers, printers, servers, and other networked peripherals.
Unlike traditional hubs or repeaters, which indiscriminately broadcast data to all connected devices, a network switch operates with intelligence, efficiently directing data packets only to their intended destinations. This intelligent forwarding is achieved through the use of MAC addresses, enabling the switch to create a virtual map of the network and establish direct communication paths between devices.
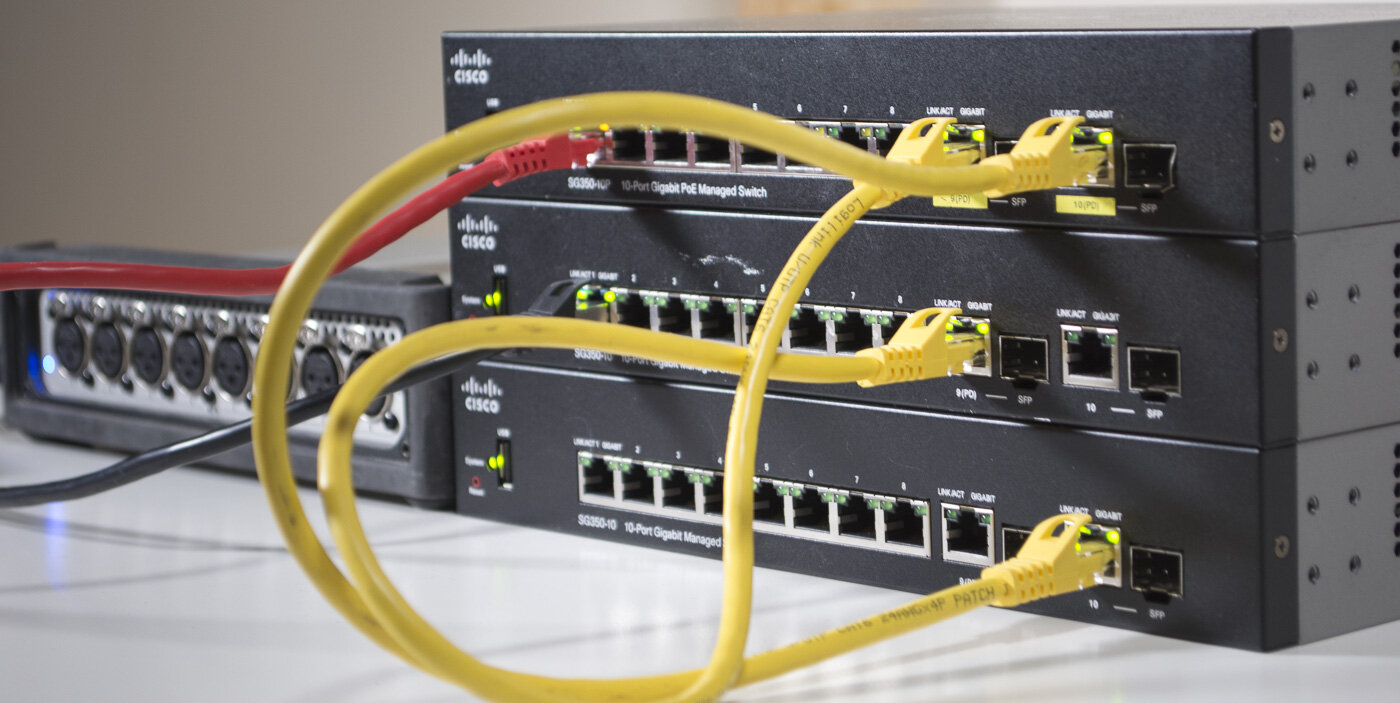
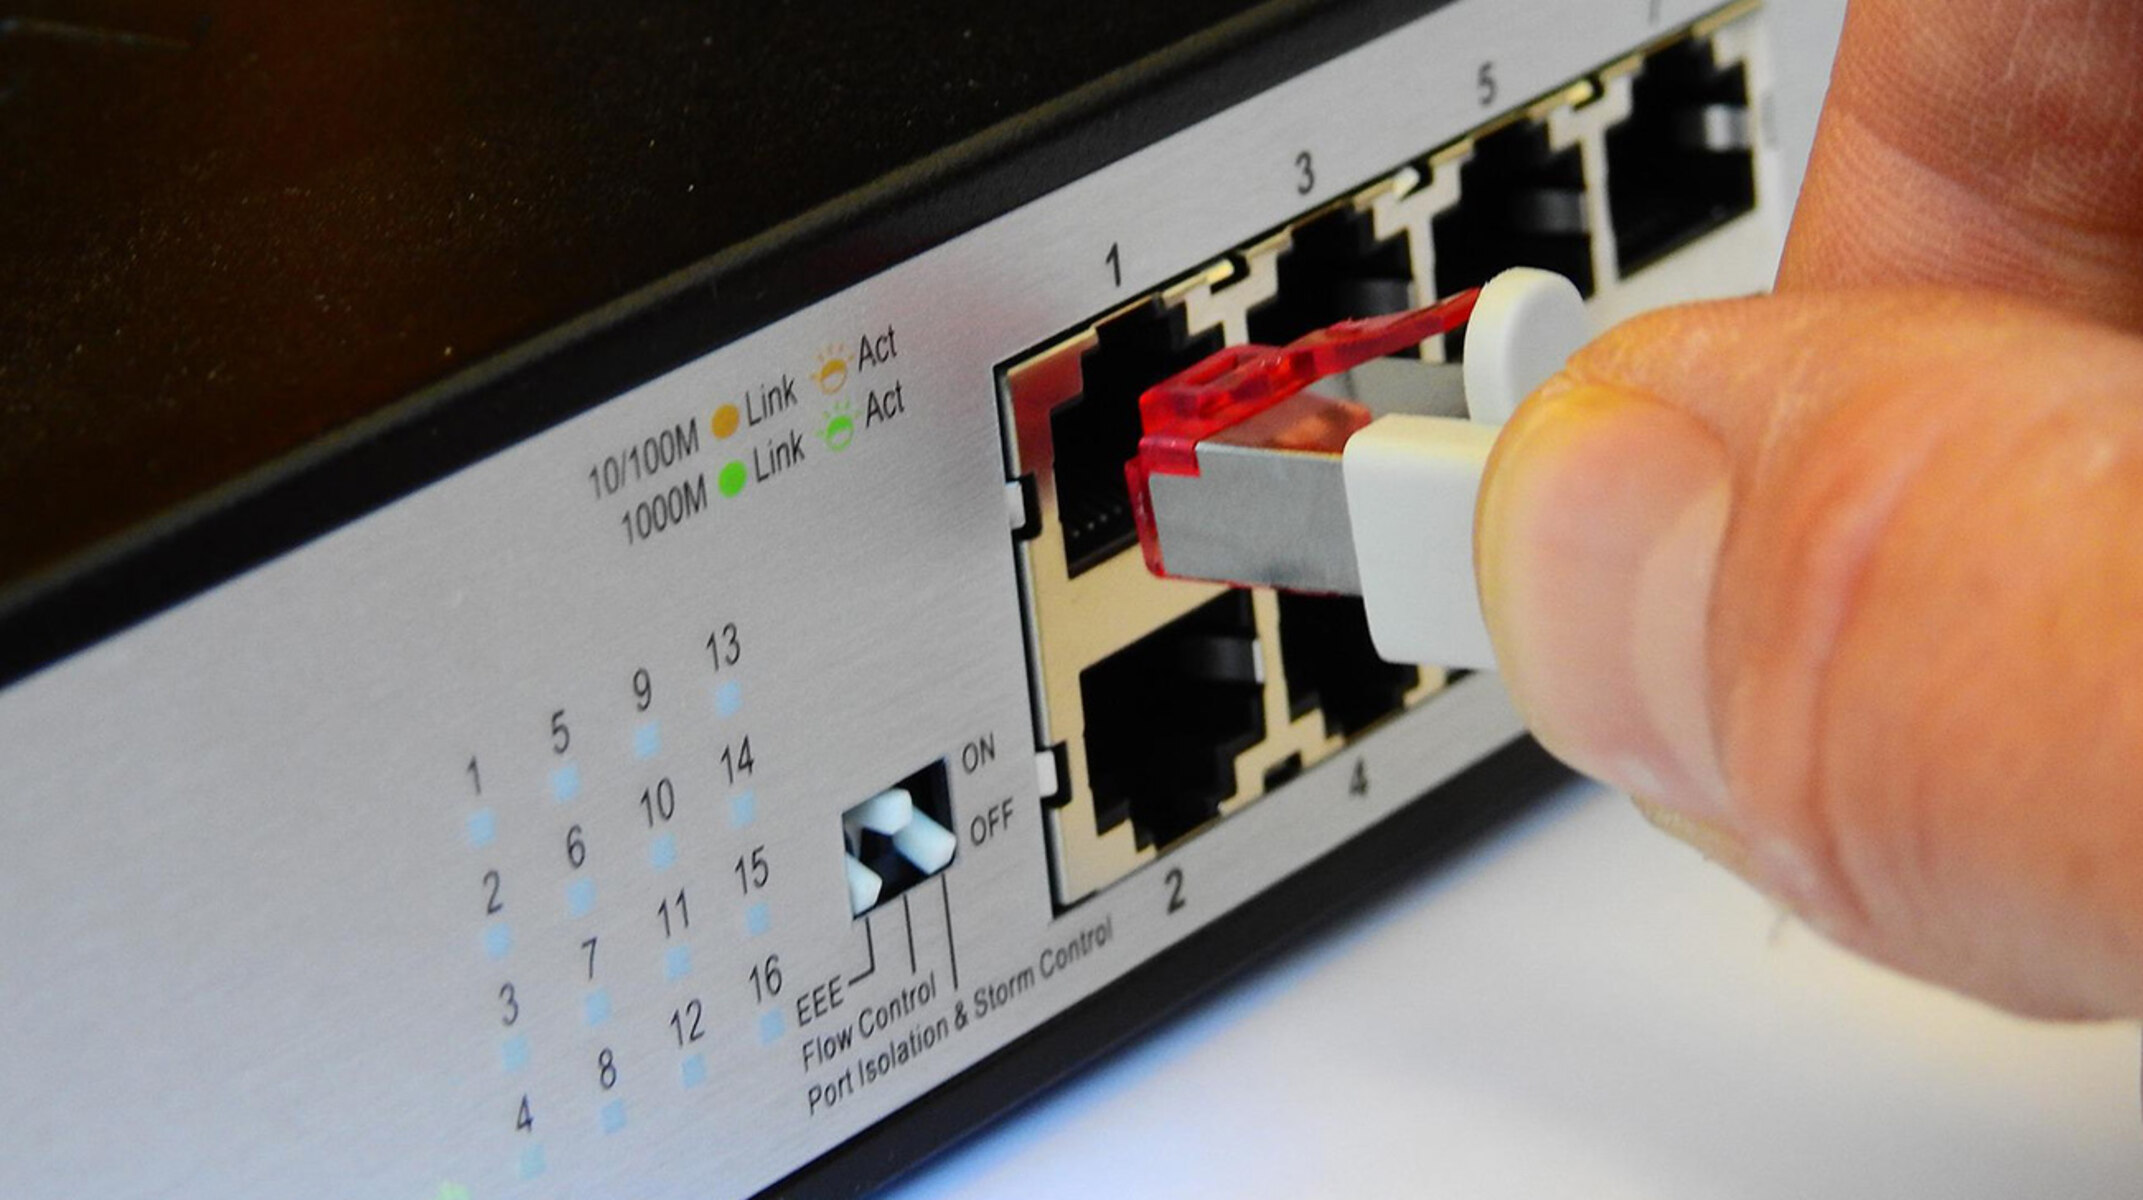
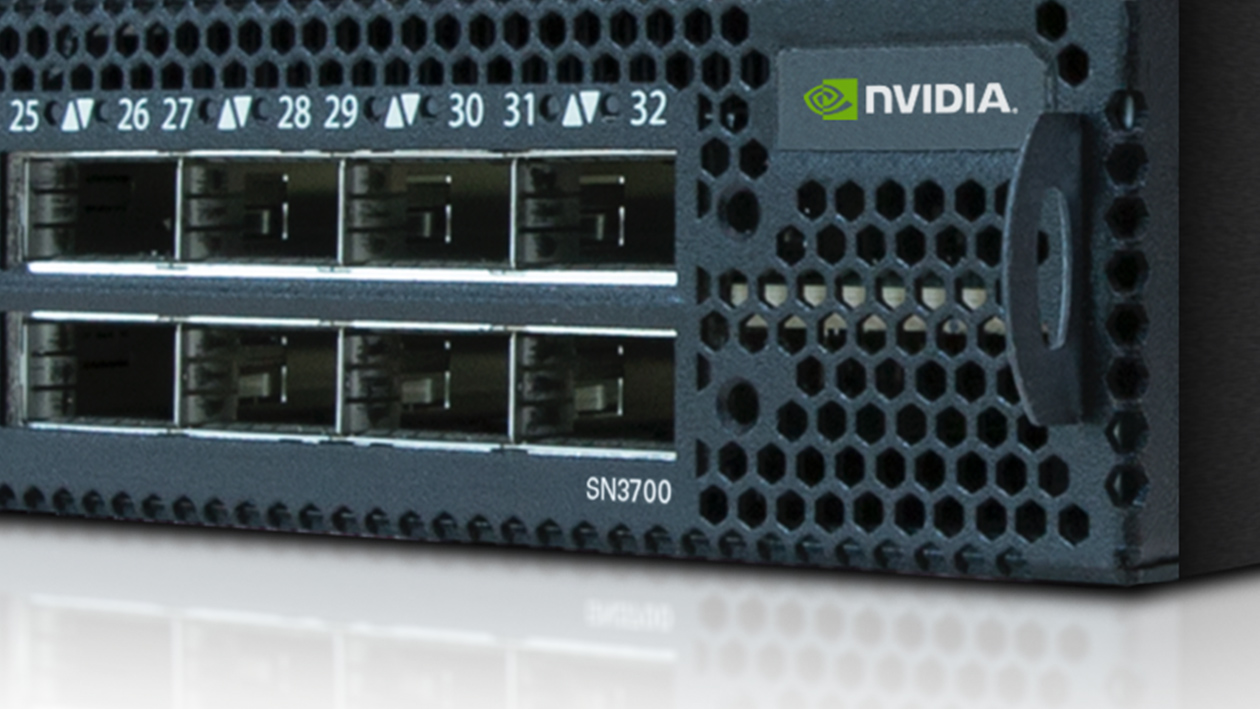
Network switches are equipped with multiple ports, each serving as a connection point for devices within the network. These ports can vary in speed and configuration, ranging from standard Ethernet ports to high-speed Gigabit and 10-Gigabit ports, catering to diverse networking requirements.
Furthermore, switches can be classified based on their layer of operation within the OSI (Open Systems Interconnection) model. While unmanaged switches operate at the data link layer (Layer 2) and provide basic connectivity functions, managed switches offer advanced features such as VLAN (Virtual Local Area Network) support, Quality of Service (QoS) prioritization, and port mirroring for network monitoring and troubleshooting.
Understanding the diverse types and capabilities of network switches is crucial for tailoring a custom-built switch to specific networking demands. By comprehending the intricacies of switch operation and the array of features they offer, you will be well-prepared to embark on the journey of constructing a network switch that aligns perfectly with your networking objectives.
Components Needed for Building a Network Switch
Constructing a network switch from scratch requires a meticulous selection of essential components to ensure the seamless operation and efficient data management within the network. Here’s a breakdown of the key components needed for building a network switch:
- Switching Fabric: The heart of the network switch, the switching fabric is responsible for the internal architecture that enables the forwarding of data packets between network ports. When building a network switch, selecting a high-performance switching fabric is crucial for ensuring low latency and high throughput.
- Processor and Memory: A powerful processor and sufficient memory are vital for handling the switching logic, packet processing, and management functions of the network switch. The processor’s processing power and memory capacity directly impact the switch’s overall performance and scalability.
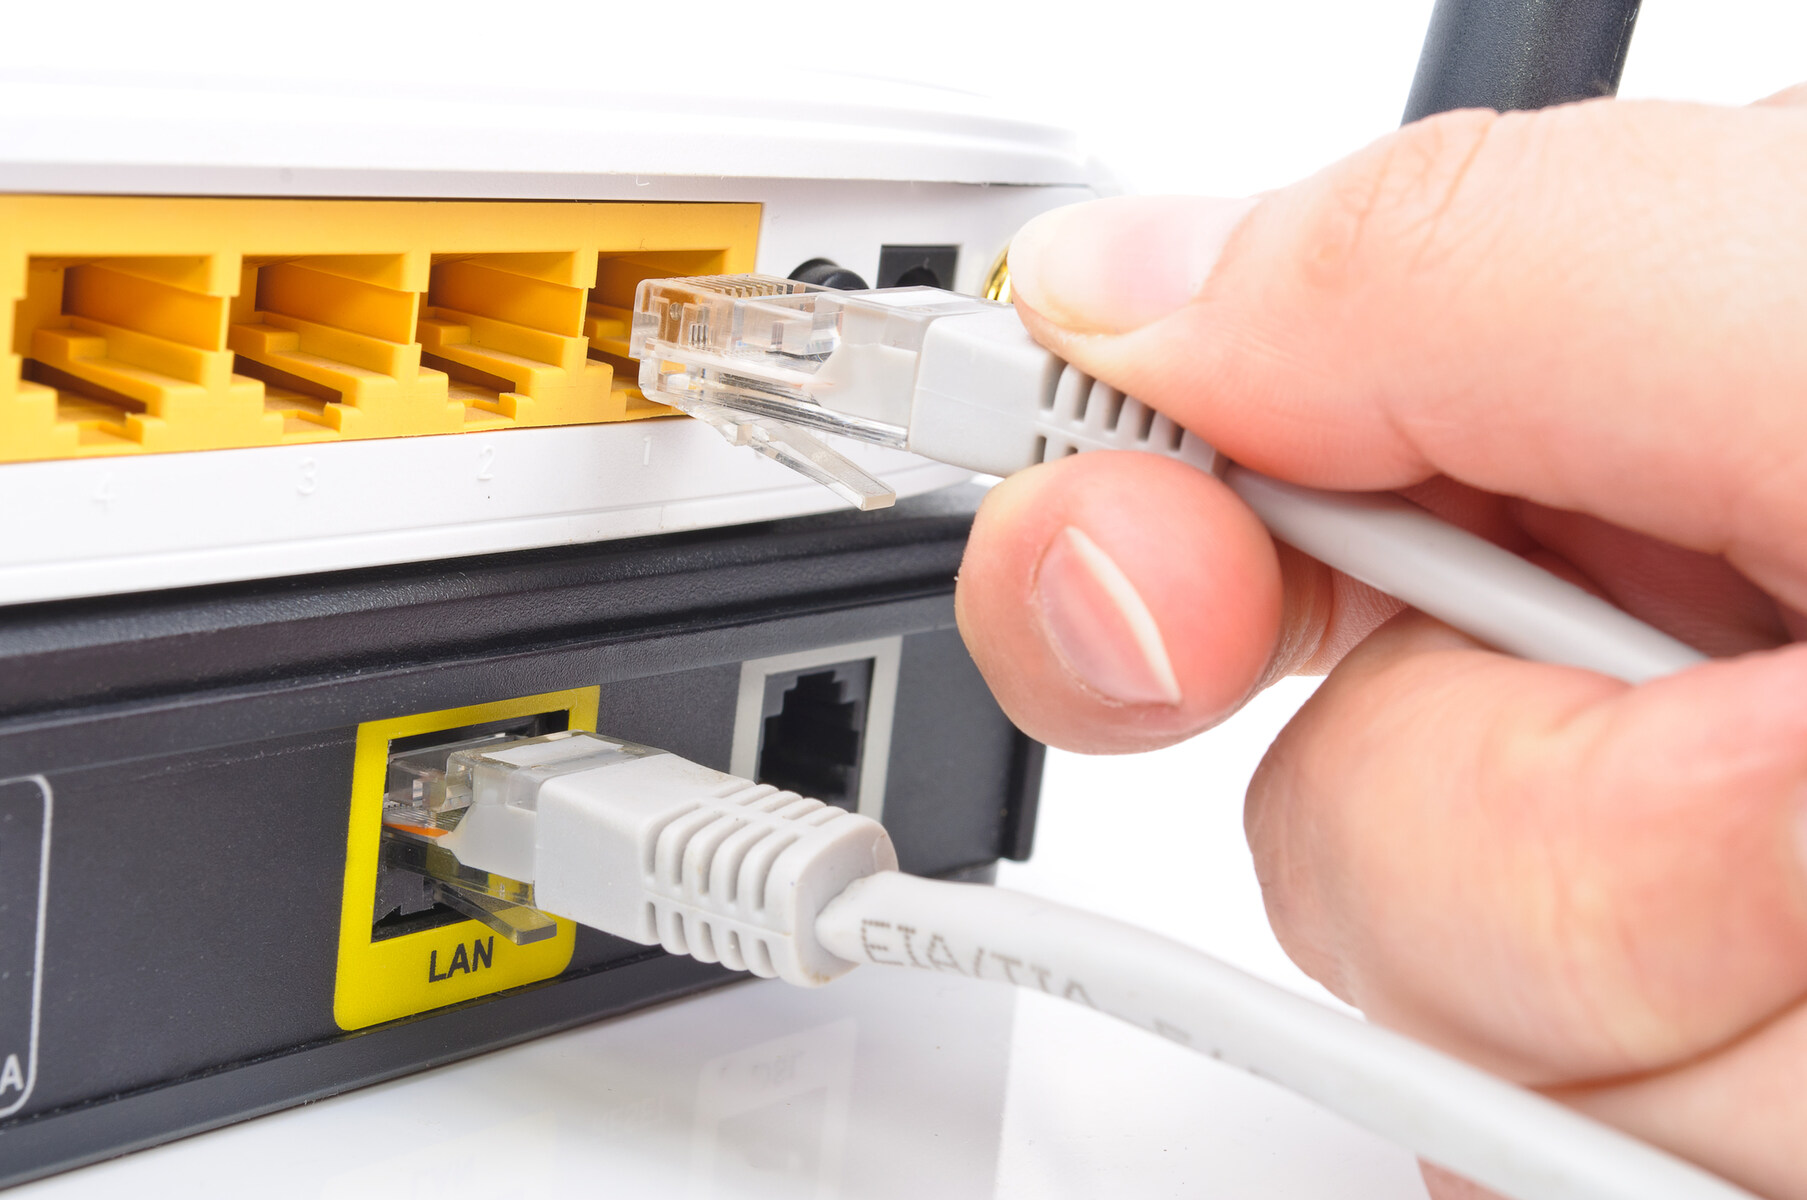
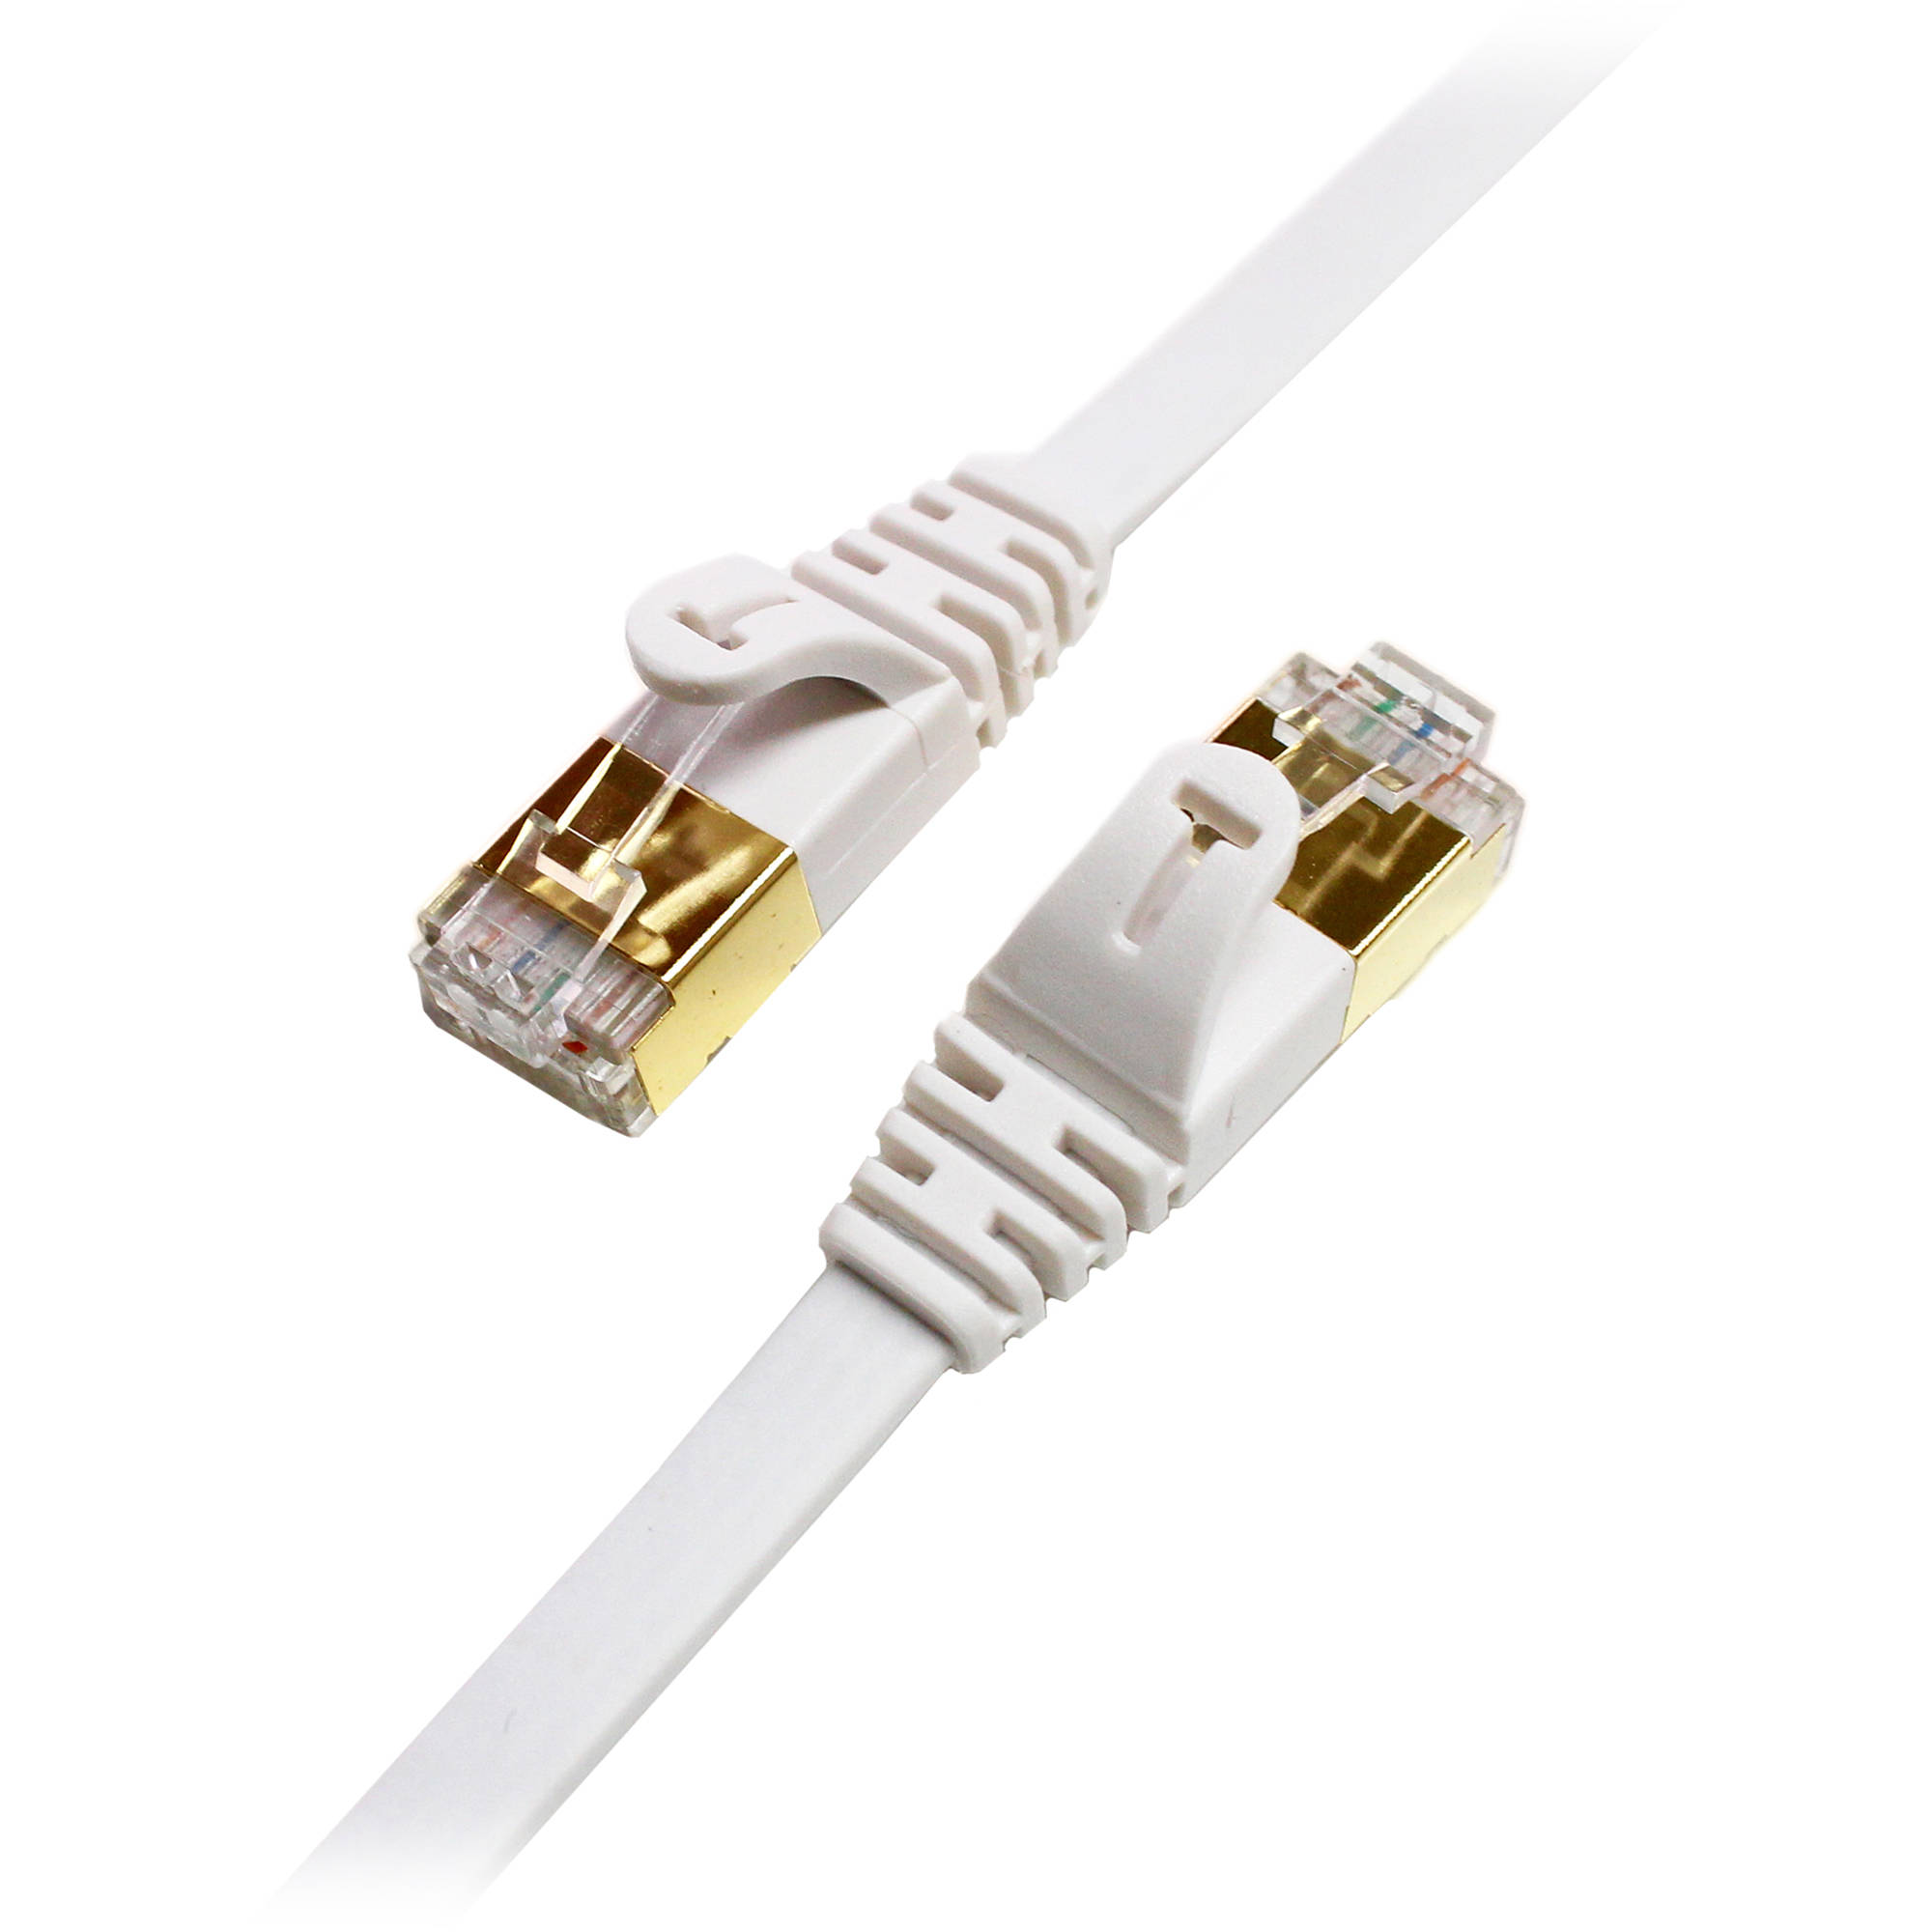
- Network Interface Cards (NICs): These components facilitate the connection between the network switch and external devices. The NICs play a pivotal role in enabling data transmission and reception, making them essential for seamless network communication.
- Power Supply Unit (PSU): A reliable and efficient power supply unit is crucial for providing the necessary electrical power to the network switch. When selecting a PSU, factors such as power efficiency, redundancy, and voltage regulation should be carefully considered to ensure uninterrupted operation.
- Enclosure and Cooling System: The physical enclosure and cooling system are essential for housing and safeguarding the internal components of the network switch. Proper ventilation and cooling mechanisms are vital to prevent overheating and maintain optimal operating conditions.
- Management Interface: Incorporating a management interface, such as a console port or web-based management interface, is essential for configuring and monitoring the network switch. This interface provides access to the switch’s settings, allowing for seamless management and control.
- Software: The software component of the network switch includes the operating system and firmware that govern its functionality. Selecting a robust and feature-rich software platform is crucial for enabling advanced networking capabilities and ensuring secure and reliable operation.
By carefully selecting and integrating these components, you can lay the foundation for a robust and efficient network switch that meets the specific requirements of your networking environment. The seamless integration of these components is essential for creating a reliable and high-performance network switch tailored to your unique networking needs.
Building the Hardware
Constructing the hardware for a network switch involves the meticulous assembly and integration of the essential components to create a functional and reliable networking device. Here’s a step-by-step guide to building the hardware for a custom network switch:
- Assemble the Chassis: Begin by selecting a suitable enclosure or chassis for housing the network switch components. Ensure that the chassis provides ample space for accommodating the switching fabric, processor, memory, power supply unit, network interface cards, and cooling system.
- Integrate the Switching Fabric: Carefully install the switching fabric within the chassis, ensuring secure mounting and proper alignment of the internal components. Proper cable management and organization are crucial for maintaining an efficient and well-structured internal layout.
- Install the Processor and Memory: Securely mount the processor and memory modules within the chassis, ensuring proper seating and connection to the switching fabric. Pay close attention to thermal management to prevent overheating and ensure optimal performance.
- Connect the Network Interface Cards: Install and connect the network interface cards to the switching fabric, providing the necessary connectivity for external devices and network communication. Proper cable routing and connection integrity are essential for seamless data transmission.
- Integrate the Power Supply Unit: Install the power supply unit within the chassis, ensuring proper electrical connections and adherence to safety standards. Consider factors such as power redundancy and voltage regulation to enhance the reliability of the network switch.
- Implement the Cooling System: Integrate an efficient cooling system within the chassis to maintain optimal operating temperatures for the internal components. Adequate airflow and thermal management are essential for preventing overheating and ensuring long-term reliability.
- Configure the Management Interface: Establish the management interface, such as a console port or web-based interface, to enable seamless configuration and monitoring of the network switch. Ensure that the management interface is easily accessible for administrative tasks.
- Verify Component Integration: Thoroughly inspect and verify the integration of all hardware components, ensuring proper seating, secure connections, and adherence to industry standards and best practices. Conduct comprehensive testing to validate the functionality and reliability of the assembled hardware.
By meticulously following these steps and paying attention to detail during the hardware assembly process, you can create a robust and reliable network switch tailored to your specific networking requirements. The seamless integration of the hardware components forms the foundation for a high-performance networking device capable of efficiently managing data traffic within your network infrastructure.
Installing and Configuring the Software
Once the hardware components of the network switch are meticulously assembled, the next crucial step involves the installation and configuration of the essential software that governs its operation and functionality. Here’s a comprehensive guide to the process of installing and configuring the software for a custom-built network switch:
- Selecting the Operating System: Begin by selecting a robust and feature-rich operating system that aligns with the networking requirements and capabilities of the custom-built switch. Consider factors such as compatibility, support for advanced networking features, and security enhancements when choosing the operating system.
- Installing the Operating System: Carefully install the selected operating system onto the network switch’s storage medium, ensuring a seamless and error-free installation process. Follow the manufacturer’s guidelines and best practices for installing the operating system to guarantee a stable and reliable software environment.
- Configuring Network Services: Once the operating system is installed, configure essential network services such as DHCP (Dynamic Host Configuration Protocol), DNS (Domain Name System), and routing protocols to facilitate seamless communication and connectivity within the network infrastructure.
- Implementing Security Measures: Enhance the security posture of the network switch by configuring robust security measures such as access control lists, port security settings, and encryption protocols. Implementing stringent security measures is essential for safeguarding network data and preventing unauthorized access.
- Enabling Advanced Networking Features: Configure advanced networking features such as VLAN (Virtual Local Area Network) support, Quality of Service (QoS) prioritization, and port mirroring to enhance the switch’s capabilities and optimize network performance. These advanced features empower the switch to efficiently manage data traffic and prioritize critical network tasks.
- Testing and Verification: Thoroughly test and verify the functionality of the installed software components, ensuring proper integration and adherence to the intended configurations. Conduct comprehensive testing to validate the seamless operation of network services, security measures, and advanced networking features.
- Documentation and Maintenance: Document the installed software configurations and maintain comprehensive records of the switch’s software environment. Establish a regular maintenance schedule to update and patch the software, ensuring ongoing security and performance enhancements.
By meticulously following these steps and paying attention to detail during the software installation and configuration process, you can establish a robust and feature-rich software environment for the custom-built network switch. The seamless integration of the software components empowers the switch to deliver secure, reliable, and high-performance networking capabilities tailored to your specific networking needs.
Testing and Troubleshooting
After the hardware and software components of the custom-built network switch are meticulously assembled and configured, rigorous testing and troubleshooting procedures are essential to validate its functionality and address any potential issues. Here’s a comprehensive guide to the testing and troubleshooting process for a newly constructed network switch:
- Initial Power-On Test: Conduct an initial power-on test to verify the switch’s startup sequence and ensure that all hardware components are operational. Check for any abnormal LED indicators, unusual noises, or signs of component failure during the power-on test.
- Hardware Functionality Testing: Validate the functionality of the hardware components, including the switching fabric, processor, memory, network interface cards, and power supply unit. Perform comprehensive hardware diagnostics to detect any potential hardware failures or malfunctions.
- Network Connectivity Testing: Establish network connectivity by connecting the switch to a test network environment and verifying its ability to transmit and receive data packets. Conduct thorough network connectivity tests to ensure seamless communication with connected devices.
- Software Validation and Functionality Testing: Validate the functionality of the installed software components, including the operating system, network services, security measures, and advanced networking features. Verify the seamless operation of the software environment and its adherence to intended configurations.
- Performance Benchmarking: Benchmark the performance of the network switch by conducting stress tests, throughput measurements, and latency assessments. Evaluate the switch’s performance under varying network loads to identify potential performance bottlenecks and optimize its operation.
- Comprehensive Troubleshooting: Identify and address any potential issues or anomalies detected during the testing phase through comprehensive troubleshooting procedures. Utilize diagnostic tools, log analysis, and network monitoring to isolate and resolve any operational challenges.
- Documentation and Reporting: Document the testing procedures, results, and any troubleshooting efforts undertaken during the validation phase. Maintain comprehensive records of the testing and troubleshooting process to facilitate ongoing maintenance and future enhancements.
By diligently following these testing and troubleshooting procedures, you can ensure the seamless operation and reliability of the custom-built network switch. Thorough validation and troubleshooting efforts are essential for identifying and addressing any potential hardware, software, or operational issues, ultimately ensuring that the network switch delivers optimal performance and functionality within your network infrastructure.
Conclusion
Congratulations! You have embarked on an enriching journey into the realm of network switch construction, gaining valuable insights into the intricate components, meticulous hardware assembly, software configuration, and rigorous testing procedures involved in building a custom network switch. By delving into the foundational principles and practical techniques outlined in this guide, you have equipped yourself with the knowledge and skills to construct a robust and efficient networking powerhouse tailored to your specific networking needs.
As you reflect on this immersive experience, it’s important to recognize the profound impact of understanding the inner workings of network switches. The ability to construct a network switch from scratch not only fosters a deeper appreciation for the complexities of networking technology but also empowers you to tailor a networking solution that precisely aligns with your unique requirements.
Furthermore, the hands-on experience gained from building a network switch serves as a springboard for further exploration and innovation in the field of networking. Whether you aspire to pursue a career in network engineering, delve into advanced networking concepts, or simply expand your technical expertise, the knowledge and practical insights gained from this endeavor will undoubtedly propel you towards greater proficiency and success.
Remember, the journey of constructing a network switch is not merely a technical endeavor; it is a testament to your curiosity, determination, and passion for mastering the intricacies of networking technology. Embrace the challenges, celebrate the milestones, and continue to explore the boundless possibilities that await in the dynamic world of networking.
As you venture forth with newfound confidence and expertise, may your custom-built network switch serve as a testament to your ingenuity and dedication, propelling you towards greater heights in the ever-evolving landscape of networking technology.