Introduction
Setting up a hotspot on your Windows 10 computer can be a game-changer, especially when you need to share your internet connection with other devices on the go. Whether you're in a remote location without Wi-Fi access or simply want to provide internet connectivity to your smartphone, tablet, or other devices, creating a hotspot can be a convenient solution. In this comprehensive guide, we'll walk through the step-by-step process of setting up a hotspot on your Windows 10 computer, allowing you to stay connected wherever you are.
Creating a hotspot on your Windows 10 computer essentially turns it into a wireless access point, enabling other devices to connect to it and access the internet using your computer's network connection. This feature can be particularly handy when you're traveling, attending meetings, or working in locations with limited or no Wi-Fi access. By leveraging your computer's internet connection, you can ensure that your other devices remain connected and functional.
In the following sections, we'll delve into the nitty-gritty of setting up a hotspot on your Windows 10 computer, covering everything from checking compatibility to customizing hotspot settings and connecting devices. By the end of this guide, you'll have a solid understanding of how to harness the power of your Windows 10 computer to create a reliable and secure hotspot for your devices. So, let's dive in and get your hotspot up and running!
Step 1: Check Compatibility
Before diving into the process of setting up a hotspot on your Windows 10 computer, it's crucial to ensure that your device meets the necessary requirements for this functionality. Checking compatibility involves verifying that your computer's hardware and software support the creation of a hotspot. Here's how to confirm compatibility and proceed with confidence:
Hardware Compatibility
First and foremost, ascertain whether your Windows 10 computer is equipped with a wireless network adapter. This component is essential for broadcasting a Wi-Fi signal to other devices. Most modern laptops and desktops come with built-in wireless adapters, but it's prudent to double-check, especially if you're using a desktop computer or a device with hardware upgrades.
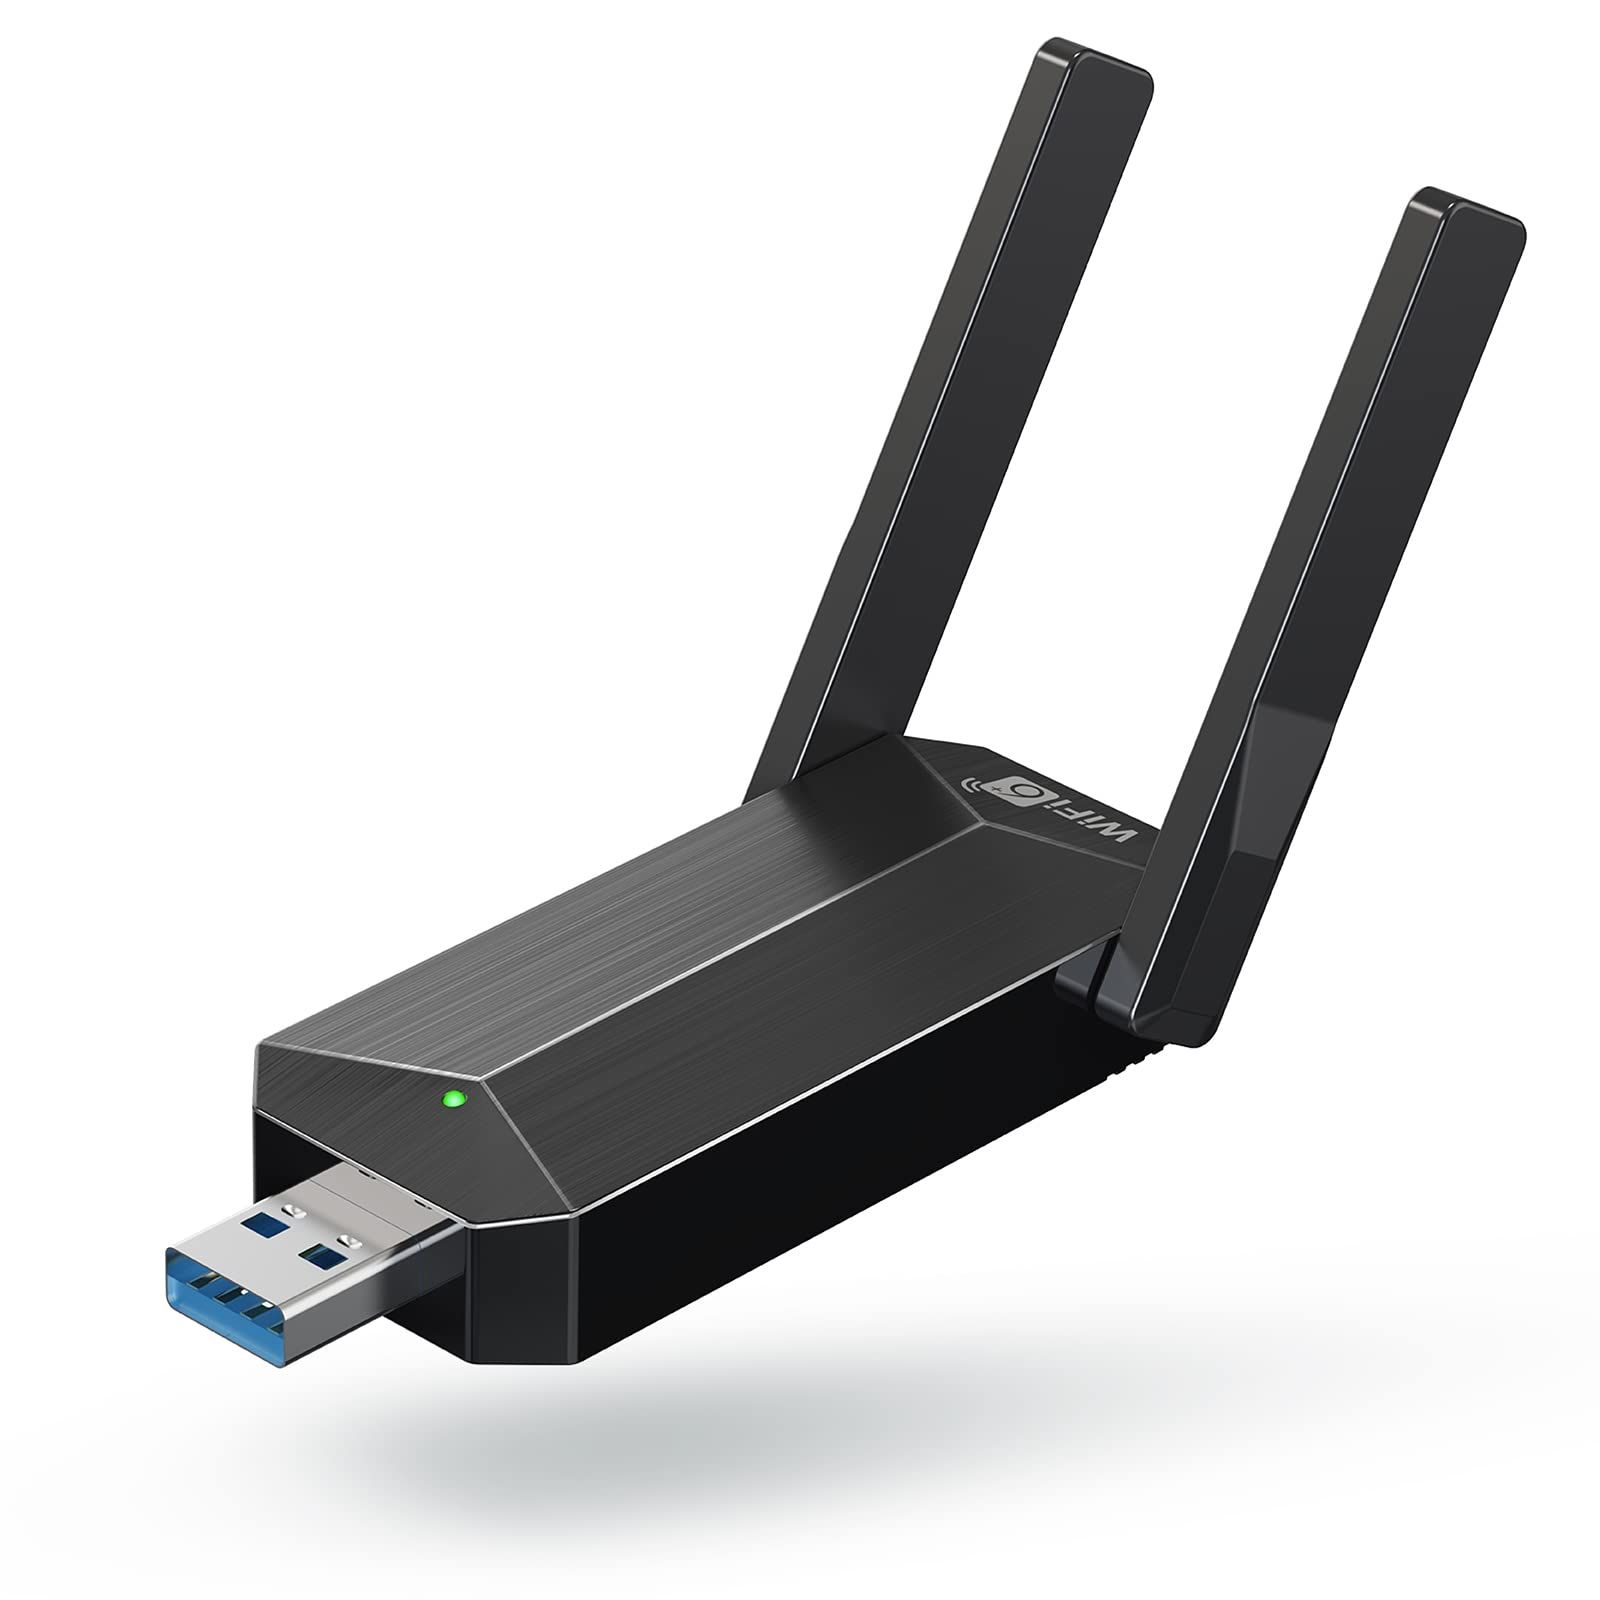
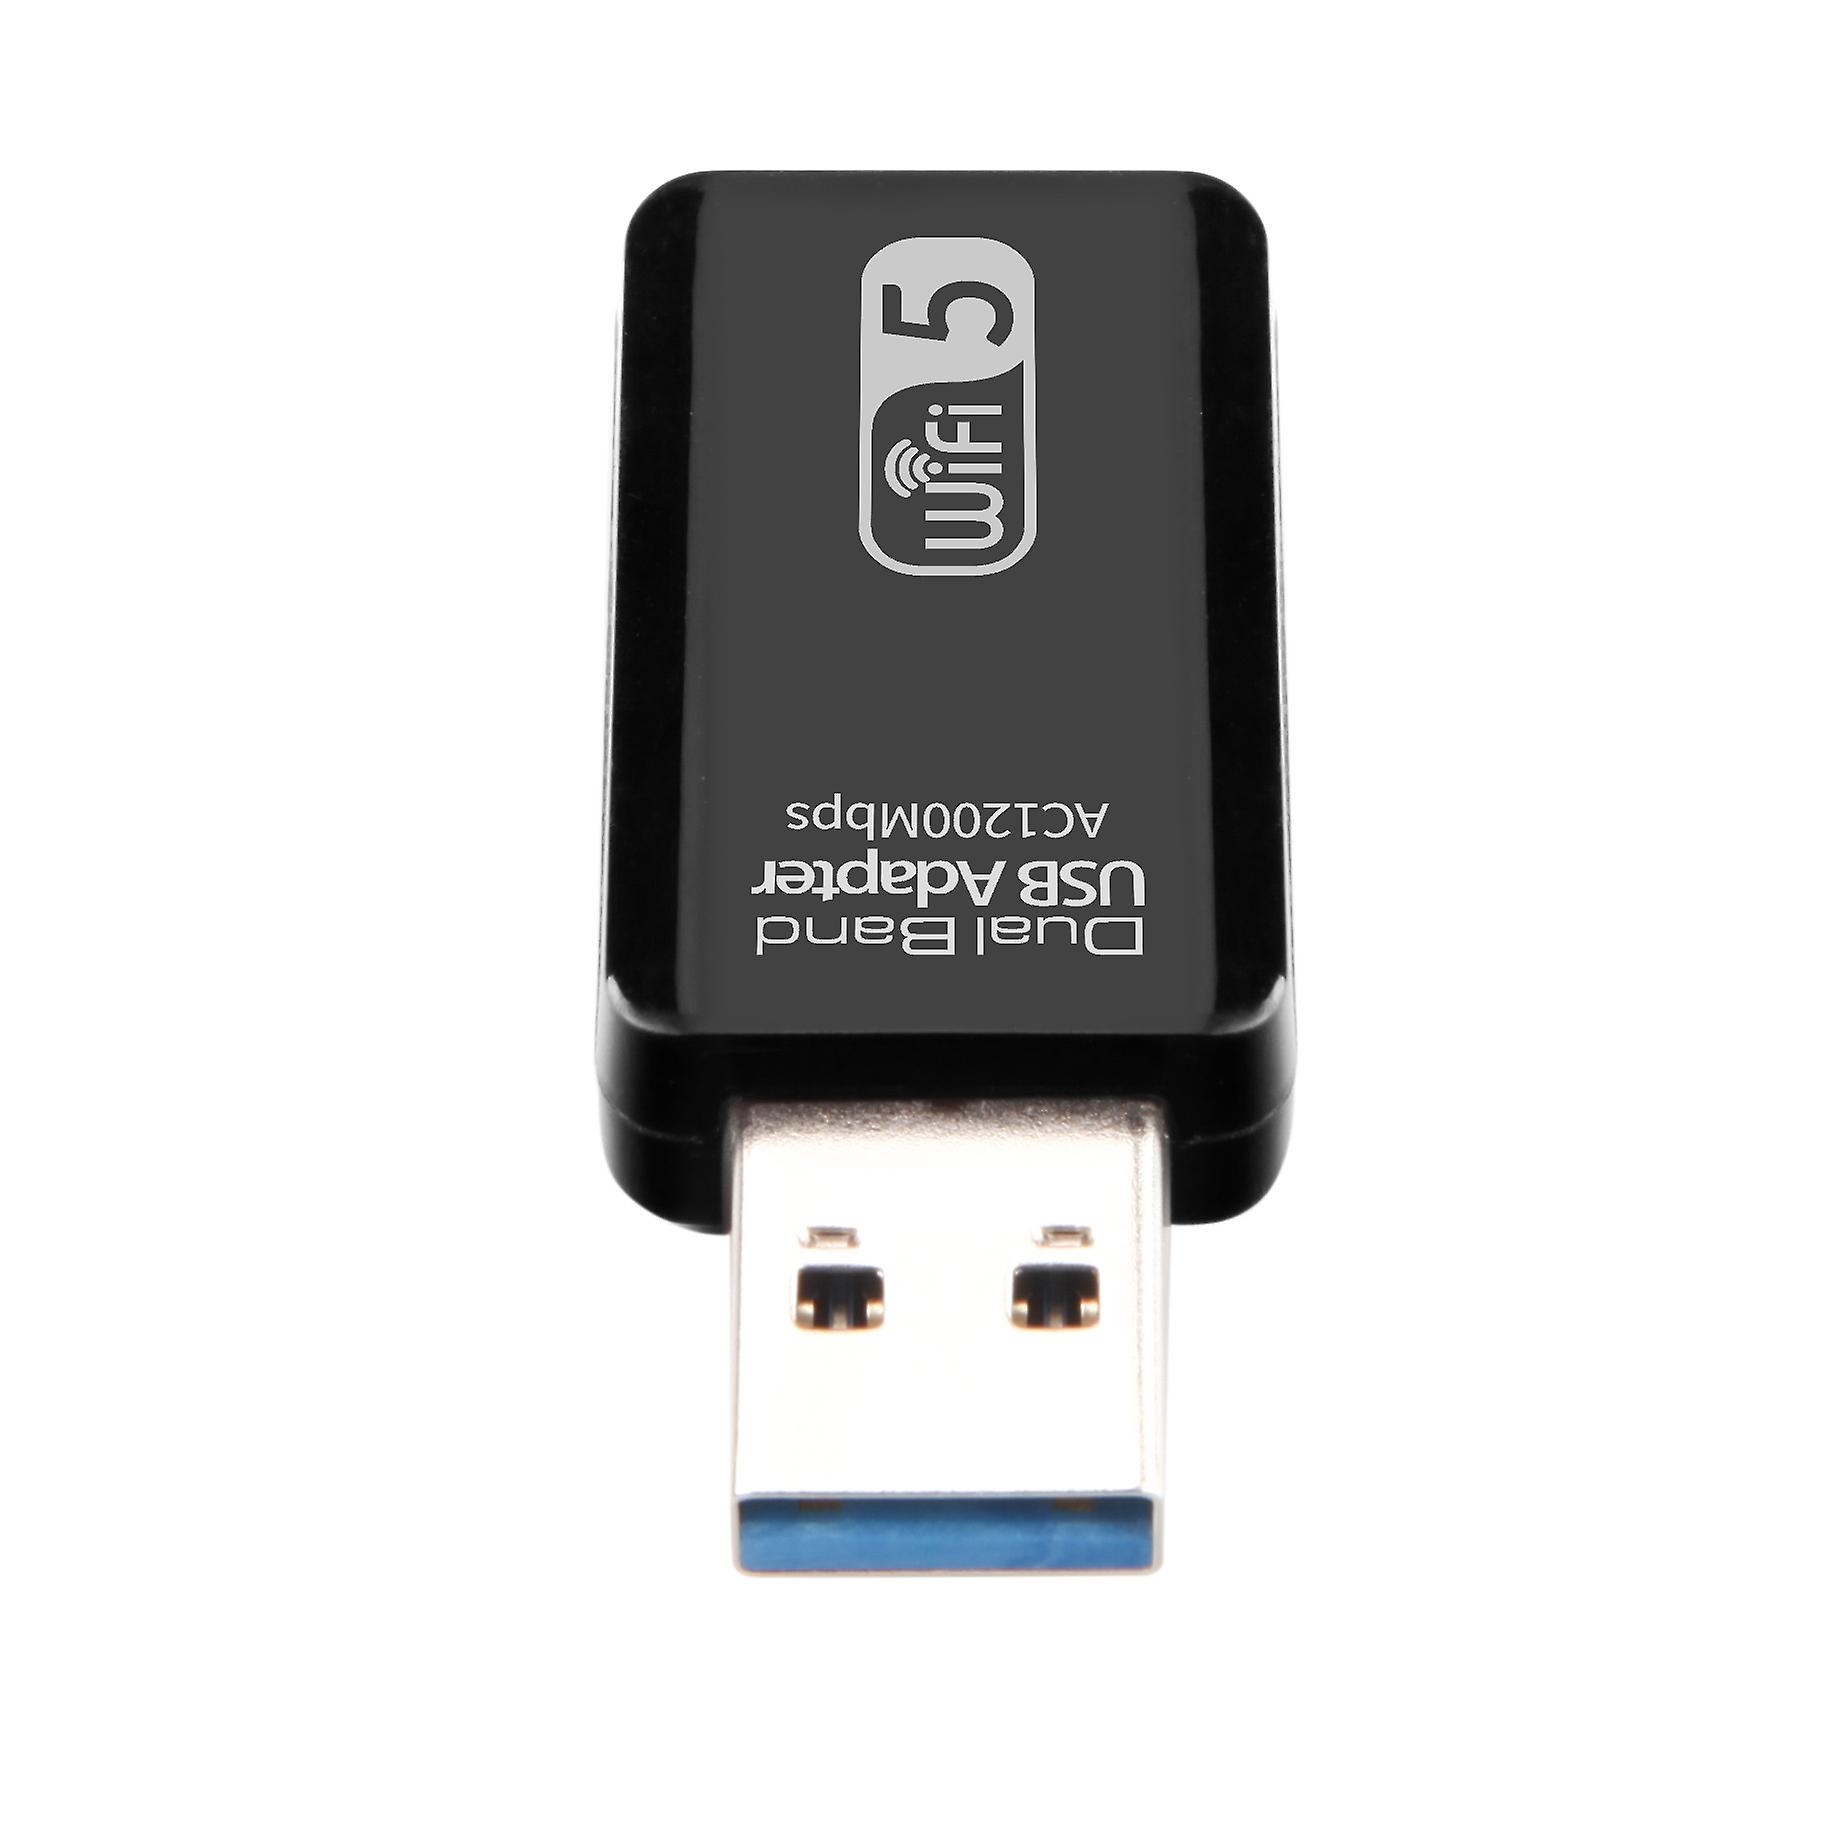
If your computer doesn't have a built-in wireless adapter, you may consider using an external USB Wi-Fi adapter to enable the hotspot feature. These compact and affordable devices can be plugged into a USB port, instantly providing wireless connectivity capabilities to your computer.
Software Compatibility
Next, confirm that your Windows 10 operating system is up to date. Hotspot functionality was introduced in Windows 10 with the Anniversary Update, so it's imperative to have this or a later version installed on your computer. To check for updates, navigate to Settings > Update & Security > Windows Update and ensure that your system is running the latest software version.
Additionally, ensure that your computer's network drivers are updated to the latest versions. These drivers facilitate the communication between your computer and its network hardware, including the wireless adapter. Updating the network drivers can help resolve compatibility issues and optimize the performance of your hotspot.
Final Checks
To wrap up the compatibility assessment, verify that your computer's power settings allow for the activation of a hotspot. Some power-saving modes may restrict the use of certain network features, so it's advisable to review your power settings and make any necessary adjustments to accommodate the hotspot functionality.
By confirming the hardware and software compatibility of your Windows 10 computer, you can lay a strong foundation for setting up a reliable hotspot. Once you've verified compatibility, you can proceed with confidence to enable the hotspot feature and begin sharing your internet connection with other devices.
Step 2: Turn on Mobile Hotspot
Enabling the mobile hotspot feature on your Windows 10 computer is a straightforward process that transforms your device into a wireless access point, allowing other devices to connect and access the internet through your computer's network connection. This functionality is particularly useful in situations where traditional Wi-Fi access is unavailable or impractical. Here's a detailed walkthrough of how to turn on the mobile hotspot on your Windows 10 computer:
-
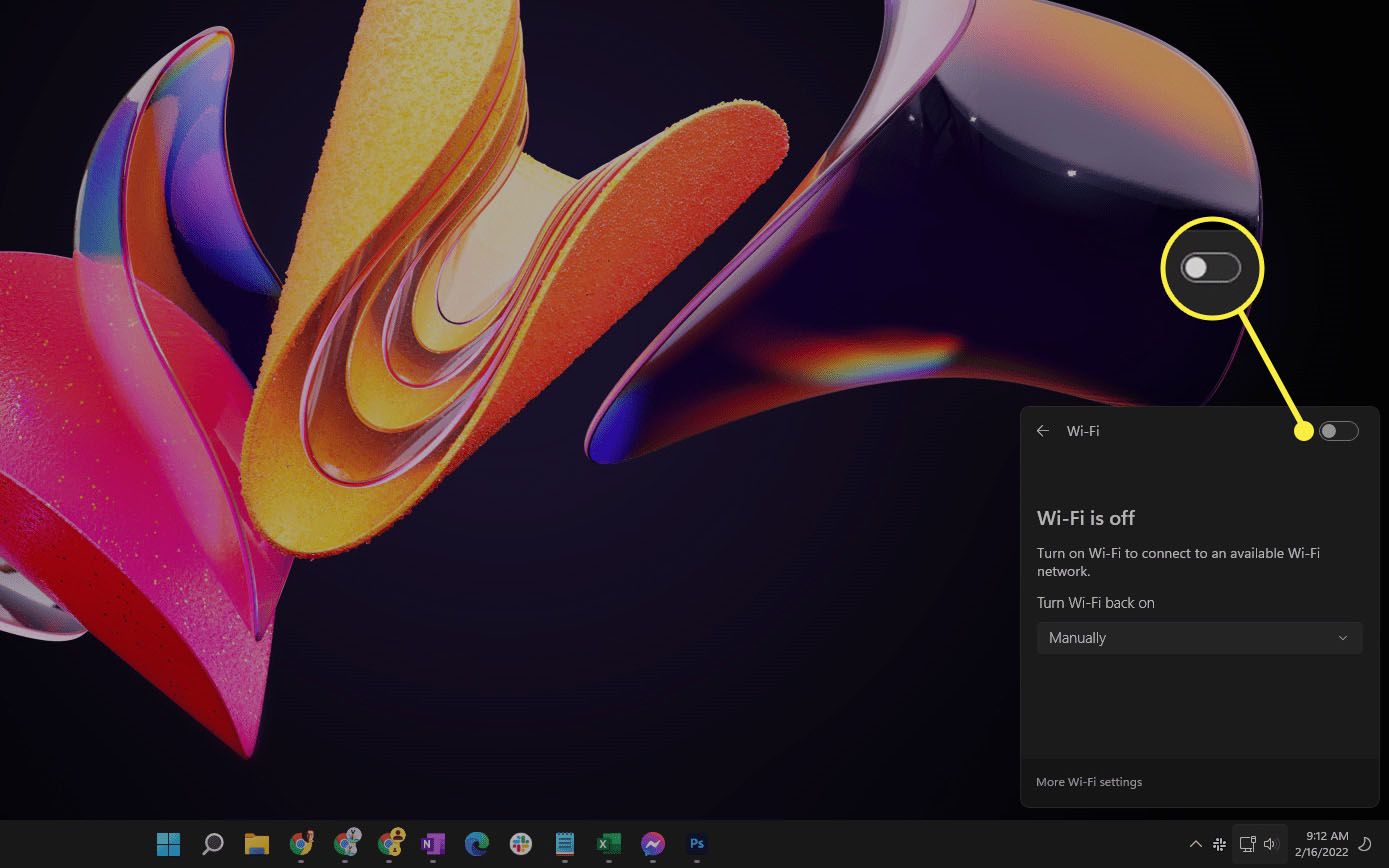
Access the Network Settings: Begin by accessing the Network settings on your Windows 10 computer. You can do this by clicking on the network icon in the system tray located at the bottom-right corner of the taskbar. Alternatively, you can navigate to Settings > Network & Internet to access the Network settings.
-
Select Mobile Hotspot: Within the Network settings, locate and click on the "Mobile hotspot" tab. This will take you to the Mobile hotspot settings page, where you can configure and activate the hotspot feature.
-
Configure Hotspot Settings: On the Mobile hotspot settings page, you can customize various aspects of the hotspot, including the network name (SSID) and password. Choose a network name that is easily identifiable and set a strong password to secure the hotspot against unauthorized access.
-
Activate the Hotspot: After configuring the hotspot settings to your preference, toggle the "Share my Internet connection with other devices" switch to the "On" position. This action activates the mobile hotspot on your Windows 10 computer, allowing other devices to connect and utilize your internet connection.
-
Verify Hotspot Activation: Once the mobile hotspot is activated, your Windows 10 computer will begin broadcasting a Wi-Fi signal, and the network name you specified will be visible to other devices within range. You can also verify the activation status by checking the network icon in the system tray, where the hotspot indicator will be displayed.
By following these steps, you can effectively turn on the mobile hotspot on your Windows 10 computer, empowering it to serve as a wireless hub for other devices. With the hotspot activated, you can seamlessly connect your smartphone, tablet, or other Wi-Fi-enabled devices to your computer's network, ensuring uninterrupted internet access wherever you go. The convenience and flexibility offered by this feature make it a valuable asset for staying connected in various environments, from remote work locations to travel destinations.
In the next section, we'll explore how to customize hotspot settings to tailor the experience according to your preferences and security requirements.
Step 3: Customize Hotspot Settings
Customizing the hotspot settings on your Windows 10 computer allows you to tailor the experience according to your preferences and security requirements. By adjusting various parameters, such as the network name (SSID) and password, you can create a personalized and secure hotspot environment for connecting other devices. Here's a detailed exploration of how to customize the hotspot settings to enhance the functionality and security of your wireless access point:
Network Name (SSID)
The network name, also known as the Service Set Identifier (SSID), serves as the identifier for your hotspot. It's the name that other devices will see when searching for available Wi-Fi networks. When customizing the hotspot settings, consider choosing a network name that is easily recognizable and distinct from other nearby networks. This can help you and your trusted users quickly identify and connect to your hotspot without confusion. Additionally, avoiding generic or common names can reduce the likelihood of unintentional connections to similarly named networks.
Password Protection
Securing your hotspot with a strong password is essential for preventing unauthorized access and safeguarding your internet connection. When setting up the hotspot, you have the option to specify a custom password that other devices must enter to connect to your network. It's crucial to create a robust password that combines uppercase and lowercase letters, numbers, and special characters to enhance security. By implementing a strong password, you can mitigate the risk of unauthorized users tapping into your hotspot and ensure that only authorized individuals can utilize your internet connection.
Band Selection
Depending on your computer's capabilities, you may have the option to choose the wireless band (2.4GHz or 5GHz) for your hotspot. The 5GHz band typically offers faster data transfer speeds and reduced interference in comparison to the more commonly used 2.4GHz band. If your computer supports both bands, you can select the preferred band based on your specific requirements and the compatibility of your connected devices. This flexibility allows you to optimize the performance of your hotspot according to the available wireless bands and the devices you intend to connect.
Metered Connection Settings
If you're using a metered internet connection, such as a cellular data plan or a limited data package, it's important to configure the hotspot settings to reflect this. Windows 10 provides the option to set your internet connection as metered, which helps manage data usage and prevent automatic downloads and updates that could deplete your data allowance. By adjusting the metered connection settings, you can ensure that your hotspot operates in a manner that aligns with your data plan restrictions, promoting efficient and responsible use of your internet connection.
By customizing these hotspot settings, you can create a tailored and secure environment for sharing your internet connection with other devices. These adjustments allow you to optimize the functionality of your hotspot, enhance security, and align the hotspot operation with your specific usage scenarios and connectivity requirements. With the hotspot settings customized to your preferences, you can confidently connect devices and enjoy seamless internet access through your Windows 10 computer's wireless access point.
Step 4: Connect Devices to Hotspot
Once you have successfully set up the hotspot on your Windows 10 computer and customized the necessary settings, the next step is to connect your devices to the hotspot. This straightforward process allows your smartphone, tablet, or any other Wi-Fi-enabled device to utilize your computer's internet connection, providing seamless connectivity on the go.
Here's a detailed guide on how to connect devices to your hotspot:
-
Access Device Settings: Begin by accessing the Wi-Fi settings on the device you intend to connect to the hotspot. This can usually be found in the device's settings menu, often under the "Network & Internet" or "Wi-Fi" section.
-
Scan for Available Networks: Within the Wi-Fi settings, initiate a scan for available networks. Your Windows 10 computer's hotspot, identified by the network name (SSID) you specified during setup, should appear in the list of available networks.
-
Select the Hotspot: Locate and select your computer's hotspot from the list of available networks. When prompted, enter the password you set for the hotspot to establish the connection.
-
Verify Connection: Once the correct password is entered, the device will attempt to connect to the hotspot. Upon successful connection, a Wi-Fi indicator or signal strength icon will typically appear on the device's screen, indicating that it is now utilizing your computer's internet connection.
-
Enjoy Seamless Connectivity: With the device successfully connected to the hotspot, you can now enjoy uninterrupted internet access for browsing the web, streaming media, accessing online services, and more.
By following these steps, you can effortlessly connect your devices to the hotspot created by your Windows 10 computer, enabling them to benefit from your computer's internet connection. Whether you're working remotely, traveling, or simply seeking an alternative Wi-Fi source, the ability to connect multiple devices to your computer's hotspot offers flexibility and convenience in various scenarios.
With your devices successfully connected to the hotspot, you can stay connected and productive, leveraging your Windows 10 computer's wireless access point to ensure seamless internet access wherever you are. This connectivity solution proves to be invaluable in situations where traditional Wi-Fi networks are unavailable or impractical, empowering you to maintain connectivity on your terms.
In the following sections, we'll explore additional tips and considerations for optimizing and managing your Windows 10 computer's hotspot, providing you with a comprehensive understanding of its capabilities and potential applications.
Conclusion
In conclusion, the process of setting up a hotspot on your Windows 10 computer opens up a world of possibilities for staying connected and productive in diverse environments. By following the step-by-step guide outlined in this comprehensive walkthrough, you've gained the knowledge and confidence to harness the power of your computer as a wireless access point, enabling seamless internet connectivity for your devices.
The ability to create a hotspot on your Windows 10 computer offers unparalleled flexibility, allowing you to share your internet connection with smartphones, tablets, and other Wi-Fi-enabled devices wherever you go. Whether you're working remotely, attending meetings on the move, or traveling to locations with limited Wi-Fi access, the hotspot functionality empowers you to stay connected on your terms.
Through the process of checking compatibility, turning on the mobile hotspot, customizing hotspot settings, and connecting devices, you've embarked on a journey to unlock the full potential of your Windows 10 computer as a reliable and secure wireless hub. By ensuring compatibility, customizing settings, and connecting devices, you've established a robust foundation for leveraging the hotspot feature in various scenarios.
The customization options available for the hotspot settings, including the network name (SSID), password protection, band selection, and metered connection settings, allow you to tailor the hotspot experience according to your preferences and security requirements. This level of customization not only enhances the functionality of your hotspot but also reinforces the security of your internet connection, ensuring that only authorized devices can access the hotspot.
With your devices successfully connected to the hotspot, you can enjoy uninterrupted internet access, enabling seamless browsing, communication, and productivity on the go. The convenience and reliability offered by your Windows 10 computer's hotspot position it as a valuable asset in your connectivity toolkit, providing an alternative Wi-Fi source when traditional networks are unavailable or impractical.
In essence, the hotspot feature on your Windows 10 computer represents a powerful tool for staying connected, productive, and adaptable in today's dynamic and mobile-centric world. By mastering the setup and management of your computer's hotspot, you've unlocked a versatile and indispensable resource for ensuring connectivity wherever your journey takes you.