Introduction
Uninstalling Hotspot Shield from your devices can be necessary for various reasons. Whether you're looking to free up space, switch to a different VPN service, or troubleshoot issues related to Hotspot Shield, knowing the right steps to uninstall it is essential. This comprehensive guide will walk you through the process of uninstalling Hotspot Shield from Windows, Mac, and mobile devices. By following these step-by-step instructions, you can ensure a smooth removal of Hotspot Shield from your devices, allowing you to proceed with your desired changes or troubleshooting efforts.
Uninstalling software can sometimes be a daunting task, especially for those who are less tech-savvy. However, with clear and detailed instructions, the process can become much more manageable. In the following sections, you will find easy-to-follow steps tailored for different operating systems, making the uninstallation process accessible to a wide range of users. Whether you're using a Windows PC, a Mac, or a mobile device, you'll find the specific instructions you need to effectively remove Hotspot Shield.
It's important to note that the steps outlined in this guide are designed to ensure a complete uninstallation of Hotspot Shield, including the removal of any associated files and configurations. By following these steps, you can rest assured that Hotspot Shield will be thoroughly uninstalled from your devices, leaving no remnants that could potentially impact the performance or security of your systems.
As you embark on the journey of uninstalling Hotspot Shield, it's advisable to carefully read through each step and proceed with caution. While the process is straightforward, paying attention to the details can help you avoid any potential pitfalls and ensure a successful uninstallation. With these considerations in mind, let's delve into the step-by-step instructions for removing Hotspot Shield from your devices, starting with the essential first step of closing the application.
Step 1: Close Hotspot Shield
Before initiating the uninstallation process for Hotspot Shield, it is crucial to ensure that the application is completely closed on your device. This step is essential as it prevents any potential conflicts or interruptions during the uninstallation process.
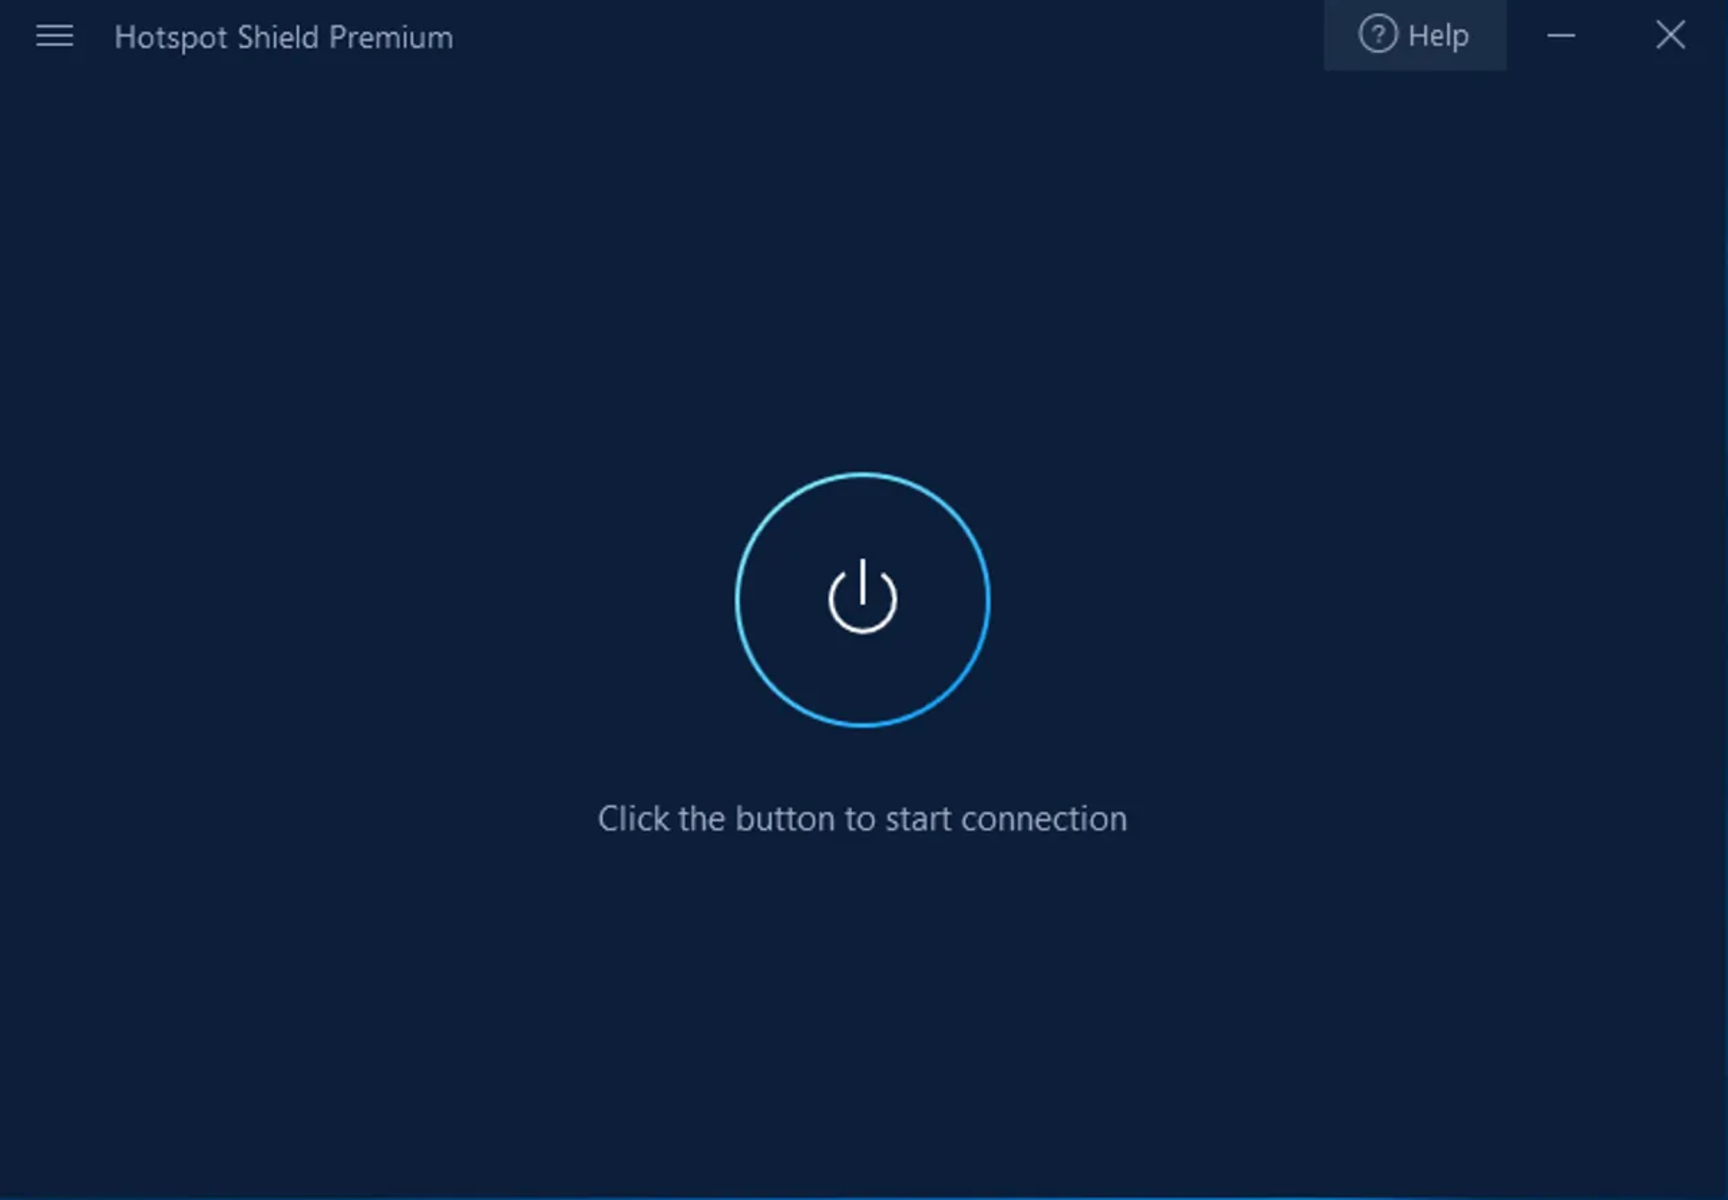
To close Hotspot Shield, start by locating its icon in the system tray or taskbar on your Windows PC. Right-click on the Hotspot Shield icon to reveal the context menu. From the menu options, select the "Exit" or "Quit" option to shut down the application. By doing so, you effectively terminate all active processes related to Hotspot Shield, preparing the environment for the subsequent uninstallation steps.
On a Mac, you can close Hotspot Shield by clicking on the Hotspot Shield icon in the menu bar, typically located at the top-right corner of the screen. Once the Hotspot Shield menu is visible, select the "Quit" option to ensure that the application is no longer running.
For mobile devices, the process of closing Hotspot Shield may vary depending on the operating system. Typically, you can close the application by accessing the list of active apps or by using the app switcher feature to swipe away the Hotspot Shield interface. This action effectively terminates the application's processes and prepares the device for the uninstallation process.
Ensuring that Hotspot Shield is completely closed before proceeding with the uninstallation is crucial for a smooth and uninterrupted removal process. By following this initial step, you create a favorable environment for the subsequent uninstallation steps, minimizing the likelihood of any complications that may arise from active processes or background operations associated with Hotspot Shield.
With Hotspot Shield successfully closed, you are now ready to proceed with the specific uninstallation steps tailored for your operating system, whether it's a Windows PC, a Mac, or a mobile device. Each subsequent step will guide you through the process of effectively removing Hotspot Shield, ensuring a thorough and complete uninstallation from your devices.
Step 2: Uninstall Hotspot Shield on Windows
Uninstalling Hotspot Shield from a Windows PC involves a series of straightforward steps to ensure a complete removal of the application and its associated components. By following these instructions, you can effectively uninstall Hotspot Shield from your Windows system.
Using the Control Panel
-
Access the Control Panel: Begin by accessing the Control Panel on your Windows PC. You can do this by clicking on the Windows Start button and typing "Control Panel" in the search bar. Select the Control Panel from the search results to open it.
-
Navigate to Programs and Features: Within the Control Panel, locate the "Programs" category and click on the "Uninstall a program" link. This action will open the list of installed programs on your PC.
-
Locate Hotspot Shield: Scroll through the list of installed programs to find Hotspot Shield. Once you've identified Hotspot Shield in the list, click on it to select the application.
-
Initiate the Uninstallation: With Hotspot Shield selected, click on the "Uninstall" button at the top of the program list. This action will prompt the uninstallation wizard to launch, guiding you through the removal process.
-
Follow the Uninstallation Wizard: Follow the on-screen prompts provided by the uninstallation wizard to proceed with the removal of Hotspot Shield. You may encounter confirmation dialogs or prompts to confirm the uninstallation. Ensure that you carefully read and respond to these prompts as needed.
-
Complete the Uninstallation: Once the uninstallation process is initiated, allow the wizard to complete the removal of Hotspot Shield from your system. Depending on the system configuration and the size of the application, this process may take a few moments to complete.
Verifying the Uninstallation
After the uninstallation process is finished, it's advisable to verify that Hotspot Shield has been successfully removed from your Windows PC. You can do this by checking the list of installed programs in the Control Panel to ensure that Hotspot Shield is no longer present. Additionally, you can perform a search on your PC to confirm that any remaining files or folders associated with Hotspot Shield have been removed.
By following these step-by-step instructions, you can effectively uninstall Hotspot Shield from your Windows PC, ensuring a thorough removal of the application and its related components. Once the uninstallation is complete, you can proceed with any desired changes or alternative actions related to VPN services on your Windows system.
Step 3: Uninstall Hotspot Shield on Mac
Uninstalling Hotspot Shield from a Mac involves a series of steps to ensure a complete removal of the application and its associated components. By following these instructions, you can effectively uninstall Hotspot Shield from your Mac system.
Using Finder
-
Close Hotspot Shield: Before initiating the uninstallation process, ensure that Hotspot Shield is completely closed on your Mac. This can be done by clicking on the Hotspot Shield icon in the menu bar and selecting the "Quit" option to shut down the application.
-
Open Finder: Begin by opening the Finder application on your Mac. You can do this by clicking on the Finder icon in the Dock or by accessing it from the Applications folder.
-
Navigate to Applications: Within Finder, navigate to the "Applications" folder. This is where you'll find the installed applications on your Mac.
-
Locate Hotspot Shield: Scroll through the list of applications in the "Applications" folder to find Hotspot Shield. Once you've identified Hotspot Shield, proceed to the next step.
-
Move Hotspot Shield to Trash: To uninstall Hotspot Shield, simply drag the Hotspot Shield application icon from the "Applications" folder and drop it into the Trash bin located in the Dock. Alternatively, you can right-click on the Hotspot Shield icon and select "Move to Trash."
-
Empty Trash: After moving Hotspot Shield to the Trash, right-click on the Trash bin icon in the Dock and select "Empty Trash." Confirm the action when prompted. This permanently deletes Hotspot Shield and its associated files from your Mac.
Verifying the Uninstallation
After completing the uninstallation process, it's advisable to verify that Hotspot Shield has been successfully removed from your Mac. You can do this by checking the "Applications" folder to ensure that Hotspot Shield is no longer present. Additionally, you can perform a search on your Mac to confirm that any remaining files or folders associated with Hotspot Shield have been removed.
By following these step-by-step instructions, you can effectively uninstall Hotspot Shield from your Mac, ensuring a thorough removal of the application and its related components. Once the uninstallation is complete, you can proceed with any desired changes or alternative actions related to VPN services on your Mac system.
Step 4: Remove Hotspot Shield from Mobile Devices
Uninstalling Hotspot Shield from mobile devices, including smartphones and tablets, requires specific steps tailored to the respective operating systems. Whether you're using an Android device or an iOS device, the process of removing Hotspot Shield can be straightforward when following the appropriate instructions.
For Android Devices
- Access the Settings: Begin by accessing the "Settings" menu on your Android device. This can typically be done by tapping the gear icon in the app drawer or by swiping down from the top of the screen and tapping the gear icon in the notification panel.
- Navigate to Apps or Applications: Within the Settings menu, locate and select the "Apps" or "Applications" option. This will display a list of all installed apps on your device.
- Find Hotspot Shield: Scroll through the list of apps to find Hotspot Shield. Once you've located Hotspot Shield, tap on it to proceed with the uninstallation.
- Initiate the Uninstallation: Within the Hotspot Shield app info screen, tap on the "Uninstall" button. You may be prompted to confirm the uninstallation, after which the app will be removed from your device.
For iOS Devices
- Long-press and Delete: On your iOS device, locate the Hotspot Shield app icon on the home screen or in the app library. Press and hold the app icon until it enters the edit mode, indicated by the icons jiggling.
- Tap the X: Once the icons are jiggling, an "X" will appear on the top-left corner of the Hotspot Shield app icon. Tap on the "X" to initiate the uninstallation process.
- Confirm the Deletion: A confirmation prompt will appear, asking if you want to delete Hotspot Shield. Tap "Delete" to confirm and remove the app from your iOS device.
Verifying the Uninstallation
After removing Hotspot Shield from your mobile device, it's advisable to verify that the app has been successfully uninstalled. Check the list of installed apps on your device to ensure that Hotspot Shield is no longer present. Additionally, perform a search on your device to confirm that any remaining files or folders associated with Hotspot Shield have been removed.
By following these step-by-step instructions tailored for Android and iOS devices, you can effectively remove Hotspot Shield from your mobile devices, ensuring a thorough uninstallation of the app and its related components. Once the uninstallation is complete, you can proceed with any desired changes or alternative actions related to VPN services on your mobile devices.
Conclusion
In conclusion, the process of uninstalling Hotspot Shield from various devices, including Windows PCs, Macs, and mobile devices, can be approached with confidence and ease by following the step-by-step instructions outlined in this guide. By emphasizing the importance of ensuring a complete closure of the application before initiating the uninstallation process, users can create a favorable environment for a smooth and uninterrupted removal of Hotspot Shield.
Throughout the uninstallation process, attention to detail is paramount to ensure a thorough removal of the application and its associated components. Whether using the Control Panel on Windows, Finder on Mac, or the app management settings on mobile devices, the specific steps provided in this guide cater to the unique requirements of each operating system, empowering users to effectively uninstall Hotspot Shield with precision and clarity.
Furthermore, the verification steps included in each section serve as essential checkpoints to confirm the successful removal of Hotspot Shield from the respective devices. By checking the list of installed programs, performing searches, and ensuring the absence of any remaining files or folders associated with Hotspot Shield, users can confidently confirm the completion of the uninstallation process.
As users navigate the uninstallation journey, it's important to approach each step with caution and attentiveness, especially when responding to confirmation prompts or navigating through system settings. By adhering to the provided instructions and exercising care during the uninstallation process, users can mitigate the risk of potential complications and ensure a seamless removal of Hotspot Shield from their devices.
Upon completing the uninstallation of Hotspot Shield, users are empowered to explore alternative actions related to VPN services, whether it involves installing a different VPN application, troubleshooting system performance, or freeing up valuable storage space on their devices. With Hotspot Shield successfully uninstalled, users can proceed with confidence, knowing that the application and its associated components have been thoroughly removed.
In essence, the comprehensive instructions and insights provided in this guide aim to equip users with the knowledge and guidance necessary to navigate the uninstallation of Hotspot Shield with ease and efficacy. By following these instructions, users can embark on the uninstallation process with confidence, knowing that they are well-prepared to achieve a complete and successful removal of Hotspot Shield from their devices.


