Introduction
Welcome to the world of seamless connectivity with the Airspeed Mobile Hotspot! In this comprehensive guide, we will walk you through the step-by-step process of setting up your Airspeed Mobile Hotspot, ensuring that you can enjoy high-speed internet access anytime, anywhere.
The Airspeed Mobile Hotspot is a compact and powerful device designed to provide you with reliable internet connectivity on the go. Whether you're traveling, working remotely, or simply need a backup internet solution, this portable hotspot offers the convenience and flexibility you need to stay connected.
With its user-friendly interface and advanced features, the Airspeed Mobile Hotspot empowers you to create a secure Wi-Fi network, manage connected devices, monitor data usage, and customize settings according to your preferences. Whether you're a frequent traveler, a digital nomad, or someone who values the freedom of staying connected without relying on traditional Wi-Fi networks, this hotspot is designed to meet your needs.
Throughout this guide, we will provide clear and detailed instructions to help you set up your Airspeed Mobile Hotspot with ease. From unboxing the device to configuring hotspot settings and managing connected devices, we've got you covered every step of the way. By following these instructions, you'll be able to unleash the full potential of your Airspeed Mobile Hotspot and enjoy uninterrupted internet connectivity wherever your adventures take you.
So, whether you're embarking on a road trip, working from a remote location, or simply need a reliable backup internet solution, the Airspeed Mobile Hotspot is your gateway to staying connected with confidence. Let's dive into the setup process and unlock the power of seamless connectivity with your Airspeed Mobile Hotspot!
Step 1: Unboxing and Checking Contents
Upon receiving your Airspeed Mobile Hotspot, the first step is to unbox the device and ensure that all the essential components are included. The unboxing experience sets the stage for your journey into the world of portable connectivity, so let's dive in and explore what's inside the box.
What's in the Box?
-
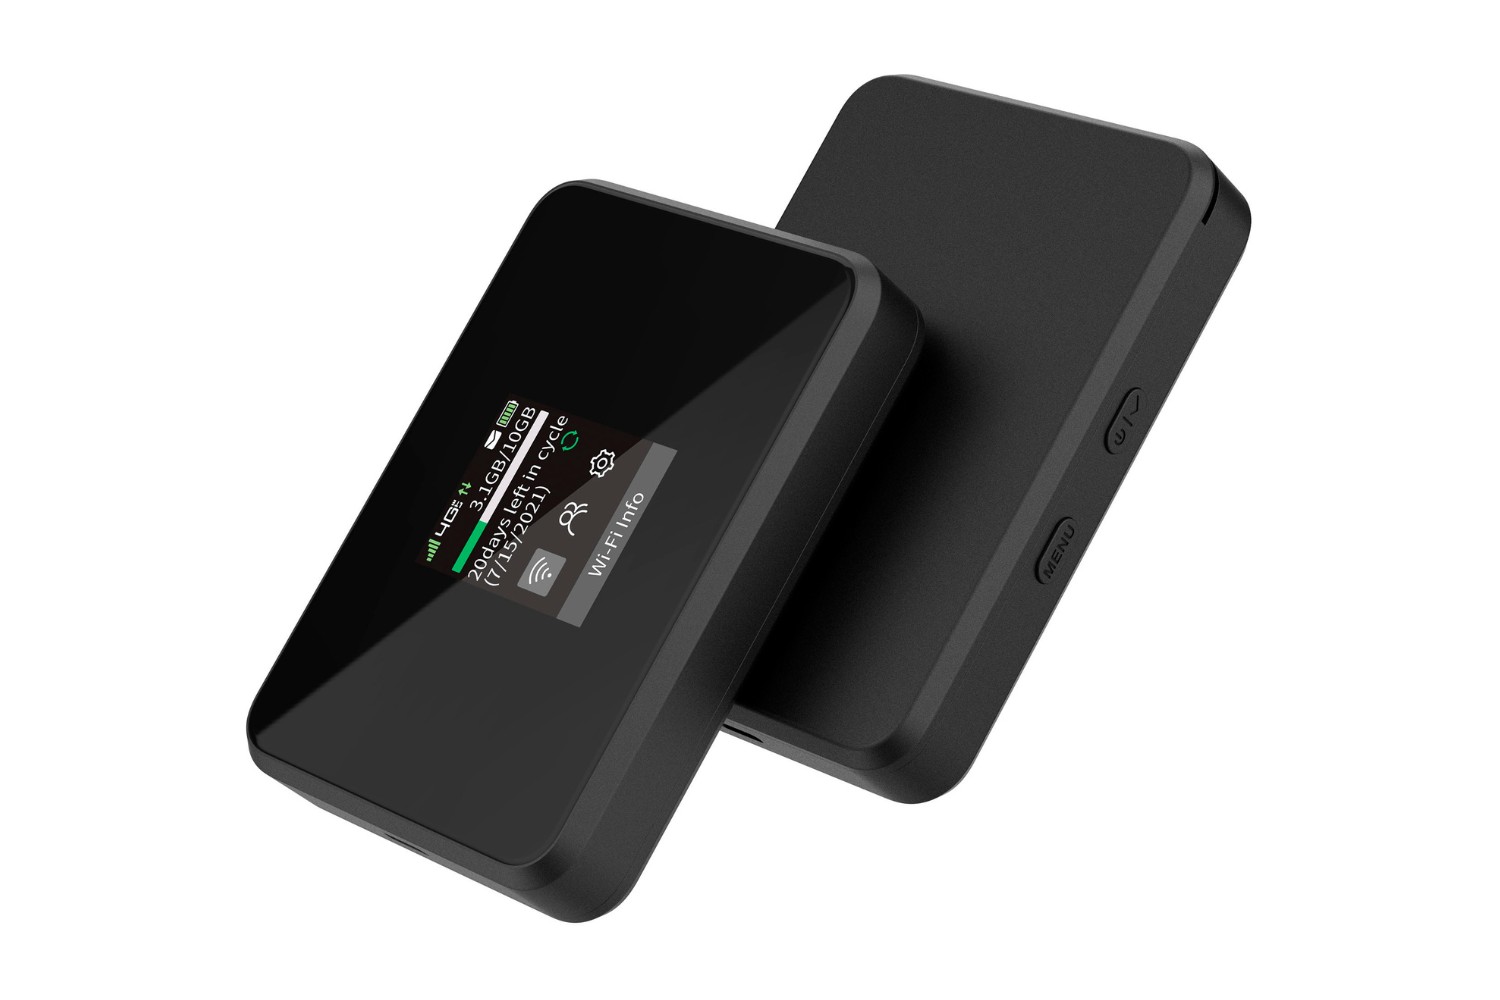
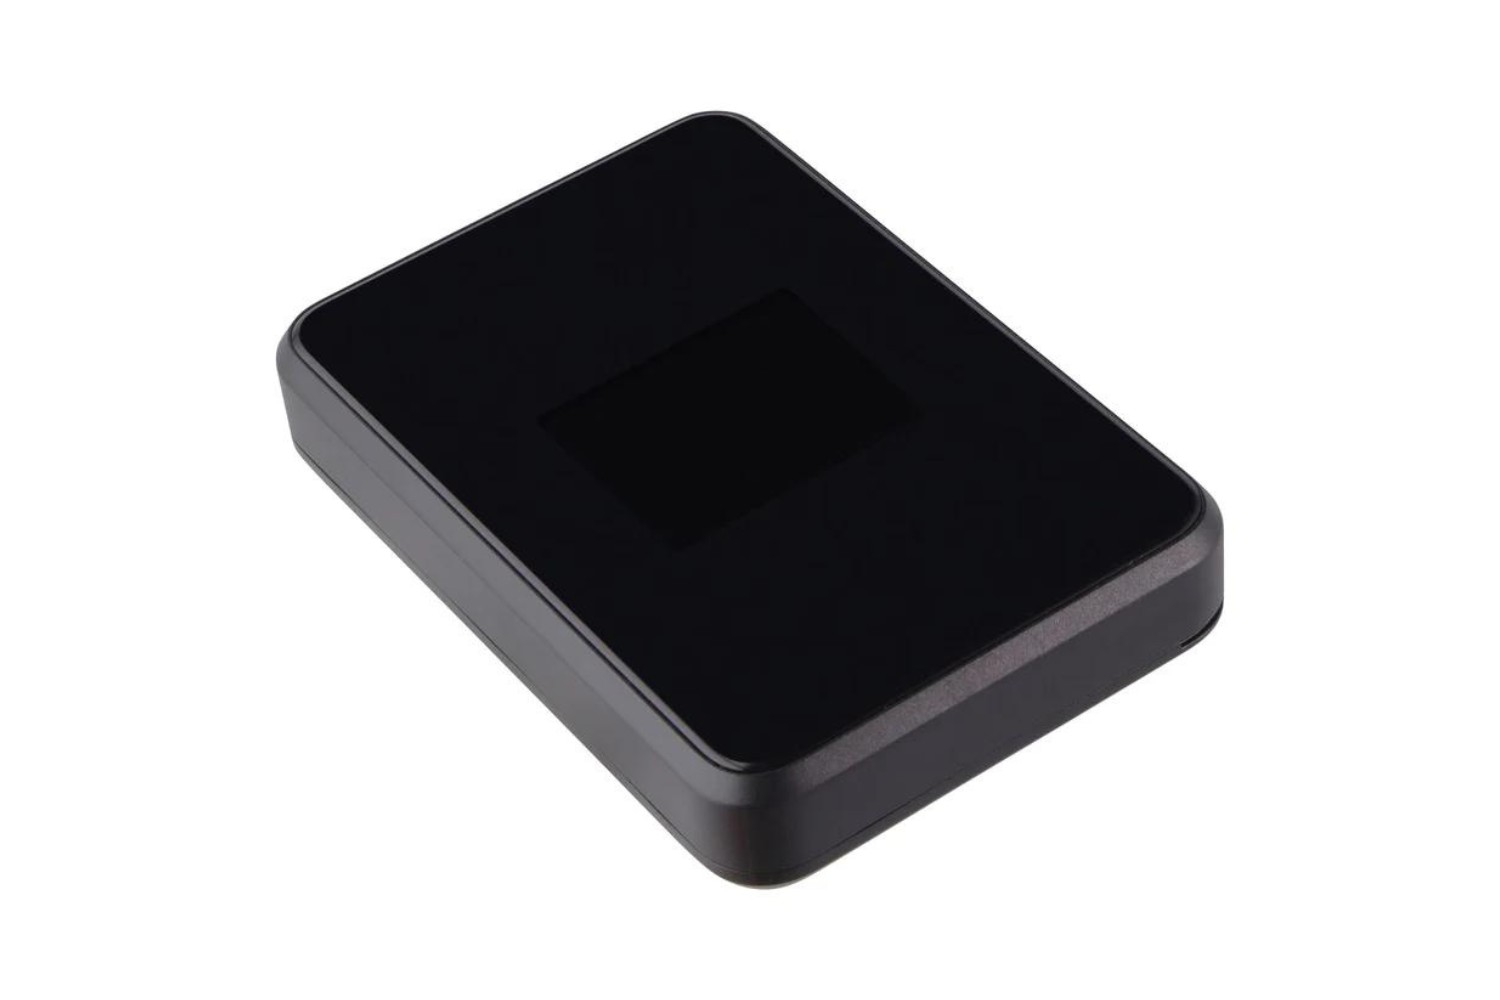
Airspeed Mobile Hotspot: The central piece of the package, the Airspeed Mobile Hotspot is a sleek and compact device that serves as your gateway to high-speed internet access.
-
Battery: The included rechargeable battery powers the hotspot, allowing you to stay connected without the need for a direct power source. This feature is especially convenient for travelers and individuals on the move.
-
USB Cable: A standard USB cable is provided for charging the hotspot, ensuring that you can easily replenish its power supply when needed.
-
SIM Card: The package includes a SIM card, which is essential for accessing mobile data and connecting to your preferred network. The SIM card is a crucial component that enables the hotspot to establish a secure internet connection.
-
User Manual: The user manual contains detailed instructions, tips, and insights to help you set up and maximize the performance of your Airspeed Mobile Hotspot. It serves as your go-to resource for understanding the device's features and functionalities.
-
Warranty Information: The package may also include warranty details, providing you with peace of mind and assurance regarding the product's coverage and support.
Checking the Contents
Before proceeding with the setup process, it's important to carefully inspect the contents of the package to ensure that everything is included and in good condition. Start by confirming that all the aforementioned components are present and free from any visible damage. Additionally, take a moment to review the user manual and warranty information to familiarize yourself with the device and its coverage.
By meticulously unboxing and checking the contents, you can lay the foundation for a smooth and hassle-free setup experience. With all the necessary components at your disposal, you'll be well-prepared to embark on the next steps of setting up your Airspeed Mobile Hotspot and unlocking its full potential.
Now that we've unboxed and verified the contents of the package, it's time to move on to the next step: inserting the SIM card and battery into the Airspeed Mobile Hotspot. Let's continue our journey toward seamless connectivity!
Step 2: Inserting SIM Card and Battery
Now that you have unboxed and familiarized yourself with the contents of the Airspeed Mobile Hotspot package, it's time to take the next crucial step: inserting the SIM card and battery into the device. This step is integral to establishing a secure and reliable internet connection, empowering you to harness the full potential of your portable hotspot.
Inserting the SIM Card
-
Locate the SIM Card Slot: Begin by identifying the SIM card slot on the Airspeed Mobile Hotspot. The slot is typically located on the side or back of the device, and it may be secured by a small cover or tray.
-
Prepare the SIM Card: Carefully remove the SIM card from its packaging, handling it with caution to avoid damaging the delicate components. Ensure that the SIM card is compatible with the hotspot and is provided by your preferred mobile network operator.
-
Insert the SIM Card: Gently slide the SIM card into the designated slot, aligning it according to the markings or guides provided. Apply gentle pressure to ensure that the SIM card is securely seated in place.
Inserting the Battery
-
Locate the Battery Compartment: Next, locate the battery compartment on the Airspeed Mobile Hotspot. This compartment is designed to accommodate the rechargeable battery that powers the device.
-
Insert the Battery: Align the battery with the contacts in the battery compartment, ensuring that it fits snugly and securely. Take care to position the battery correctly, following any indicated polarity markings.
-
Secure the Battery Cover: If the battery compartment features a cover or door, carefully close and secure it to encase the battery within the hotspot.
By successfully inserting the SIM card and battery into your Airspeed Mobile Hotspot, you have laid the groundwork for accessing high-speed internet and creating a portable Wi-Fi network. These foundational steps pave the way for powering on the hotspot and initiating the setup process, bringing you closer to the seamless connectivity and freedom that the device offers.
With the SIM card and battery in place, you are now prepared to embark on the next phase of the setup journey: powering on the hotspot and initiating the connection process. Let's move forward and continue unlocking the potential of your Airspeed Mobile Hotspot.
Step 3: Powering On the Hotspot
With the SIM card securely inserted and the battery in place, the next pivotal step in setting up your Airspeed Mobile Hotspot is powering on the device. This straightforward yet crucial process initiates the hotspot's functionality, allowing you to establish a Wi-Fi network, connect devices, and access high-speed internet on the go.
To power on the Airspeed Mobile Hotspot, follow these simple steps:
-
Press and Hold the Power Button: Locate the power button on the hotspot, typically situated on the front or top of the device. Press and hold the power button for a few seconds until the indicator lights illuminate or the display activates, signaling that the hotspot is powering on.
-
Wait for Initialization: Once the power button is pressed, allow the hotspot a few moments to initialize and establish its connection to the mobile network. During this process, the device configures its settings and prepares to create a Wi-Fi network for your connected devices.
-
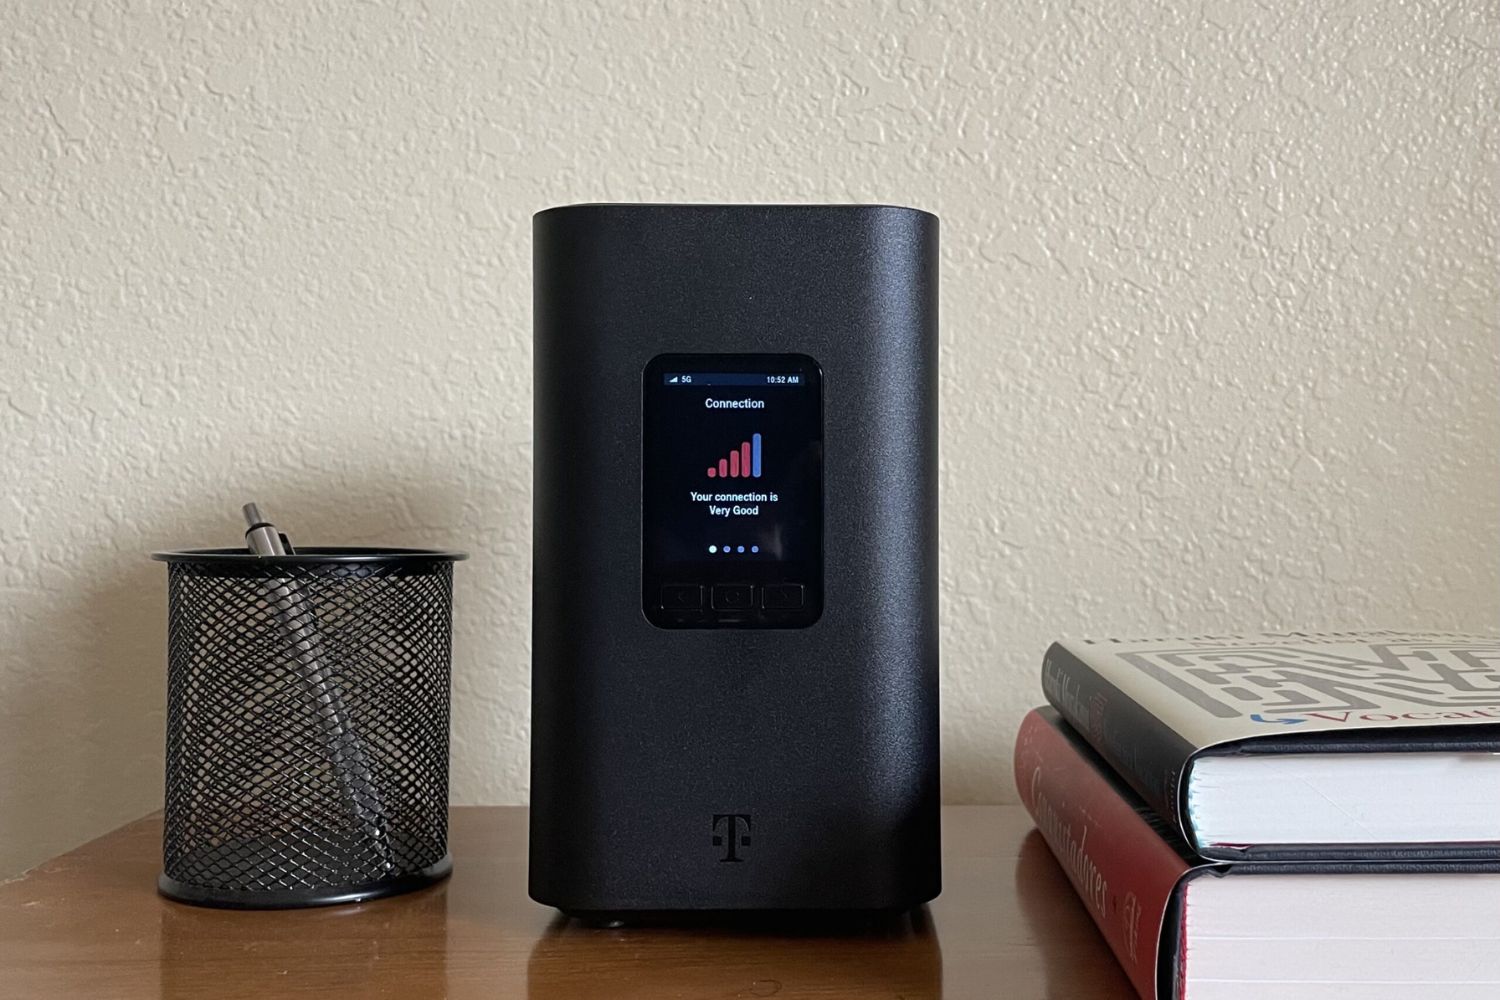
Check Indicator Lights: Keep an eye on the indicator lights or display on the hotspot, as they provide valuable feedback regarding the device's status. Depending on the model, these indicators may signal the strength of the mobile signal, battery status, and Wi-Fi network availability.
-
Confirm Network Availability: After the initialization process is complete, check the hotspot's display or indicator lights to verify that it has successfully connected to the mobile network. This confirmation ensures that the hotspot is ready to broadcast a Wi-Fi signal and provide internet access to your devices.
By following these steps, you can power on your Airspeed Mobile Hotspot with confidence, knowing that you are on the path to unlocking seamless connectivity and portable internet access. Once the hotspot is powered on and connected to the mobile network, you are ready to proceed to the next phase of the setup process: connecting devices to the hotspot and configuring essential settings.
With the Airspeed Mobile Hotspot powered on and ready to deliver high-speed internet, you are well-equipped to embrace the freedom of staying connected wherever your adventures take you. Let's continue our journey toward seamless connectivity by moving on to the next step: connecting to the hotspot and configuring essential settings to tailor your internet experience.
Step 4: Connecting to the Hotspot
Now that your Airspeed Mobile Hotspot is powered on and ready to broadcast a Wi-Fi signal, the next pivotal step is connecting your devices to the hotspot's network. This process enables you to access high-speed internet on your smartphone, tablet, laptop, or any other Wi-Fi-enabled device, ensuring that you can stay connected wherever you go.
To connect your devices to the Airspeed Mobile Hotspot, follow these straightforward steps:
-
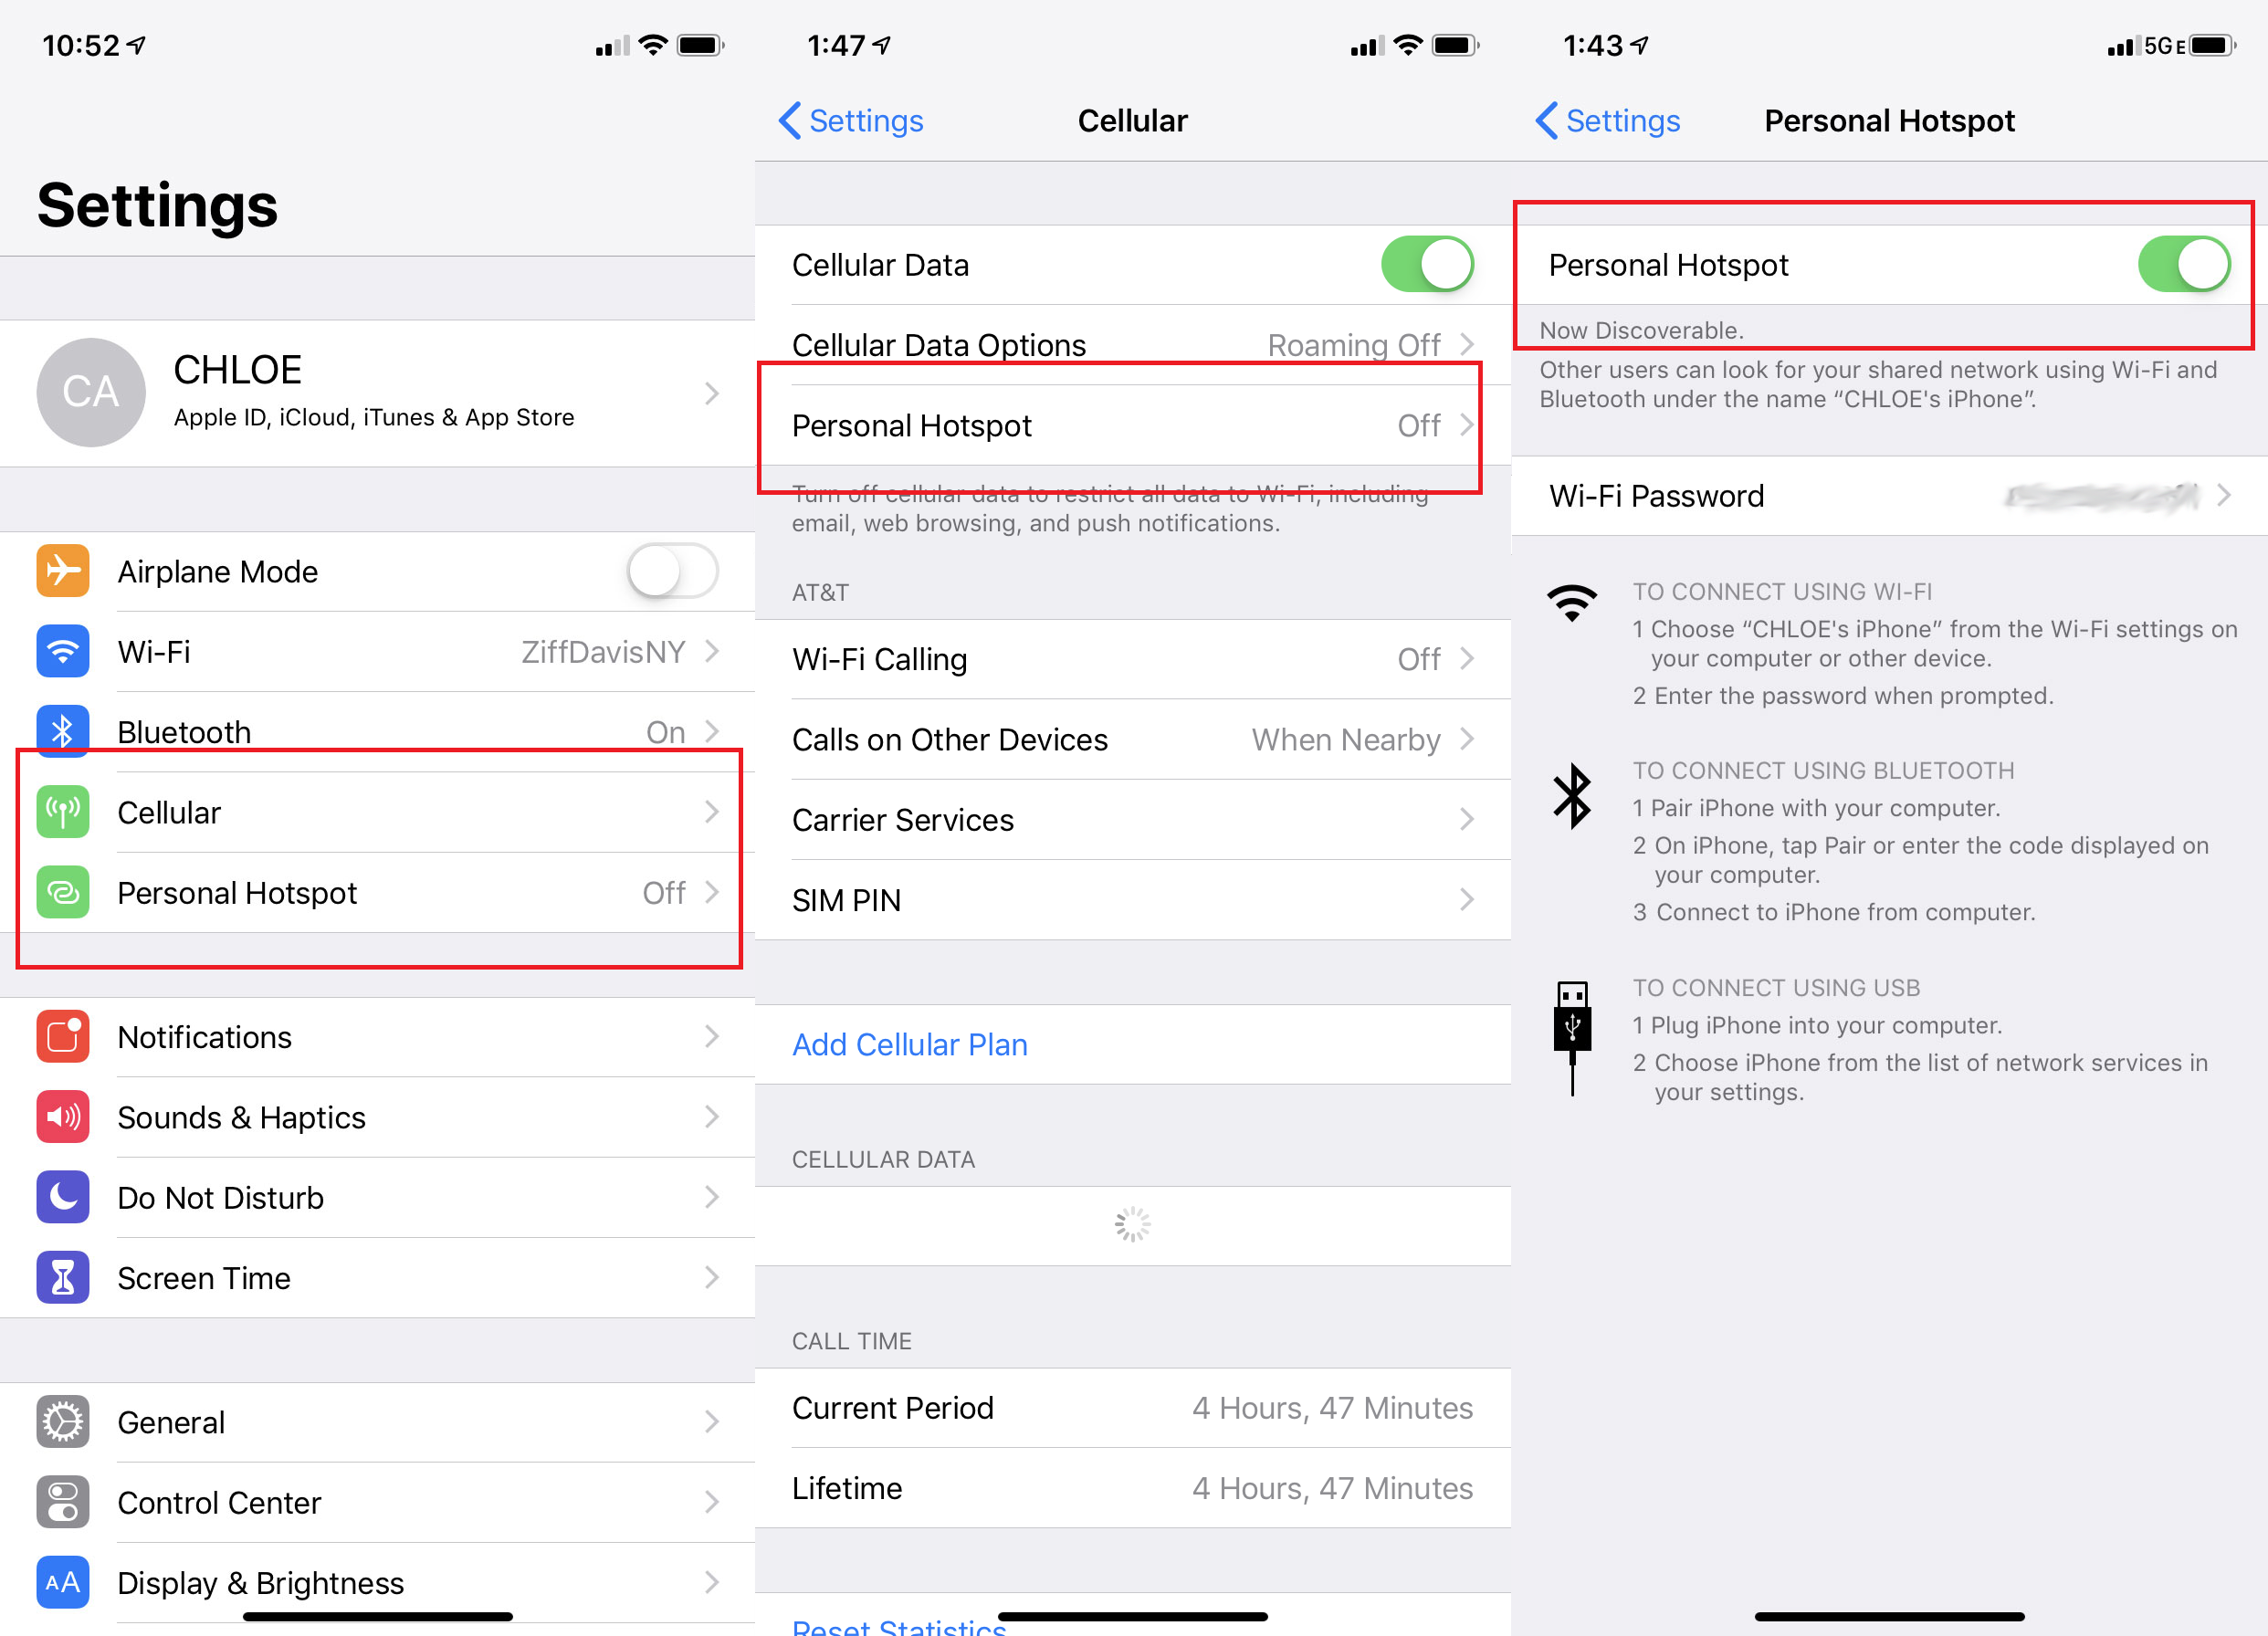
Locate the Wi-Fi Network: On your device, navigate to the list of available Wi-Fi networks. The Airspeed Mobile Hotspot's network name (SSID) should be displayed among the available options.
-
Select the Hotspot Network: Identify the network name associated with your Airspeed Mobile Hotspot and select it from the list. You may be prompted to enter a password to authenticate the connection.
-
Enter the Wi-Fi Password: If prompted, enter the Wi-Fi password for the Airspeed Mobile Hotspot. This password is typically provided in the user manual or may be displayed on the hotspot's screen.
-
Connect to the Hotspot: After entering the correct password, proceed to connect to the Airspeed Mobile Hotspot's Wi-Fi network. Once the connection is established, your device will be linked to the hotspot, allowing you to access the internet and enjoy seamless connectivity.
-
Verify Connection: Once connected, verify that your device is successfully accessing the internet through the Airspeed Mobile Hotspot. You can open a web browser or use any internet-dependent app to confirm the connectivity.
By following these steps, you can effortlessly connect your devices to the Airspeed Mobile Hotspot, unlocking the freedom to access high-speed internet on the go. Whether you're working remotely, streaming content, or staying connected with friends and family, the hotspot empowers you to maintain a reliable internet connection without being tethered to traditional Wi-Fi networks.
With your devices successfully connected to the Airspeed Mobile Hotspot, you are now poised to customize and manage essential hotspot settings, further enhancing your internet experience. Let's delve into the next phase of the setup process, where we'll explore how to configure hotspot settings to suit your preferences and optimize your connectivity.
Step 5: Configuring Hotspot Settings
Configuring the settings of your Airspeed Mobile Hotspot allows you to tailor the device to your specific preferences and optimize its performance according to your connectivity needs. By customizing the hotspot settings, you can enhance security, manage connected devices, and fine-tune network parameters to create a personalized and efficient internet experience.
To begin configuring the hotspot settings, access the device's administrative interface using a web browser on a connected device. Typically, you can accomplish this by entering the hotspot's IP address into the browser's address bar and logging in using the provided credentials found in the user manual or on the hotspot's screen.
Once logged in, you can explore a range of settings and customization options, including:
-
Wi-Fi Network Settings: Adjust the network name (SSID) and password to personalize the hotspot's Wi-Fi network. Creating a unique and memorable network name and a strong, secure password enhances the privacy and security of your connection.
-
Security and Encryption: Explore encryption options such as WPA2-PSK to ensure that your hotspot network is protected from unauthorized access and data breaches. Implementing strong encryption safeguards your internet traffic and provides peace of mind when using public Wi-Fi networks.
-
Device Management: Manage connected devices by viewing a list of currently connected devices and controlling access to the hotspot network. This feature enables you to monitor and manage the devices that are utilizing the hotspot's internet connection, ensuring efficient network utilization.
-
Guest Network: Some hotspots offer the option to create a guest network, allowing you to provide internet access to visitors without compromising the security of your primary network. This feature is particularly useful for hosting guests or conducting business meetings in a shared space.
-
Data Usage Monitoring: Keep track of your data usage to avoid exceeding your plan's limits and incurring additional charges. Many hotspots offer built-in data monitoring tools that allow you to monitor your usage and set alerts or limits to manage your data consumption effectively.
-
Firmware Updates: Check for and install firmware updates to ensure that your Airspeed Mobile Hotspot is equipped with the latest features, security patches, and performance enhancements. Regular updates help maintain the device's stability and security over time.
By engaging with these settings and customization options, you can tailor the Airspeed Mobile Hotspot to meet your specific connectivity requirements, ensuring a seamless and secure internet experience tailored to your preferences.
With the hotspot settings configured to your liking, you are now empowered to enjoy the full potential of your Airspeed Mobile Hotspot, complete with personalized security, efficient device management, and optimized network performance. The next step in your journey involves managing connected devices to further enhance your connectivity experience. Let's proceed to the following step and delve into the process of managing connected devices with your Airspeed Mobile Hotspot.
Step 6: Managing Connected Devices
Managing connected devices is a crucial aspect of optimizing your Airspeed Mobile Hotspot experience. By overseeing and controlling the devices that are connected to the hotspot, you can ensure efficient network utilization, prioritize bandwidth for specific activities, and maintain a secure and reliable internet connection for all users.
To manage connected devices effectively, access the administrative interface of your Airspeed Mobile Hotspot using a web browser on a connected device. Once logged in, navigate to the device management section to view a list of currently connected devices and access relevant management tools.
In the device management interface, you can perform the following actions to oversee and control connected devices:
-
Device List: View a comprehensive list of devices currently connected to the Airspeed Mobile Hotspot. This list typically includes details such as device names, IP addresses, and connection status, allowing you to identify and monitor all connected devices.
-
Device Prioritization: Prioritize bandwidth allocation for specific devices or activities by assigning priority status to selected devices. This feature ensures that essential tasks, such as video conferencing or online gaming, receive optimal network resources, enhancing the overall user experience.
-
Device Blocking: Exercise control over network access by blocking specific devices from connecting to the hotspot. This capability is particularly useful for managing unauthorized or unwanted devices attempting to access the network, bolstering the security and integrity of your internet connection.
-
Device Details and Controls: Access detailed information about each connected device, including data usage, connection history, and network utilization. Additionally, you may have the ability to control individual devices, such as pausing internet access or setting time limits for specific users.
-
Network Optimization: Fine-tune network parameters to ensure efficient utilization of the hotspot's resources and bandwidth. This may include adjusting Wi-Fi channel settings, optimizing signal strength, and managing network congestion to deliver a seamless and reliable internet experience.
By actively managing connected devices and overseeing network utilization, you can optimize the performance of your Airspeed Mobile Hotspot, enhance security, and tailor the internet experience to meet your specific needs and preferences.
With connected devices effectively managed, you are well-positioned to maximize the potential of your Airspeed Mobile Hotspot and enjoy uninterrupted, high-speed internet connectivity wherever your adventures take you.
Step 7: Monitoring Data Usage
Monitoring data usage is a critical aspect of managing your internet connectivity and ensuring that you stay within your data plan limits. With the Airspeed Mobile Hotspot, you have the ability to track and monitor your data usage, allowing you to make informed decisions about your internet consumption and avoid unexpected overage charges.
To monitor data usage effectively, access the administrative interface of your Airspeed Mobile Hotspot using a web browser on a connected device. Once logged in, navigate to the data usage or statistics section to view detailed insights into your internet consumption.
In the data usage monitoring interface, you can access valuable information and tools, including:
-
Data Usage Overview: Gain a comprehensive overview of your data usage, including the total amount of data consumed over a specific period. This summary provides a clear snapshot of your internet usage, allowing you to gauge your consumption patterns and make informed decisions about your connectivity habits.
-
Usage History: Access historical data usage records, enabling you to track your internet consumption over time. By reviewing usage history, you can identify trends, peak usage periods, and potential areas where data conservation measures may be beneficial.
-
Usage Alerts and Limits: Set usage alerts or limits to receive notifications when your data usage approaches predefined thresholds. This proactive approach empowers you to stay informed about your internet consumption and take appropriate action to manage your data usage effectively.
-
Device-Specific Usage: View data consumption details for individual connected devices, allowing you to identify which devices are utilizing the most data. This granular insight enables you to address data-heavy activities and ensure equitable distribution of network resources among connected devices.
-
Real-Time Monitoring: Some hotspots offer real-time data usage monitoring, providing live updates on your internet consumption. This feature allows you to stay informed about your data usage as it occurs, empowering you to make immediate adjustments if necessary.
By leveraging these data usage monitoring capabilities, you can take control of your internet consumption, optimize your data usage, and avoid exceeding your plan's limits. This proactive approach to data monitoring ensures that you can enjoy uninterrupted connectivity while managing your data usage responsibly.
With data usage effectively monitored and managed, you are well-equipped to harness the full potential of your Airspeed Mobile Hotspot, enjoying the freedom of staying connected without the worry of exceeding your data plan limits.
Conclusion
Congratulations! You've successfully navigated through the comprehensive setup process of the Airspeed Mobile Hotspot, unlocking a world of seamless connectivity and portable internet access. By following the step-by-step instructions outlined in this guide, you've empowered yourself to stay connected with confidence, whether you're traveling, working remotely, or simply seeking a reliable backup internet solution.
Throughout this setup journey, you've unboxed the Airspeed Mobile Hotspot, ensuring that all essential components are present and in good condition. You've seamlessly inserted the SIM card and battery, laying the foundation for establishing a secure and reliable internet connection.
Powering on the hotspot initiated its functionality, enabling you to create a Wi-Fi network and connect your devices effortlessly. By configuring essential hotspot settings and managing connected devices, you've personalized your internet experience, prioritized bandwidth, and optimized network performance to suit your specific needs.
Furthermore, through effective data usage monitoring, you've taken proactive steps to manage your internet consumption, avoiding unexpected overage charges and maintaining control over your data usage.
As a result of your dedication to the setup process, you're now equipped with a powerful, portable hotspot that offers high-speed internet access, robust security features, and efficient device management capabilities. Whether you're embarking on adventures, conducting business on the go, or simply staying connected with loved ones, the Airspeed Mobile Hotspot is your reliable companion for seamless connectivity.
With the setup process complete, you're ready to embrace the freedom of staying connected anytime, anywhere, without being tethered to traditional Wi-Fi networks. Your Airspeed Mobile Hotspot empowers you to work, play, and stay connected on your terms, ensuring that you can enjoy uninterrupted internet access and flexibility in your connectivity options.
As you embark on your journey with the Airspeed Mobile Hotspot, remember that the device's capabilities extend beyond its setup process. Regularly explore its features, leverage firmware updates, and stay informed about its evolving capabilities to maximize your connectivity experience.
Thank you for embarking on this setup journey with us. We trust that your Airspeed Mobile Hotspot will serve as your steadfast companion, delivering reliable internet connectivity and empowering you to stay connected with confidence wherever life takes you. Enjoy the freedom of seamless connectivity with your Airspeed Mobile Hotspot!