Introduction
Introducing data to your Airspeed Mobile Hotspot is a crucial aspect of ensuring uninterrupted connectivity while on the go. Whether you're traveling for business or pleasure, having a reliable and sufficient data plan is essential for staying connected with work, family, and friends. In this comprehensive guide, we will walk you through the essential steps to seamlessly add data to your Airspeed Mobile Hotspot. By following these instructions, you can ensure that your hotspot is equipped with the necessary data to keep you connected and productive wherever you are.
Adding data to your Airspeed Mobile Hotspot is a straightforward process that can be easily accomplished with the right guidance. Whether you are a seasoned tech enthusiast or a novice user, this guide is designed to provide clear and concise instructions to help you navigate through the process with ease. With a few simple steps, you can ensure that your Airspeed Mobile Hotspot is ready to keep you connected to the digital world.
Stay tuned as we delve into the essential steps, from accessing the Airspeed Mobile Hotspot to verifying the successful addition of data. By the end of this guide, you will have a comprehensive understanding of how to add data to your Airspeed Mobile Hotspot, empowering you to stay connected and productive while on the move. Let's dive into the details and ensure that your Airspeed Mobile Hotspot is equipped with the data it needs to keep you connected at all times.
Step 1: Accessing the Airspeed Mobile Hotspot
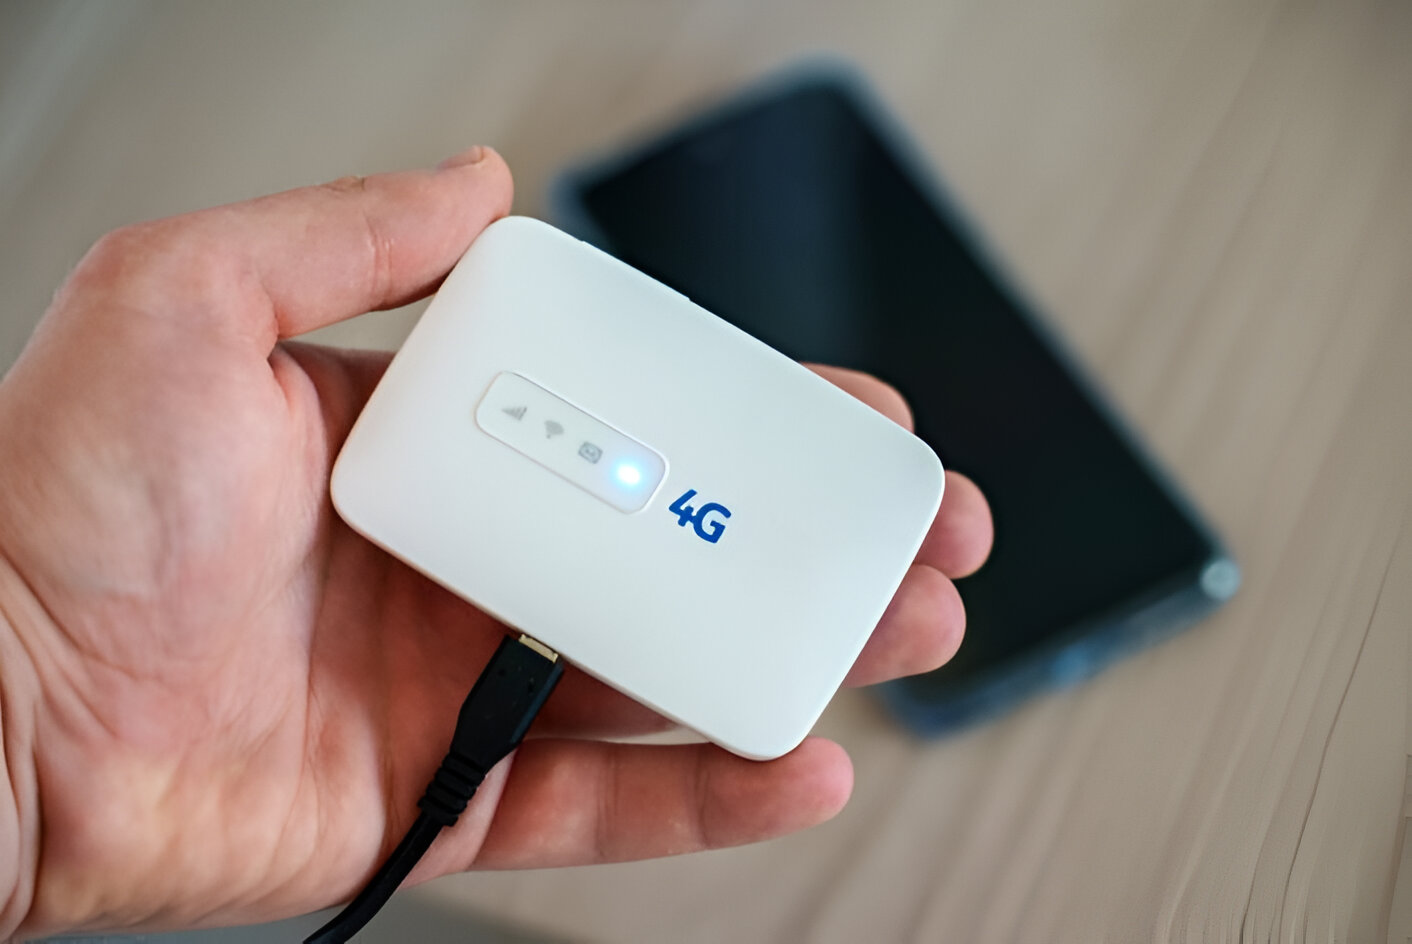
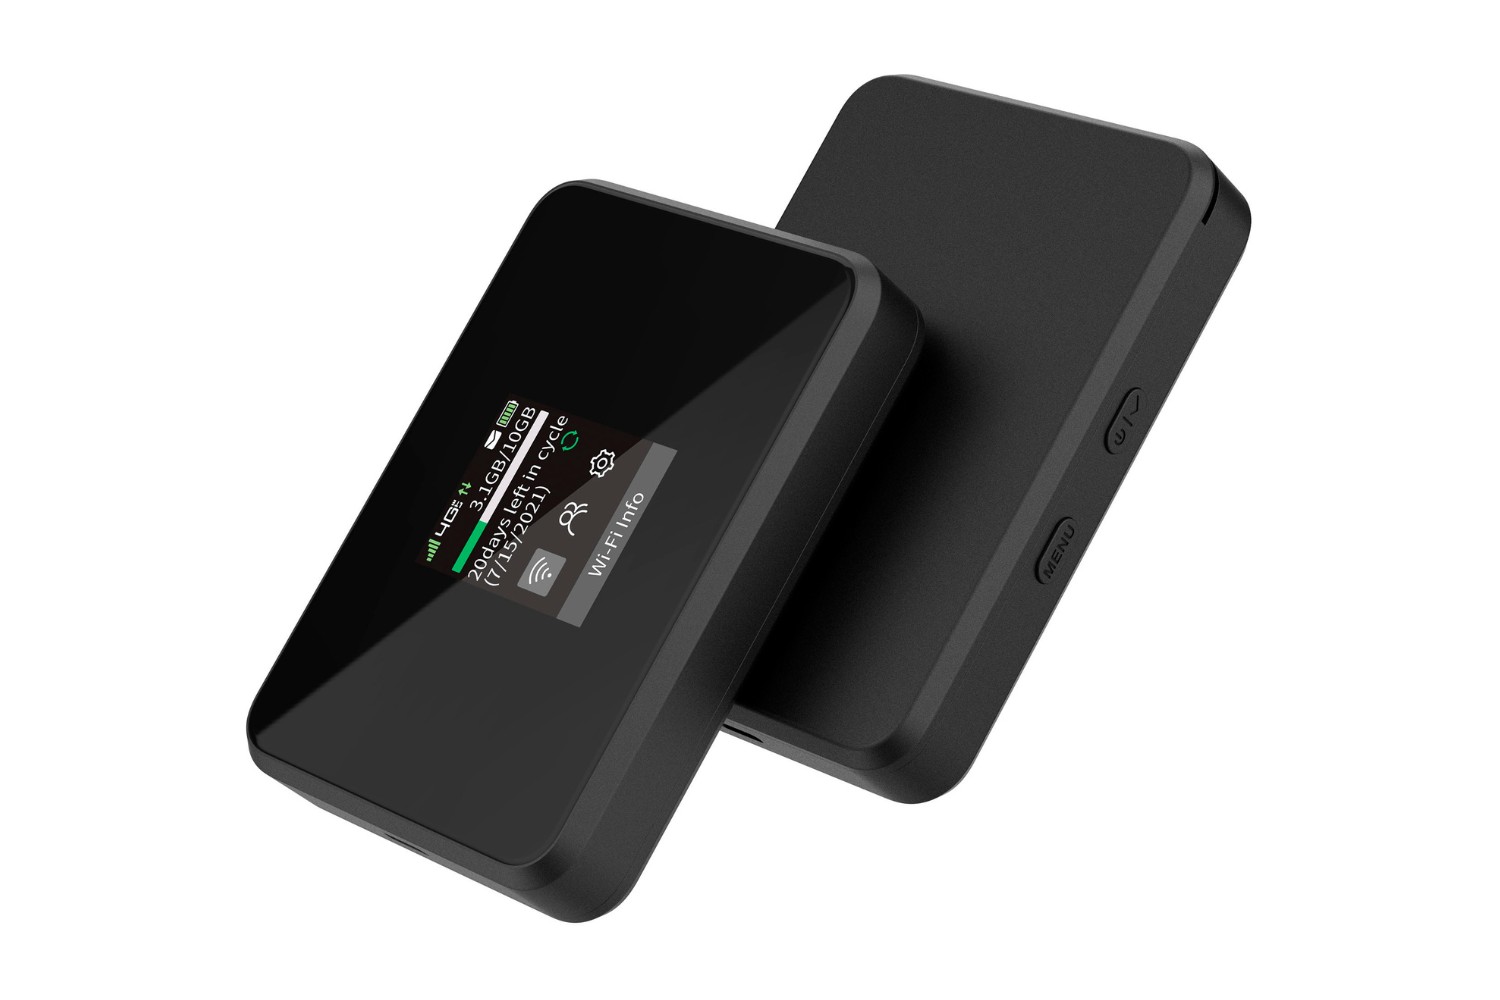
Accessing your Airspeed Mobile Hotspot is the initial step towards adding data and ensuring seamless connectivity. To begin, locate your Airspeed Mobile Hotspot device, which is typically a compact and portable gadget designed to provide wireless internet access on the go. The hotspot is equipped with a user-friendly interface that allows you to manage various settings, including adding data to your plan.
Upon finding your Airspeed Mobile Hotspot, ensure that it is powered on and functioning properly. You can do this by pressing the power button and checking the indicator lights to confirm that the device is operational. Once the hotspot is powered on, you are ready to proceed with accessing its settings.
To access the Airspeed Mobile Hotspot, you will need to connect a compatible device, such as a smartphone, tablet, or laptop, to its wireless network. Locate the network name (SSID) and password for your Airspeed Mobile Hotspot, which are typically printed on a label affixed to the device or included in the user manual. Using the provided credentials, connect your device to the hotspot's wireless network.
Once connected, open a web browser on your device and enter the default IP address of the Airspeed Mobile Hotspot in the address bar. This IP address is commonly provided in the user manual or can be found on the device itself. Upon entering the IP address, you will be directed to the login page of the hotspot's admin panel.
In some instances, you may need to enter a username and password to access the admin panel. These credentials are typically provided in the user manual or can be set up during the initial configuration of the hotspot. Once you have entered the correct login credentials, you will gain access to the admin panel, where you can manage various settings, including adding data to your hotspot plan.
Accessing the Airspeed Mobile Hotspot is the foundational step that sets the stage for managing its settings and adding data to ensure uninterrupted connectivity. By following these initial steps, you are now prepared to proceed to the next phase of the process, which involves logging into the admin panel to further customize your hotspot's data settings.
Step 2: Logging into the Admin Panel
Logging into the admin panel of your Airspeed Mobile Hotspot is a crucial step in the process of adding data to your plan. The admin panel serves as the gateway to a range of settings and configurations that allow you to manage and customize your hotspot's functionality, including the addition of data.
To access the admin panel, you will need to open a web browser on the device that is connected to your Airspeed Mobile Hotspot. In the address bar of the browser, enter the default IP address of the hotspot. This IP address, which is unique to your specific model, provides access to the internal settings and configurations of the device.
Upon entering the IP address in the browser's address bar and pressing Enter, you will be directed to the login page of the admin panel. At this stage, you may be prompted to enter the username and password associated with the admin account. These credentials are essential for securing access to the admin panel and ensuring that only authorized users can modify the hotspot's settings.
The default username and password for the admin account are typically provided in the user manual that accompanies the Airspeed Mobile Hotspot. In some cases, the credentials may also be displayed on the device itself. It is important to enter the correct username and password to successfully log into the admin panel.
If you have previously customized the login credentials for the admin account, such as during the initial setup of the hotspot, you should use the updated username and password to access the admin panel. Ensuring the accuracy of the login credentials is essential for seamless access to the admin panel and the ability to manage your hotspot's settings effectively.
Once you have successfully entered the correct username and password, you will gain access to the admin panel of your Airspeed Mobile Hotspot. This interface provides a comprehensive view of the hotspot's configurations, allowing you to navigate to the data settings and proceed with adding data to your plan.
By logging into the admin panel, you are now poised to move forward with the next steps in the process, which involve navigating to the data settings and adding the necessary data to your Airspeed Mobile Hotspot. With access to the admin panel secured, you are one step closer to ensuring that your hotspot is equipped with the data it needs to keep you connected while on the go.
Step 3: Navigating to the Data Settings
Once you have successfully logged into the admin panel of your Airspeed Mobile Hotspot, the next crucial step is to navigate to the data settings. This process allows you to access the specific configurations related to your hotspot's data plan, enabling you to add or modify the data allocation as per your requirements.
Within the admin panel, you will typically find a navigation menu or a series of tabs that categorize the various settings and configurations available for your Airspeed Mobile Hotspot. Look for the section specifically labeled "Data Settings," "Data Management," or a similar designation that indicates the area where data-related configurations can be accessed.
Upon locating the data settings section, you will be presented with a range of options and parameters that pertain to your hotspot's data plan. These may include the current data allocation, usage statistics, data renewal options, and the ability to add or modify the amount of data available for your hotspot.
In this section, you will have the opportunity to review your current data plan details, such as the remaining data balance, expiration date, and any associated usage limits. This information provides valuable insights into your data usage patterns and allows you to make informed decisions when adding or adjusting the data allocation for your Airspeed Mobile Hotspot.
Depending on the specific features of your Airspeed Mobile Hotspot, you may also encounter additional settings related to data management, such as data usage alerts, automatic renewal options, and the ability to set data usage limits to prevent excessive consumption.
Navigating to the data settings within the admin panel empowers you to take control of your hotspot's data management, ensuring that you can tailor the data allocation to align with your connectivity needs. By accessing this section, you are equipped with the tools to add data to your plan, extend the validity period, or make any necessary adjustments to optimize your hotspot's data usage.
With the data settings within reach, you are now prepared to proceed to the next step, which involves adding the desired amount of data to your Airspeed Mobile Hotspot. By navigating through the data settings section, you are one step closer to ensuring that your hotspot is equipped with the necessary data to keep you connected and productive while on the move.
Step 4: Adding Data to the Hotspot
Adding data to your Airspeed Mobile Hotspot is a straightforward process that empowers you to ensure uninterrupted connectivity while on the go. Once you have navigated to the data settings within the admin panel, you can proceed with the essential step of adding data to your hotspot's plan.
Within the data settings section, look for the option that allows you to add or modify the data allocation for your Airspeed Mobile Hotspot. This feature may be presented as a "Add Data" button, "Modify Data Plan," or a similar label that indicates the ability to adjust the data allocation.
Upon selecting the appropriate option, you will be prompted to specify the amount of data you wish to add to your hotspot's plan. This step allows you to tailor the data allocation to align with your specific connectivity needs, ensuring that you have sufficient data to stay connected and productive during your travels.
Depending on the capabilities of your Airspeed Mobile Hotspot, you may also have the flexibility to choose the duration or validity period for the added data. This feature enables you to customize the data plan based on your anticipated usage timeframe, whether it's for short-term travel or an extended period of connectivity.
After specifying the desired amount of data and any relevant parameters, such as the validity period, follow the on-screen prompts to confirm the addition of data to your Airspeed Mobile Hotspot. This may involve reviewing and accepting the associated charges or fees, if applicable, before finalizing the data addition process.
Once the data addition process is complete, your Airspeed Mobile Hotspot will be equipped with the newly added data, ready to keep you connected to the digital world wherever your adventures take you. The successful addition of data ensures that you have the necessary resources to access the internet, stay in touch with colleagues, friends, and family, and make the most of your on-the-go connectivity experience.
By adding data to your Airspeed Mobile Hotspot, you are taking proactive steps to enhance your connectivity and productivity while traveling. With the data addition process completed, you can rest assured that your hotspot is well-equipped to provide reliable and seamless internet access, empowering you to stay connected and engaged with the online world.
With the data successfully added to your Airspeed Mobile Hotspot, you have accomplished a pivotal step in ensuring that your connectivity needs are met, enabling you to make the most of your travel experiences without worrying about internet access. As you move forward with your adventures, the added data will serve as a valuable resource, keeping you connected and productive throughout your journey.
Step 5: Verifying the Data Addition
Verifying the successful addition of data to your Airspeed Mobile Hotspot is a critical step to ensure that your connectivity needs are fully met. After completing the process of adding data to your hotspot's plan, it is essential to confirm that the data allocation has been successfully applied and is ready for use.
To verify the data addition, begin by accessing the data settings within the admin panel of your Airspeed Mobile Hotspot. Navigate back to the section where you previously added or modified the data allocation. Here, you can review the updated data details, including the total data balance, expiration date, and any associated usage limits.
Check the data balance to confirm that the newly added data has been reflected in the total allocation for your Airspeed Mobile Hotspot. This step allows you to ensure that the specified amount of data has been successfully integrated into your plan, providing you with the necessary resources for seamless connectivity.
In addition to reviewing the data balance, verify the expiration date associated with the added data. Confirm that the validity period aligns with your expectations and usage requirements, ensuring that the data remains accessible for the intended duration without any unexpected limitations.
If your Airspeed Mobile Hotspot offers usage statistics or data usage tracking features, take advantage of these tools to monitor the consumption of the newly added data. This allows you to stay informed about your data usage patterns and ensures that the added data is being utilized effectively without exceeding any predefined limits.
As a final verification step, consider performing a test connection using a compatible device to confirm that the added data is fully functional. Connect a smartphone, tablet, or laptop to your Airspeed Mobile Hotspot's wireless network and attempt to access the internet or perform typical online activities. This real-time validation ensures that the added data enables seamless connectivity without any unexpected issues.
By meticulously verifying the data addition, you can gain confidence in the successful integration of the newly added data into your Airspeed Mobile Hotspot's plan. This thorough validation process ensures that your hotspot is fully equipped to provide reliable and uninterrupted internet access, empowering you to stay connected and productive while on the move.
With the data addition successfully verified, you can embark on your travel adventures with the assurance that your Airspeed Mobile Hotspot is ready to keep you connected to the digital world. The seamless verification of the data addition process reinforces your confidence in the reliability of your hotspot's connectivity, allowing you to make the most of your on-the-go experiences without any concerns about internet access.
As you move forward with your travels, the verified data addition serves as a testament to the proactive steps you have taken to ensure that your connectivity needs are met. With a fully validated data addition, you can enjoy the convenience of reliable internet access wherever your journeys take you, staying connected and engaged with the online world without any interruptions.
Conclusion
In conclusion, the process of adding data to your Airspeed Mobile Hotspot is an essential aspect of maintaining seamless connectivity and productivity while on the move. By following the comprehensive steps outlined in this guide, you have gained valuable insights into the crucial process of managing your hotspot's data settings and ensuring that it is equipped with the necessary resources to keep you connected to the digital world.
From the initial step of accessing the Airspeed Mobile Hotspot to navigating to the data settings within the admin panel, you have been empowered to take control of your hotspot's data management. The process of adding data to your plan, coupled with the meticulous verification of the data addition, has provided you with the confidence and assurance that your hotspot is ready to meet your connectivity needs.
By proactively managing your hotspot's data allocation, you have positioned yourself to make the most of your travel experiences without any concerns about internet access. The seamless integration of the added data into your Airspeed Mobile Hotspot's plan ensures that you can stay connected to work, family, and friends, regardless of your location.
As you embark on your travel adventures, the successful addition of data to your Airspeed Mobile Hotspot serves as a testament to your proactive approach to connectivity. With reliable internet access at your fingertips, you are well-prepared to make the most of your journeys, stay productive on the go, and remain engaged with the online world without interruptions.
The completion of the data addition process marks a pivotal milestone in ensuring that your Airspeed Mobile Hotspot is fully equipped to support your connectivity needs. With the added data successfully integrated and verified, you can embark on your travels with the confidence that your hotspot is ready to keep you connected and productive throughout your adventures.
In summary, the process of adding data to your Airspeed Mobile Hotspot is a fundamental step in optimizing your connectivity experience. By following the outlined steps and taking control of your hotspot's data settings, you have set the stage for uninterrupted connectivity, empowering you to make the most of your travel experiences with reliable and seamless internet access.