Introduction
Resetting an AT&T Netgear hotspot can resolve a variety of connectivity issues, restore the device to its default settings, and eliminate any configuration errors. Whether you are experiencing slow internet speeds, connection drops, or difficulties accessing the internet, performing a reset may offer a quick solution. In this comprehensive guide, you will learn the step-by-step process for resetting your AT&T Netgear hotspot, enabling you to troubleshoot common issues and optimize the performance of your device.
Resetting your hotspot is a straightforward procedure that can be performed without advanced technical knowledge. By following the instructions provided in this guide, you can effectively reset your AT&T Netgear hotspot and reestablish a stable and reliable internet connection. Whether you are a novice user or a seasoned tech enthusiast, this guide will equip you with the essential knowledge to successfully reset your hotspot and address connectivity issues with ease.
Understanding the process of resetting your AT&T Netgear hotspot is crucial for maintaining a seamless internet experience. By taking the time to familiarize yourself with the steps outlined in this guide, you will gain confidence in troubleshooting connectivity issues and optimizing the performance of your hotspot. Whether you encounter intermittent connectivity problems or need to restore your hotspot to its default settings, the insights provided in this guide will empower you to overcome these challenges efficiently.
Now, let's delve into the step-by-step process of resetting your AT&T Netgear hotspot, ensuring that you can navigate through the procedure seamlessly and restore your device to its optimal state. With clear and concise instructions, you will be able to reset your hotspot with confidence, enabling you to enjoy a reliable and uninterrupted internet connection.
Step 1: Gather Necessary Materials
Before initiating the process of resetting your AT&T Netgear hotspot, it is essential to gather the necessary materials to ensure a smooth and efficient reset. By assembling the required items, you can streamline the reset procedure and minimize any potential interruptions. Here's what you will need:
-
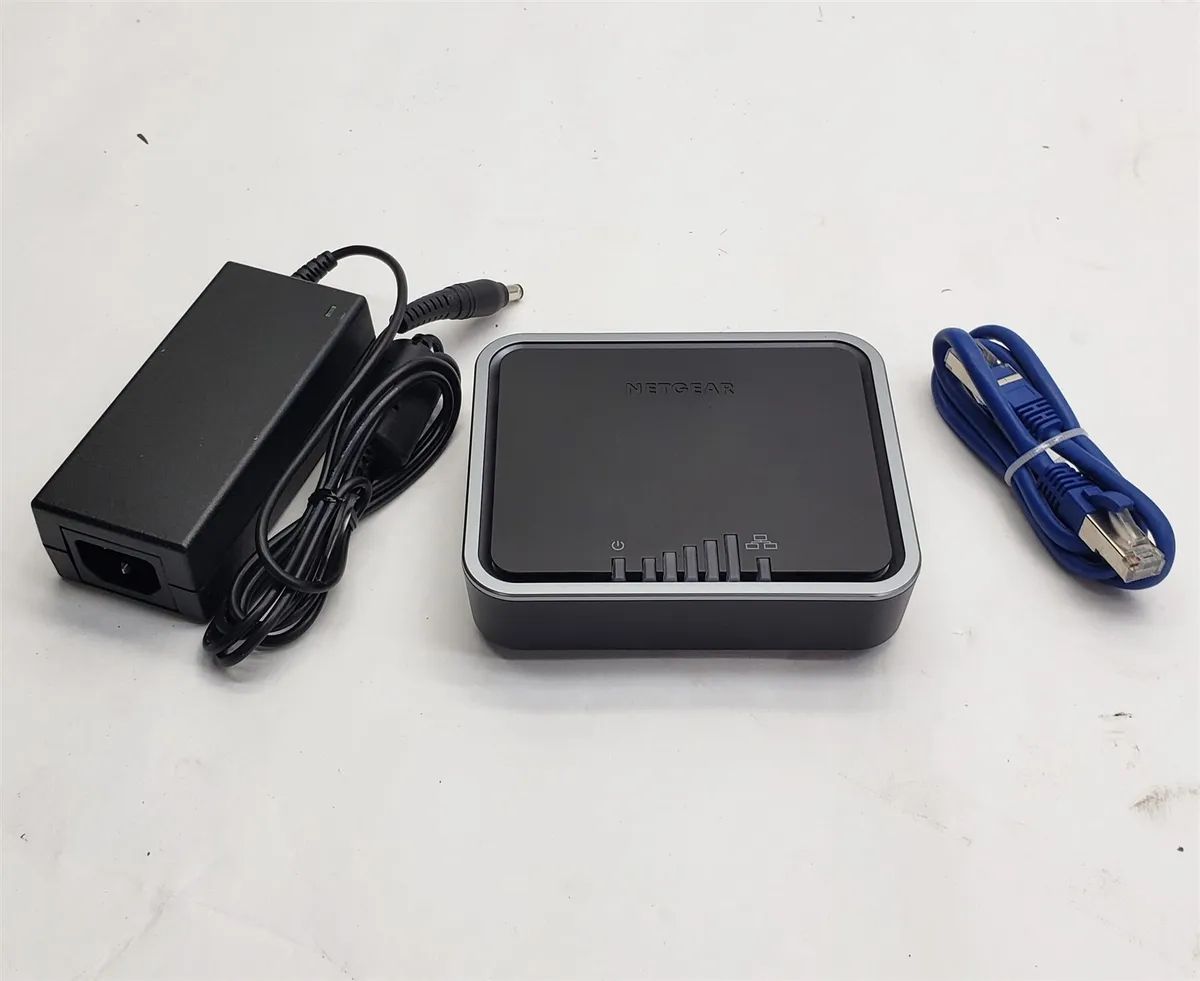
AT&T Netgear Hotspot: Ensure that you have the AT&T Netgear hotspot device readily available. This is the primary component that will undergo the reset process to address any connectivity issues and restore optimal functionality.
-
Power Adapter: Locate the power adapter that is used to supply electricity to the AT&T Netgear hotspot. This adapter is essential for providing the necessary power to the device during the reset process.
-
Stable Power Source: Identify a stable power source where you can connect the power adapter. It is crucial to have a reliable power supply to ensure that the hotspot remains powered on throughout the reset procedure.
-
Paperclip or Pin: Prepare a small, sturdy object such as a paperclip or pin. This will be used to press the reset button on the AT&T Netgear hotspot, initiating the reset process.
By ensuring that you have these essential materials at your disposal, you can proceed with confidence and efficiency when resetting your AT&T Netgear hotspot. With these items readily available, you will be well-prepared to navigate through the subsequent steps of the reset process, ultimately resolving any connectivity issues and restoring the device to its default settings.
Gathering the necessary materials is the first step towards addressing connectivity issues and optimizing the performance of your AT&T Netgear hotspot. With these items in hand, you are now ready to proceed to the next step, powering on the hotspot and initiating the reset procedure.
Step 2: Power On the Hotspot
To begin the process of resetting your AT&T Netgear hotspot, the first step is to power on the device. This step is crucial as it ensures that the hotspot is ready to undergo the reset procedure, allowing you to address any connectivity issues and restore the device to its default settings effectively.
Start by locating the power adapter that is used to supply electricity to the AT&T Netgear hotspot. Once you have identified the power adapter, connect it to a stable power source. It is essential to choose a reliable power supply to ensure that the hotspot remains powered on throughout the reset process.
After connecting the power adapter to the stable power source, proceed to connect the other end of the adapter to the designated power input on the AT&T Netgear hotspot. Ensure that the connection is secure to prevent any disruptions during the reset procedure.
Once the power adapter is successfully connected to the hotspot, you can proceed to power on the device. Locate the power button on the hotspot and press it to initiate the power-up sequence. As the device powers on, you may observe indicator lights or display screens activating, indicating that the hotspot is receiving power and initializing its startup process.
Allow the hotspot to complete its power-up sequence, ensuring that all essential components are operational before proceeding to the next step. This ensures that the device is in an optimal state to undergo the reset procedure, enabling you to address any connectivity issues effectively.
By following these steps to power on the AT&T Netgear hotspot, you are laying the groundwork for a successful reset process. Ensuring that the device is powered on and ready to undergo the reset procedure is essential for addressing connectivity issues and restoring the device to its default settings seamlessly.
With the hotspot powered on and ready, you are now prepared to proceed to the next step, which involves locating the reset button on the device and initiating the reset process. This critical step will enable you to address any connectivity issues and restore the optimal functionality of your AT&T Netgear hotspot.
Step 3: Locate the Reset Button
Locating the reset button on your AT&T Netgear hotspot is a crucial step in the process of resetting the device to address connectivity issues and restore optimal functionality. The reset button, often positioned discreetly on the device, serves as the gateway to initiating the reset procedure, allowing you to restore the hotspot to its default settings effectively.
To locate the reset button, carefully examine the exterior of the AT&T Netgear hotspot. The reset button is typically situated in a small indentation or recessed area to prevent accidental activation. It is essential to approach this step with patience and attention to detail, as the reset button may be inconspicuous to avoid unintended resets.
Once you have identified the reset button, take note of its precise location on the device. It is common for the reset button to be labeled or accompanied by a small icon to indicate its function. This visual cue can aid in identifying the reset button accurately, ensuring that you can proceed with confidence when initiating the reset process.
In some AT&T Netgear hotspot models, the reset button may be located on the back or underside of the device. Carefully inspect these areas to locate the reset button, ensuring that you have a clear understanding of its position before proceeding to the next step. Additionally, refer to the device's user manual for specific guidance on locating the reset button based on the model of your hotspot.
As you locate the reset button, it is important to handle the device with care and precision. Use gentle pressure to identify the reset button, ensuring that you do not inadvertently activate it before intending to initiate the reset procedure. By approaching this step attentively, you can confidently proceed to the next phase of the reset process, which involves pressing and holding the reset button to initiate the device reset.
With the reset button successfully located, you are now prepared to proceed to the subsequent step of pressing and holding the reset button, initiating the reset process to address any connectivity issues and restore the optimal functionality of your AT&T Netgear hotspot.
Step 4: Press and Hold the Reset Button
Pressing and holding the reset button on your AT&T Netgear hotspot is a pivotal step in initiating the device reset process. By performing this action, you will trigger the restoration of the hotspot to its default settings, effectively addressing connectivity issues and optimizing the device's functionality.
To begin, ensure that you have located the reset button on the AT&T Netgear hotspot as outlined in the previous step. Once you have identified the reset button's precise location, prepare to initiate the reset process by applying gentle and deliberate pressure to the button.
Using a small, sturdy object such as a paperclip or pin, carefully press and hold the reset button. It is important to maintain consistent pressure on the button to ensure that the reset process is initiated successfully. The duration for which the reset button needs to be held may vary based on the specific model of the AT&T Netgear hotspot. Typically, holding the reset button for 10-15 seconds is sufficient to trigger the reset process.
As you press and hold the reset button, you may observe indicator lights or display screens on the hotspot responding to the reset initiation. These visual cues serve as confirmation that the reset process has been activated and the device is undergoing the restoration to its default settings.
It is essential to exercise patience and precision while holding the reset button, allowing the device ample time to initiate the reset process. Avoid releasing the reset button prematurely, as this may interrupt the reset procedure and hinder its effectiveness in addressing connectivity issues.
Throughout the duration of pressing and holding the reset button, maintain a steady grip on the small object used to apply pressure, ensuring that the reset button remains engaged. This consistent application of pressure is vital for facilitating a seamless reset process and enabling the device to restore its default settings effectively.
By following these steps to press and hold the reset button, you are actively initiating the reset process on your AT&T Netgear hotspot. This proactive approach enables you to address connectivity issues and restore the device to its optimal state, setting the stage for a successful reset and the subsequent reconfiguration of the hotspot.
With the reset process initiated through the pressing and holding of the reset button, you are now prepared to proceed to the next step, which involves waiting for the hotspot to complete the reset process before proceeding with the reconfiguration.
Step 5: Wait for the Hotspot to Reset
After initiating the reset process by pressing and holding the reset button on your AT&T Netgear hotspot, it is crucial to allow the device sufficient time to complete the reset procedure. This waiting period is essential for the hotspot to undergo the restoration to its default settings, effectively addressing any connectivity issues and optimizing the device's functionality.
As you patiently wait for the hotspot to reset, it is important to remain attentive to any visual cues or indicators that may signify the progress of the reset process. Depending on the model of your AT&T Netgear hotspot, you may observe changes in the device's indicator lights, display screens, or other visual feedback that signify the ongoing reset procedure.
During this waiting period, it is advisable to avoid interrupting the reset process or attempting to power off the device prematurely. Disrupting the reset procedure before it has completed may compromise its effectiveness in addressing connectivity issues and restoring the device to its default settings.
The duration for the hotspot to complete the reset process may vary based on the specific model and configuration of the AT&T Netgear hotspot. As a general guideline, allowing the device to reset for approximately 1-2 minutes ensures that the restoration to default settings is thorough and comprehensive.
While waiting for the hotspot to reset, you can take this opportunity to prepare for the subsequent step of setting up the device again. This may involve gathering any additional materials or information required for the reconfiguration process, ensuring that you can seamlessly transition from the reset phase to the reestablishment of the hotspot's settings.
By patiently allowing the hotspot to reset, you are actively facilitating the resolution of connectivity issues and the restoration of the device to its optimal state. This waiting period serves as a crucial interval during which the device undergoes the necessary adjustments to ensure a seamless and effective reset.
As the hotspot progresses through the reset process, you may observe indications that the device is nearing the completion of the reset procedure. These visual cues, such as stabilized indicator lights or specific patterns of device activity, signify that the device is approaching the final stages of the reset process.
Ultimately, by patiently waiting for the hotspot to reset, you are paving the way for a successful resolution of connectivity issues and the restoration of optimal functionality. This waiting period sets the stage for the subsequent step of setting up the hotspot again, enabling you to reconfigure the device and enjoy a reliable and uninterrupted internet connection.
With the hotspot now reset, you are prepared to proceed to the final step of setting up the hotspot again, ensuring that the device is configured to deliver optimal performance and seamless connectivity.
Step 6: Set Up the Hotspot Again
After the successful completion of the reset process for your AT&T Netgear hotspot, the next crucial step involves setting up the device again to reestablish its configuration and ensure seamless connectivity. This phase enables you to configure the hotspot with your preferred settings, including network credentials, security parameters, and other personalized configurations, ultimately optimizing the device for reliable and uninterrupted internet access.
To begin the setup process, ensure that the AT&T Netgear hotspot has completed the reset procedure and is powered on. Once the device is ready, you can proceed to configure the hotspot by accessing its administrative interface. This typically involves connecting a computer or mobile device to the hotspot's Wi-Fi network and accessing the device's web-based management interface using a compatible web browser.
Upon accessing the administrative interface, you will be prompted to enter the necessary login credentials to authenticate your access. These credentials may include a username and password, which are typically provided in the hotspot's user manual or documentation. By entering the correct login credentials, you can gain access to the hotspot's configuration settings and proceed with the setup process.
Within the administrative interface, navigate to the relevant sections that enable you to customize the hotspot's settings according to your preferences. This may involve specifying the desired Wi-Fi network name (SSID), setting a secure password for network access, configuring encryption settings to ensure data security, and adjusting additional parameters such as DHCP settings and port forwarding rules based on your specific requirements.
As you customize the settings within the administrative interface, ensure that you adhere to best practices for network security and optimization. Implementing strong encryption, unique network passwords, and other security measures can enhance the protection of your network and safeguard against unauthorized access.
Once you have configured the hotspot's settings to your satisfaction, proceed to save the changes within the administrative interface. This ensures that your personalized configurations are applied to the device, enabling it to operate according to the specified parameters.
After saving the settings, perform a comprehensive test of the hotspot's connectivity to verify that the reconfiguration has been successful. This may involve connecting various devices to the hotspot's Wi-Fi network, accessing the internet, and evaluating the overall performance and reliability of the connection.
By meticulously setting up the hotspot again, you are effectively customizing the device to meet your specific connectivity needs while ensuring a secure and optimized network environment. This proactive approach enables you to leverage the full capabilities of your AT&T Netgear hotspot, providing a reliable and seamless internet experience tailored to your preferences.
With the hotspot now reconfigured and operating according to your personalized settings, you have successfully navigated through the comprehensive reset and setup process, empowering you to address connectivity issues and optimize the performance of your AT&T Netgear hotspot with confidence.
Conclusion
In conclusion, the process of resetting an AT&T Netgear hotspot serves as a pivotal troubleshooting method for addressing connectivity issues and restoring the device to its default settings. By following the step-by-step guide outlined in this comprehensive resource, users can confidently navigate through the reset procedure and effectively optimize the performance of their hotspots.
Resetting the hotspot begins with gathering the necessary materials, ensuring that users have the essential components and tools readily available to streamline the reset process. Subsequently, powering on the hotspot and locating the reset button are fundamental steps that set the stage for initiating the reset procedure with precision and confidence.
Pressing and holding the reset button serves as a critical phase in triggering the restoration of the hotspot to its default settings, effectively addressing connectivity issues and configuration errors. This deliberate action paves the way for the device to undergo the necessary adjustments, ultimately optimizing its functionality.
As the hotspot progresses through the reset process, allowing the device sufficient time to complete the restoration to default settings is essential. This waiting period enables the device to undergo comprehensive adjustments, ensuring a seamless and effective reset that resolves connectivity issues and restores optimal functionality.
Following the successful completion of the reset process, setting up the hotspot again is a pivotal step in reconfiguring the device with personalized settings and security parameters. This phase empowers users to tailor the hotspot to their specific connectivity needs, ensuring a reliable and secure internet experience.
By meticulously following the step-by-step guide to reset and reconfigure the AT&T Netgear hotspot, users can effectively troubleshoot connectivity issues, restore optimal functionality, and customize the device to meet their specific preferences. This proactive approach equips users with the essential knowledge and confidence to address connectivity challenges and optimize the performance of their hotspots with ease.
In essence, the process of resetting and reconfiguring an AT&T Netgear hotspot empowers users to overcome connectivity obstacles, ensuring a seamless and reliable internet experience tailored to their unique requirements.