Introduction
Replacing a UPS battery is a crucial task to ensure the continuous and reliable operation of your uninterruptible power supply (UPS) system. A UPS is designed to provide backup power to your devices during power outages or fluctuations, preventing data loss and equipment damage. However, over time, the battery in your UPS will degrade and may no longer perform optimally.
When your UPS battery starts to show signs of weakening, such as shorter backup runtimes or difficulty holding a charge, it’s essential to replace it promptly. In this guide, we will walk you through the step-by-step process of replacing a UPS battery, allowing you to maintain the uninterrupted power supply that your critical devices rely on.
By replacing your UPS battery, you can ensure the longevity of your UPS system and avoid potential downtime. This guide is designed to assist both novices and experienced individuals in replacing UPS batteries with ease and confidence. With a few simple tools and a new battery, you can have your UPS back up and running smoothly in no time.
It is important to note that the specific steps for replacing a UPS battery may vary depending on the make and model of your UPS. Therefore, it is highly recommended to consult the manufacturer’s documentation or user manual for detailed instructions that are tailored to your specific UPS model.
Step 1: Gather the necessary tools and materials
Before embarking on the process of replacing your UPS battery, it is important to gather all the necessary tools and materials. This will help you complete the task efficiently and ensure a smooth transition. Here are the essential tools and materials you will need:
1. New UPS battery: Make sure you have a compatible replacement battery for your specific UPS model. You can either purchase it from a reputable vendor or directly from the manufacturer.
2. Safety gloves and goggles: It’s important to prioritize your safety during the replacement process. Wear protective gloves and goggles to protect yourself from any potential hazards.
3. Screwdriver or wrench: Depending on the design of your UPS, you may need a screwdriver or wrench to remove the battery cover or secure the battery in place.
4. Static wrist strap: A static wrist strap helps dissipate any static electricity, preventing damage to sensitive electronic components during the battery replacement process. It is highly recommended to use one, especially if you are working on a high-end UPS system.
5. Cleaning cloth: Before installing the new battery, it’s a good idea to clean the battery compartment and remove any dust or debris. A microfiber cleaning cloth or a soft brush can be useful for this.
6. User manual or manufacturer’s documentation: Keep the user manual or any documentation provided by the manufacturer handy. It may contain specific instructions or precautions related to your UPS model.
Having these tools and materials gathered in advance will save you time and ensure that you have everything you need to complete the battery replacement process smoothly.
Remember, safety is paramount, so always follow the manufacturer’s recommended safety precautions and guidelines while handling the tools and materials.
Step 2: Identify the UPS model and battery type
Before proceeding with the replacement of your UPS battery, it is crucial to accurately identify the UPS model and the battery type it requires. This information will help you ensure compatibility and avoid any potential issues during the replacement process. Here are the steps to identify the UPS model and battery type:
1. Check the UPS casing: Usually, the model number of the UPS is displayed on the front or back panel of the device. Look for any labels or stickers that provide this information. Write down the model number as you will need it when purchasing the replacement battery.
2. Consult the user manual: If you have the user manual or any documentation that came with the UPS, refer to it for detailed information about the model and the recommended battery type. The manual may also explain how to access the battery compartment or provide specific instructions for battery replacement.
3. Visit the manufacturer’s website: If you don’t have the user manual or need additional information, visit the manufacturer’s website. Many manufacturers have product support pages where you can find detailed specifications and compatibility information for their UPS models. Look for a section that provides information about the compatible battery types for your UPS model.
4. Contact the manufacturer or a certified dealer: If you are still unable to identify the UPS model or battery type, reach out to the manufacturer’s customer support or a certified dealer. They will be able to assist you in determining the required battery for your specific UPS model. Provide them with the UPS model number to get accurate information.
Remember, using the correct UPS battery is crucial to ensure optimal performance and prevent any damage to your UPS system. Once you have identified the UPS model and battery type, you can proceed with confidence to obtain the correct replacement battery and move on to the next step of the replacement process.
Step 3: Power down and disconnect the UPS
Before you start working on replacing the UPS battery, it is crucial to power down the UPS and disconnect it from the power source. This helps prevent any electrical hazards and ensures your safety during the battery replacement process. Here’s how you can power down and disconnect the UPS:
1. Save your work and shut down connected devices: Begin by saving any ongoing work and properly shutting down any devices connected to the UPS. This ensures that you don’t experience any data loss or potential damage due to sudden power loss.
2. Turn off the UPS: Locate the power switch or button on the UPS. Depending on the model, it may be on the front or back panel of the device. Switch off the UPS by pressing or toggling the power switch.
3. Unplug the UPS from the power source: Next, unplug the power cord of the UPS from the electrical outlet or any power distribution unit it may be connected to. This effectively cuts off the power supply to the UPS, ensuring that it is safely disconnected from the electrical system.
4. Wait for any residual charge to dissipate: After disconnecting the UPS from the power source, it is recommended to wait for a few minutes to allow any residual charge to dissipate. This helps ensure that there is no remaining electric charge in the UPS, minimizing the risk of electrocution or damage during the battery replacement process.
By following these steps to power down and disconnect the UPS, you create a safe working environment and minimize the risk of electrical accidents. Remember, it is important to handle the UPS and its components with care throughout the battery replacement process.
Once the UPS is powered down and safely disconnected, you can proceed to the next step of removing the old battery from the UPS.
Step 4: Remove the old battery
Now that the UPS is powered down and disconnected, you can proceed to remove the old battery from the UPS. Here are the steps to safely remove the old battery:
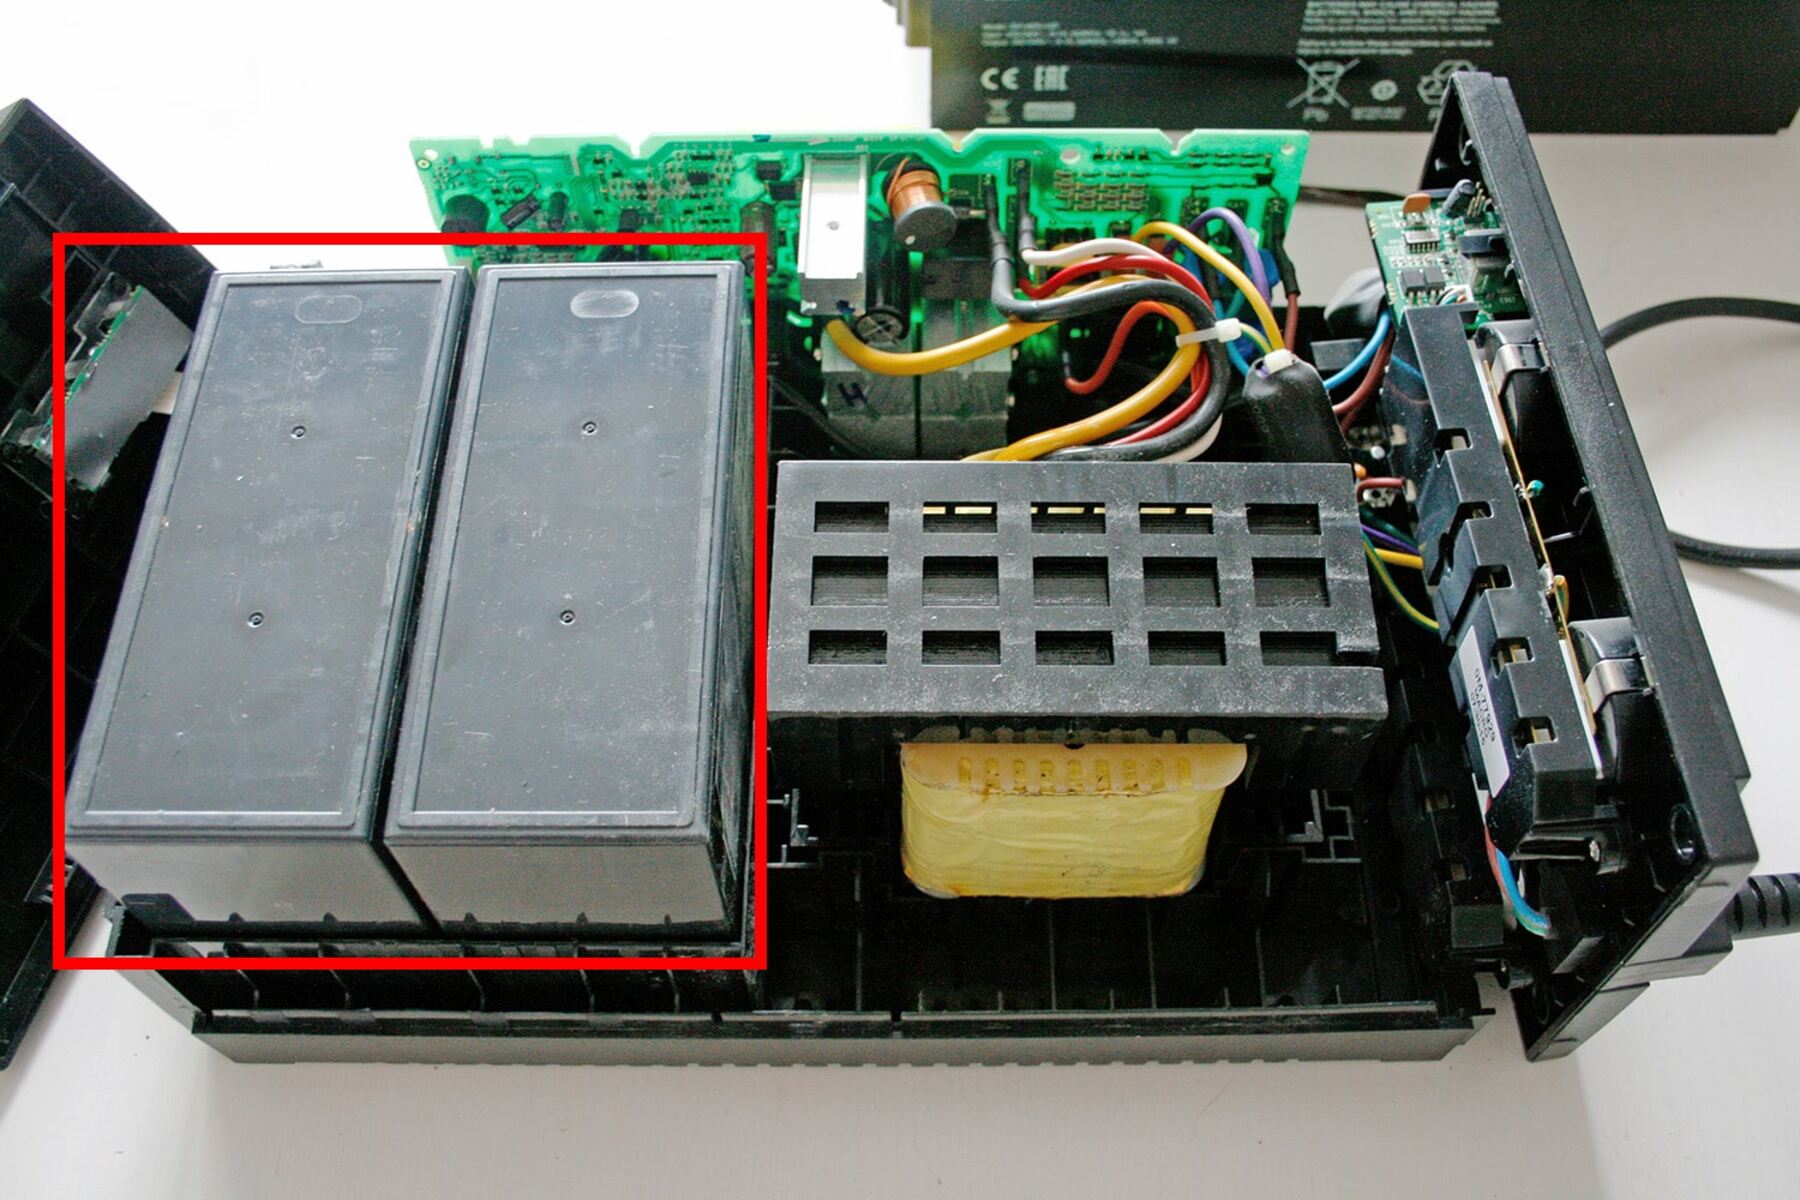
1. Locate the battery compartment: Depending on the model of your UPS, the battery compartment may be located on the back or bottom of the device. Refer to the user manual or manufacturer’s documentation to identify the exact location.
2. Remove the battery cover: If there is a cover or panel securing the battery compartment, use a screwdriver or wrench to remove the screws or fasteners holding it in place. Carefully set aside the battery cover for later reinstallation.
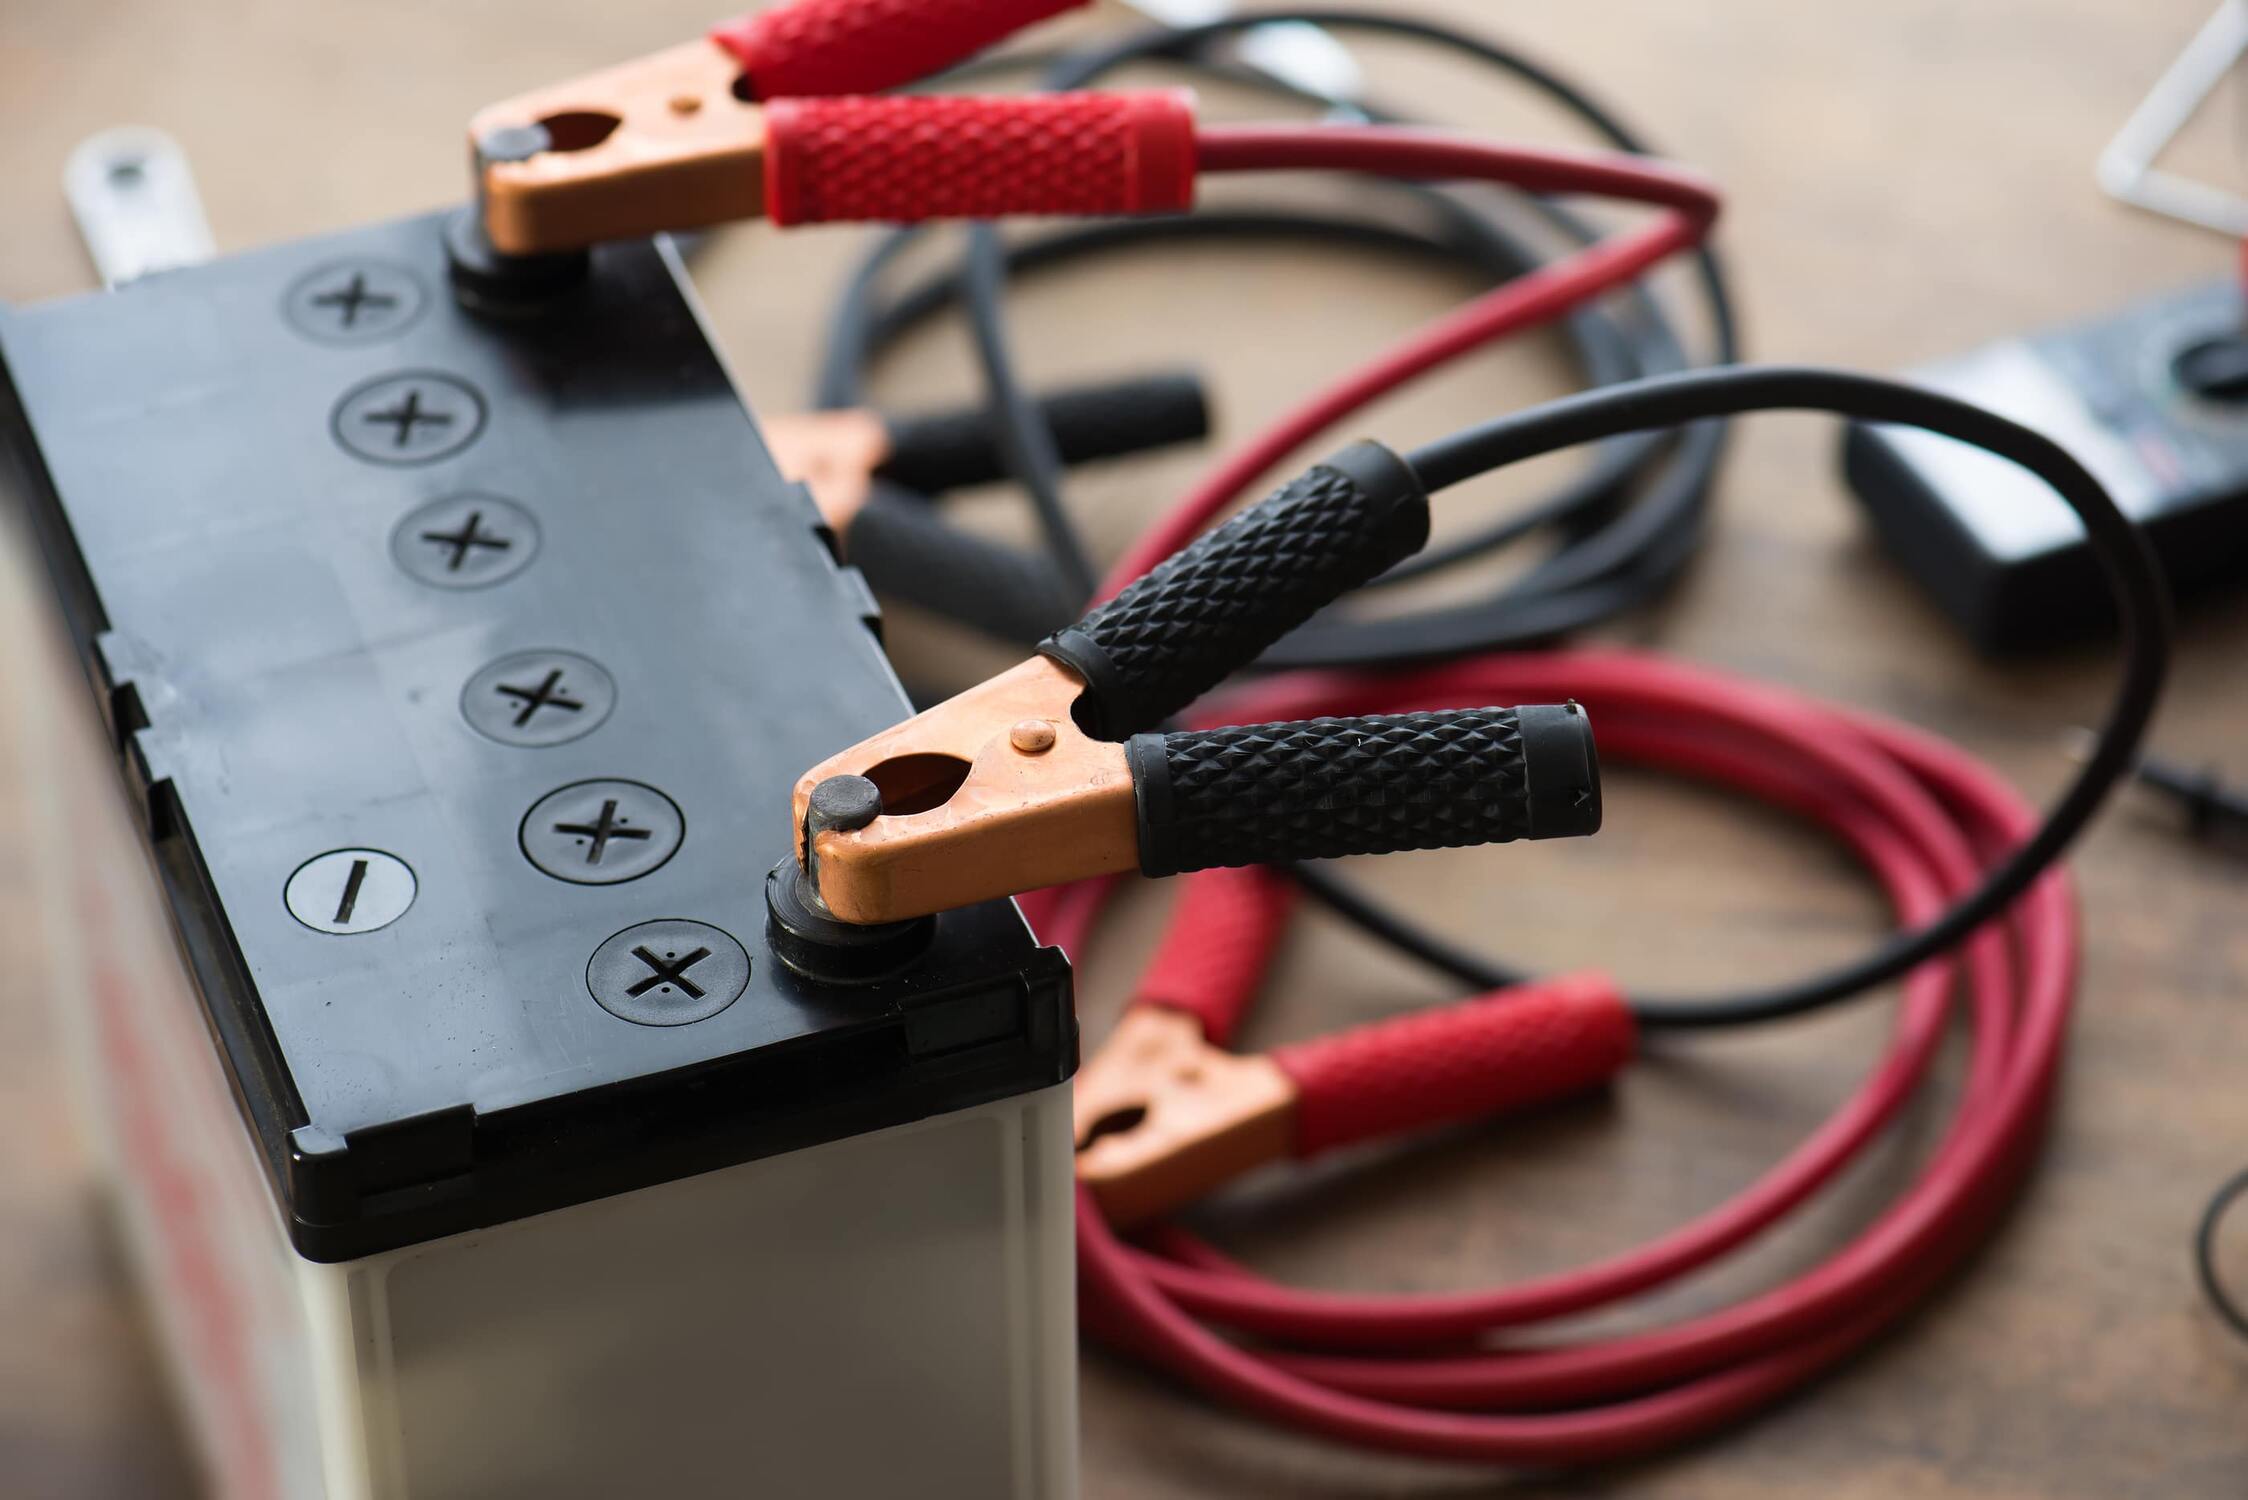
3. Disconnect the battery cables: Inside the battery compartment, carefully locate the battery cables connected to the old battery. Usually, there will be two cables – one positive and one negative. Take note of their positions for proper reconnection later. Using your fingers or a small wrench, loosen the terminal nuts on the battery cables and disconnect them from the old battery.
4. Take out the old battery: With the battery cables disconnected, gently lift the old battery out of the UPS. Be cautious as some batteries may be heavy or have awkward dimensions. Ensure you have a firm grip on the battery to prevent any accidental drops or damage.
5. Place the old battery in a safe location: Once removed, set the old battery aside in a safe area away from flammable materials or direct sunlight. It is important to handle old batteries with care and dispose of them properly following local regulations for battery recycling.
By following these steps, you can safely remove the old battery from your UPS. Remember to always exercise caution and avoid any direct contact with the battery terminals or exposed wires. The next step will guide you through the preparation of the new battery for installation.
Step 5: Prepare the new battery for installation
With the old battery successfully removed, it’s time to prepare the new battery for installation. Properly preparing the new battery ensures that it functions optimally and fits securely within your UPS. Follow these steps to prepare the new battery:
1. Inspect the new battery: Before you start the installation process, carefully inspect the new battery for any signs of damage or defects. Check for any loose or exposed wires, dents, or leaking fluids. If you notice any issues, contact the vendor or manufacturer for a replacement.
2. Check the battery specifications: Ensure that the new battery you have matches the specifications of the old battery and is compatible with your UPS model. Verify the voltage, capacity, dimensions, and connector type to ensure accurate installation.
3. Remove any protective covers or packaging: If the new battery comes with any protective covers or packaging materials, remove them carefully. Make sure there are no obstructions or foreign objects on the battery that could interfere with its installation or functionality.
4. Clean the battery contacts: Use a soft, clean cloth or a non-abrasive brush to gently clean the battery contacts on the new battery. This helps remove any dirt or corrosion that may have accumulated during storage and ensures a good connection with the UPS.
5. Familiarize yourself with the battery orientation: Take note of the battery’s orientation, including the positive (+) and negative (-) terminals. This will ensure that you install the battery correctly and avoid any potential damage to the UPS or the new battery.
By carefully preparing the new battery for installation, you set the foundation for a smooth and successful replacement process. Following these steps will help ensure that the new battery is ready to be securely installed in your UPS. In the next step, we will guide you through the process of installing the new battery into the UPS.
Step 6: Install the new battery into the UPS
Now that you have prepared the new battery, it’s time to install it into your UPS system. Follow these steps to ensure a proper and secure installation:
1. Identify the battery compartment: Locate the battery compartment in your UPS. Refer to the user manual or manufacturer’s documentation if you’re unsure about its exact location.
2. Position the new battery: Carefully position the new battery in the battery compartment. Ensure that it aligns correctly with the terminals and connectors in the UPS.
3. Connect the battery cables: Take note of the cable positions recorded during the removal of the old battery. Connect the positive (+) cable to the corresponding terminal of the new battery and secure it tightly. Repeat this step for the negative (-) cable.
4. Verify the connections: Double-check the connections to ensure they are secure and properly seated. Ensure that there are no loose cables or exposed wires that could potentially cause a short circuit or improper functioning.
5. Reinstall the battery cover: If your UPS has a battery cover, carefully place it back over the battery compartment. Secure it using the appropriate screws or fasteners, ensuring a snug fit.
6. Power up the UPS: With the new battery correctly installed and secured, you can now power up the UPS. Plug the UPS back into the power source and switch it on using the power switch or button.
7. Allow the UPS to charge: Give the UPS ample time to charge the new battery fully. This may take a few hours, depending on the UPS model and the battery’s capacity.
It’s important to note that some UPS models may have specific instructions or additional steps for installation. Therefore, always consult the user manual or manufacturer’s documentation for precise guidelines tailored to your UPS model.
By following these steps, you can successfully install the new battery into your UPS, ensuring its proper functionality and extending its backup power capabilities. In the next step, we will cover how to reconnect and power up your UPS system.
Step 7: Reconnect and power up the UPS
Now that you have successfully installed the new battery into your UPS, it’s time to reconnect and power it up. Follow these steps to ensure a smooth and proper reconnection process:
1. Verify the power source: Double-check that the power cord of your UPS is securely plugged into a functioning power outlet or power distribution unit.
2. Reconnect any devices: If you had previously disconnected any devices from the UPS, such as computers, servers, or networking equipment, now is the time to reconnect them. Ensure that all the necessary devices are properly connected to the UPS via the appropriate power cables.
3. Power on the UPS: Press or toggle the power switch on the UPS to turn it on. The UPS may go through a brief startup sequence, initializing and checking the new battery.
4. Monitor the UPS indicators: Keep a close eye on the UPS indicators or display panel. Look for any warning lights or error messages that may indicate issues with the new battery installation or any other UPS components.
5. Test the UPS functionality: To ensure that the new battery is functioning correctly, perform a test by temporarily disconnecting the power source. This simulates a power outage and allows you to verify that the UPS is providing backup power to connected devices. Monitor how long the devices can run on battery power before the UPS shuts down or issues a low battery warning.
6. Monitor the battery performance: After the initial test, keep an eye on the UPS battery performance in the coming days. Observe the runtime and ensure that it meets your expectations. If you notice any significant deviations or issues, consult the manufacturer’s documentation or contact customer support for assistance.
By following these steps, you can safely reconnect and power up your UPS system, ensuring that it is ready to provide uninterrupted power backup to your critical devices. It’s important to periodically test your UPS and monitor its battery performance to ensure ongoing reliability.
In the final step, we will provide some closing remarks to conclude the UPS battery replacement process.
Step 8: Test the new battery and monitor performance
After replacing your UPS battery and powering up the system, it is essential to test the new battery and monitor its performance. This step ensures that your UPS is functioning optimally and provides reliable backup power during unforeseen outages. Follow these guidelines to test the new battery and monitor its performance:
1. Perform a runtime test: To evaluate the runtime capability of the new battery, simulate a power outage by disconnecting the UPS from the power source. Monitor how long the UPS can sustain power to connected devices before it shuts down or issues a low battery warning. Compare this runtime to the expected backup time stated in the UPS specifications or user manual.
2. Monitor battery recharge time: After the runtime test, observe how long it takes for the battery to recharge once the UPS is reconnected to the power source. This helps you assess the efficiency of the battery charging process and ensures that the UPS is ready for subsequent power outages.
3. Check for any abnormal behavior: On a regular basis, keep an eye out for any warning lights, error messages, or unusual behavior from the UPS. These signs may indicate battery or system issues that require attention. If you notice anything unusual, refer to the manufacturer’s documentation or contact customer support for guidance.
4. Maintain a regular testing schedule: Plan for periodic testing of the UPS and its battery to ensure ongoing reliability. It is recommended to perform runtime tests at regular intervals, such as quarterly or biannually, to assess and verify the performance of the UPS system.
5. Document and track battery performance: Keep a record of the UPS battery replacement date and monitor its performance over time. Logging important details such as runtime, recharge times, and any observed issues will help identify any degradation or abnormalities in the battery performance throughout its lifespan.
Regularly testing and monitoring the performance of your UPS battery will help you identify any issues early on and take appropriate action. By doing so, you can ensure that your critical devices are protected and have reliable backup power when needed.
Remember to consult the user manual or contact the manufacturer’s support if you encounter any issues or have specific concerns about your UPS or its battery performance.
By following these steps and actively monitoring the new battery’s performance, you will maximize the reliability and effectiveness of your UPS system.
Conclusion
Replacing the battery in your UPS is an essential maintenance task that ensures the continuous functionality and reliability of the device. By following the step-by-step process outlined in this guide, you can successfully replace the UPS battery and keep your critical devices powered during power outages.
Starting with gathering the necessary tools and materials, identifying the UPS model and battery type, and powering down and disconnecting the UPS, you have taken the necessary precautions for a safe and effective battery replacement process.
Removing the old battery and preparing the new battery for installation were crucial steps to ensure a proper fit and optimal performance. By carefully installing the new battery into the UPS and reconnecting and powering it up, you have taken the final steps to restore backup power to your devices.
Testing the new battery and monitoring its performance allows you to verify its runtime, recharge time, and overall functionality. By recording and tracking its performance over time, you can identify any issues early and take appropriate action to ensure ongoing reliability.
Remember to consult the user manual or manufacturer’s documentation specific to your UPS model for detailed instructions and precautions.
Regular maintenance, including periodic battery replacement, will help ensure that your UPS system continues to provide uninterrupted power to your critical devices. By staying proactive, you can have peace of mind knowing that your important equipment remains protected.
Through the process of battery replacement, you have demonstrated your commitment to the reliability and longevity of your UPS. By following these steps and adhering to best practices, you are equipped with the knowledge and skills necessary to confidently replace the battery in your UPS system.


