Introduction
Disabling the Wi-Fi hotspot feature on your Virgin Media router can provide you with enhanced control over your network and privacy. By deactivating this feature, you can ensure that only your devices have access to your home network, reducing the risk of unauthorized access and potential security threats. Whether you prefer to have full control over your network or simply want to optimize your bandwidth for personal use, disabling the Virgin Media Wi-Fi hotspot is a straightforward process.
In this step-by-step guide, you will learn how to navigate your Virgin Media account and access the Wi-Fi hotspot settings. By following the instructions provided, you can easily disable the Wi-Fi hotspot feature and confirm that it has been successfully turned off. Whether you are a tech-savvy individual or a beginner in network management, this guide aims to simplify the process, allowing you to take charge of your home network with confidence.
By taking the necessary steps to disable the Wi-Fi hotspot, you can customize your network to suit your specific needs, ensuring a seamless and secure online experience for you and your household. Let's delve into the detailed instructions to gain a clear understanding of how to disable the Virgin Media Wi-Fi hotspot and take control of your home network.
Step 1: Accessing Your Virgin Media Account
Accessing your Virgin Media account is the initial step in the process of disabling the Wi-Fi hotspot feature. This requires logging into the Virgin Media website using your preferred web browser. Once logged in, you can navigate to the appropriate settings to manage your network preferences.
To begin, open your web browser and enter the official Virgin Media website address in the URL bar. Upon reaching the website's homepage, locate and click on the "Sign In" or "My Virgin Media" option, typically found at the top right corner of the page. If you have not yet registered for an online account, you may need to complete the registration process by providing your account details and creating a secure login.
After successfully signing in to your Virgin Media account, you will gain access to a dashboard or control panel where you can manage various aspects of your services. Look for the section related to broadband or internet settings, as this is where you can find the Wi-Fi hotspot feature that you aim to disable.
Once you have located the broadband or internet settings section, click on it to reveal a range of options and settings related to your home network. Here, you should be able to find the Wi-Fi hotspot settings, which will allow you to proceed to the next step of disabling this feature.
It is important to ensure that you have the necessary permissions and access rights to modify your network settings. If you encounter any issues accessing your Virgin Media account or navigating to the relevant settings, you may need to reach out to Virgin Media customer support for assistance.
By successfully accessing your Virgin Media account, you have completed the first step towards disabling the Wi-Fi hotspot feature. This accomplishment sets the stage for the subsequent steps, enabling you to proceed with confidence as you navigate through the process of customizing your network settings to align with your preferences and security requirements.
Step 2: Navigating to Wi-Fi Hotspot Settings
After successfully accessing your Virgin Media account, the next crucial step is to navigate to the Wi-Fi hotspot settings within the account dashboard. This process allows you to locate the specific configuration that governs the Wi-Fi hotspot feature on your Virgin Media router. By following these detailed instructions, you can seamlessly progress towards disabling the Wi-Fi hotspot and gaining greater control over your home network.
Upon accessing your Virgin Media account dashboard, look for the section related to broadband or internet settings. This section typically contains a range of options and configurations that enable you to manage your network preferences. Within this interface, you will find the specific settings that pertain to the Wi-Fi hotspot feature.
Once you have located the broadband or internet settings section, navigate through the available options to identify the subsection that directly relates to Wi-Fi hotspot management. This may be labeled as "Wi-Fi Hotspot," "Network Sharing," or a similar designation, depending on the Virgin Media interface.
Upon finding the relevant Wi-Fi hotspot settings, click on the corresponding option to access the configuration panel. Here, you will encounter a series of controls and parameters that govern the functionality of the Wi-Fi hotspot feature on your Virgin Media router.
Within the Wi-Fi hotspot settings panel, you may encounter various options related to enabling or disabling the feature, managing access controls, and customizing the visibility of the hotspot. Your primary objective at this stage is to locate the option that allows you to disable the Wi-Fi hotspot, thereby restricting external access to your network.
Carefully review the available settings and ensure that you have identified the appropriate control to deactivate the Wi-Fi hotspot. Virgin Media's user-friendly interface is designed to facilitate a seamless navigation experience, allowing you to locate and modify the necessary settings with ease.
By successfully navigating to the Wi-Fi hotspot settings within your Virgin Media account, you have made significant progress towards disabling this feature and fortifying the security of your home network. This achievement sets the stage for the subsequent steps, bringing you closer to the ultimate goal of customizing your network to align with your specific preferences and security requirements.
Continuing to the next step, you will embark on the process of disabling the Wi-Fi hotspot, solidifying your control over your home network and ensuring a secure and personalized online experience for you and your household.
Step 3: Disabling Wi-Fi Hotspot
Disabling the Wi-Fi hotspot feature on your Virgin Media router is a pivotal step in customizing your home network to align with your specific preferences and security requirements. By following these detailed instructions, you can seamlessly progress towards deactivating the Wi-Fi hotspot, ensuring that only your devices have access to your network.
Upon accessing the Wi-Fi hotspot settings within your Virgin Media account, you will encounter the specific controls and parameters that govern the functionality of the hotspot feature. To proceed with disabling the Wi-Fi hotspot, carefully review the available settings and identify the option that allows you to deactivate this feature.
Within the Wi-Fi hotspot settings panel, you may find an option labeled "Enable Wi-Fi hotspot" or a similar designation, indicating the current status of the feature. To disable the Wi-Fi hotspot, simply click on the toggle switch or checkbox associated with this option, effectively turning off the hotspot functionality on your Virgin Media router.
As you initiate the process of disabling the Wi-Fi hotspot, the interface may prompt you to confirm your action to ensure that you intend to deactivate this feature. This additional step serves as a safeguard against accidental modifications to your network settings, providing you with the opportunity to validate your decision before finalizing the changes.
Upon confirming your intent to disable the Wi-Fi hotspot, the interface will process your request and implement the necessary changes to deactivate this feature on your Virgin Media router. Once the changes have been successfully applied, you will receive a confirmation message or notification, indicating that the Wi-Fi hotspot has been disabled.
It is essential to verify that the Wi-Fi hotspot has indeed been turned off by reviewing the updated settings within your Virgin Media account. By navigating back to the Wi-Fi hotspot settings, you can ensure that the option to enable the hotspot is now inactive, signifying that external access to your network has been restricted.
By successfully completing the process of disabling the Wi-Fi hotspot, you have taken a significant step towards securing and personalizing your home network. This accomplishment empowers you to exercise greater control over your network, ensuring that only authorized devices can connect, thereby enhancing the privacy and security of your online experience.
Continuing to the subsequent step, you will confirm that the Wi-Fi hotspot has been effectively disabled, providing you with the assurance that your network is tailored to meet your specific needs and security standards.
Step 4: Confirming Wi-Fi Hotspot is Disabled
After completing the process of disabling the Wi-Fi hotspot feature on your Virgin Media router, it is essential to confirm that the changes have been successfully implemented. By verifying that the Wi-Fi hotspot is indeed disabled, you can ensure that external access to your network has been restricted, enhancing the security and privacy of your home network.
To confirm that the Wi-Fi hotspot is disabled, revisit the Wi-Fi hotspot settings within your Virgin Media account. Upon accessing the settings panel, carefully review the options related to the Wi-Fi hotspot feature. Ensure that the control or toggle switch associated with enabling the hotspot is in the off position, indicating that the feature has been deactivated.
In addition to reviewing the settings within your Virgin Media account, you can physically inspect your router to confirm the status of the Wi-Fi hotspot. Locate the router and examine the front panel, where you may find indicator lights or display icons that provide information about the router's functionalities. Look for any indicators specifically related to the Wi-Fi hotspot and verify that they reflect the disabled status.
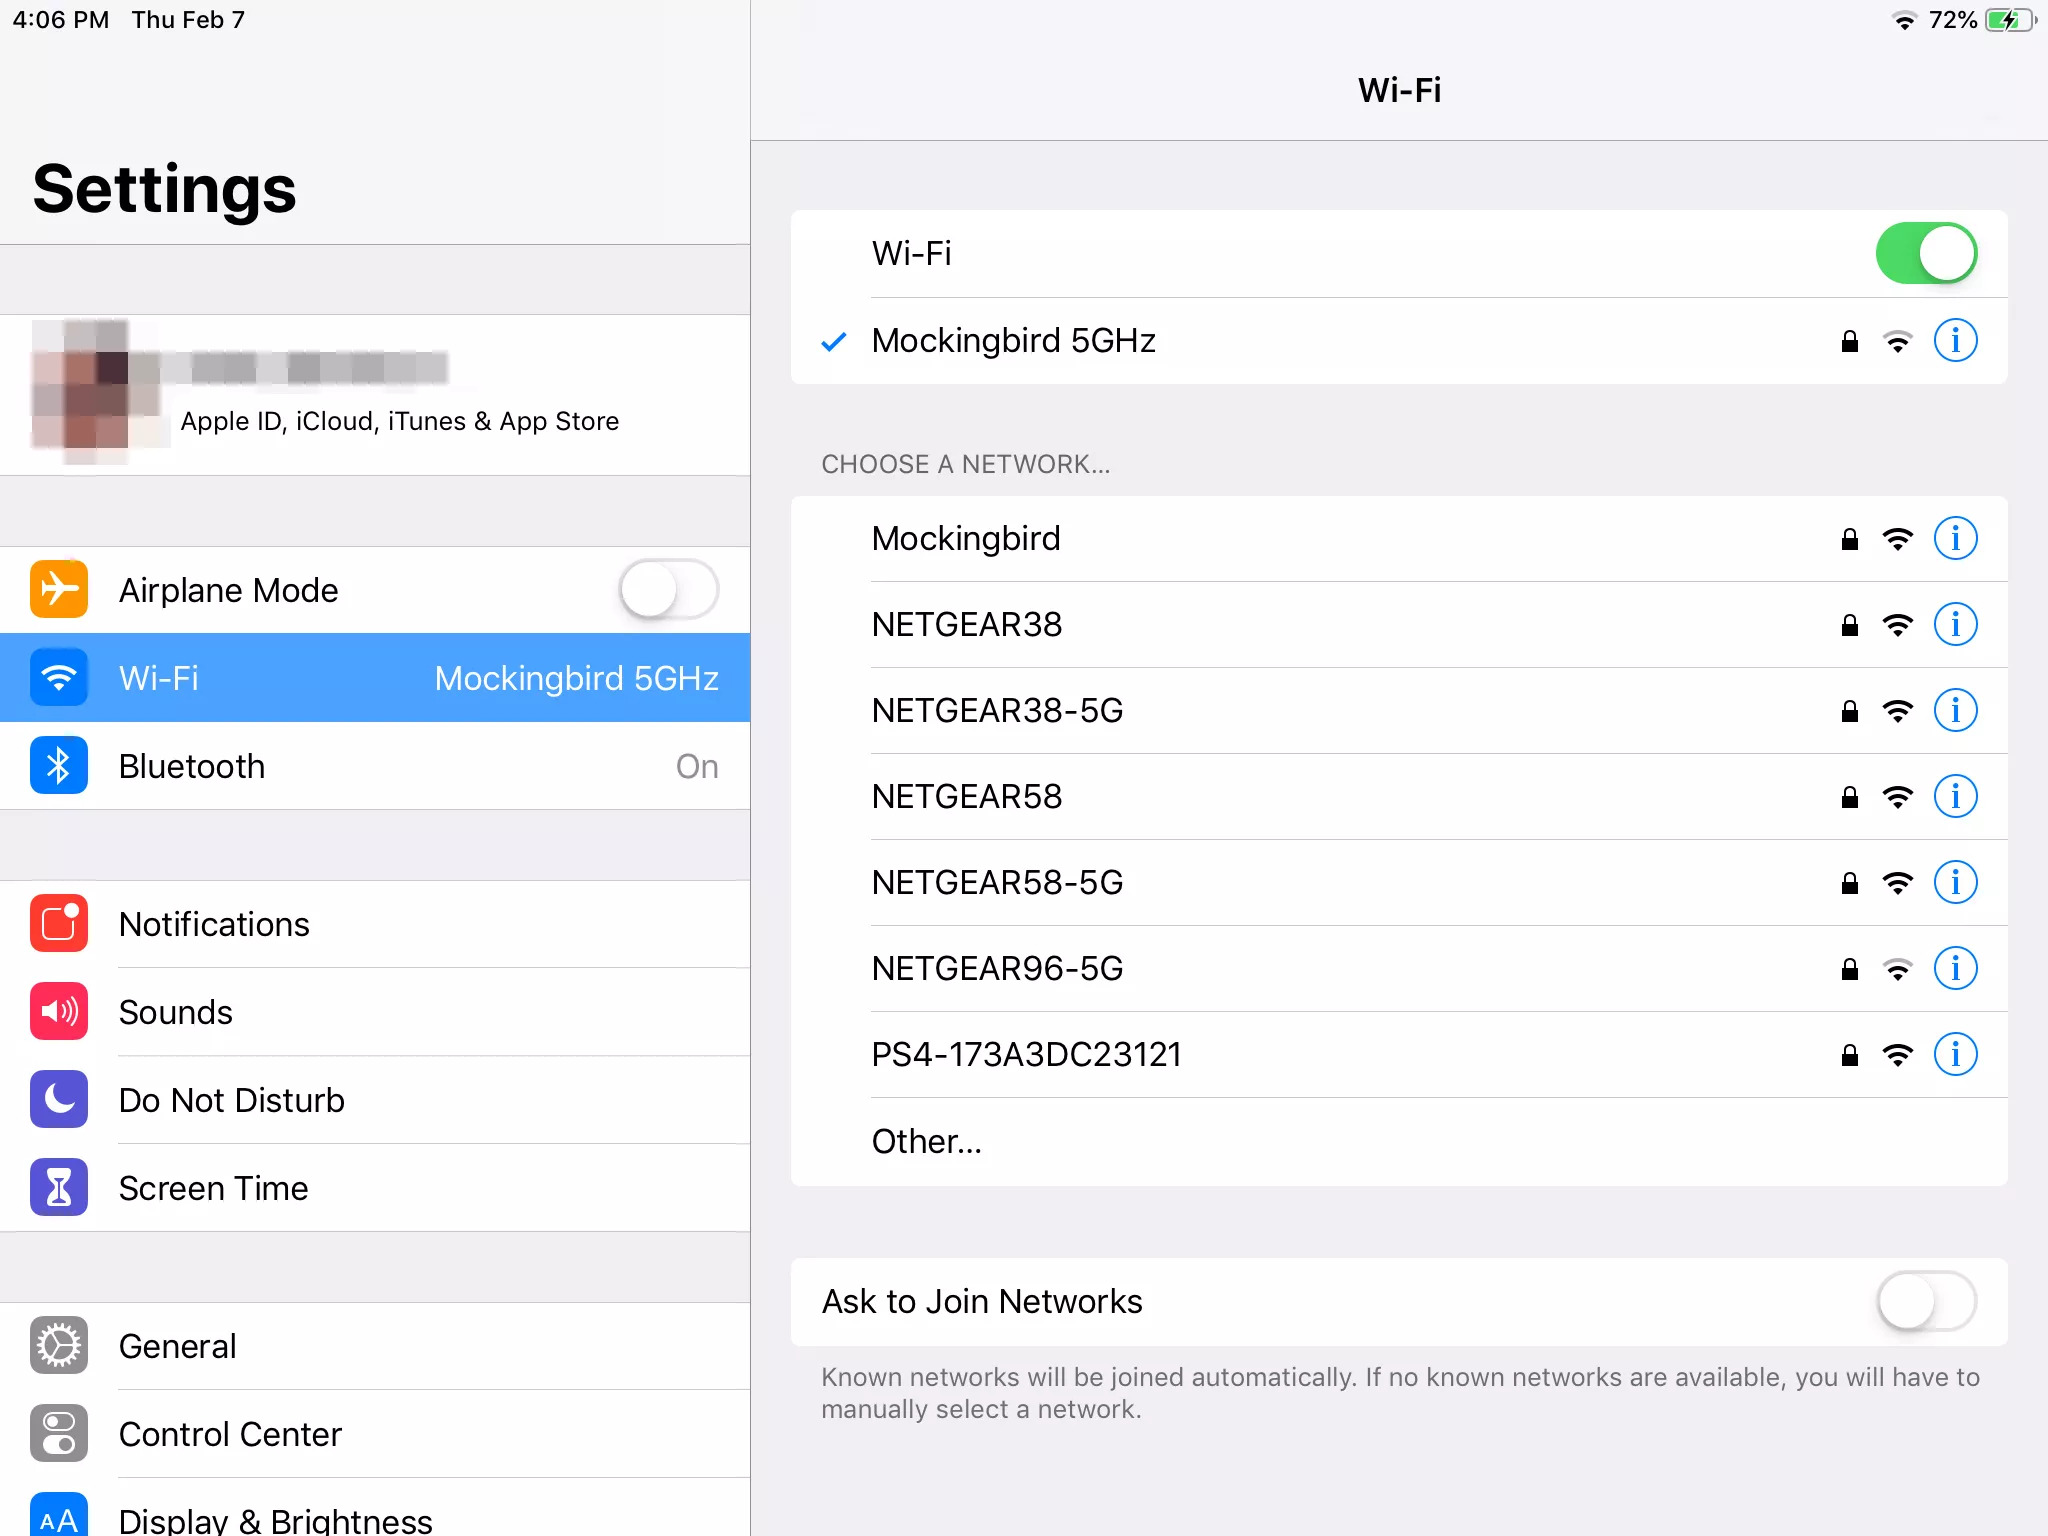
Furthermore, you can perform a practical test to confirm that the Wi-Fi hotspot is disabled. Using a Wi-Fi-enabled device such as a smartphone or laptop, scan for available networks in your vicinity. If the Virgin Media Wi-Fi hotspot no longer appears in the list of available networks, it indicates that the hotspot feature has been successfully disabled, preventing its visibility to external devices.
As an additional measure, you can attempt to connect a new device to your network and assess whether it can detect and connect to the Virgin Media Wi-Fi hotspot. If the device fails to establish a connection to the hotspot, it serves as further confirmation that the Wi-Fi hotspot feature has been effectively disabled, safeguarding your network from unauthorized access.
By thoroughly confirming that the Wi-Fi hotspot is disabled through multiple verification methods, you can gain confidence in the security and privacy of your home network. This validation process ensures that the changes made to your network settings have been accurately implemented, providing you with the assurance that only authorized devices can access your network.
With the Wi-Fi hotspot successfully disabled, you have achieved a significant milestone in customizing and securing your home network according to your specific preferences. By taking these proactive steps, you can enjoy a personalized and secure online experience, knowing that your network is tailored to meet your individual needs and security standards.
Conclusion
In conclusion, the process of disabling the Wi-Fi hotspot on your Virgin Media router empowers you to take control of your home network, ensuring enhanced privacy and security for you and your household. By following the step-by-step guide outlined in this article, you have gained valuable insights into accessing your Virgin Media account, navigating to the Wi-Fi hotspot settings, and effectively disabling this feature to restrict external access to your network.
By taking the proactive step to disable the Wi-Fi hotspot, you have personalized your network to align with your specific preferences and security requirements. This deliberate action allows you to optimize your bandwidth for personal use, while also mitigating the risk of unauthorized access and potential security threats. Furthermore, by restricting access to your network, you can ensure that only authorized devices have the privilege of connecting, enhancing the overall security and reliability of your home network.
The process of confirming the successful disablement of the Wi-Fi hotspot serves as a crucial validation step, providing you with the assurance that the changes to your network settings have been accurately implemented. By thoroughly verifying the disabled status through multiple methods, including reviewing settings, physically inspecting the router, and performing practical tests, you can confidently affirm that external access to your network has been effectively restricted.
Ultimately, by disabling the Wi-Fi hotspot on your Virgin Media router, you have taken a proactive stance in fortifying the security and privacy of your home network. This proactive measure empowers you to customize your network according to your specific needs, ensuring a seamless and secure online experience for you and your household. By exercising greater control over your network, you can enjoy the peace of mind that comes with knowing that your network is tailored to meet your individual preferences and security standards.
In essence, the process of disabling the Wi-Fi hotspot on your Virgin Media router is a significant step towards personalizing and securing your home network. By following the comprehensive guide provided, you have acquired the knowledge and confidence to navigate your Virgin Media account, access the Wi-Fi hotspot settings, and effectively disable this feature, thereby enhancing the overall control, privacy, and security of your home network.


