Introduction
Configuring your headset microphone on a Windows 7 system is an essential step for seamless communication, whether you're engaging in virtual meetings, gaming, or recording audio. A well-configured microphone ensures that your voice is clear and easily recognizable, enhancing the overall experience for both you and your audience. In this guide, we will delve into the step-by-step process of setting up and adjusting your headset microphone on a Windows 7 computer.
Ensuring that your microphone is properly configured can significantly impact the quality of your audio input. Whether you're using a dedicated gaming headset, a pair of headphones with a built-in microphone, or a professional-grade USB microphone, understanding the intricacies of setting up your microphone on a Windows 7 system is crucial. By following the instructions in this guide, you can optimize your microphone settings to suit your specific requirements, whether for gaming, video conferencing, or content creation.
Windows 7, while no longer the latest iteration of the Windows operating system, remains in use by many individuals and organizations. Therefore, having a comprehensive understanding of how to configure your headset microphone on this platform is invaluable. By the end of this guide, you will have the knowledge and confidence to fine-tune your microphone settings, troubleshoot common issues, and ensure that your headset microphone functions optimally on a Windows 7 computer.
Now, let's delve into the process of checking your headset's compatibility with Windows 7 to ensure a seamless configuration experience.
Checking Your Headset Compatibility
Before delving into the configuration process, it's crucial to ensure that your headset is compatible with the Windows 7 operating system. Compatibility issues can hinder the seamless functioning of your headset microphone, leading to distorted audio, unrecognized devices, or other technical glitches. Here's a detailed walkthrough to verify your headset's compatibility and take necessary steps to address any potential issues.
Physical Connection
First and foremost, check the physical compatibility of your headset with your Windows 7 computer. If your headset utilizes a standard 3.5mm audio jack, ensure that your computer has a corresponding audio input port. Additionally, if you're using a USB headset, ensure that your computer supports USB connectivity. It's essential to verify that the physical connections align with the available ports on your Windows 7 system to establish a stable and reliable connection.
Driver Compatibility
Next, consider the driver compatibility of your headset with Windows 7. Some advanced headsets may require specific drivers to unlock their full functionality. Visit the manufacturer's website or refer to the product documentation to ascertain whether the headset is compatible with Windows 7 and if any specific drivers or software need to be installed. Ensuring that the necessary drivers are compatible with Windows 7 is pivotal for seamless integration and optimal performance of your headset microphone.
System Requirements
Verify the system requirements specified by the headset manufacturer. Ensure that your Windows 7 computer meets or exceeds the minimum requirements, including processor speed, available memory, and other relevant specifications. Meeting these requirements is essential for the smooth operation of your headset microphone and can preemptively address compatibility issues that may arise due to insufficient system resources.
By meticulously checking the physical connection, driver compatibility, and system requirements, you can proactively address any potential compatibility issues before proceeding with the configuration process. This preliminary assessment sets the stage for a smooth and effective setup of your headset microphone on a Windows 7 system, ensuring that you can fully leverage its capabilities for your communication, gaming, and recording needs.
Adjusting Microphone Settings in Windows 7
Configuring your headset microphone within the Windows 7 operating system involves navigating through specific settings to ensure optimal audio input. By adjusting these settings, you can fine-tune the sensitivity, volume, and other parameters to suit your preferences and usage scenarios. Here's a comprehensive guide to adjusting the microphone settings on your Windows 7 computer.
Accessing Sound Settings
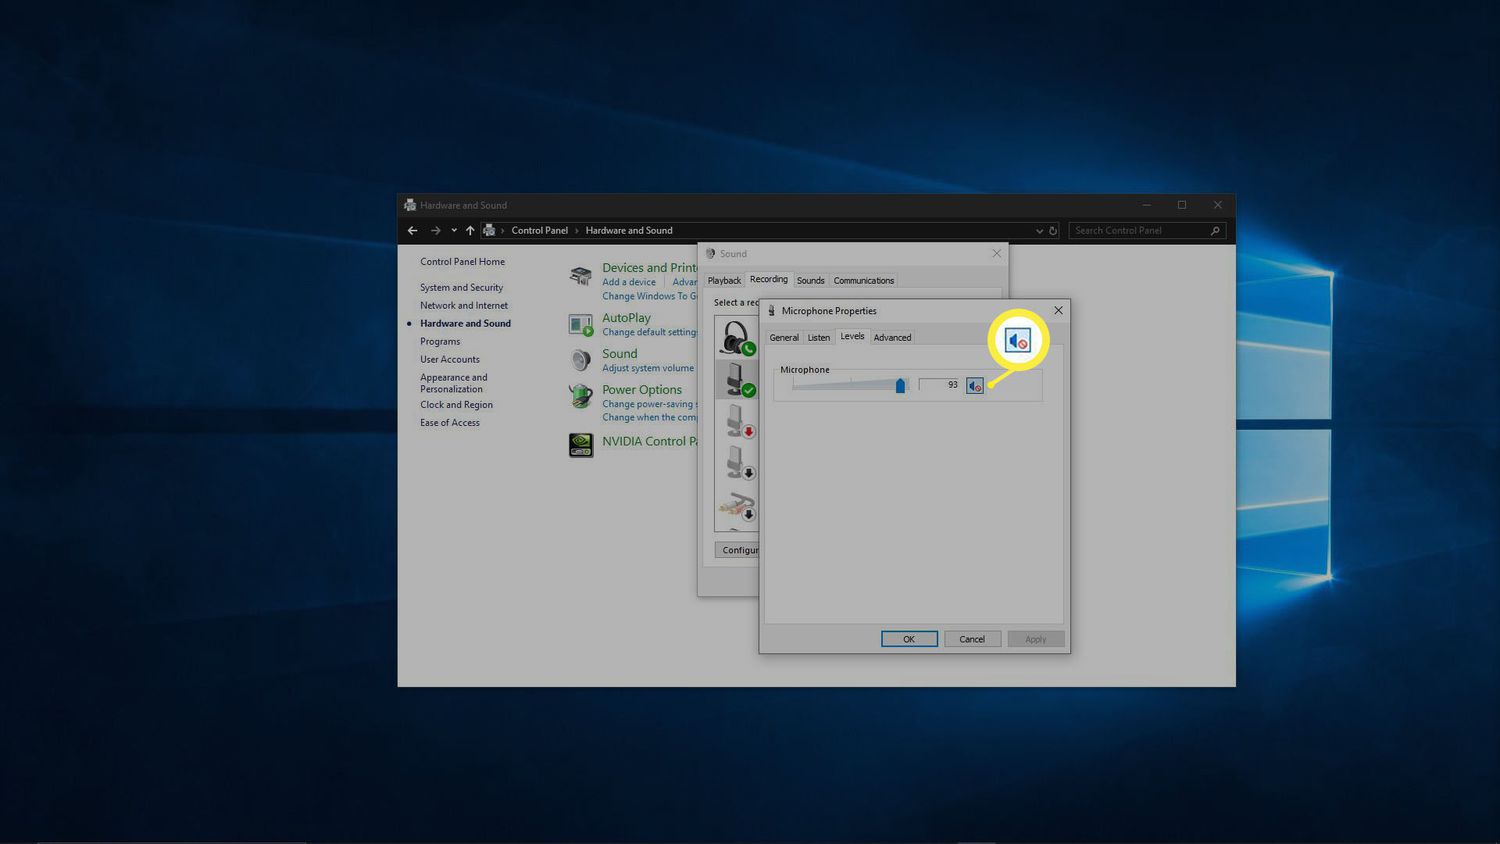
To begin, access the sound settings on your Windows 7 computer by clicking on the "Start" button and selecting "Control Panel." Within the Control Panel, locate and click on the "Hardware and Sound" option, followed by "Manage audio devices." This will open the Sound window, where you can view and modify the audio input and output devices connected to your computer.
Selecting the Recording Device
Within the Sound window, navigate to the "Recording" tab. Here, you will find a list of available recording devices, including your headset microphone. Right-click on the microphone corresponding to your headset and select "Properties" from the context menu. This will open the Properties window for the selected recording device.
Adjusting Microphone Properties
In the Properties window, you can fine-tune various settings to optimize the performance of your headset microphone. Navigate to the "Levels" tab to adjust the microphone volume and sensitivity. Drag the slider to increase or decrease the microphone volume based on your preferences. It's essential to strike a balance between adequate volume and avoiding distortion or background noise.
Enhancing Microphone Quality
Next, navigate to the "Enhancements" tab within the microphone properties window. Here, you can explore various audio enhancements to improve the quality of your microphone input. Depending on your headset model and personal preferences, you can experiment with enhancements such as noise suppression, acoustic echo cancellation, and microphone boost to enhance the clarity and fidelity of your voice input.
Configuring Advanced Settings
For advanced users, the "Advanced" tab within the microphone properties window offers additional configuration options. Here, you can modify settings related to the microphone's exclusive mode, signal formats, and other technical parameters. While these settings may not require adjustment for standard usage, advanced users can leverage these options to fine-tune the microphone behavior according to specific requirements.
By meticulously adjusting the microphone settings within Windows 7, you can tailor the audio input from your headset microphone to align with your preferences and usage scenarios. Whether you're engaging in voice communication, recording audio, or participating in online gaming, optimizing these settings can significantly enhance the overall experience and ensure that your voice is accurately captured and transmitted.
Testing Your Headset Microphone
After configuring the microphone settings on your Windows 7 system, it's crucial to perform comprehensive testing to ensure that your headset microphone functions as intended. Testing allows you to verify the audio input quality, assess the microphone's sensitivity, and address any potential issues before engaging in communication, gaming, or content creation activities. Here's a detailed walkthrough on how to effectively test your headset microphone on a Windows 7 computer.
Sound Recorder Application
Windows 7 features a built-in application called "Sound Recorder" that enables you to record and playback audio. To initiate the testing process, access the "Sound Recorder" application by navigating to the "Start" menu, selecting "All Programs," and then clicking on "Accessories." Within the "Accessories" folder, you'll find the "Sound Recorder" application. Launch the application to prepare for the microphone testing process.
Recording Test
Once the "Sound Recorder" application is open, position the headset microphone comfortably and ensure that it's correctly connected to your computer. Click on the "Start Recording" button within the "Sound Recorder" interface to initiate the recording process. Speak clearly and at varying volumes to gauge the microphone's sensitivity and capture capabilities. It's advisable to articulate a few sentences, engage in casual conversation, and produce sounds across different pitches to comprehensively assess the microphone's performance.
Playback and Analysis
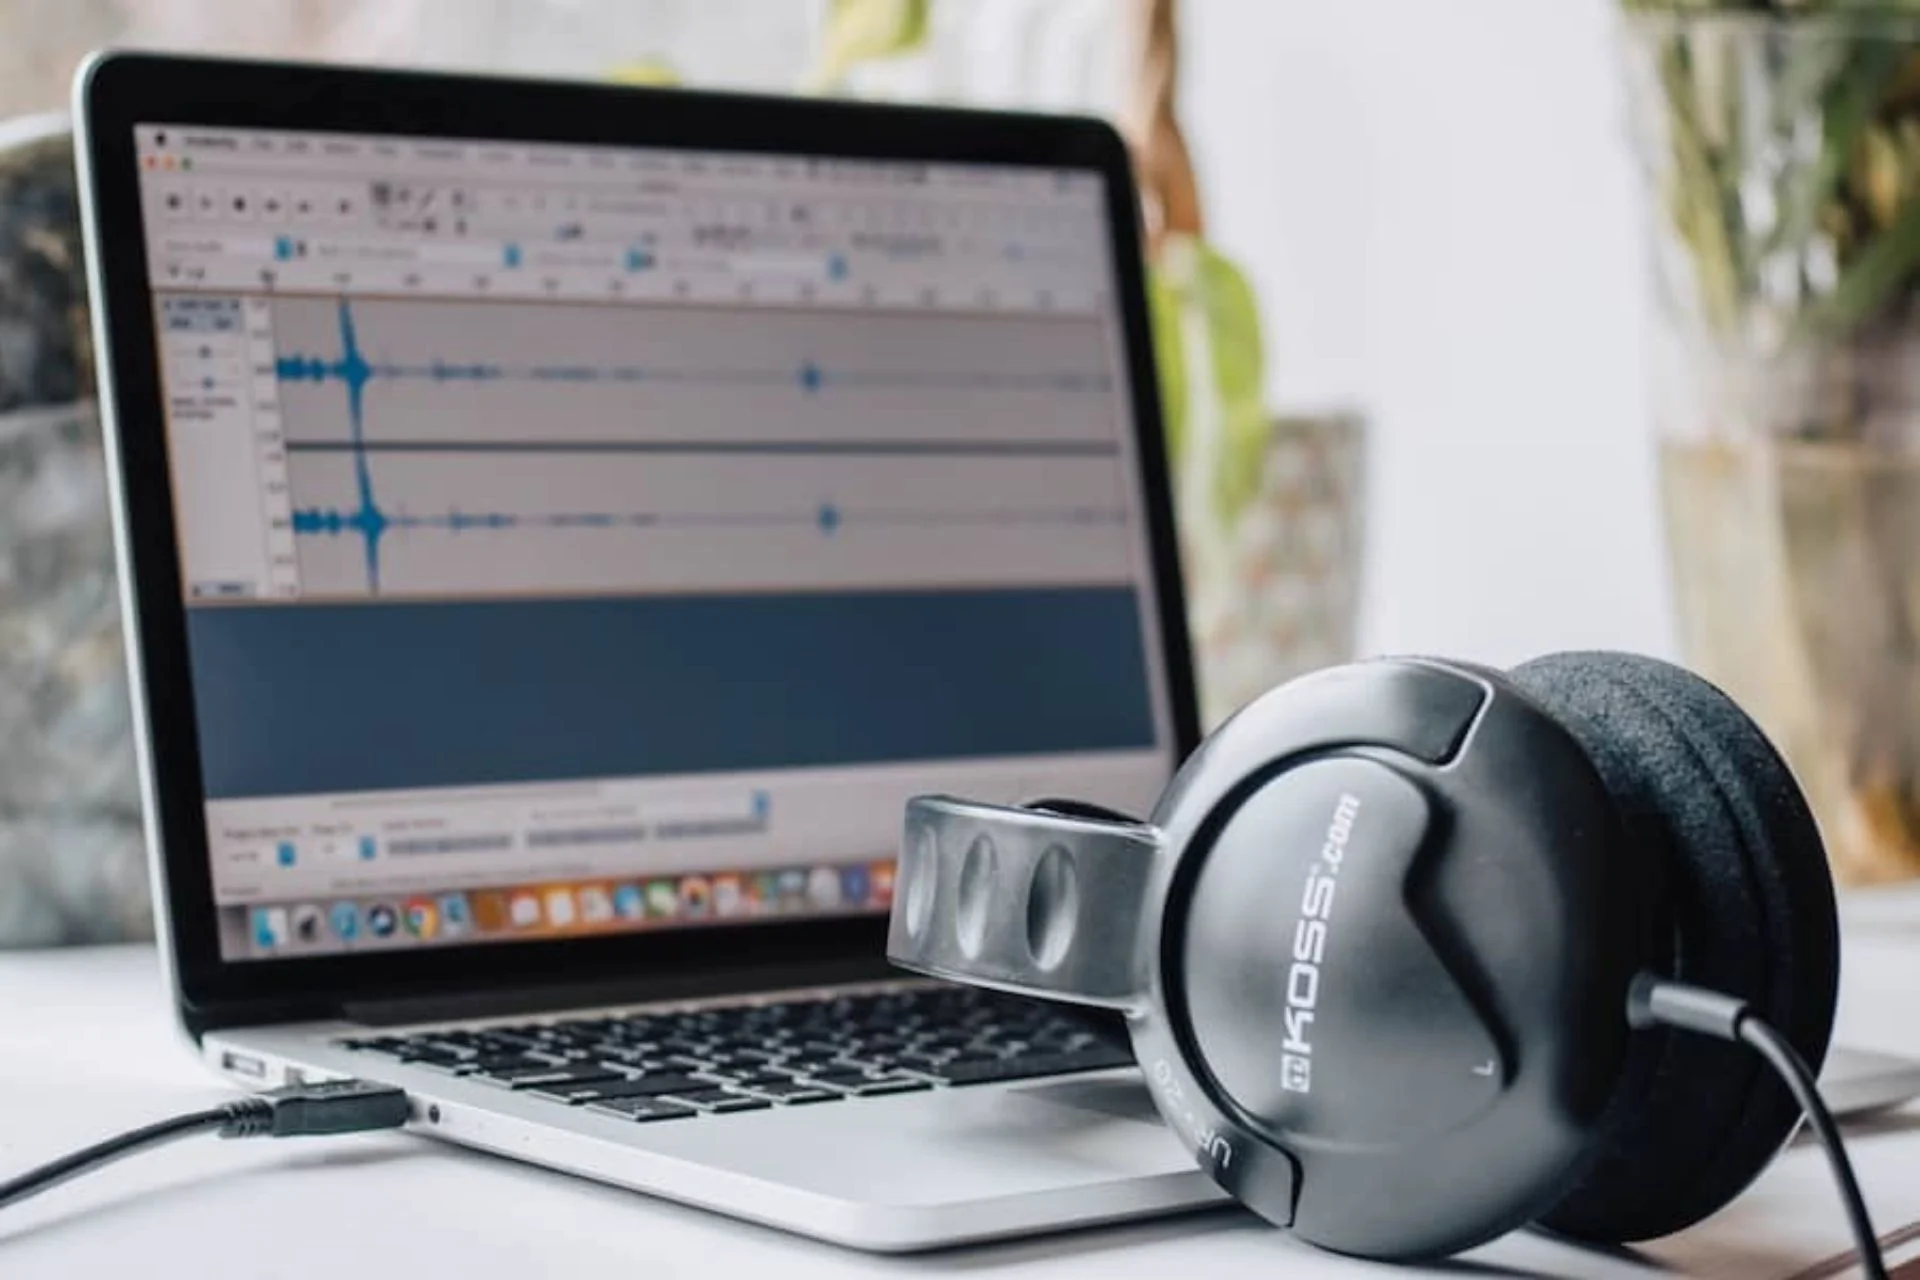
After recording a segment of audio using the headset microphone, stop the recording within the "Sound Recorder" application. Playback the recorded audio to evaluate the clarity, volume, and overall quality of the captured sound. Pay attention to any background noise, distortion, or irregularities in the audio input. By critically analyzing the playback, you can identify any potential issues and make necessary adjustments to the microphone settings to enhance the audio quality.
Communication Platform Testing
In addition to using the "Sound Recorder" application, consider testing your headset microphone within communication platforms such as Skype, Discord, or Zoom. Initiate a test call or join a test meeting within these platforms to verify the microphone's functionality in a real-time communication scenario. Engage in a brief conversation or perform a voice check to ensure that your voice is accurately transmitted and that the microphone integrates seamlessly with the selected communication platform.
Iterative Testing and Refinement
Testing your headset microphone is an iterative process that may require multiple rounds of recording, playback, and real-time communication checks. By iteratively testing the microphone and refining its settings, you can fine-tune the audio input to align with your specific requirements and usage scenarios. Continuously assess the microphone's performance and make incremental adjustments to achieve optimal results.
By diligently testing your headset microphone on a Windows 7 system, you can ascertain its functionality, identify any potential issues, and refine the settings to ensure optimal audio input. This proactive approach enables you to address any shortcomings and leverage the full potential of your headset microphone for various activities, including communication, gaming, and content creation.
Troubleshooting Common Issues
Even after meticulous configuration and testing, users may encounter common issues with their headset microphones on Windows 7. These issues can range from distorted audio and low microphone sensitivity to unrecognized devices and connectivity problems. Understanding how to troubleshoot these common issues is essential for maintaining the optimal functionality of your headset microphone. Here's a detailed exploration of troubleshooting steps to address prevalent issues and ensure a seamless experience with your headset microphone on Windows 7.
Audio Distortion and Background Noise
If you notice audio distortion or excessive background noise during microphone usage, consider adjusting the microphone volume and sensitivity settings within the Windows 7 sound properties. Lowering the microphone volume or enabling noise suppression enhancements can mitigate background noise, while ensuring that the microphone sensitivity is appropriately calibrated can reduce audio distortion. Additionally, positioning the microphone away from sources of interference, such as fans or electronic devices, can further alleviate background noise.
Unrecognized or Disabled Microphone
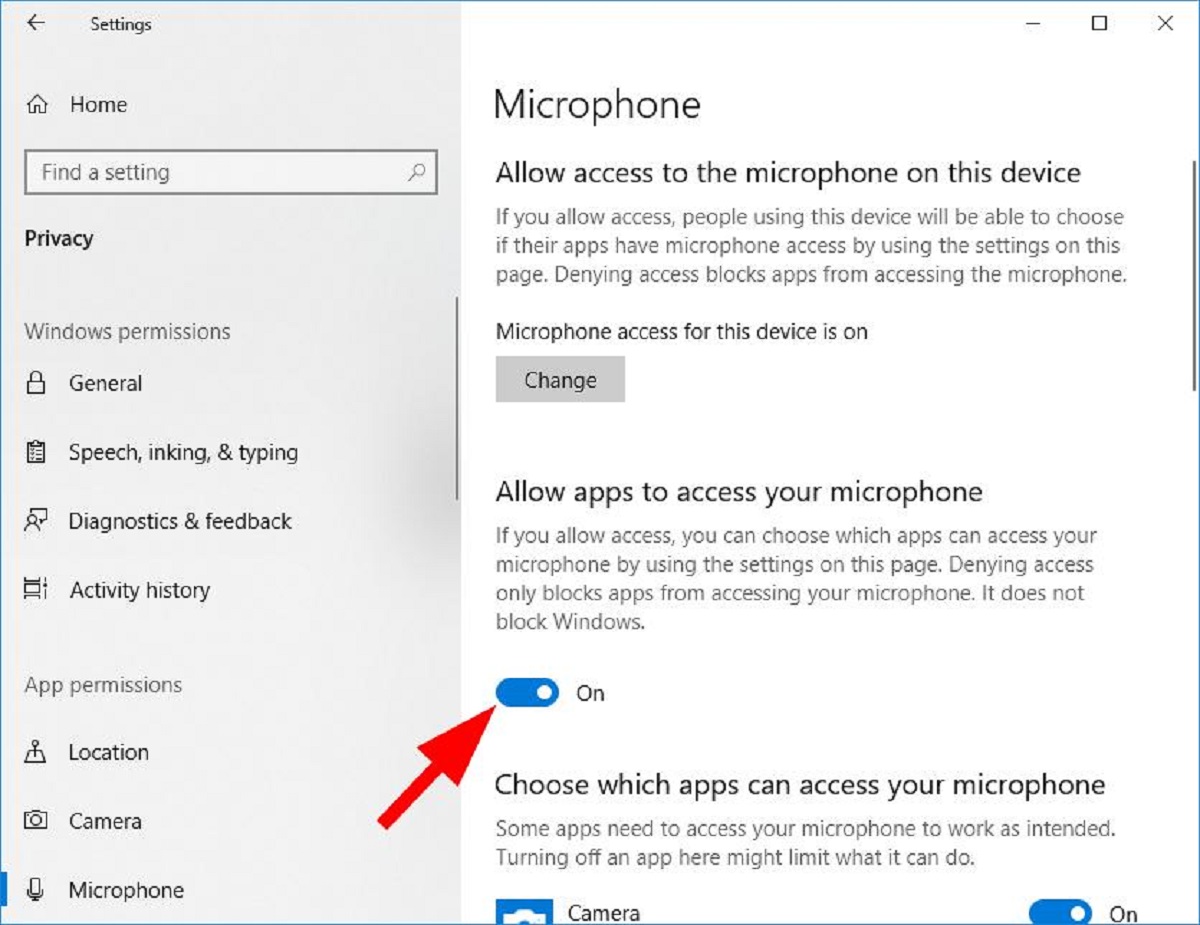
In cases where the headset microphone is not recognized or appears as a disabled device within the Windows 7 sound settings, begin by checking the physical connection. Ensure that the microphone is securely connected to the appropriate audio input port or USB port. If using a USB headset, try connecting it to a different USB port to rule out potential port-specific issues. Additionally, consider reinstalling the headset drivers or updating the system's audio drivers to facilitate proper recognition and enablement of the microphone.
Inconsistent Microphone Functionality
Inconsistent microphone functionality, characterized by intermittent audio input or sudden drops in microphone volume, may stem from software conflicts or outdated drivers. Verify that no other applications are actively using the microphone, as conflicting software can disrupt its operation. Furthermore, updating the headset's drivers and ensuring that Windows 7 is equipped with the latest audio drivers can resolve compatibility issues and restore consistent microphone functionality.
Connectivity and Hardware Issues
For users experiencing connectivity problems or hardware-related issues with their headset microphones, conducting a thorough inspection of the physical components is crucial. Check for any signs of damage or wear on the headset's cables, connectors, and microphone boom. If using a USB headset, test it on a different computer to determine if the issue persists, which can help isolate potential hardware malfunctions. Additionally, consider utilizing a different headset or microphone on the Windows 7 system to ascertain if the issues are specific to the original headset.
System Updates and Compatibility
Finally, staying abreast of system updates and ensuring compatibility with Windows 7 is paramount for long-term microphone functionality. Regularly check for Windows 7 updates, including audio-related patches and driver updates, to address potential compatibility issues. Additionally, periodically review the headset manufacturer's website for firmware updates and compatibility advisories to maintain optimal performance and mitigate compatibility-related issues.
By proactively troubleshooting these common issues, users can address potential setbacks with their headset microphones on Windows 7, ensuring consistent and reliable functionality for various communication, gaming, and recording activities. Adhering to these troubleshooting steps empowers users to overcome challenges and maintain a seamless experience with their headset microphones on the Windows 7 operating system.


