Introduction
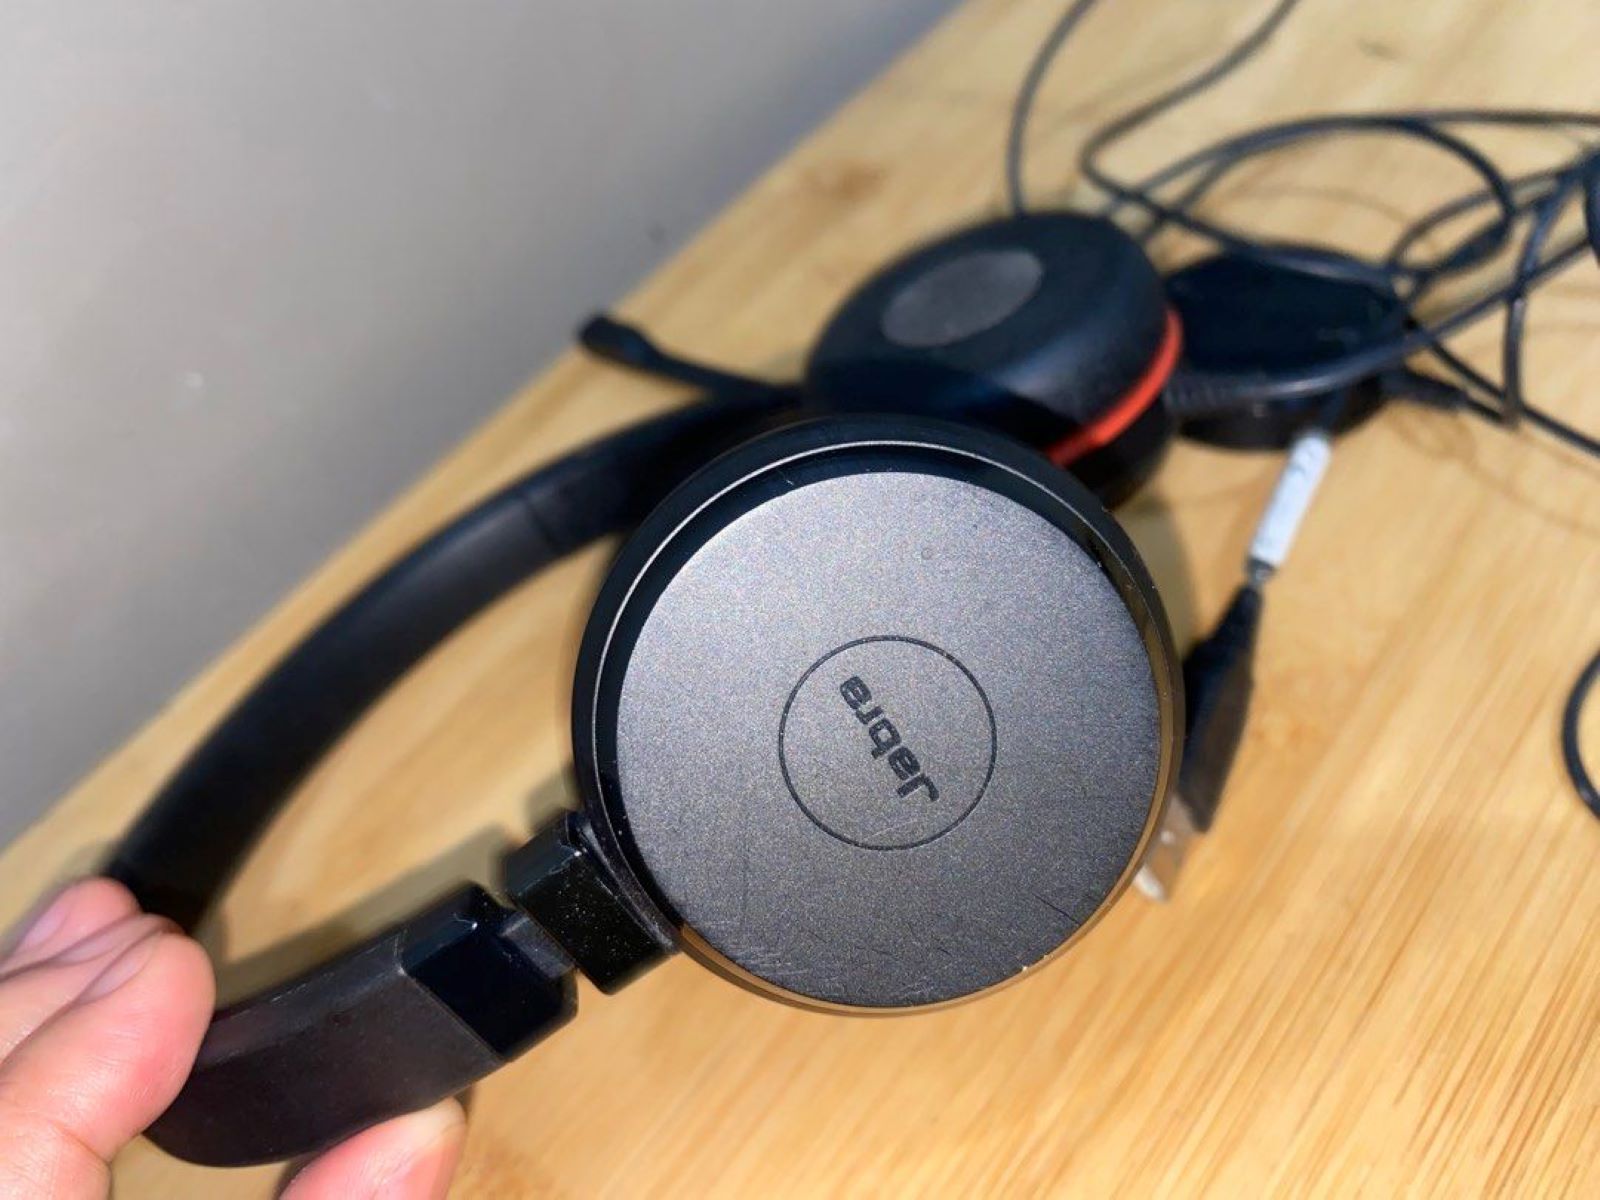
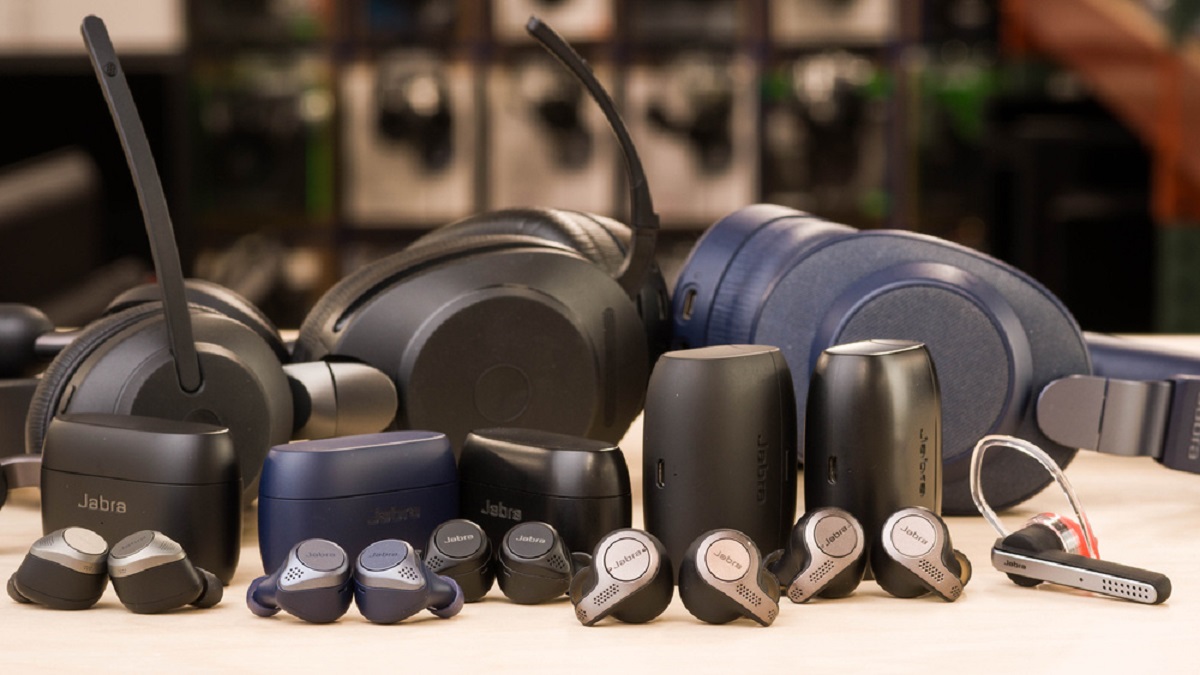
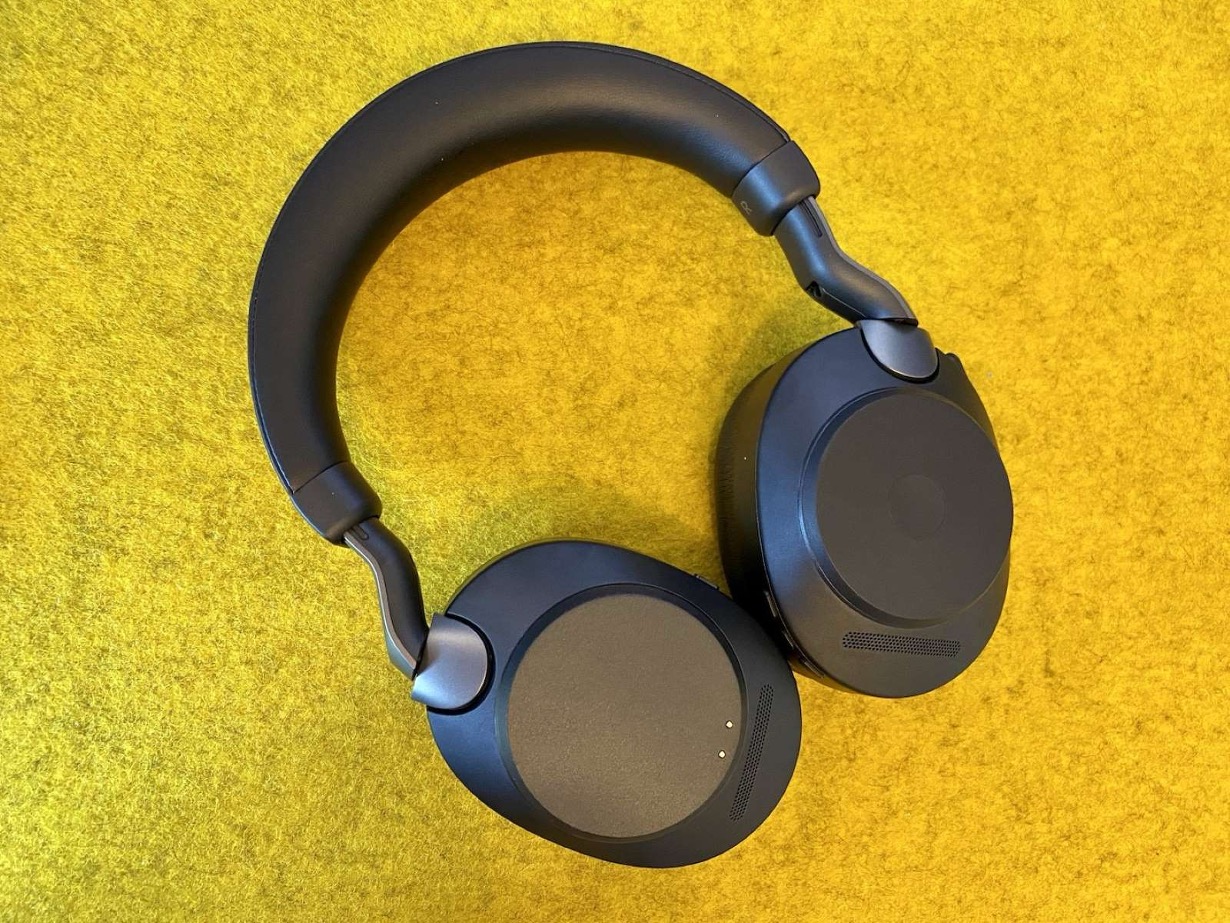
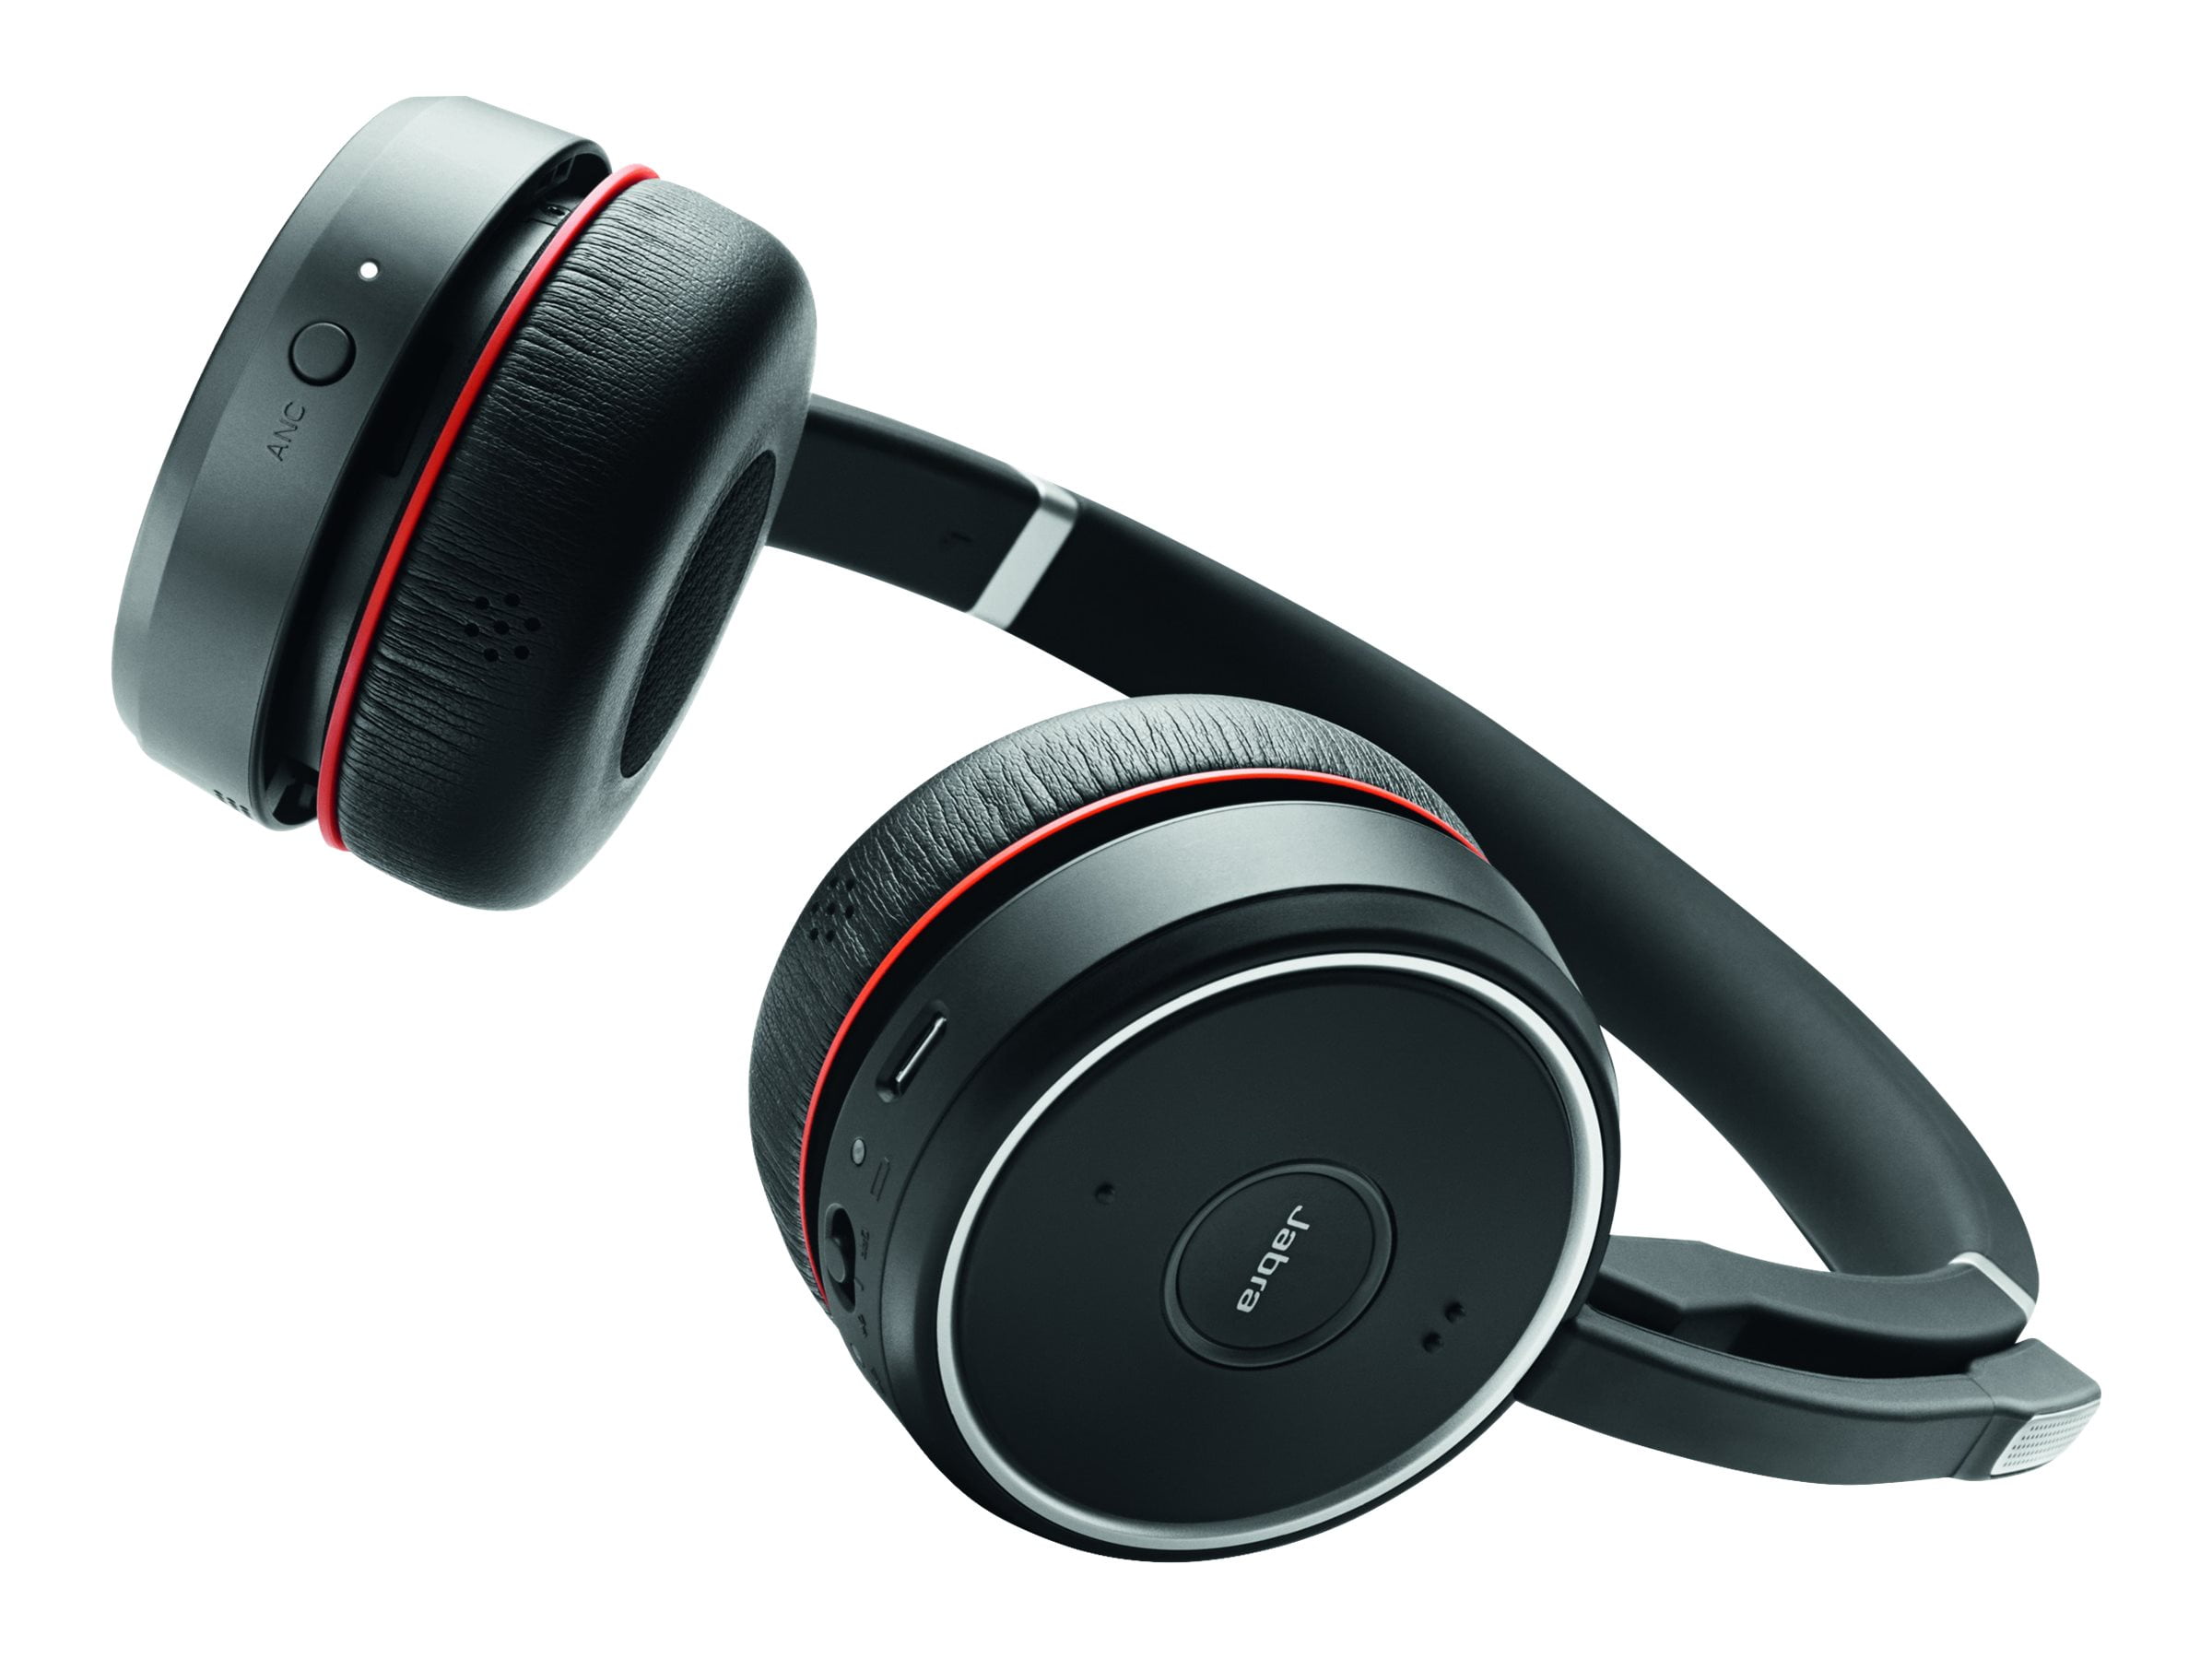
In today's fast-paced world, where remote work and virtual meetings have become the norm, having a reliable headset for your laptop is essential. Whether you're a professional who needs to stay connected during video conferences or a gamer looking for an immersive audio experience, the right headset can make all the difference. Jabra, a renowned name in the world of audio devices, offers a range of high-quality headsets that are designed to seamlessly integrate with laptops and deliver exceptional sound performance.
As technology continues to advance, the process of setting up a Jabra headset with your laptop has become increasingly streamlined and user-friendly. In this comprehensive guide, we will walk you through the step-by-step process of setting up your Jabra headset with your laptop, ensuring that you can enjoy crystal-clear audio and seamless connectivity.
Whether you're a tech-savvy individual or someone who is new to the world of wireless headsets, this guide will provide you with the knowledge and confidence to set up your Jabra headset with ease. By the end of this tutorial, you'll be ready to embark on a seamless audio journey, free from the hassles of tangled wires and complicated setup procedures.
Now, let's dive into the world of Jabra headsets and discover how to effortlessly pair them with your laptop, unlocking a world of immersive audio experiences and seamless communication.
Step 1: Checking Compatibility
Before embarking on the setup process, it's crucial to ensure that your Jabra headset is compatible with your laptop. Compatibility is key to a seamless and frustration-free user experience. Here's how to check the compatibility of your Jabra headset with your laptop:
-
Review the Compatibility List: Start by reviewing the compatibility list provided by Jabra. This list outlines the specific models of laptops and operating systems that are compatible with your Jabra headset. You can typically find this information on the Jabra website or in the product manual. Ensure that your laptop's make and model are listed as compatible.
-
Check Bluetooth Compatibility: If you're using a wireless Jabra headset, it's essential to verify that your laptop has Bluetooth capabilities. Most modern laptops come equipped with Bluetooth functionality, but it's always wise to double-check. You can do this by referring to your laptop's specifications or by looking for the Bluetooth symbol in the system tray or settings menu.
-
Verify Operating System Compatibility: Jabra headsets are designed to work seamlessly with various operating systems, including Windows, macOS, and Linux. Ensure that your laptop's operating system is supported by the Jabra headset. This information can usually be found on the product packaging or in the product specifications.
-
Consider Audio Inputs: If you're using a wired Jabra headset, check that your laptop has the necessary audio inputs. Most wired Jabra headsets use a standard 3.5mm audio jack or USB connection. Ensure that your laptop has the corresponding input port to connect the headset.
By taking these steps to check compatibility, you can avoid potential setup issues and ensure that your Jabra headset is fully compatible with your laptop. This proactive approach sets the stage for a smooth and hassle-free setup process, allowing you to focus on enjoying the exceptional audio quality and functionality that Jabra headsets have to offer.
Step 2: Charging Your Jabra Headset
Ensuring that your Jabra headset is adequately charged is crucial for uninterrupted usage and optimal performance. Before diving into the setup process, it's essential to charge your headset fully. Here's a detailed guide on how to charge your Jabra headset:
1. Check the Battery Level:
Start by checking the current battery level of your Jabra headset. Most Jabra headsets feature a battery indicator light or a battery level display on the accompanying app or device. This allows you to gauge the remaining battery life and plan for charging accordingly.
2. Locate the Charging Port:
Identify the charging port on your Jabra headset. Depending on the model, it may feature a micro-USB port, USB-C port, or a proprietary charging connector. Refer to the product manual or the Jabra website for specific details on the charging port location and type for your headset model.
3. Use the Provided Charging Cable:
Jabra headsets typically come with a dedicated charging cable. Ensure that you use the provided cable to charge your headset. Using a different cable or a non-standard charger can potentially damage the headset or lead to inefficient charging.
4. Connect to a Power Source:
Once you have the charging cable, connect it to a power source such as a USB port on your laptop, a wall adapter, or a portable power bank. Ensure that the power source is reliable and stable to facilitate a consistent charging process.
5. Monitor the Charging Progress:
After connecting the charging cable, monitor the charging progress. The headset's indicator light may change color or blink to indicate that it's charging. Some models may also display the battery level on the headset or the connected device, providing real-time information on the charging status.
6. Allow Sufficient Charging Time:
Depending on the battery capacity and the current charge level, allow your Jabra headset to charge fully. This may take anywhere from 1 to 2 hours, depending on the specific model and the charging method used. It's advisable to refer to the product manual for the recommended charging duration.
By following these steps, you can ensure that your Jabra headset is adequately charged and ready for seamless integration with your laptop. A fully charged headset sets the stage for uninterrupted usage, allowing you to dive into the next steps of pairing and optimizing the settings for an exceptional audio experience.
Step 3: Pairing Your Jabra Headset with Your Laptop
Pairing your Jabra headset with your laptop is a pivotal step that establishes the wireless connection between the two devices, enabling seamless audio transmission and communication. The process of pairing may vary slightly depending on the specific Jabra headset model and the operating system of your laptop. Here's a comprehensive guide to pairing your Jabra headset with your laptop:
-
Activate Pairing Mode: Begin by activating the pairing mode on your Jabra headset. This typically involves pressing and holding the designated pairing button or following the specific instructions outlined in the product manual. The headset's indicator lights or voice prompts may provide guidance on entering pairing mode.
-
Enable Bluetooth on Your Laptop: Access the Bluetooth settings on your laptop and ensure that Bluetooth is enabled. This can usually be done through the system tray, the control panel, or the settings menu, depending on the operating system. Once enabled, your laptop will start scanning for nearby Bluetooth devices.
-
Select and Pair the Jabra Headset: Upon entering pairing mode, your Jabra headset will appear in the list of available Bluetooth devices on your laptop. Select the headset from the list to initiate the pairing process. Depending on the model, you may be prompted to enter a pairing code or confirm the connection on both the headset and the laptop.
-
Complete the Pairing Process: Once the pairing request is accepted, your Jabra headset and laptop will establish a secure Bluetooth connection. The indicator lights on the headset may change to indicate a successful pairing, and your laptop will recognize the headset as an audio output device.
-
Test the Connection: To ensure that the pairing is successful, play a sample audio or video on your laptop and listen for the sound through your Jabra headset. If the audio is transmitted seamlessly and the headset functions as the audio output device, the pairing process is complete.
-
Adjust Settings (Optional): Depending on your preferences, you can further customize the audio settings for your Jabra headset through the laptop's audio control panel or settings menu. This may include adjusting the volume levels, configuring microphone settings, and exploring additional audio enhancement features.
By following these steps, you can seamlessly pair your Jabra headset with your laptop, establishing a reliable wireless connection that unlocks the full potential of your headset. Once paired, you can enjoy immersive audio experiences, clear communication, and the freedom of wireless mobility, enhancing your productivity and entertainment endeavors.
Step 4: Adjusting Settings and Testing the Connection
After successfully pairing your Jabra headset with your laptop, it's essential to fine-tune the audio settings and thoroughly test the connection to ensure optimal performance. This step allows you to customize the audio output, microphone input, and other essential settings, tailoring the experience to your preferences and usage scenarios.
1. Audio Output Settings:
Access the audio settings on your laptop and navigate to the playback devices section. Here, you can select your Jabra headset as the default audio output device. This ensures that all audio from your laptop, including music, videos, and system sounds, is channeled through the headset, delivering a seamless and immersive audio experience.
2. Microphone Configuration:
If your Jabra headset features a built-in microphone or a detachable microphone boom, it's crucial to configure the microphone settings. Access the recording devices section in the audio settings and set your Jabra headset as the default recording device. Adjust the microphone levels and properties to optimize voice clarity and minimize background noise, enhancing the quality of your communication during calls and online meetings.
3. Audio Enhancement Features:
Explore the additional audio enhancement features offered by your Jabra headset, such as equalizers, sound profiles, and noise cancellation settings. These features allow you to customize the audio output to suit different content types, whether it's immersive gaming audio, crisp music playback, or clear voice communication. Experiment with these settings to discover the optimal audio profile for your preferences.
4. Testing the Connection:
Once the settings are adjusted, it's crucial to thoroughly test the connection between your Jabra headset and your laptop. Play various types of audio content, including music, videos, and voice recordings, to ensure that the audio is transmitted seamlessly and that the headset delivers the expected sound quality. Additionally, engage in a test call or video conference to confirm that the microphone input is clear and distortion-free, enabling effective communication.
5. Mobility and Range Test:
For wireless Jabra headsets, consider conducting a mobility and range test to gauge the wireless connectivity performance. Move around within the typical usage range while maintaining the connection with your laptop. This test ensures that the headset maintains a stable connection and consistent audio quality, even when you're not seated directly next to your laptop.
By meticulously adjusting the settings and thoroughly testing the connection, you can maximize the potential of your Jabra headset, ensuring that it seamlessly integrates with your laptop and delivers exceptional audio performance. These steps empower you to tailor the audio experience to your preferences and usage scenarios, whether it's professional communication, immersive gaming, or entertainment pursuits.
Conclusion
In conclusion, the seamless integration of your Jabra headset with your laptop opens the door to a world of immersive audio experiences, crystal-clear communication, and enhanced productivity. By following the step-by-step process outlined in this guide, you've embarked on a journey towards unlocking the full potential of your Jabra headset, leveraging its advanced features and seamless connectivity with your laptop.
As you navigate through the setup process, from checking compatibility to fine-tuning audio settings, you've gained valuable insights into the foundational elements that contribute to a seamless and optimized audio experience. The proactive approach of checking compatibility ensures that your Jabra headset is fully aligned with your laptop's specifications, setting the stage for a hassle-free setup and uninterrupted usage.
Charging your Jabra headset to full capacity not only ensures prolonged usage but also underscores the importance of device maintenance and preparation. A fully charged headset empowers you to delve into the world of wireless audio without the constraints of battery limitations, allowing you to focus on your tasks, calls, or entertainment pursuits with confidence.
The pivotal step of pairing your Jabra headset with your laptop establishes a robust wireless connection, laying the groundwork for seamless audio transmission and communication. The ability to fine-tune audio output, microphone input, and explore additional audio enhancement features further personalizes the audio experience, catering to your unique preferences and usage scenarios.
By meticulously testing the connection and conducting mobility and range tests, you've confirmed the reliability and stability of the wireless connection, ensuring that your Jabra headset delivers consistent audio quality, even when you're on the move within your workspace.
In essence, the successful setup and integration of your Jabra headset with your laptop mark the beginning of a transformative audio journey. Whether you're engaging in virtual meetings, immersing yourself in gaming adventures, or enjoying your favorite music and multimedia content, the seamless harmony between your Jabra headset and your laptop elevates your audio experiences to new heights.
With the knowledge and confidence gained from this guide, you're well-equipped to harness the full potential of your Jabra headset, embracing a world of immersive audio, seamless communication, and wireless mobility. As you embark on this audio journey, may your experiences be enriched, your productivity enhanced, and your entertainment endeavors elevated by the seamless harmony between your Jabra headset and your laptop.


