Astro A50 troubleshooting: Start with a factory reset
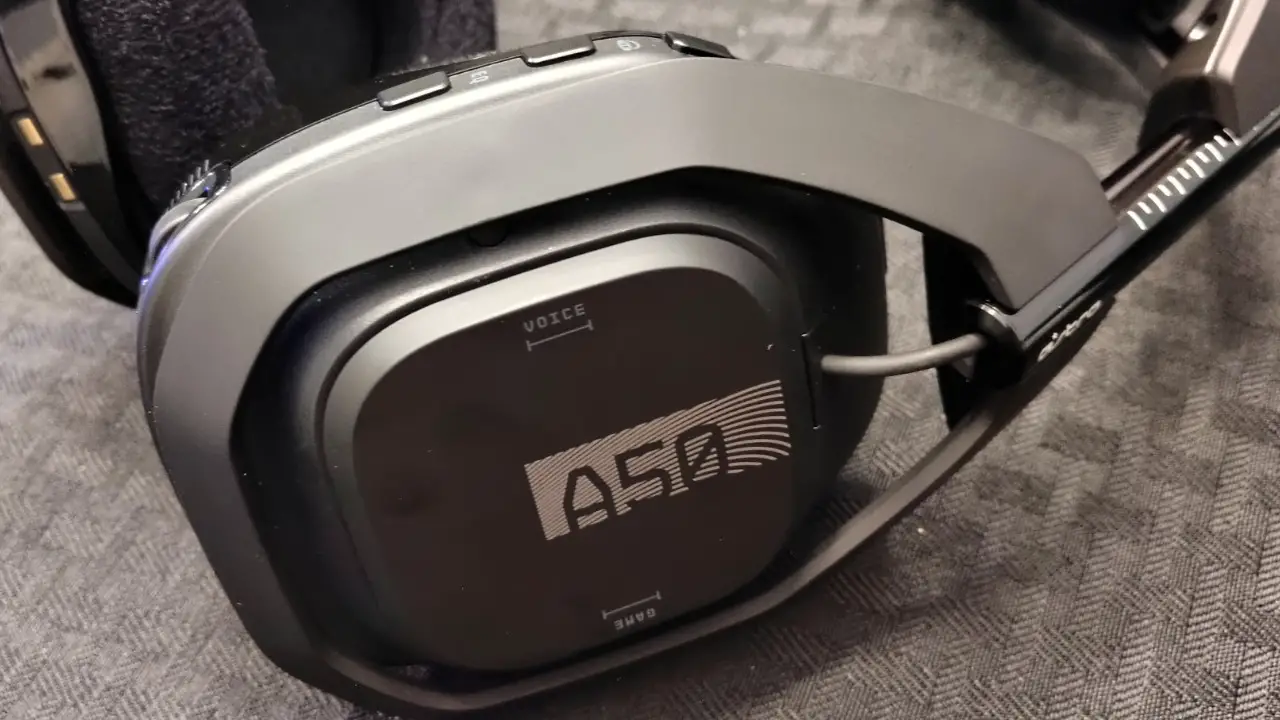
When your Astro A50 headset starts acting up, the most reliable first step in astro a50 troubleshooting is a factory reset. This clears out any corrupted settings or software glitches that are often the root cause of connection, audio, or microphone problems. For Gen 3 and 4 headsets, make sure the headset is turned on, then press and hold the "Dolby" button and the "Game" button simultaneously for at least 15 seconds. A hard reset will erase any custom settings, including EQ presets, returning the headset to its default configuration, so be prepared to reapply your preferred sound profile afterward. Use this as your opening move whenever you encounter persistent issues, as it establishes a clean baseline for all subsequent checks.
Fix connection and no-sound issues
If your A50 is silent or won't pair, start by verifying the base station's mode switch is set to the correct platform (PC or PS4). A mismatched setting is a common reason for no audio at all. Next, check that all USB cables connecting the base station to your PC or console are securely plugged in at both ends, and try different USB ports. Loose or faulty connections are frequent culprits. On Windows, set "Astro A50 Game" as the default output device and "Astro A50 Voice" as the default communication device in your sound settings. This ensures the headset receives both game audio and chat audio correctly. If sound still isn't coming through, disable "Audio Enhancement" in Windows sound settings (Control Panel > Sound > Playback tab > Properties > Enhancement tab), as this feature can sometimes interfere with the headset's output.
Resolve audio problems: distortion, low volume, and dropouts
Distorted sound, low volume, and intermittent dropouts can ruin your session. For low volume, ensure the headset's volume wheel is set to an audible level, it's easy to accidentally turn it down. Then, verify the audio source output on your PC or console is at an adequate level; test alternative audio sources to rule out the original device. If you're hearing crackling or static, adjust the equalizer settings or sound enhancements on the connected device to see if that clears up distortion. For audio dropouts, check the wireless signal strength between the headset and base station, repositioning the transmitter to reduce interference from other wireless devices. Also, verify the battery level in the headset, as low power can cause the signal to cut out. If you're dealing with general lag issues, you might also want to look up how to fix delay on wireless earbuds, as similar principles apply to reducing latency on your A50.
Correct imbalanced audio output
If one earcup sounds louder or different from the other, the issue is often an audio balance setting. Check the audio balance settings on your connected device, Windows, console, or game, and make sure the slider is centered. Adjusting this can quickly resolve the imbalance. To determine whether the problem is with the headset or the source, test the A50 across multiple audio sources. If the imbalance persists on every device, the headset itself is likely the problem; if it only occurs on one device, the issue lies in that device's settings or output. This cross-check is essential for isolating the root cause.
Get your microphone working again
A non-functional mic is a major frustration, especially during team play. Start by verifying that the Astro A50 microphone is selected as the default input device in your PC's sound settings (Control Panel > Sound > Recording tab) or in your console's mic settings. Ensure the mic isn't muted or set to an extremely low volume level. If your microphone is detachable, inspect the connection point where it attaches to the headset, making sure it's secure and free from debris. Try removing and reattaching it to establish a solid connection. If the mic still doesn't work, update the headset's firmware and any relevant device drivers, as manufacturers often release fixes for mic issues. Finally, test the microphone with alternative devices to determine whether the problem is specific to the headset or the original device.
When to test on another device
If you've worked through every troubleshooting step and the issue persists, the final diagnostic move is to test the headset on another computer or console. This helps determine if the problem lies with the headset itself or with the original device's settings, drivers, or hardware. Connect the A50 to a second system and check both audio output and microphone functionality. If the headset works perfectly on the new device, the issue is likely tied to your primary system's configuration. If the problem follows the headset, it may be time to contact support for a replacement or repair. This step is your last line of defense before seeking professional help, and it gives you a clear answer about where the fault lies.
\nRelated reading: Jack Repair: Fixing A Broken Headset Jack and Rig Headset Mic Woes: Troubleshooting And Fixes.