Introduction
When it comes to our favorite gadgets, headsets hold a special place in our daily lives. Whether we use them for gaming, listening to music, or making calls, headsets are indispensable companions. Over time, however, our trusty headsets can accumulate dust, grime, and even experience technical issues, leading to a decline in performance. If you've noticed reduced sound quality, discomfort during extended use, or connectivity problems, it might be time to give your headset a fresh start.
In this guide, we'll walk you through the process of reinstalling your headset, which can help resolve many common issues and breathe new life into your beloved device. Whether you're a gaming enthusiast, a music lover, or a professional who relies on clear communication, ensuring your headset is in top condition is essential for an optimal experience.
By following the simple yet effective steps outlined in this guide, you can bid farewell to crackling audio, uncomfortable fits, and unreliable connections. With a fresh installation, you'll be ready to immerse yourself in your favorite activities with renewed audio clarity, comfort, and seamless connectivity. So, let's roll up our sleeves and give your headset the rejuvenation it deserves!
Step 1: Uninstalling the Headset
Before embarking on the process of reinstallation, it's crucial to start with a clean slate by uninstalling your headset. This step is essential for ensuring that any underlying issues, such as software conflicts or driver malfunctions, are addressed before moving forward.
-
Disconnecting the Headset: Begin by disconnecting your headset from the device it's currently connected to, whether it's a computer, gaming console, or mobile device. Ensure that all cables and connectors are safely detached to prevent any accidental damage.
-
Removing Software Drivers: If your headset came with specific software or drivers for customization or advanced features, it's advisable to uninstall these drivers from your device. This can typically be done through the "Add or Remove Programs" feature on Windows or the "Applications" folder on Mac. Removing these drivers ensures a clean slate for the reinstallation process and can help resolve any software-related issues.
-
Resetting Bluetooth Pairing: For wireless headsets that utilize Bluetooth connectivity, it's essential to reset the pairing with your devices. This can be achieved by navigating to the Bluetooth settings on your device and removing the existing pairing with your headset. By doing so, you can eliminate any potential connectivity issues and start afresh with the pairing process during reinstallation.
-
Cleaning Connectors and Ports: While not directly related to uninstalling the headset, it's a good practice to inspect and clean the connectors and ports on the headset and the device it was previously connected to. Dust, debris, or corrosion can often lead to connectivity issues, and a thorough cleaning can help prevent such issues from recurring after reinstallation.
By diligently following these steps to uninstall your headset, you pave the way for a seamless reinstallation process. This proactive approach ensures that any underlying issues are addressed, setting the stage for a successful and effective fresh start for your headset.
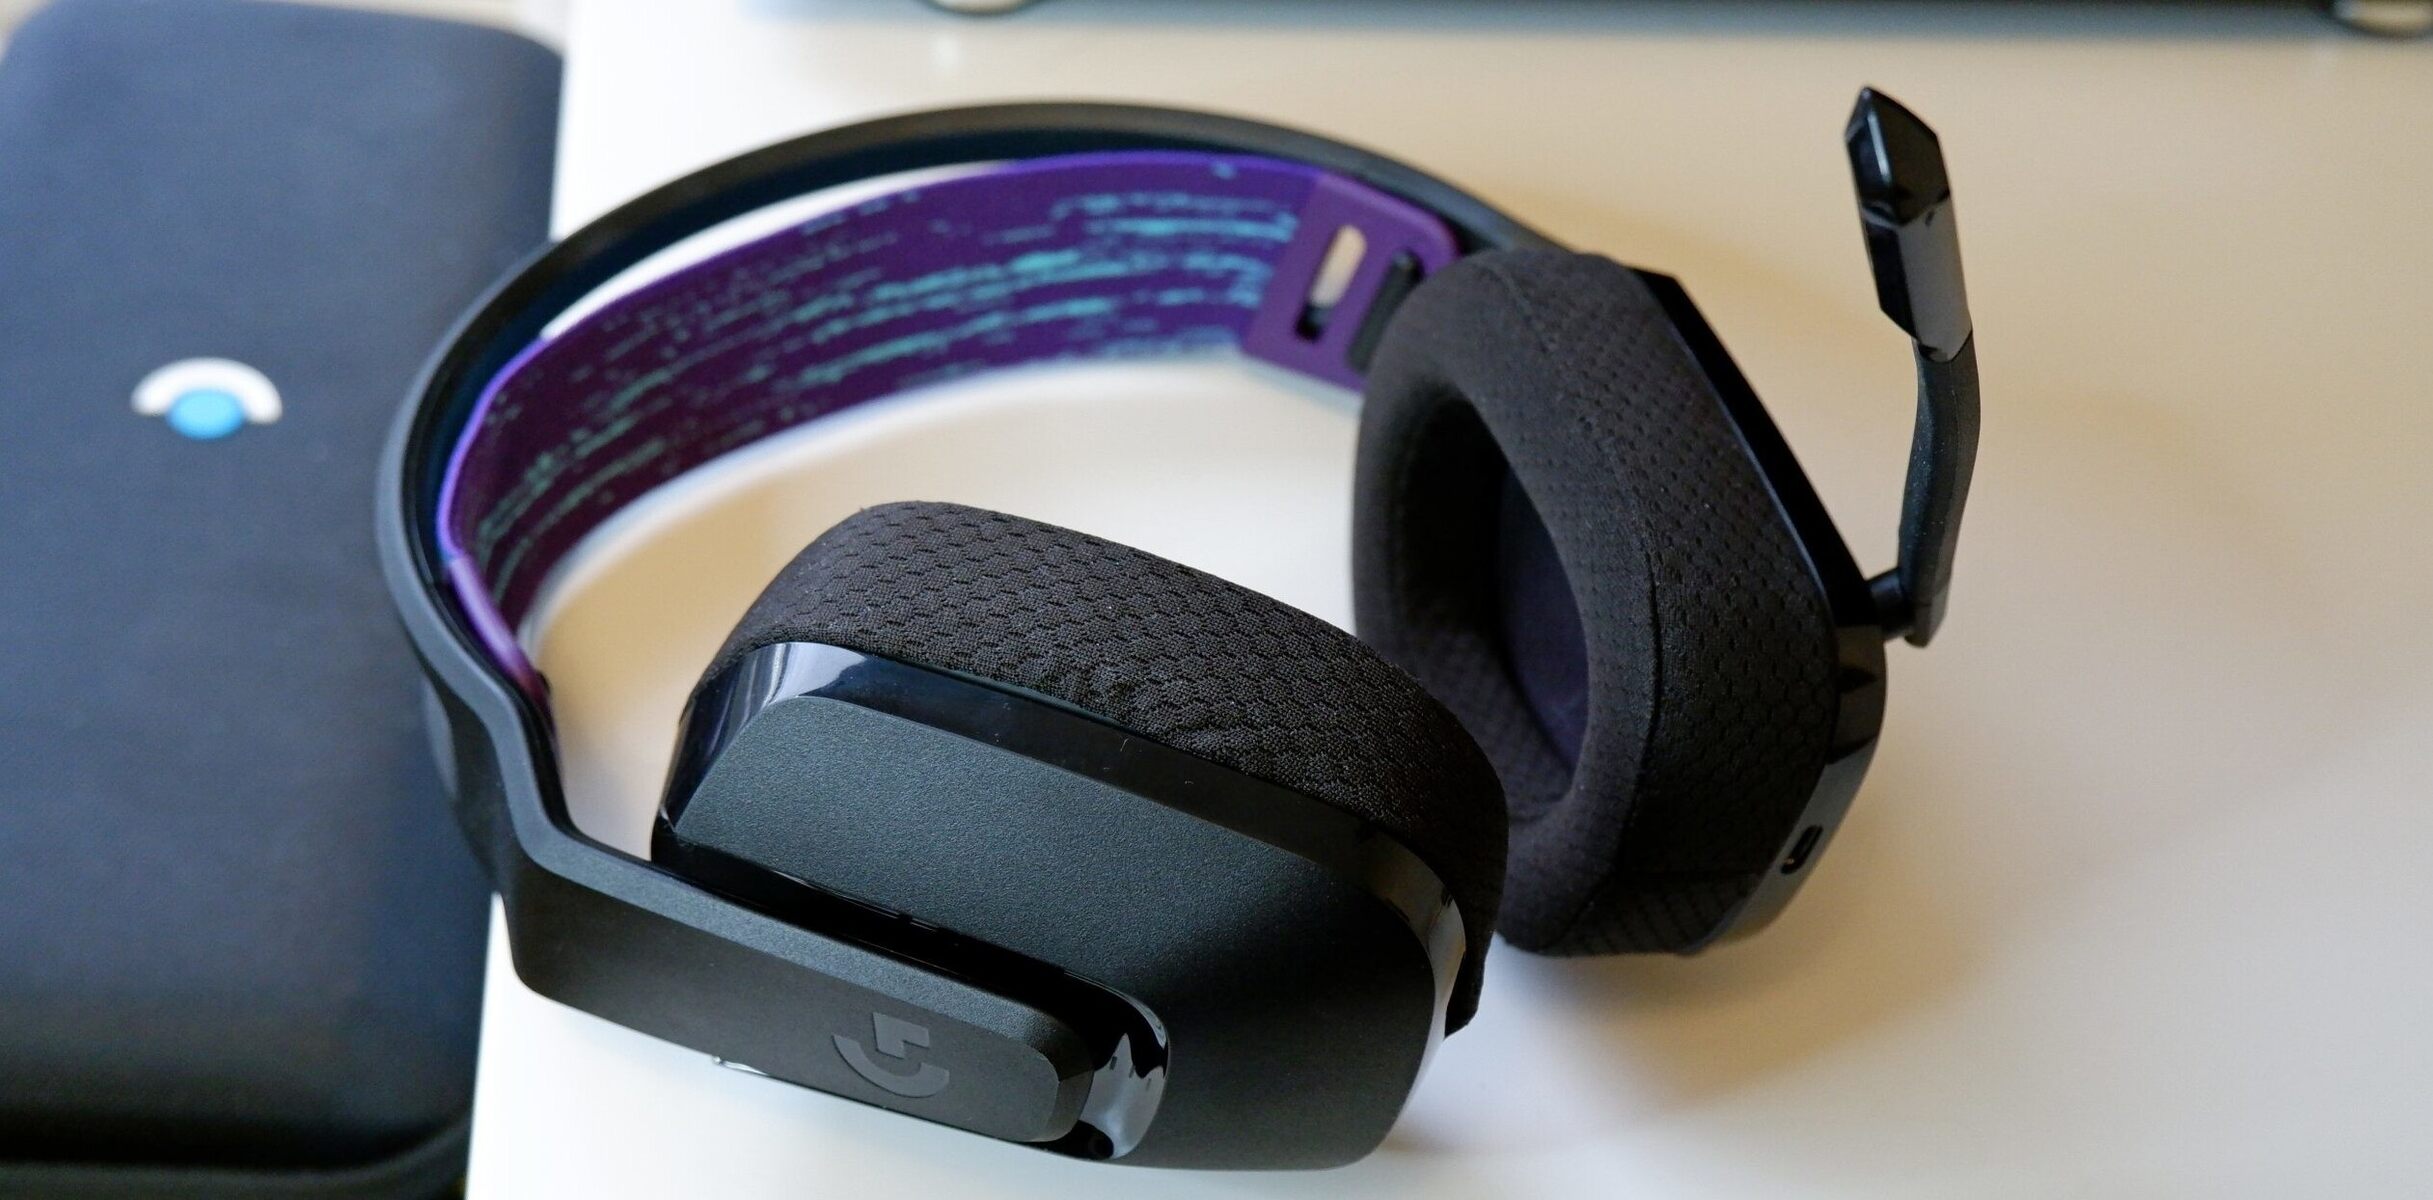
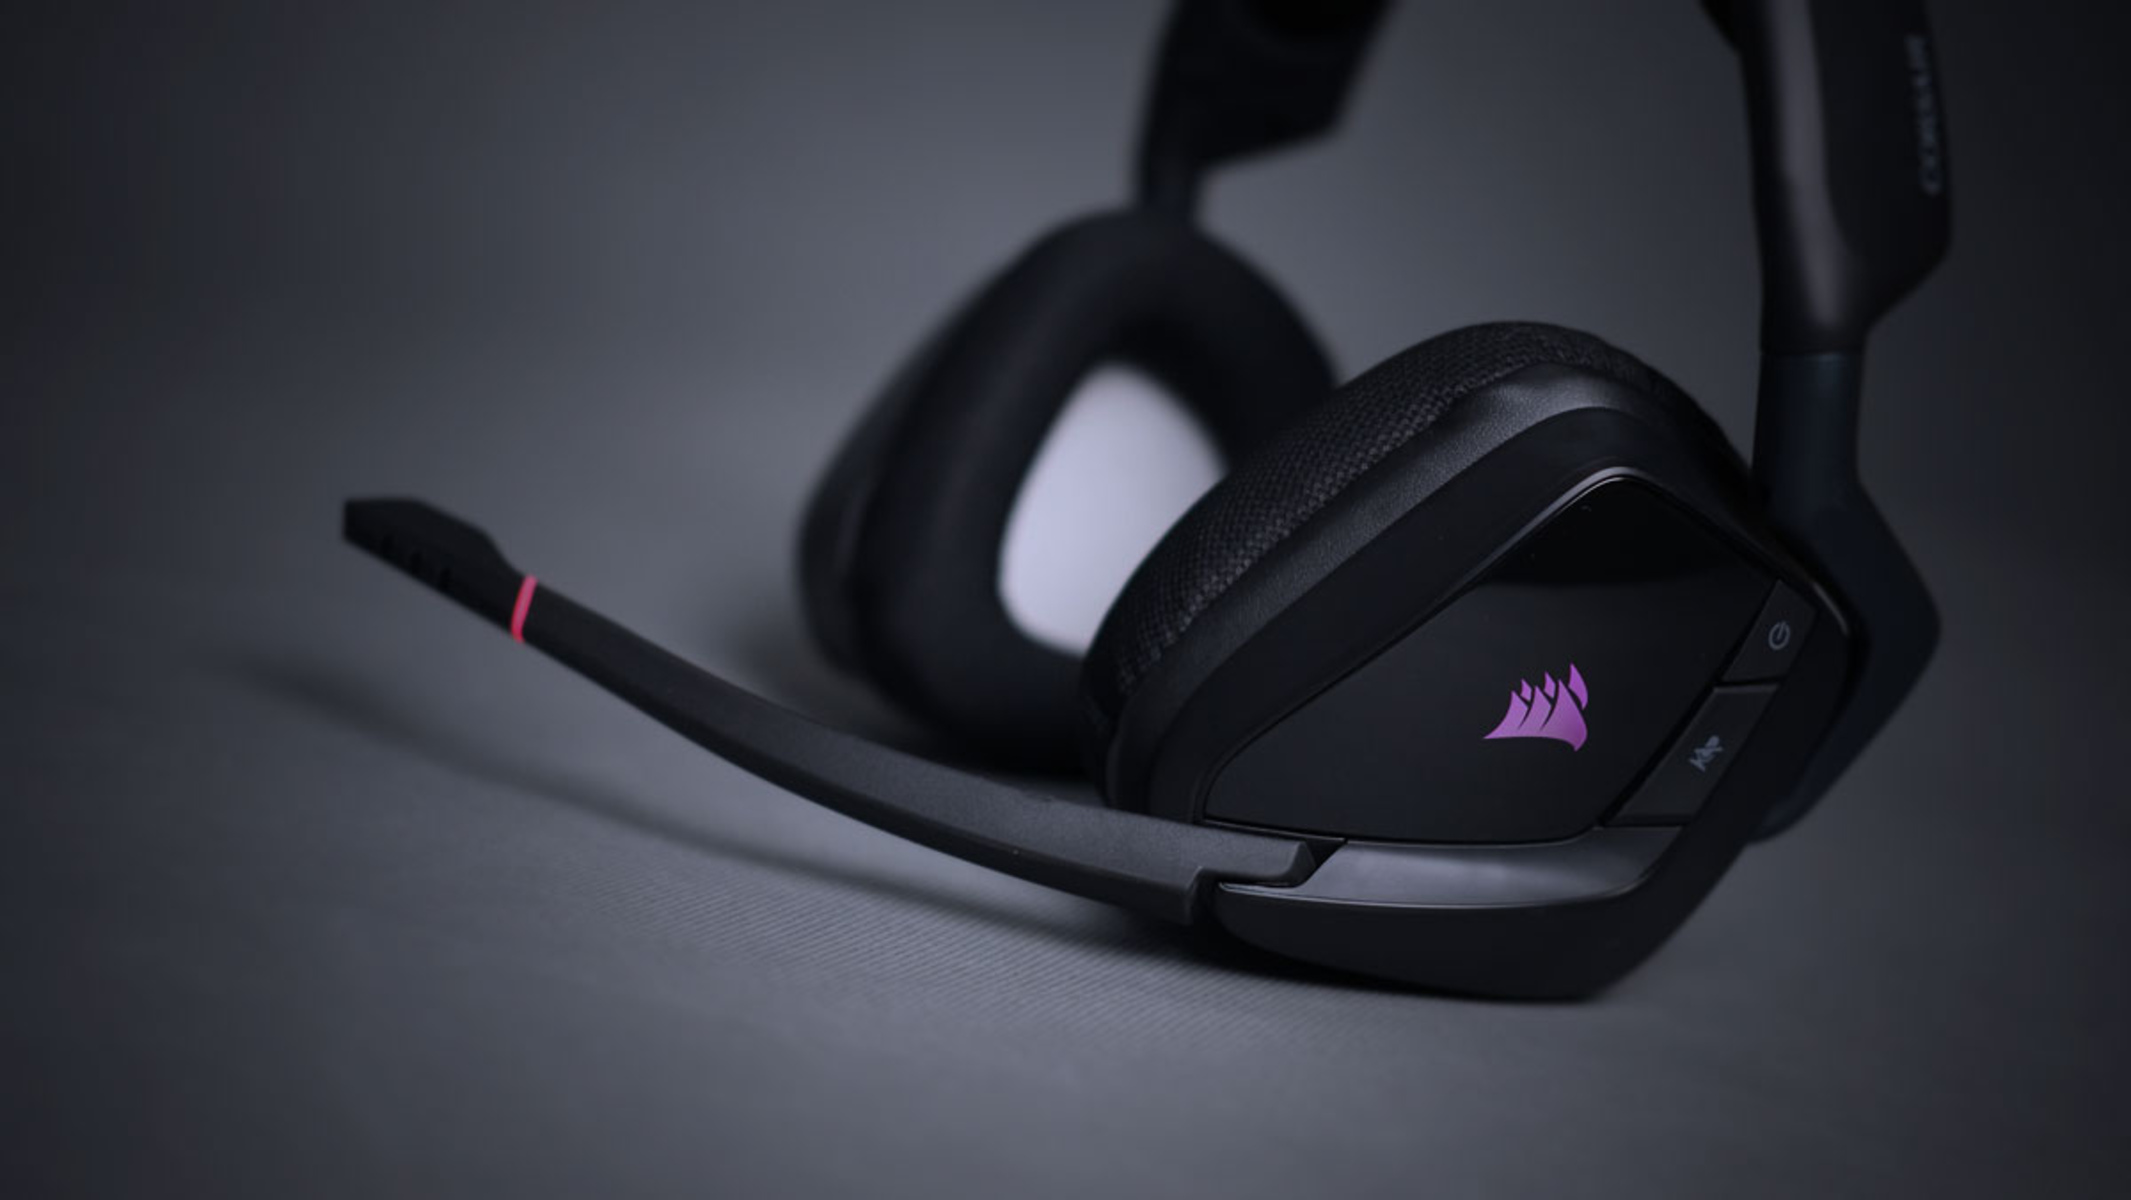
Step 2: Cleaning the Headset
Cleaning your headset is a crucial step in the reinstallation process, as it not only ensures hygiene but also plays a significant role in the device's overall performance and longevity. Over time, headsets can accumulate dust, dirt, and oils from skin contact, leading to a decline in audio quality, discomfort during use, and potential damage to the hardware. By following the steps below, you can effectively clean your headset and prepare it for a fresh installation.
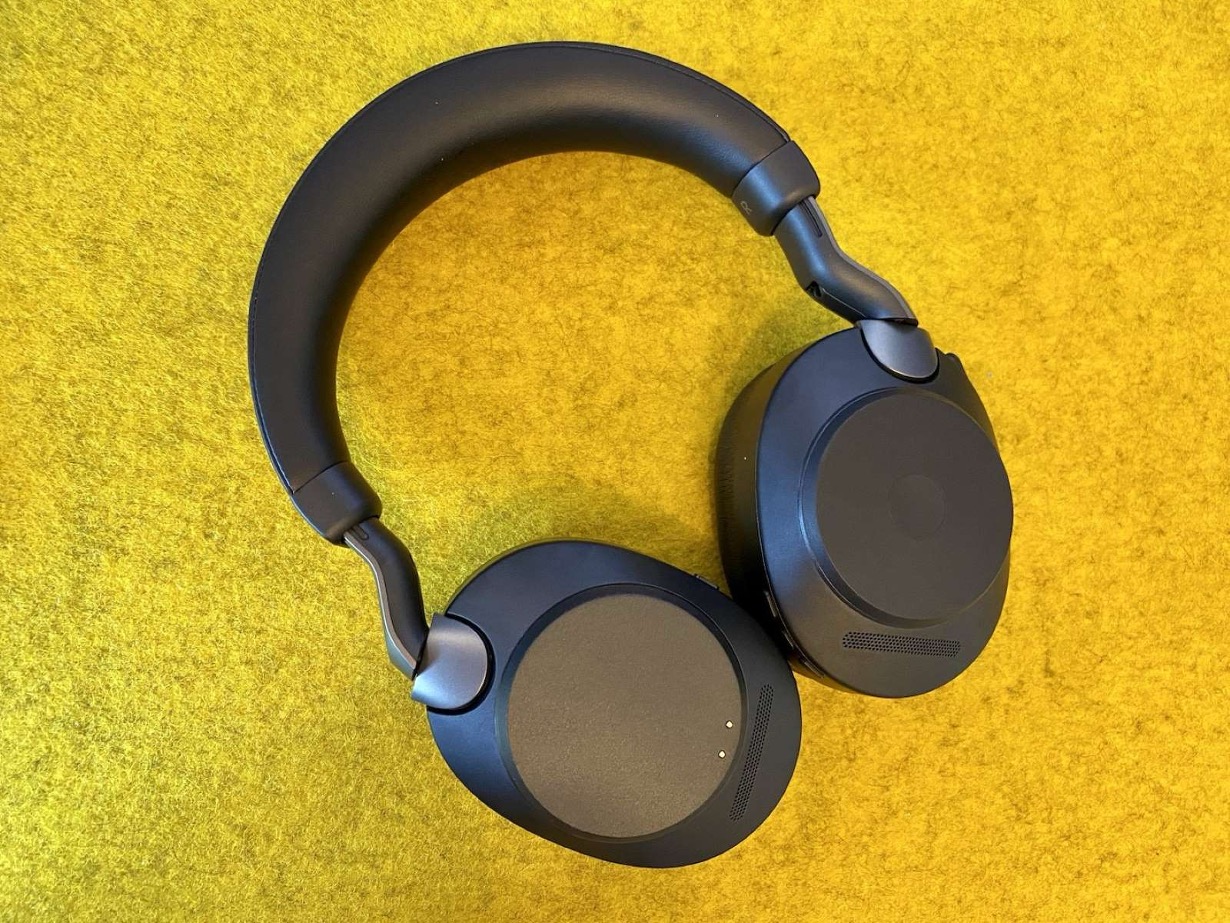
Cleaning the Ear Pads and Headband
Begin by gently removing the ear pads and headband cushion from your headset. Depending on the model, these components may be detachable or secured with snaps or Velcro. Once removed, inspect them for visible dirt, oil, or debris. Using a mild soap and water solution or specialized electronics cleaning solution, carefully clean the ear pads and headband cushion. Avoid saturating the material and ensure they are completely dry before reattaching them to the headset.
Sanitizing the Surfaces
In addition to removing visible dirt, it's essential to sanitize the surfaces of your headset, especially areas that come into direct contact with your skin. Use alcohol-based cleaning wipes or a soft cloth dampened with isopropyl alcohol to wipe down the surfaces, including the ear cups, headband, and microphone (if applicable). This helps eliminate germs, oils, and sweat residue, promoting a hygienic and comfortable user experience.
Cleaning the Microphone and Controls
If your headset features a microphone and integrated controls, pay special attention to these components during the cleaning process. Use a soft, dry brush or compressed air to remove any debris or dust from the microphone grille and control buttons. For stubborn dirt or grime, lightly dampen a cotton swab with rubbing alcohol and carefully clean these areas, taking care not to allow any liquid to enter the internal components.
Inspecting and Cleaning Connectors
Inspect the connectors and cables of your headset for any visible dirt, dust, or corrosion. Using a soft, dry brush or compressed air, gently remove any debris from the connectors to ensure optimal connectivity during reinstallation. If necessary, lightly moisten a cotton swab with isopropyl alcohol to clean the connectors, followed by thorough drying to prevent any potential damage.
By meticulously cleaning your headset, you not only improve its aesthetics and hygiene but also set the stage for a successful reinstallation. A clean headset is less prone to technical issues and ensures a comfortable and enjoyable user experience, making it a vital preparatory step for the subsequent reinstallation process.
Step 3: Reinstalling the Headset
With your headset uninstalled and thoroughly cleaned, it's time to embark on the pivotal step of reinstalling the device. This phase is where you'll carefully reconnect the headset, configure software settings, and ensure a seamless integration with your devices. By following the steps outlined below, you can effectively reinstall your headset and set the stage for an optimal audio experience.
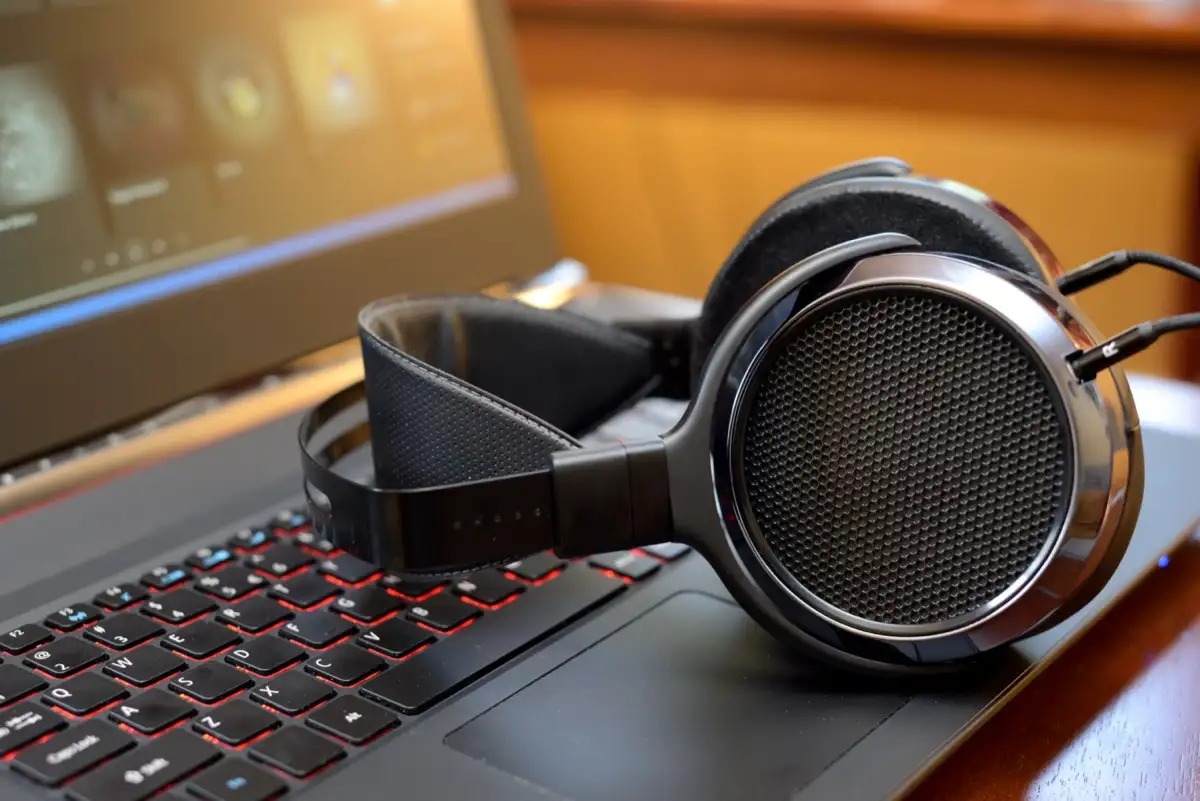
Connecting the Headset
Begin by carefully reconnecting your headset to the device of your choice, whether it's a computer, gaming console, mobile device, or any other compatible hardware. If your headset utilizes wired connectivity, ensure that the cables are securely plugged into the appropriate ports, minimizing the risk of accidental disconnection. For wireless headsets, follow the manufacturer's instructions to pair the device with your preferred devices, ensuring a stable and reliable connection.
Installing Software and Drivers
If your headset requires specific software or drivers for advanced features, customization, or enhanced compatibility, now is the time to install these components. Visit the manufacturer's official website to download the latest drivers or software updates, ensuring that your headset is equipped with the most current and optimized functionalities. By installing the necessary software, you can unlock the full potential of your headset and tailor its settings to suit your preferences.
Configuring Audio Settings
Once the physical connection and software installation are complete, it's essential to configure the audio settings on your devices to ensure optimal performance. Navigate to the audio settings or control panel on your computer, gaming console, or mobile device, and select your headset as the default audio output and input device. Adjust the volume levels and equalizer settings to your liking, fine-tuning the audio output to deliver an immersive and personalized listening experience.
Testing and Calibration
Before diving into your favorite activities, take a moment to test your reinstalled headset. Play a sample of your preferred music, engage in a gaming session, or make a test call to assess the audio quality, microphone functionality, and overall performance of the headset. Use this opportunity to calibrate the settings further, ensuring that the audio output is crisp, the microphone captures clear vocals, and the overall experience meets your expectations.
By diligently following these steps to reinstall your headset, you pave the way for a rejuvenated audio experience. Whether you're immersing yourself in the world of gaming, enjoying your favorite tunes, or engaging in professional communication, a freshly installed headset sets the stage for seamless connectivity, optimal performance, and enhanced comfort. With your headset now reinstalled and ready to deliver an exceptional audio experience, you can dive back into your activities with renewed enthusiasm and clarity.
Conclusion
In conclusion, the process of reinstalling your headset is a transformative journey that breathes new life into your beloved audio companion. By meticulously following the steps outlined in this guide, you've taken proactive measures to address underlying issues, ensure hygiene and comfort, and set the stage for an optimal audio experience.
The journey began with the critical step of uninstalling the headset, where you disconnected the device, removed software drivers, reset Bluetooth pairings, and diligently cleaned the connectors and ports. This proactive approach laid the foundation for a fresh start, addressing potential software conflicts and connectivity issues.
The subsequent phase of cleaning the headset was equally pivotal, as it not only enhanced the aesthetics of the device but also played a significant role in its overall performance. By delicately cleaning the ear pads, headband, surfaces, microphone, controls, and connectors, you've not only ensured hygiene but also minimized the risk of technical issues, discomfort, and audio degradation.
Finally, the reinstallation phase marked the culmination of your efforts, where you carefully reconnected the headset, installed necessary software and drivers, configured audio settings, and meticulously tested the device. This holistic approach ensures that your headset is primed to deliver an exceptional audio experience, tailored to your preferences and activities.
As you embark on this rejuvenating journey, it's essential to remember that the process of reinstalling your headset is not merely a technical endeavor but a testament to the care and attention you invest in your audio experience. Whether you're a dedicated gamer, an audiophile, or a professional communicator, a freshly installed headset sets the stage for immersive, comfortable, and seamless audio interactions.
With your headset now reinstalled and ready to enrich your daily experiences, you can embrace your favorite activities with renewed enthusiasm and clarity. Whether you're delving into virtual realms, savoring your favorite music, or engaging in productive conversations, your headset stands as a reliable companion, delivering uncompromising audio quality and comfort.
So, as you don your freshly installed headset and embark on your next adventure, may the audio clarity, comfort, and seamless connectivity elevate your experiences and inspire new moments of joy and immersion. Here's to a rejuvenated audio journey, empowered by the simple yet transformative act of reinstalling your trusted headset.