Introduction
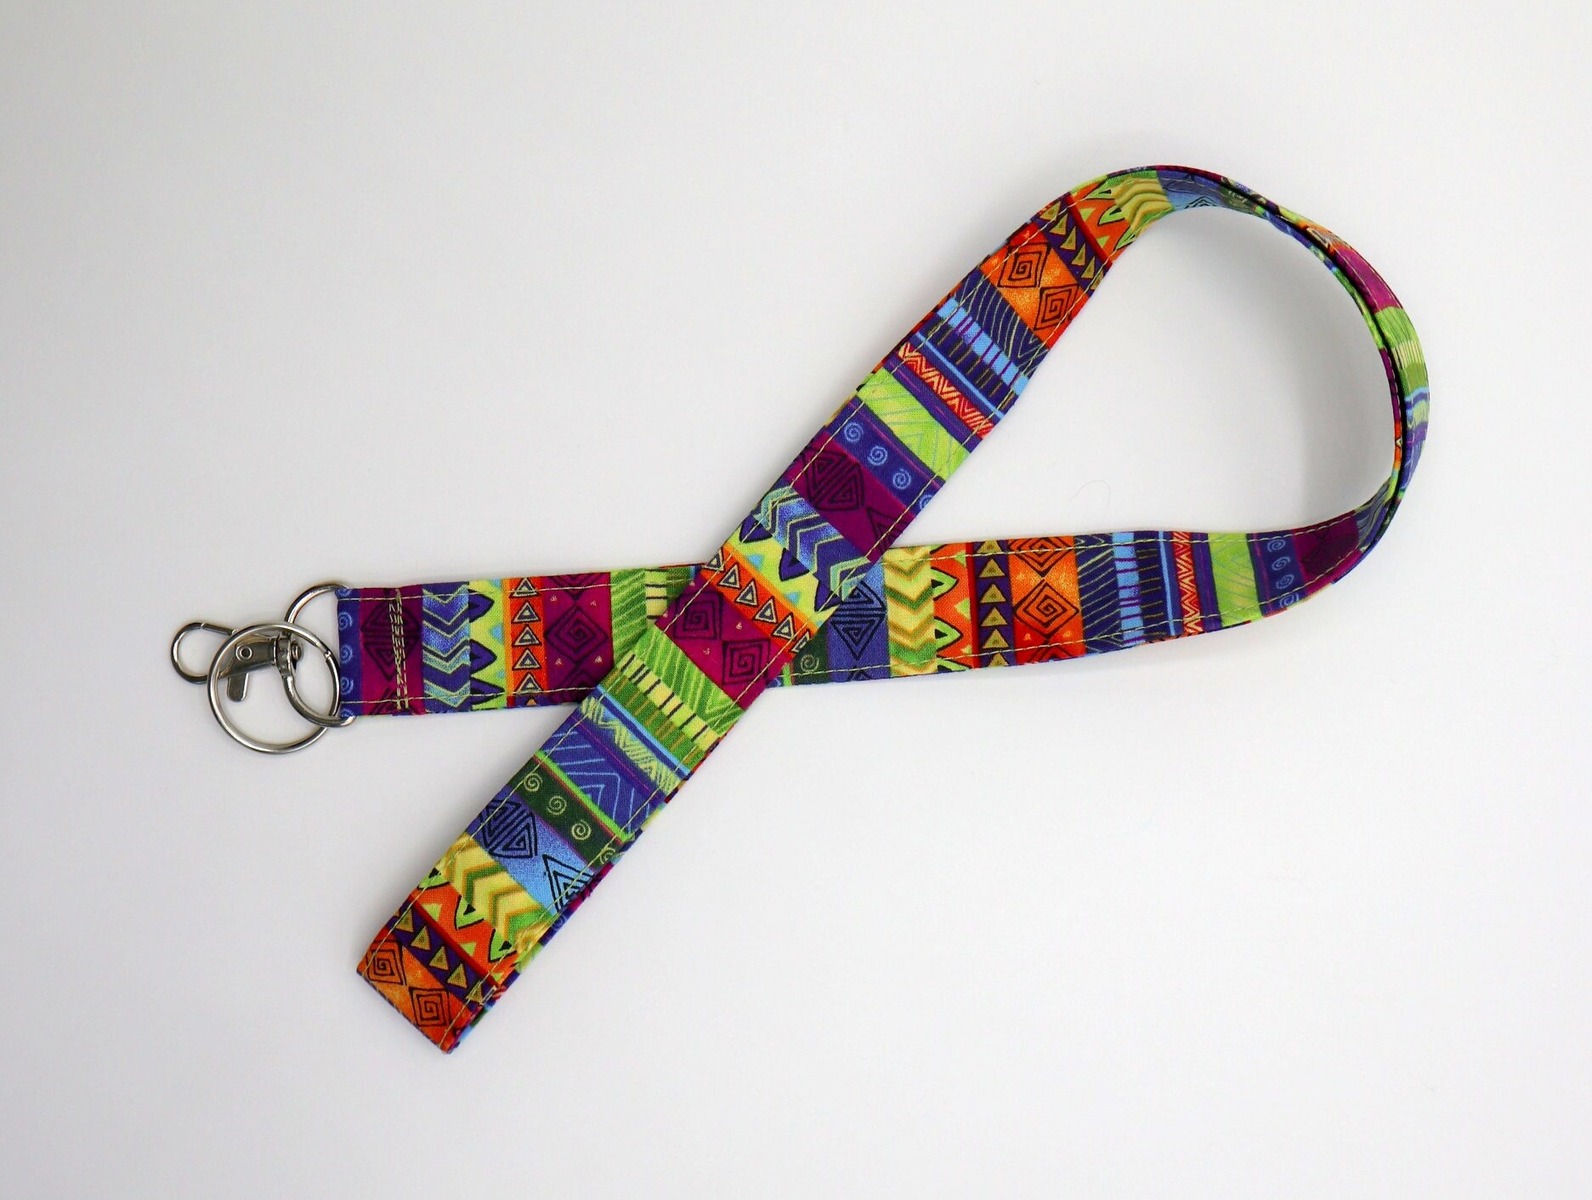
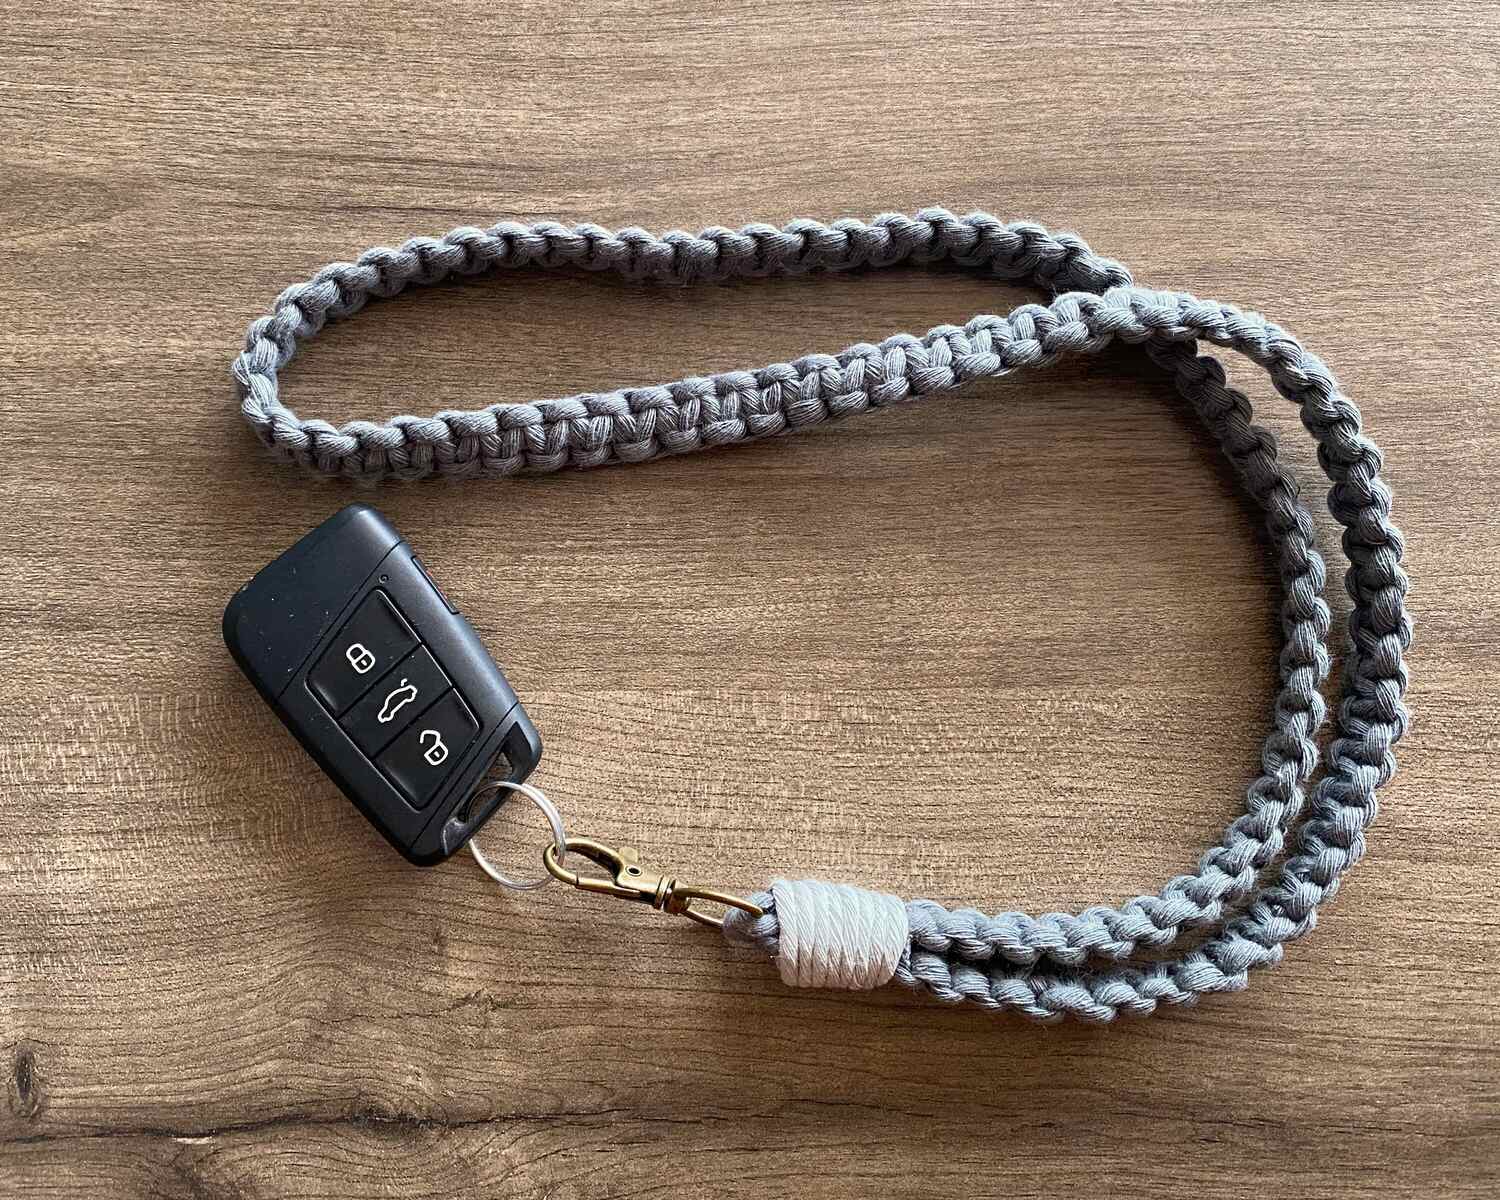
Lanyards are versatile accessories that serve both practical and decorative purposes. They are commonly used to hold identification badges, keys, and other small items, making them popular among professionals, students, and event attendees. While lanyards are readily available for purchase, creating your own fabric lanyard can be a rewarding and personalized endeavor. In this step-by-step guide, we will explore the process of crafting a unique fabric lanyard, allowing you to infuse your individual style and creativity into this everyday accessory.
Creating a fabric lanyard provides an opportunity to showcase your craftsmanship and express your personality through the choice of fabric, colors, and decorative elements. Whether you are a seasoned crafter or a novice enthusiast, this guide will walk you through the process, offering valuable tips and techniques to help you achieve a professional-looking result. From selecting the perfect fabric to adding embellishments and attaching a clasp, each step contributes to the creation of a one-of-a-kind lanyard that reflects your personal flair.
By embarking on this creative journey, you can unleash your imagination and experiment with different textures, patterns, and styles. Whether you prefer a minimalist design or a bold, eye-catching look, the possibilities are endless when it comes to designing your fabric lanyard. Additionally, crafting your own lanyard allows you to customize its length and width to suit your specific needs, ensuring that it not only complements your outfit but also provides the functionality you require.
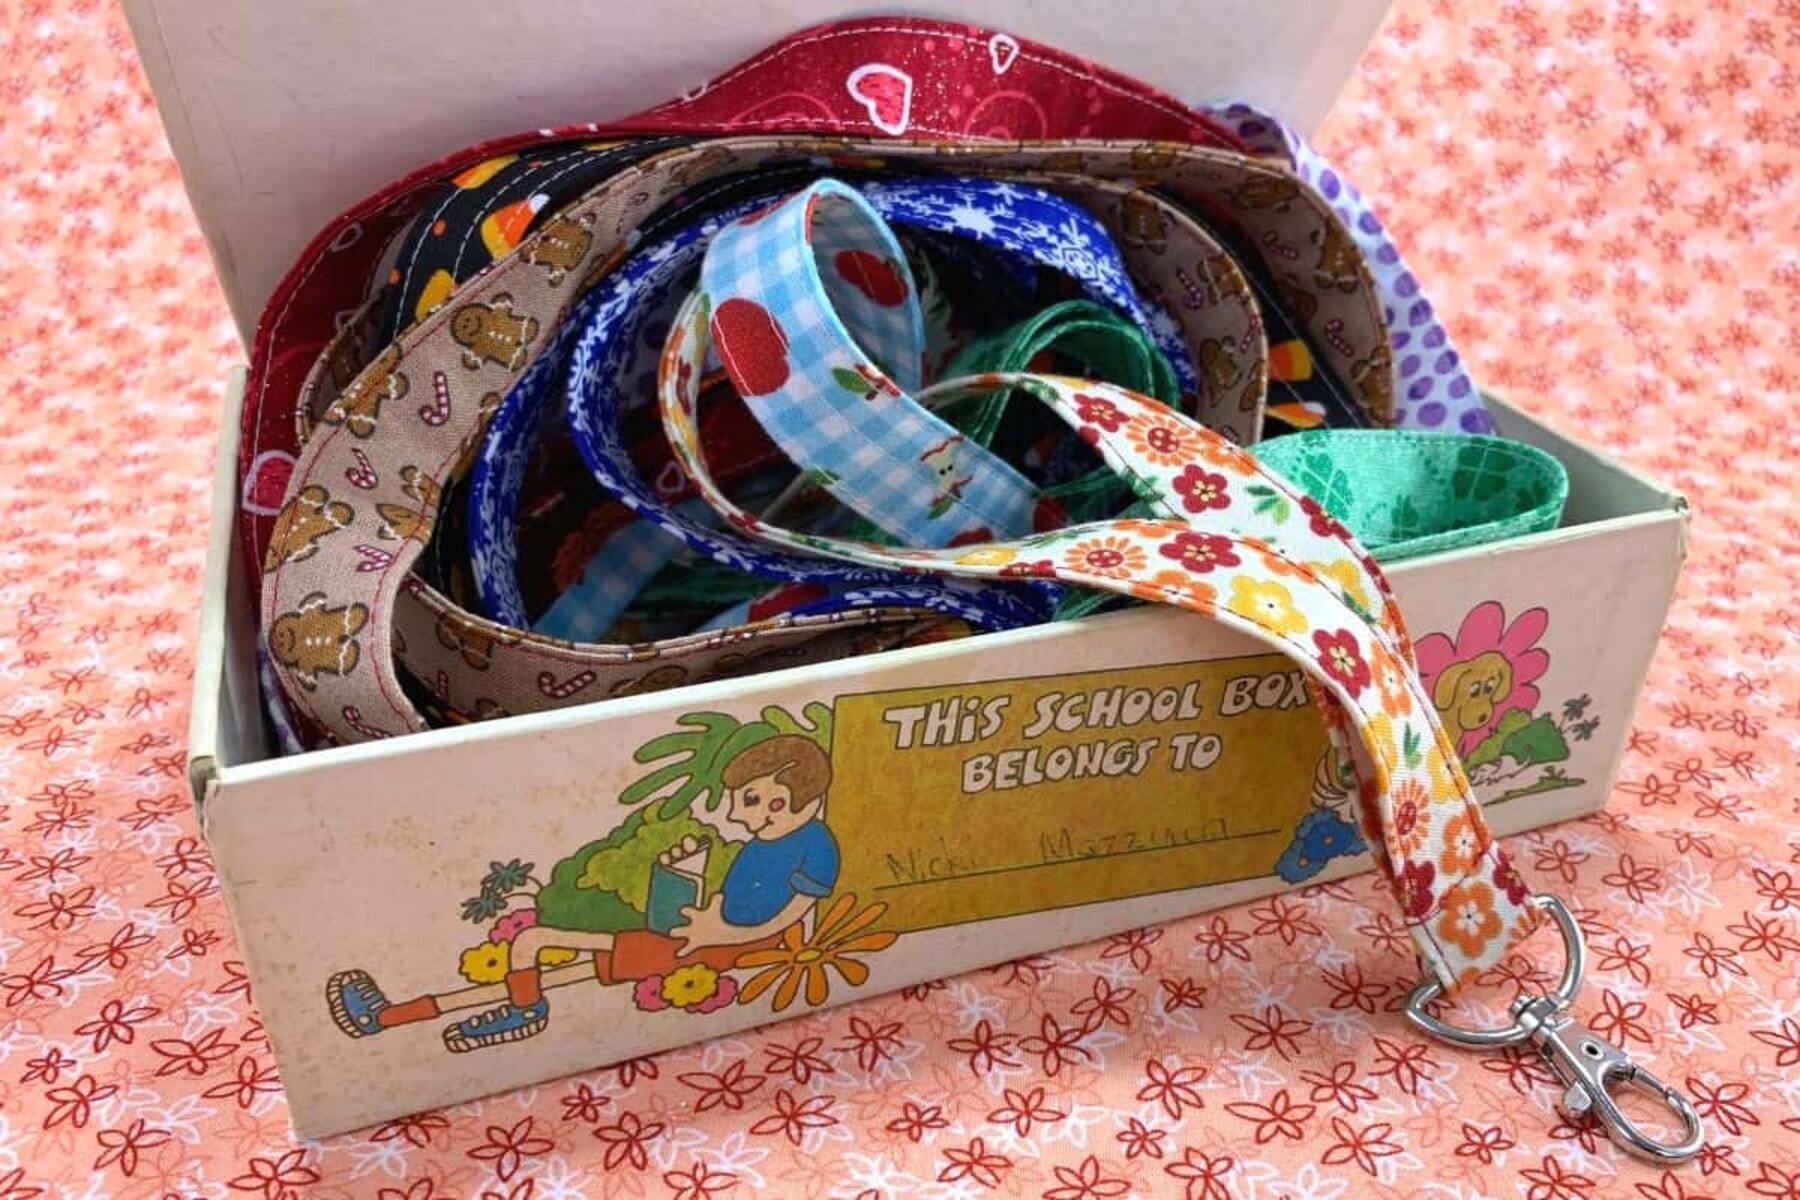
As we delve into the intricacies of lanyard creation, you will discover the joy of transforming a few simple materials into a practical and aesthetically pleasing accessory. Whether you plan to make lanyards for personal use, as gifts for friends and family, or to sell as part of a small business venture, this guide equips you with the knowledge and inspiration needed to bring your creative vision to life. So, gather your materials, clear a workspace, and let's embark on this exciting journey of crafting fabric lanyards that exude charm and individuality.
Materials Needed
To embark on the creative journey of crafting fabric lanyards, you will need the following materials and tools:
1. Fabric:
Select a fabric that resonates with your personal style and desired level of durability. Cotton, polyester, and nylon are popular choices for lanyards due to their strength and versatility. Consider the weight and texture of the fabric, as these factors will influence the overall look and feel of the lanyard. Additionally, you may opt for solid colors, vibrant prints, or textured fabrics to achieve the desired aesthetic appeal.
2. Scissors:
A pair of sharp fabric scissors is essential for precise cutting. Ensure that the scissors are suitable for cutting through the chosen fabric without causing fraying or uneven edges. This will contribute to the professional finish of the lanyard.
3. Ruler or Measuring Tape:
Accurate measurements are crucial for creating a well-proportioned lanyard. A ruler or measuring tape will enable you to determine the desired length and width of the fabric, ensuring that the lanyard fits comfortably around the neck and serves its intended purpose.
4. Sewing Machine or Needle and Thread:
Depending on your preference and expertise, you can either use a sewing machine or hand-sew the fabric to construct the lanyard. A sewing machine offers efficiency and precision, while hand-sewing allows for greater control and attention to detail. Whichever method you choose, ensure that the thread color complements the fabric for a polished look.
5. Decorative Elements (Optional):
If you wish to embellish the lanyard, consider incorporating decorative elements such as ribbons, buttons, beads, or patches. These additions can elevate the lanyard's visual appeal and showcase your creativity. Be sure to select embellishments that are securely attached and do not compromise the lanyard's functionality.
6. Lanyard Hardware:
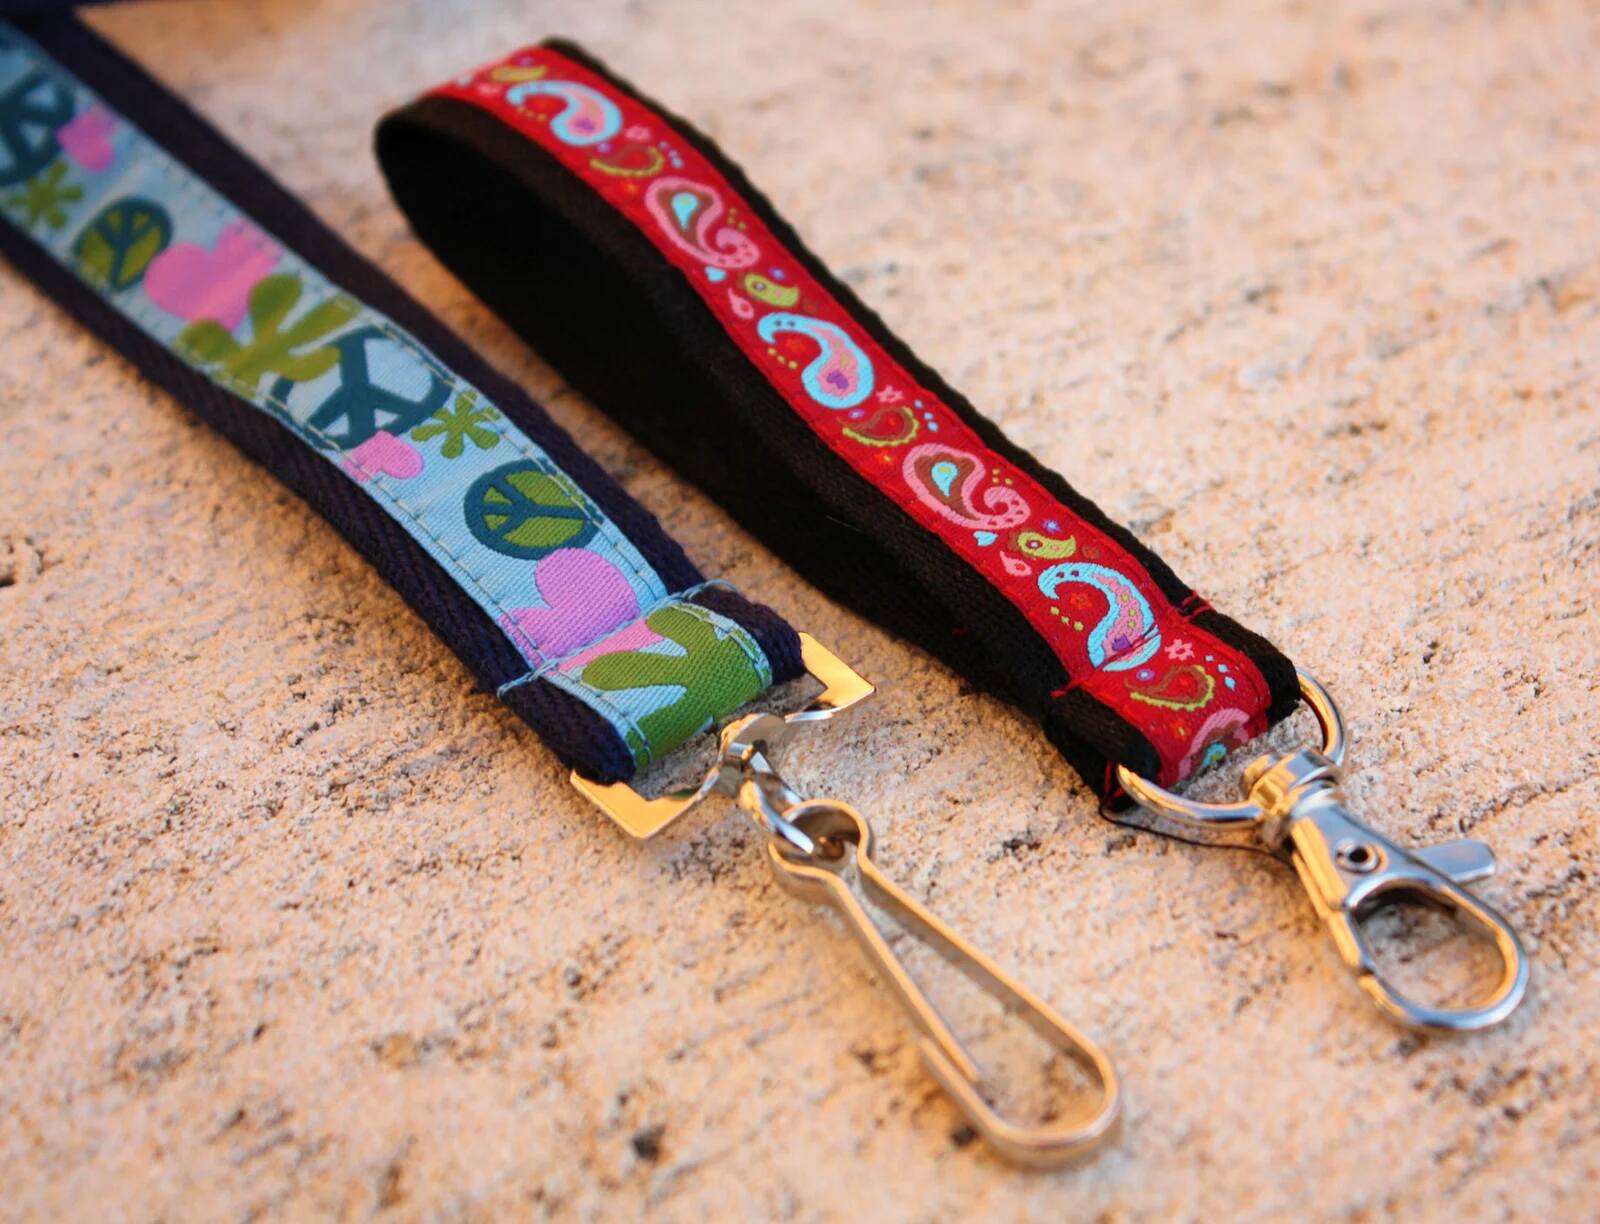
To complete the lanyard, you will need lanyard hardware, such as a swivel hook, lobster clasp, or key ring. These components enable the lanyard to securely hold items while allowing for easy attachment and removal. Choose hardware that aligns with the intended use of the lanyard and complements the overall design.
7. Iron and Ironing Board (Optional):
If working with fabric that wrinkles easily, having an iron and ironing board on hand can ensure that the fabric is smooth and free of creases before cutting and sewing. This step contributes to the professional finish of the lanyard.
Gathering these materials and tools will set the stage for an enjoyable and fulfilling lanyard-making experience, allowing you to explore your creativity and bring your vision to fruition. With these essentials at your disposal, you are ready to embark on the exciting process of crafting fabric lanyards that exude charm and individuality.
Step 1: Choosing the Right Fabric
The first and perhaps most crucial step in creating a fabric lanyard is selecting the appropriate fabric. The fabric not only determines the lanyard's visual appeal but also influences its durability and functionality. When choosing the right fabric, several factors should be considered to ensure that the finished lanyard meets both aesthetic and practical requirements.
Consider the Fabric Type:
The type of fabric plays a significant role in determining the lanyard's overall look and feel. Cotton fabric is known for its softness and breathability, making it comfortable to wear for extended periods. Polyester fabric, on the other hand, offers durability and color retention, ideal for lanyards subjected to frequent use. Nylon fabric is renowned for its strength and resilience, making it suitable for heavy-duty lanyards. By considering the intended use of the lanyard, you can select a fabric type that aligns with the desired level of comfort and durability.
Evaluate the Fabric Weight:
Fabric weight, often measured in ounces per square yard, influences the lanyard's drape and sturdiness. Lighter weight fabrics are suitable for creating lightweight, flexible lanyards, while heavier fabrics provide added structure and resilience. The fabric weight should be chosen based on the desired functionality of the lanyard, ensuring that it comfortably supports the items it will carry without stretching or distorting.
Explore Texture and Pattern:
The texture and pattern of the fabric contribute to the lanyard's visual appeal and can be tailored to reflect personal style preferences. Smooth, plain fabrics offer a minimalist and versatile look, while textured or patterned fabrics add visual interest and individuality to the lanyard. Consider incorporating stripes, polka dots, floral prints, or geometric patterns to infuse the lanyard with character and charm.
Reflect on Color and Print:
Color selection is a key aspect of fabric choice, as it significantly impacts the lanyard's aesthetic appeal. Solid colors offer a classic and timeless look, while vibrant hues or intricate prints can make a bold fashion statement. The color and print of the fabric should harmonize with personal style, outfit choices, and the intended use of the lanyard. Additionally, considering colorfastness is essential to ensure that the lanyard maintains its vibrant appearance over time.
By carefully considering these factors, you can make an informed decision when selecting the fabric for your lanyard. The chosen fabric should not only align with your personal style and preferences but also provide the necessary durability and functionality to create a lanyard that is both visually appealing and practical. With the right fabric in hand, you are ready to embark on the next steps of crafting a custom fabric lanyard that embodies your unique creativity and style.
Step 2: Measuring and Cutting the Fabric
Accurate measurements and precise cutting are essential steps in creating a well-crafted fabric lanyard. Before cutting the fabric, it is important to determine the desired length and width of the lanyard based on its intended use and personal preferences. Here's a detailed guide to the measuring and cutting process:
1. Measure the Length:
Using a ruler or measuring tape, determine the desired length of the lanyard. Consider the typical length of commercially available lanyards as a reference, or tailor the measurement to your specific needs. Whether you prefer a shorter lanyard for practicality or a longer one for added versatility, ensure that the chosen length aligns with your intended use.
2. Determine the Width:
Next, decide on the width of the lanyard based on comfort and functionality. A wider lanyard offers a substantial surface for showcasing decorative elements and patterns, while a narrower one provides a sleek and minimalist look. Consider the weight of items the lanyard will hold and the level of comfort you seek when making this decision.
3. Mark and Cut the Fabric:
Once the length and width measurements are established, use fabric chalk or a washable fabric marker to mark the dimensions directly onto the fabric. Ensure that the markings are clear and accurately represent the intended size of the lanyard. Using sharp fabric scissors, carefully cut along the marked lines to create the fabric strip for the lanyard.
4. Check for Even Edges:
After cutting the fabric, inspect the edges to ensure they are even and free from fraying. If necessary, trim any uneven or frayed sections to achieve a clean and professional finish. This step contributes to the overall aesthetic appeal of the lanyard and ensures a polished final product.
5. Optional: Consider Additional Fabric Pieces:
Depending on the desired lanyard design, you may need to cut additional fabric pieces for decorative elements or attachment points. For example, if incorporating a fabric loop to hold a badge or key, measure and cut a separate piece of fabric to accommodate this feature.
By meticulously measuring and cutting the fabric according to the predetermined dimensions, you set the foundation for a well-proportioned and visually appealing fabric lanyard. These precise steps ensure that the lanyard not only meets your functional requirements but also reflects your attention to detail and craftsmanship. With the fabric accurately measured and cut, you are ready to proceed to the next stages of crafting a customized fabric lanyard that captures your individual style and creativity.
Step 3: Adding Decorative Elements
Once the fabric strip for the lanyard has been cut to the desired dimensions, the next step involves adding decorative elements to infuse the lanyard with personality and visual appeal. Whether aiming for a minimalist, understated look or a vibrant, embellished design, the addition of decorative elements allows for customization and creative expression. Here's a detailed guide to incorporating decorative elements into the fabric lanyard:
1. Embellishment Selection:
Carefully consider the decorative elements that align with your aesthetic vision for the lanyard. Options include ribbons, buttons, beads, patches, or fabric appliques. Choose embellishments that resonate with your personal style and complement the chosen fabric, ensuring a harmonious and cohesive design.
2. Placement and Arrangement:
Plan the placement and arrangement of the decorative elements on the fabric strip. Visualize the desired look and consider factors such as symmetry, balance, and visual impact. Whether opting for a single focal point or a scattering of embellishments, thoughtful placement is key to achieving a polished and cohesive design.
3. Attachment Method:
Select the appropriate method for attaching the decorative elements to the fabric strip. Depending on the chosen embellishments and fabric type, options include sewing, fabric glue, or heat-activated adhesive. Ensure that the attachment method securely fastens the embellishments while maintaining the integrity of the fabric.
4. Sewing or Adhering Embellishments:
If sewing the embellishments, use a needle and thread that complement the fabric and decorative elements. Employ precise stitching techniques to securely attach the embellishments without compromising the fabric's structural integrity. Alternatively, if using fabric glue or heat-activated adhesive, follow the manufacturer's instructions for a durable and lasting bond.
5. Consider Functional Aspects:
While adding decorative elements, consider the lanyard's functional aspects. Ensure that the embellishments do not obstruct the lanyard's ability to hold items securely or cause discomfort when worn. Prioritize both visual appeal and practical functionality when incorporating decorative elements.
By thoughtfully integrating decorative elements, you elevate the fabric lanyard from a simple accessory to a personalized statement piece. The addition of embellishments allows for creative expression and customization, transforming the lanyard into a reflection of your unique style and craftsmanship. With the decorative elements seamlessly integrated, the fabric lanyard evolves into a captivating and individualized accessory that exudes charm and character.
Step 4: Sewing the Fabric Together
Sewing the fabric together is a pivotal step in the creation of a fabric lanyard, as it brings the individual components into a cohesive and functional form. Whether using a sewing machine or hand-sewing, the process of joining the fabric strip requires precision and attention to detail to ensure a durable and polished result.
1. Aligning the Fabric:
Begin by aligning the cut ends of the fabric strip with precision, ensuring that the edges are even and neatly matched. This step sets the foundation for a seamless seam and contributes to the overall professional finish of the lanyard.
2. Selecting the Stitch:
Choose a suitable stitch pattern based on the fabric type and your desired aesthetic. For sturdy fabrics, a straight stitch provides strength and durability, while decorative stitches can add visual interest to lighter weight fabrics. Ensure that the selected stitch complements the fabric and contributes to the lanyard's structural integrity.
3. Stitching Technique:
Execute the chosen stitch with care and precision, maintaining a consistent seam allowance to create a straight and secure seam. Whether using a sewing machine or hand-sewing, attention to detail is crucial to achieve a clean and polished seam that withstands daily use.
4. Reinforcing Stress Points:
Pay special attention to reinforcing stress points, such as the area near the clasp attachment. Adding extra stitches or backstitching at these points enhances the lanyard's strength and longevity, ensuring that it can securely hold items without compromising its integrity.
5. Finishing Touches:
After sewing the fabric together, trim any excess threads and inspect the seam for consistency and strength. If using a sewing machine, backstitching at the beginning and end of the seam reinforces the stitches and prevents unraveling. For hand-sewn seams, knotting the thread securely ensures a lasting and durable finish.
By meticulously sewing the fabric together, you transform the individual fabric strip into a functional and visually appealing lanyard. The precision and care invested in this step contribute to the overall quality and durability of the lanyard, ensuring that it serves its intended purpose with style and reliability. With the fabric seamlessly joined, the lanyard takes shape as a well-crafted accessory that reflects your attention to detail and dedication to creating a personalized and charming fabric lanyard.
Step 5: Attaching the Clasp
Attaching the clasp is the final step in completing the fabric lanyard, and it plays a crucial role in ensuring the lanyard's functionality and usability. The clasp, whether a swivel hook, lobster clasp, or key ring, provides the means to securely hold items while allowing for convenient attachment and detachment. Here's a detailed guide to the process of attaching the clasp to the fabric lanyard:
-
Selecting the Clasp:
Before attaching the clasp, carefully consider the intended use of the lanyard and select the appropriate clasp type. A swivel hook offers flexibility and easy item attachment, while a lobster clasp provides secure closure and quick release. Key rings are ideal for holding keys and other items with small loops. Choose a clasp that aligns with the lanyard's purpose and complements its overall design. -
Positioning the Clasp:
Determine the ideal placement for the clasp on the fabric lanyard. Typically, the clasp is attached near one end of the lanyard to allow for easy attachment to items. Consider the lanyard's length and the expected location of the items it will hold to ensure convenient usage. -
Reinforcing the Attachment Point:
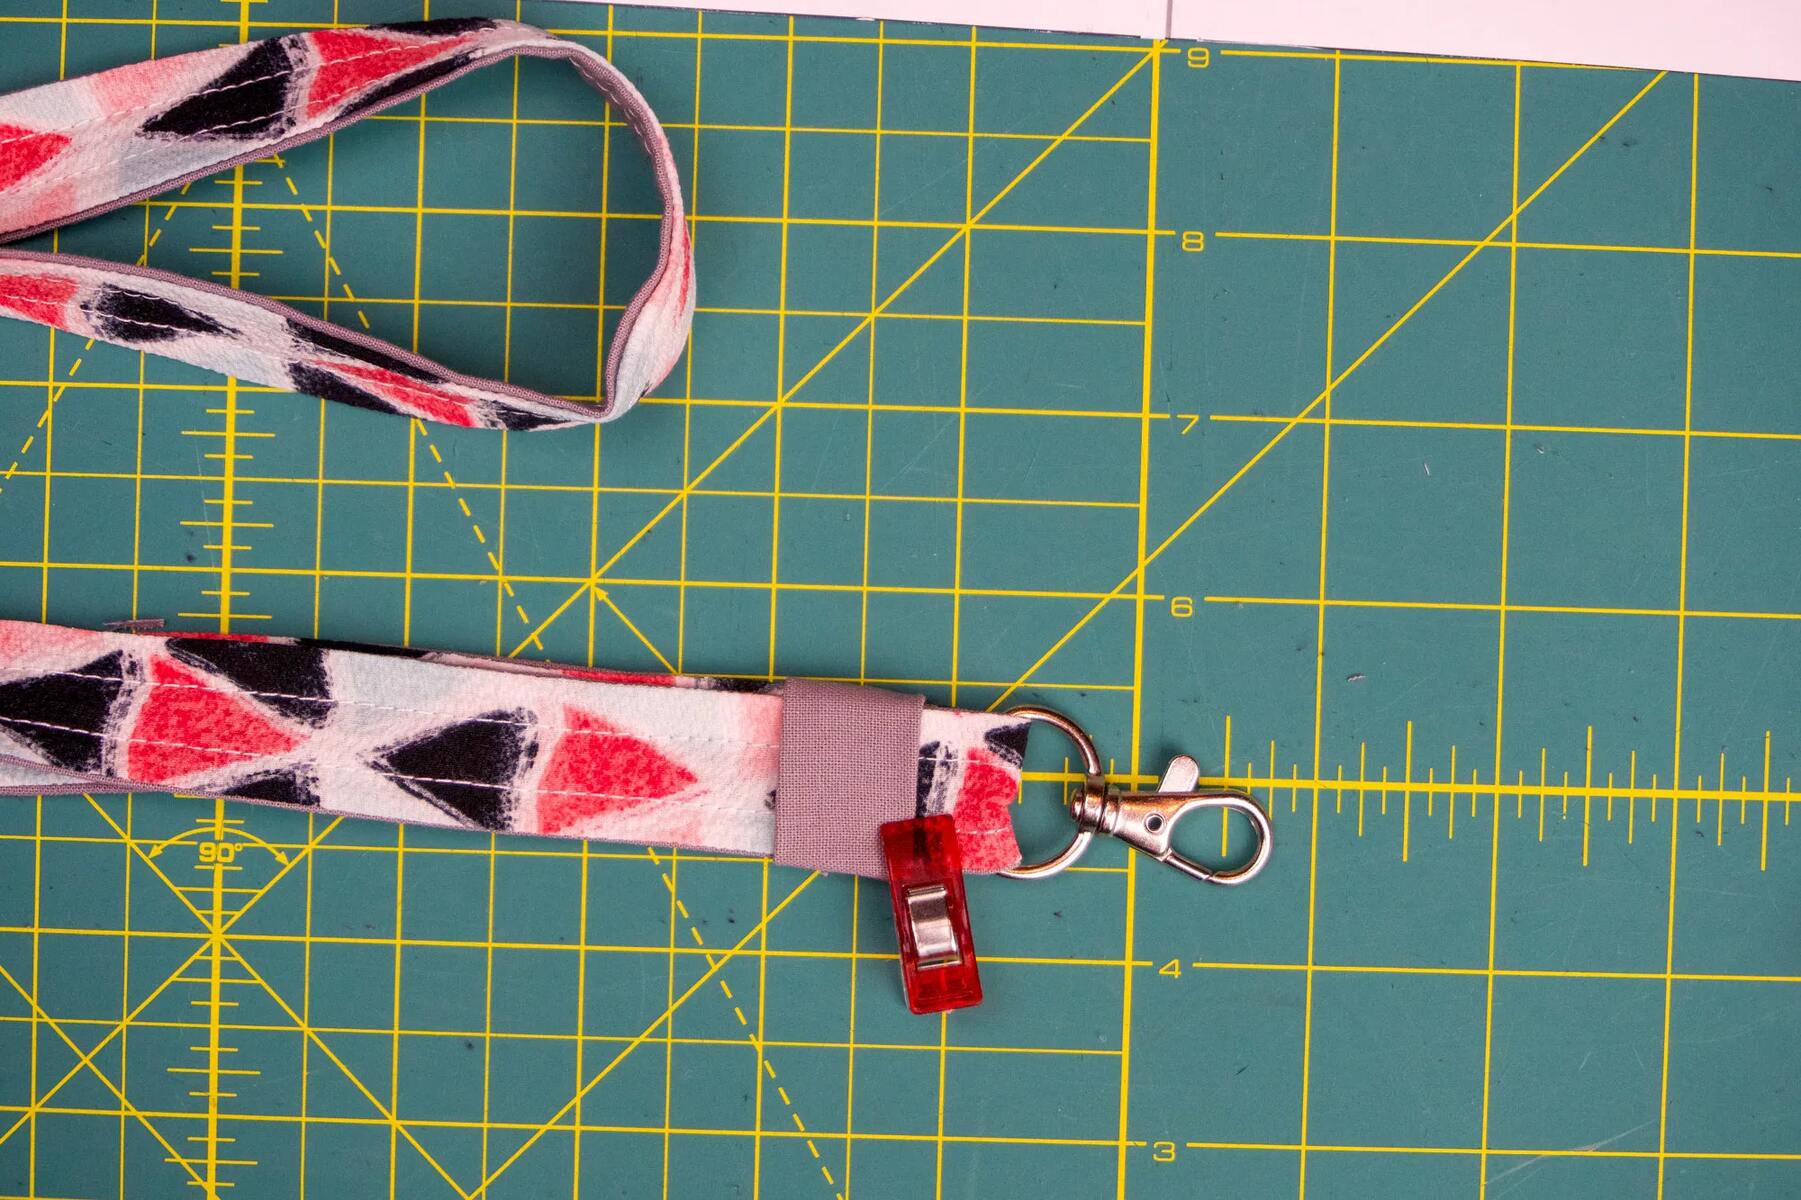
To reinforce the fabric at the attachment point, consider folding the end of the fabric strip over the clasp's attachment mechanism. This creates a sturdy and durable attachment point that withstands regular use without compromising the fabric's integrity. -
Sewing or Attaching the Clasp:
Depending on the clasp type and fabric thickness, use a sewing machine or hand-sew the attachment point to secure the clasp in place. Ensure that the stitches are strong and consistent, providing a reliable connection between the fabric and the clasp. If using hardware that requires additional reinforcement, consider adding extra stitches or using a fabric glue for added security. -
Testing the Attachment:
After attaching the clasp, test its functionality by gently tugging on the fabric to ensure that the attachment is secure. Verify that the clasp opens and closes smoothly, allowing for easy attachment and removal of items. This step ensures that the lanyard is ready for practical use and can reliably hold items without the risk of detachment.
By methodically attaching the clasp to the fabric lanyard, you finalize the creation of a functional and aesthetically pleasing accessory. The careful consideration given to selecting, positioning, and securing the clasp ensures that the lanyard not only complements your personal style but also provides the practical utility you require. With the clasp securely attached, the fabric lanyard becomes a versatile and reliable accessory that reflects your attention to detail and dedication to crafting a customized and charming lanyard.
Conclusion
In conclusion, the art of creating fabric lanyards transcends mere crafting; it embodies a journey of self-expression, creativity, and practicality. By following the step-by-step guide outlined in this comprehensive tutorial, you have embarked on a fulfilling endeavor that allows you to infuse your individual style and personality into a versatile accessory. From selecting the perfect fabric to adding decorative elements, sewing the fabric together, and attaching the clasp, each stage of the lanyard-making process reflects your attention to detail and commitment to producing a personalized and functional accessory.
Crafting fabric lanyards offers a myriad of benefits beyond the tangible end product. It serves as a creative outlet, enabling you to explore different textures, colors, and design elements while honing your crafting skills. The process fosters a sense of accomplishment as you witness the transformation of basic materials into a practical and visually appealing accessory. Moreover, creating fabric lanyards provides an opportunity for meaningful customization, allowing you to tailor each lanyard to suit your unique preferences and requirements.
As you immerse yourself in the art of lanyard crafting, you are not only creating a practical accessory but also a symbol of your creativity and individuality. Whether you intend to use the lanyards for personal use, share them as thoughtful gifts, or even explore the potential for a small business venture, the skills and knowledge gained from this guide empower you to produce lanyards that resonate with charm and character.
Furthermore, the act of crafting fabric lanyards fosters a sense of mindfulness and relaxation, providing a therapeutic escape from the hustle and bustle of daily life. The tactile nature of working with fabric, the precision of measurements and cuts, and the satisfaction of seeing your creation come to life contribute to a holistic and gratifying crafting experience.
In essence, the creation of fabric lanyards is a testament to the fusion of practicality and creativity. It exemplifies the beauty of transforming simple materials into functional works of art that not only serve a purpose but also reflect the unique essence of their creator. As you continue to explore the world of crafting, may the skills and insights gained from this guide inspire you to embark on further creative endeavors, infusing every creation with the same spirit of charm and individuality that defines the art of crafting fabric lanyards.


