Choosing the Right Materials
When embarking on a lanyard project, selecting the right materials is crucial to ensuring the success and longevity of your creation. Here's a comprehensive guide to choosing the perfect materials for your lanyard project:
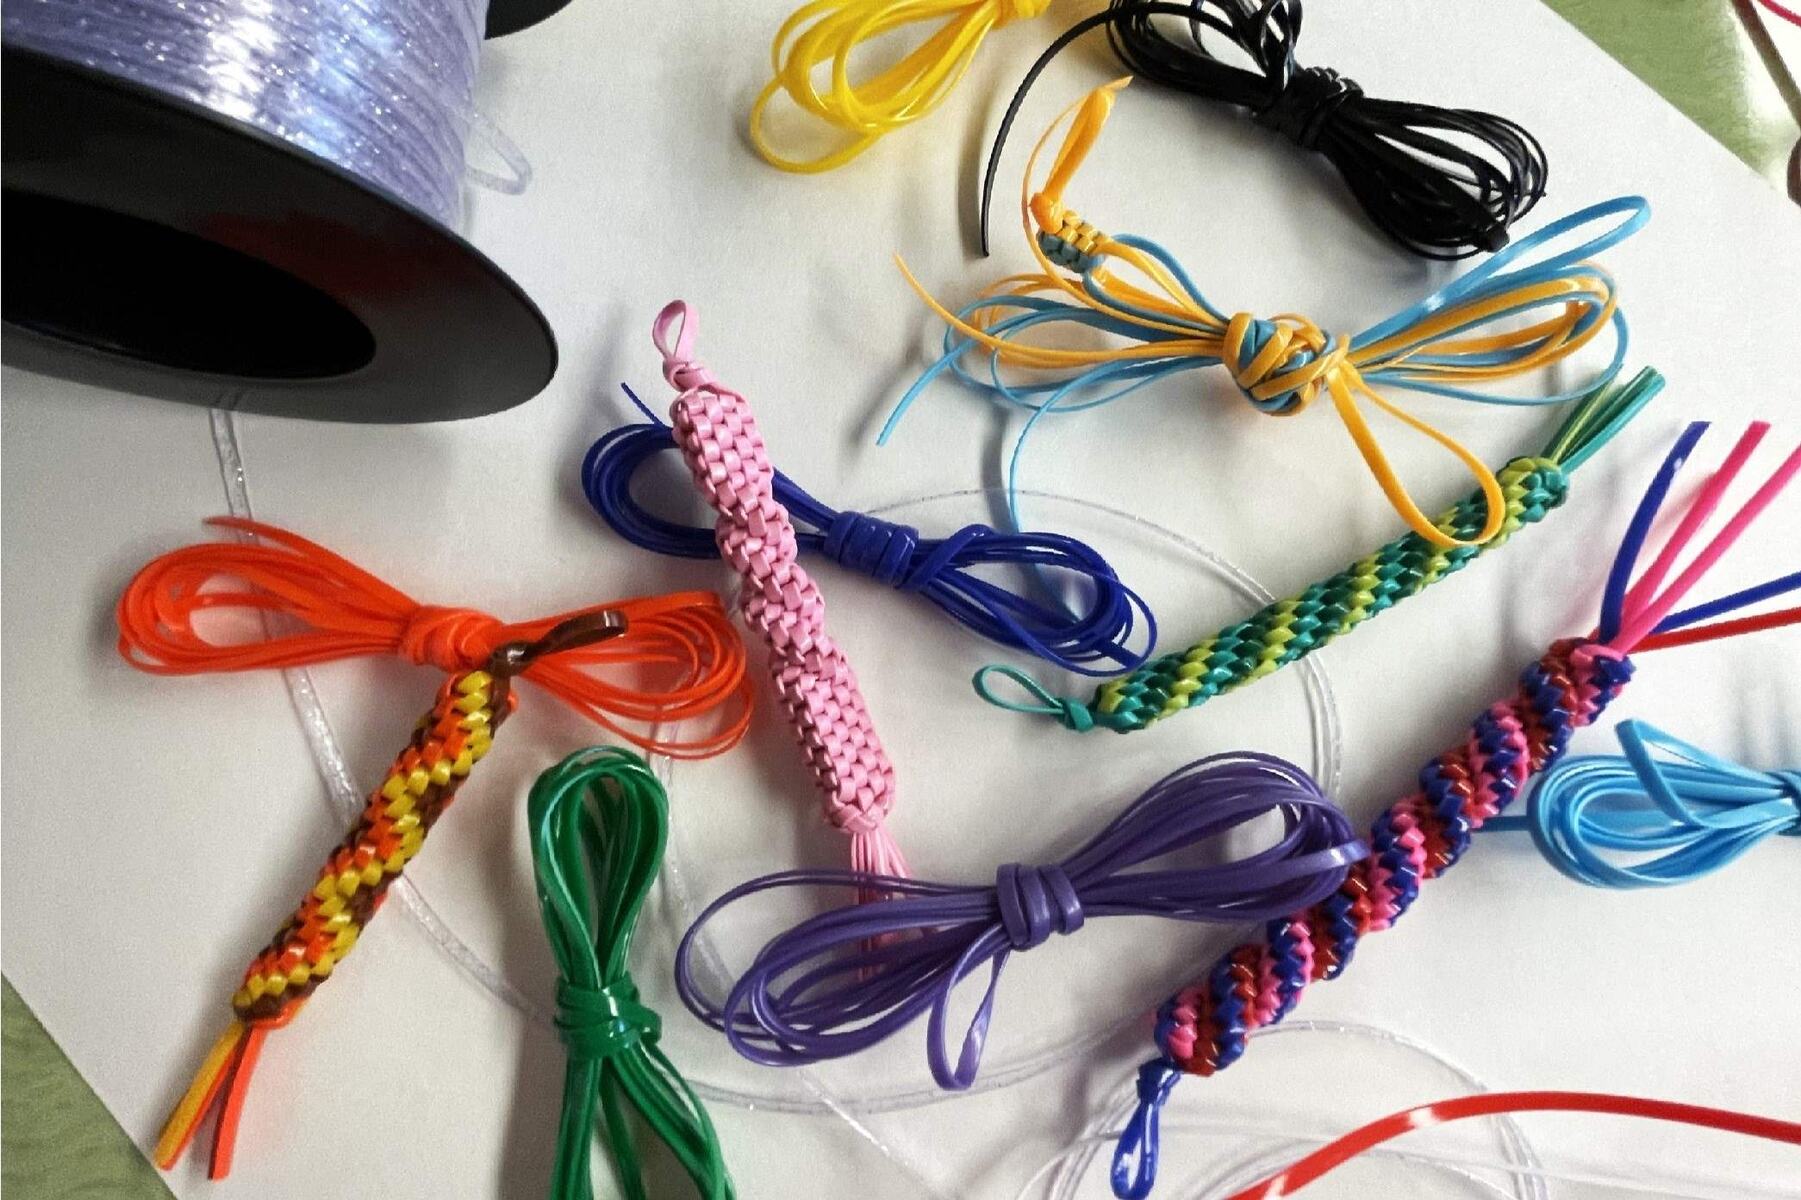
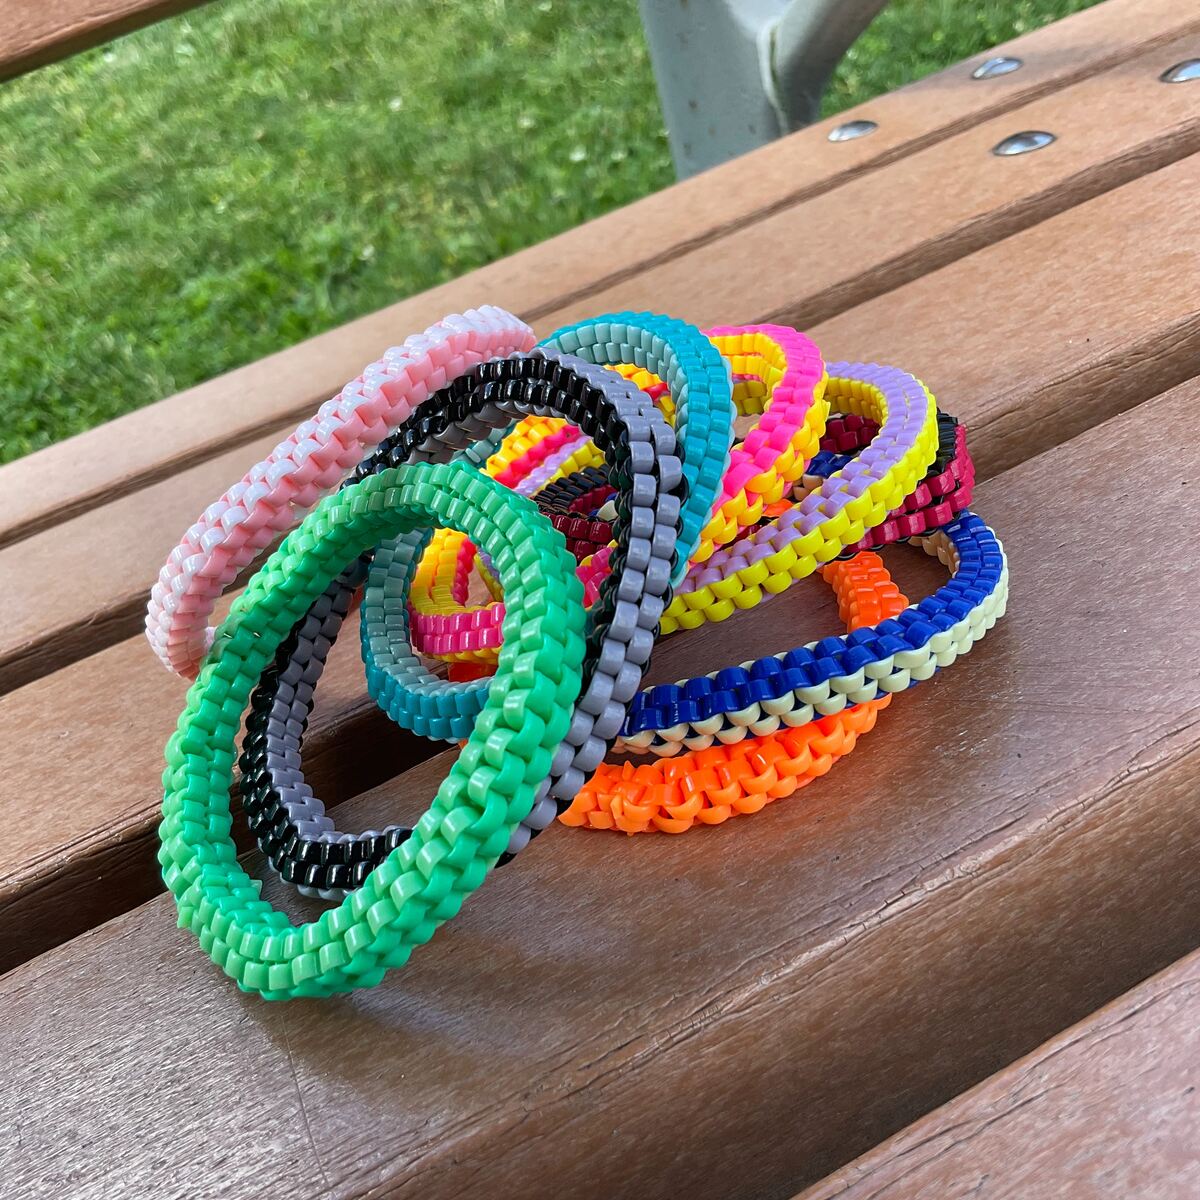
1. Choose the Right Lanyard Cord
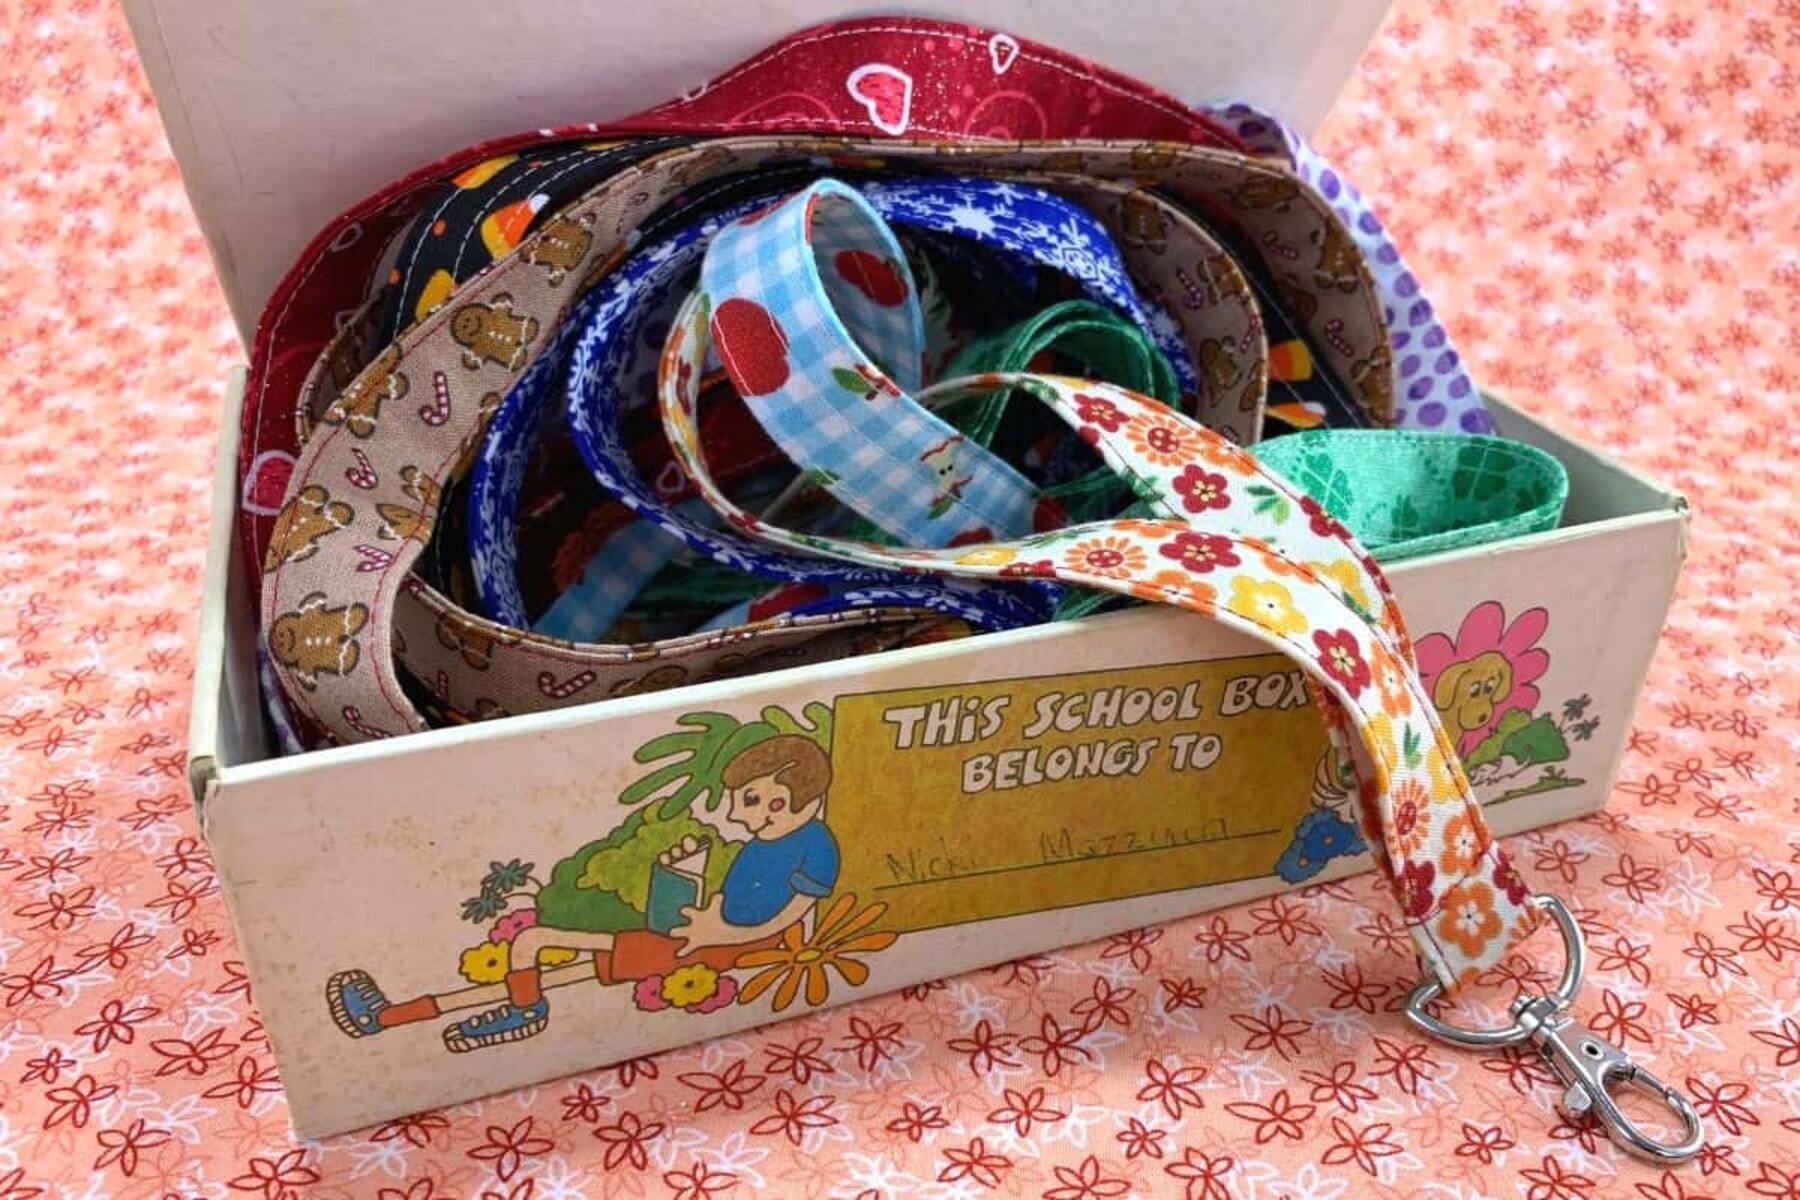
- Opt for a durable and visually appealing lanyard cord. Nylon and satin cords are popular choices due to their strength and vibrant colors.
- Consider the thickness of the cord based on the complexity of your design. Thicker cords are ideal for intricate patterns, while thinner ones work well for simpler designs.
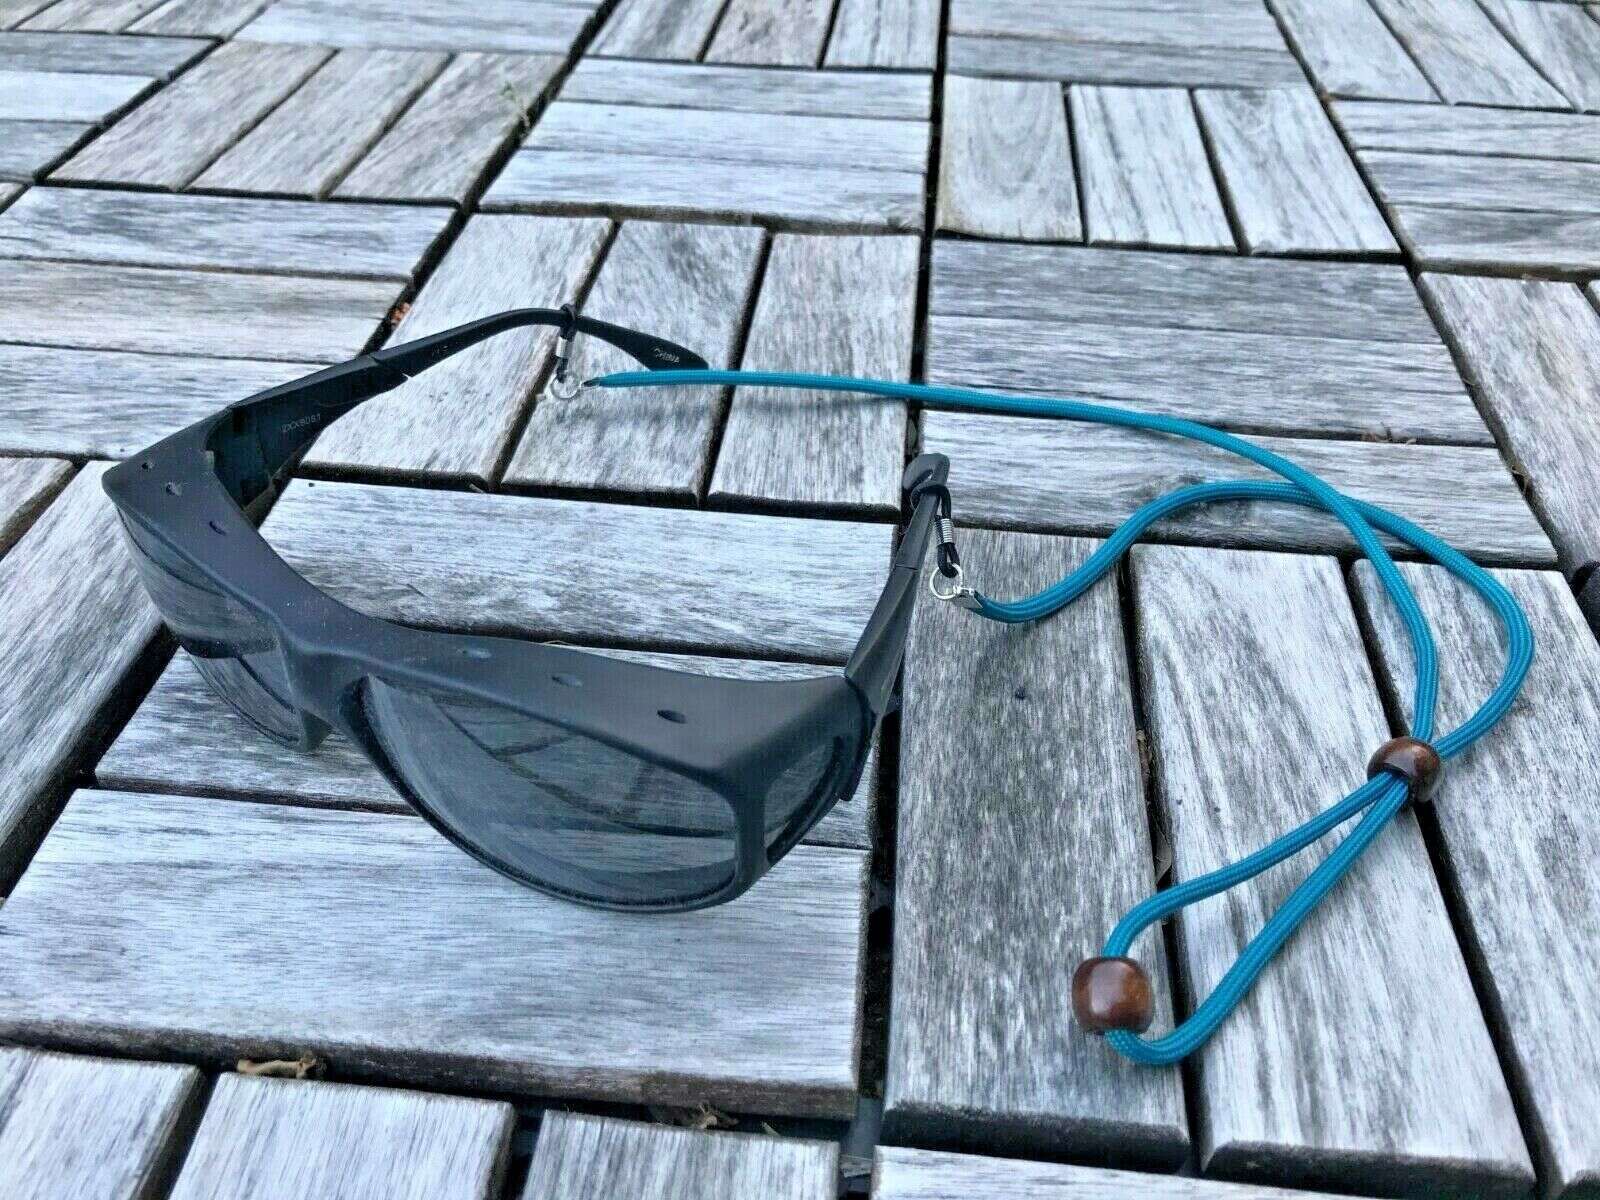
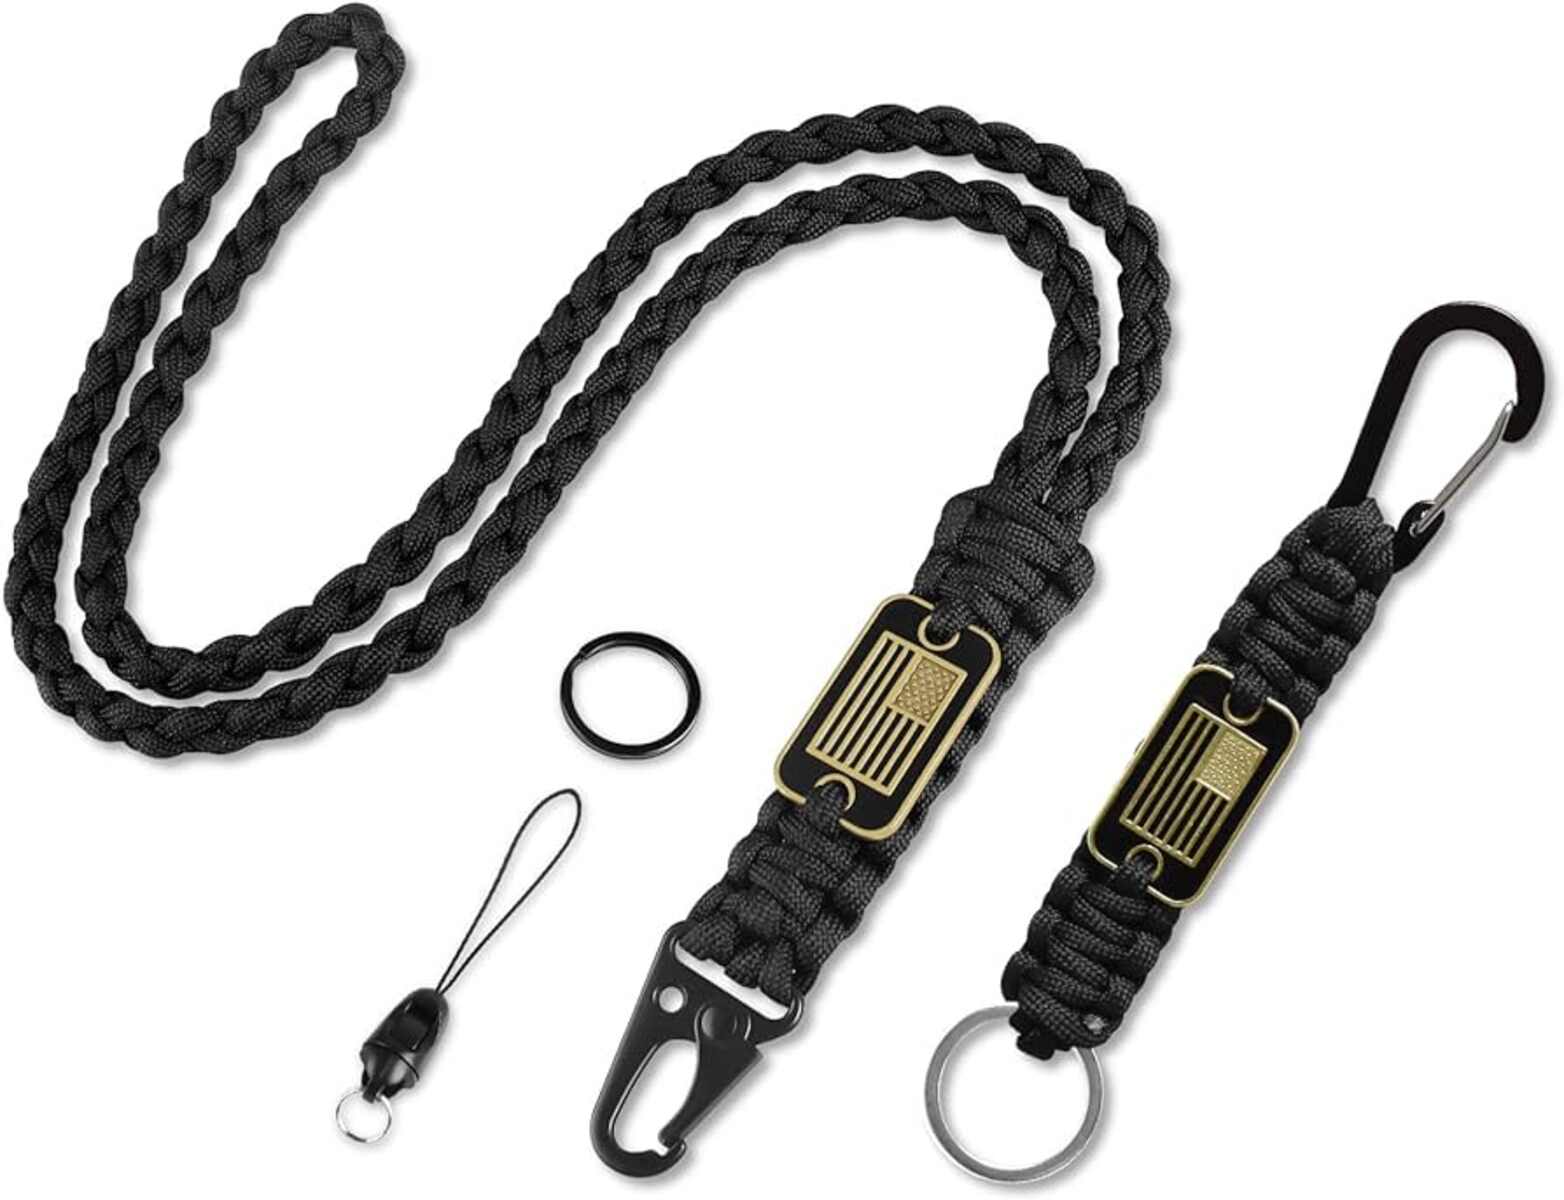
2. Select the Ideal Lanyard Hooks or Clips
- Assess the purpose of your lanyard to determine the appropriate hook or clip. Lobster clasps are versatile and secure, making them suitable for various applications.
- Choose from a range of materials, such as metal or plastic, based on your design aesthetic and functional requirements.
3. Pick the Right Beads or Charms (If Applicable)
- If you plan to incorporate beads or charms into your lanyard design, select ones that complement the overall look and feel.
- Consider the size and weight of the beads or charms to ensure they are compatible with the lanyard cord and won't compromise its integrity.
4. Consider Additional Embellishments
- Explore embellishments such as ribbons, rhinestones, or pendants to add a personal touch to your lanyard project.
- Ensure that these embellishments harmonize with the chosen lanyard cord and other components for a cohesive and visually appealing result.
By carefully considering these factors and selecting high-quality materials, you can set the foundation for a successful and visually captivating lanyard project. Remember, the right materials not only enhance the aesthetic appeal but also contribute to the durability and functionality of the finished lanyard.
Selecting the Lanyard Design
Selecting the lanyard design is a pivotal step in the journey of creating a unique and visually appealing lanyard. The design sets the tone for the entire project, reflecting the creator's style and creativity. Here's a detailed exploration of the process of selecting the perfect lanyard design:
-
Consider the Purpose:
- Before delving into the design options, it's essential to consider the intended purpose of the lanyard. Is it meant for holding identification cards, keys, or as a decorative accessory? Understanding the primary function will influence the design choices.
-
Evaluate Design Complexity:
- Assess the complexity of the design based on your skill level and the time you can dedicate to the project. Beginners may opt for simpler designs with basic knots, while experienced crafters might venture into intricate patterns and weaving techniques.
-
Explore Various Patterns:
- Lanyard designs encompass a wide array of patterns, including the popular box stitch, cobra weave, and spiral braid, among others. Each pattern offers a unique visual appeal and level of complexity. Explore different patterns to find one that resonates with your vision.
-
Incorporate Personalization:
- Personalization adds a special touch to the lanyard design. Consider incorporating initials, favorite colors, or meaningful symbols into the design to infuse it with personal significance.
-
Factor in Aesthetics and Functionality:
- Balance aesthetics and functionality when selecting the design. Ensure that the chosen design not only looks visually appealing but also serves its intended purpose effectively.
-
Seek Inspiration:
- Draw inspiration from various sources such as online tutorials, craft books, or even nature and architecture. Inspiration can spark creativity and lead to the discovery of unique design elements.
-
Experiment with Color Combinations:
- Colors play a significant role in the overall appeal of the lanyard. Experiment with different color combinations to create visually striking patterns and designs that resonate with your personal style.
By carefully considering these aspects, you can select a lanyard design that aligns with your vision and showcases your creativity. The design phase sets the stage for the subsequent steps, laying the foundation for a captivating and personalized lanyard project.
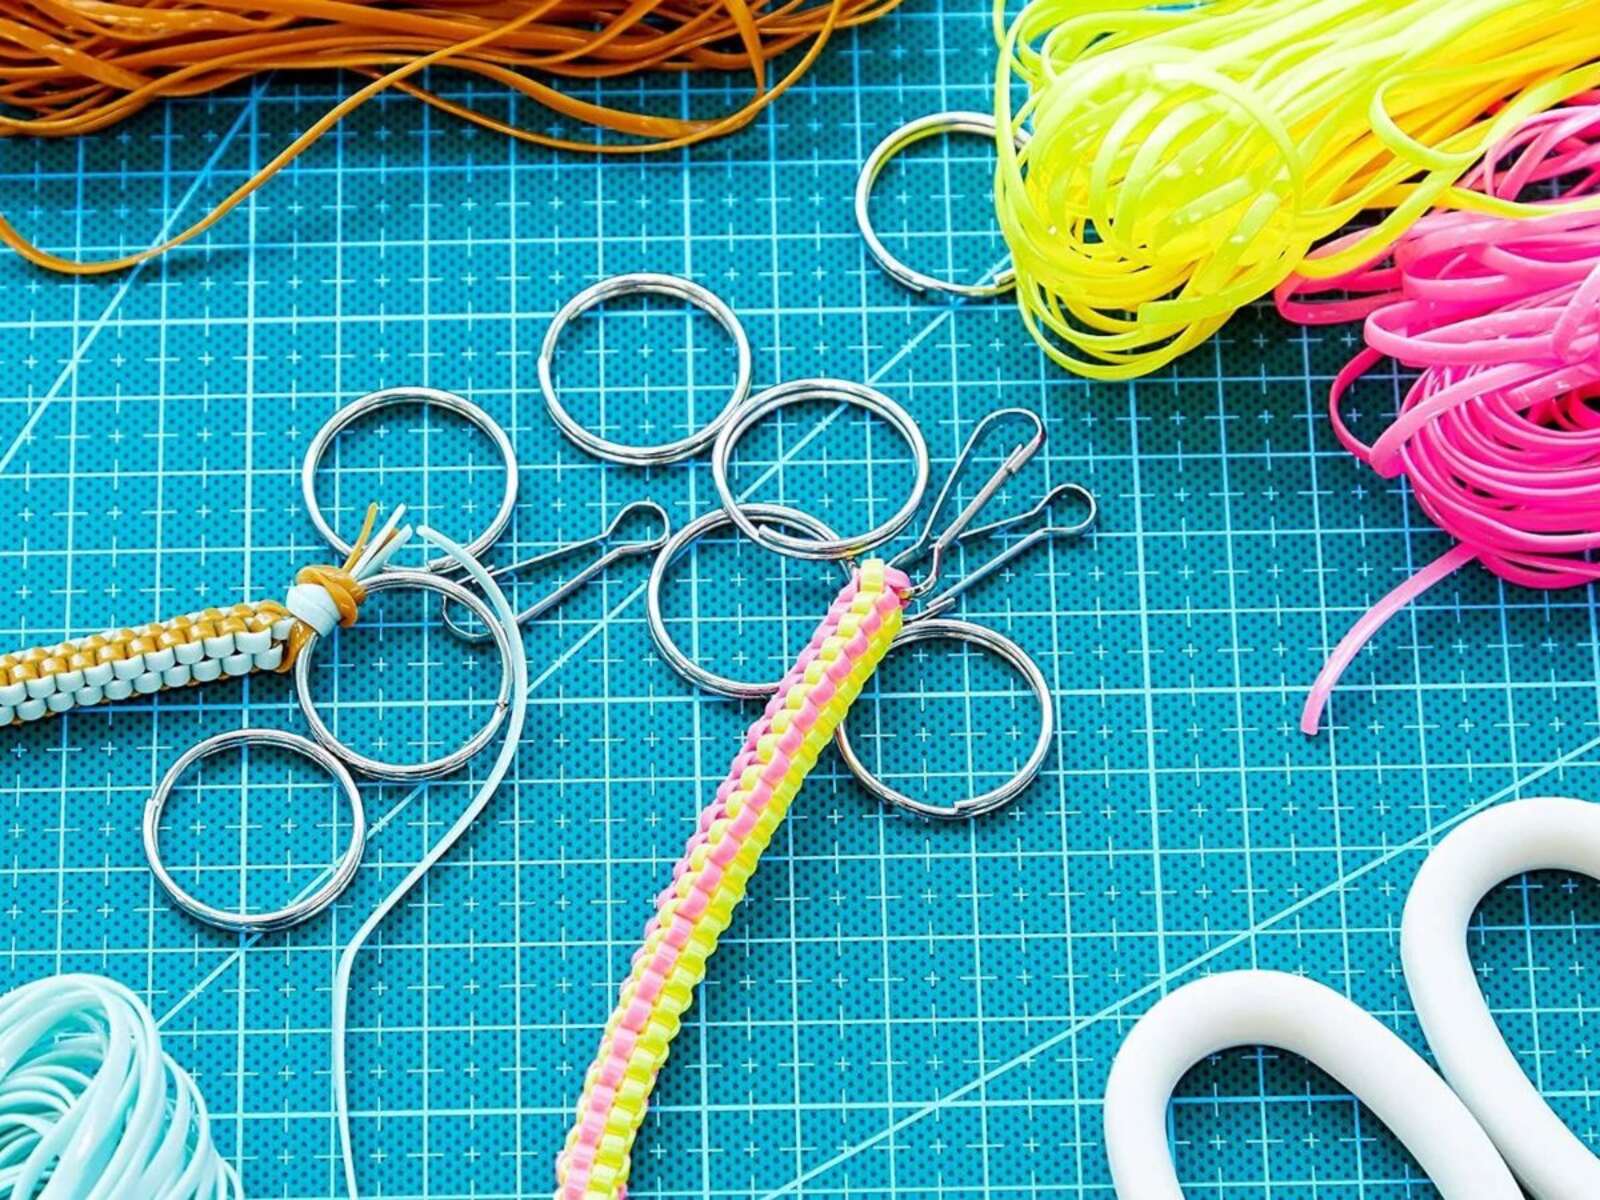
Preparing the Necessary Tools
To embark on a lanyard project, it's essential to prepare the necessary tools to ensure a smooth and efficient crafting process. Here's a comprehensive guide to assembling the essential tools for your lanyard project:
-
Lanyard Cord: Select a high-quality lanyard cord in the desired color and thickness based on your design preferences. Nylon and satin cords are popular choices due to their durability and vibrant color options.
-
Lanyard Hooks or Clips: Choose suitable lanyard hooks or clips based on the intended use of the lanyard. Lobster clasps are versatile and secure, making them ideal for various applications. Consider the material, size, and design of the hooks or clips to complement the overall aesthetic of the lanyard.
-
Scissors: A pair of sharp scissors is essential for cutting the lanyard cord to the desired length and for trimming excess material. Opt for scissors with precision blades to ensure clean and accurate cuts.
-
Tape Measure or Ruler: Accurate measurements are crucial for achieving the desired length and proportions in your lanyard project. A tape measure or ruler will aid in precisely measuring the lanyard cord and other components.
-
Optional: Beads, Charms, and Embellishments: If your design incorporates beads, charms, or other embellishments, ensure you have the necessary tools to attach them, such as jewelry pliers or tweezers. These tools will facilitate the addition of decorative elements to enhance the visual appeal of the lanyard.
-
Work Surface: Prepare a clean and flat work surface to serve as your crafting area. This could be a table or a dedicated crafting mat to protect the surface from any potential damage during the crafting process.
-
Optional: Crafting Board or Clipboard: A crafting board or clipboard can provide stability and a firm surface for creating intricate patterns and weaving techniques. It also helps in keeping the lanyard cord taut while working on the project.
By ensuring that these tools are readily available before commencing the lanyard project, you can streamline the crafting process and focus on bringing your design to life. With the right tools at your disposal, you are well-equipped to embark on a rewarding lanyard crafting experience.
Starting the Lanyard Knots
Embarking on the process of creating lanyard knots marks a significant phase in bringing your lanyard project to life. The intricate and visually captivating knots not only add structural integrity to the lanyard but also contribute to its overall aesthetic appeal. Here's a comprehensive guide to starting the lanyard knots, encompassing essential techniques and considerations to ensure a seamless and rewarding crafting experience.
1. Securing the Lanyard Cord
Before initiating the knotting process, secure the lanyard cord to prevent any slippage or unraveling. One effective method is to affix the cord to a stable surface using a clip or adhesive tape. This ensures that the cord remains taut and manageable during the knotting process, allowing for precise and consistent knot formation.
2. Understanding Basic Knotting Techniques
Familiarize yourself with fundamental knotting techniques such as the square knot, cobra knot, and spiral stitch. Each technique offers distinct visual and textural characteristics, allowing you to choose the most suitable approach based on your design vision. Practice these fundamental knots to build confidence and proficiency before delving into more complex knotting patterns.
3. Establishing the Initial Knot
Commence the knotting process by creating the initial knot, which serves as the foundation for the subsequent pattern. The initial knot sets the tone for the overall design and determines the spacing and tension of the subsequent knots. Ensure that the initial knot is securely fastened, as it forms the basis for the lanyard's structural integrity.
4. Maintaining Consistent Tension
Consistency in tension is crucial for achieving a uniform and visually appealing knot pattern. Maintain steady tension throughout the knotting process to prevent irregularities and variations in the lanyard's thickness. Consistent tension contributes to a polished and professional finish, elevating the overall quality of the lanyard project.
5. Incorporating Pattern Variations
Explore pattern variations to add visual interest and complexity to your lanyard knots. Experiment with alternating knot sequences, varying cord colors, and incorporating decorative elements to infuse your design with creativity and individuality. Embracing pattern variations allows for the creation of unique and personalized lanyard designs.
By following these steps and techniques, you can confidently embark on the process of starting the lanyard knots, laying the groundwork for a captivating and meticulously crafted lanyard project. The knotting phase presents an opportunity for creativity and precision, enabling you to bring your design vision to fruition with finesse and artistry.
Adding Beads or Charms (Optional)
In the realm of lanyard crafting, the addition of beads or charms presents a captivating opportunity to elevate the visual allure and personal significance of the lanyard project. While optional, incorporating beads or charms introduces a layer of customization and individuality, allowing crafters to infuse their unique style and preferences into the design. Here's a detailed exploration of the process of adding beads or charms to a lanyard project, offering insights into techniques and considerations for a seamless and aesthetically pleasing integration.
1. Selecting the Right Beads or Charms
The journey of adding beads or charms commences with the thoughtful selection of these embellishments. Consider the overall aesthetic and theme of the lanyard project to guide the choice of beads or charms. Whether opting for vibrant beads, elegant charms, or a combination of both, ensure that the selected embellishments harmonize with the lanyard cord and align with the intended design vision. Additionally, factor in the size, weight, and attachment mechanism of the beads or charms to ensure compatibility with the lanyard cord and overall design structure.
2. Integrating Beads or Charms into the Lanyard
Once the suitable beads or charms are chosen, it's time to seamlessly integrate them into the lanyard design. Depending on the selected design pattern, identify strategic points within the lanyard where the beads or charms can be incorporated. For instance, integrating beads at regular intervals along the lanyard cord or attaching charms as focal points within the design can add visual interest and dimension to the lanyard. Carefully weave or thread the beads or charms into the lanyard, ensuring secure attachment while maintaining the structural integrity of the project.
3. Balancing Aesthetics and Functionality
As the beads or charms are integrated, it's essential to strike a balance between aesthetics and functionality. Ensure that the added embellishments do not impede the lanyard's primary purpose, whether it's holding identification cards, keys, or serving as a decorative accessory. The placement of beads or charms should complement the overall design, enhancing the lanyard's visual appeal without compromising its practical functionality.
4. Personalization and Meaningful Significance
Adding beads or charms provides an avenue for personalization and the infusion of meaningful significance into the lanyard project. Consider incorporating beads in favorite colors, charms representing significant symbols, or personalized elements that resonate with the creator's identity. By infusing personal touches into the lanyard design, the project transcends mere craftsmanship, becoming a reflection of individuality and meaningful expression.
By carefully navigating the process of adding beads or charms to a lanyard project, crafters can infuse their creativity and personal flair into the design, resulting in a visually captivating and deeply meaningful finished product. The optional inclusion of beads or charms serves as a testament to the versatility and artistic potential of lanyard crafting, allowing for the creation of truly unique and personalized pieces.
Finishing the Lanyard Project
As the lanyard project nears its completion, the finishing touches play a pivotal role in refining the overall aesthetic and ensuring the structural integrity of the crafted piece. The final phase of the lanyard project encompasses essential steps and considerations to elevate the design to its full potential, culminating in a polished and professionally finished lanyard.
1. Trimming and Securing the Ends
Trimming the lanyard cord to the desired length marks the initial step in the finishing process. Use sharp scissors to cleanly cut the cord, ensuring precision and uniformity. Once trimmed, securely seal the ends of the cord to prevent fraying and maintain the lanyard's longevity. Options for sealing the ends include heat sealing, applying fabric glue, or utilizing specially designed cord tips, depending on the chosen lanyard cord material.
2. Assessing Structural Integrity
Before finalizing the lanyard project, conduct a thorough assessment of its structural integrity. Ensure that the knots are securely fastened, the beads or charms are firmly attached, and the overall design maintains a balanced tension. Address any loose knots or irregularities to guarantee the lanyard's durability and functionality.
3. Adding Final Embellishments (Optional)
If the design incorporates additional embellishments such as ribbons, pendants, or decorative elements, this stage presents an opportunity to integrate these final touches. Strategically place the embellishments to enhance the visual appeal and cohesiveness of the lanyard design. Ensure that the added embellishments complement the existing elements and contribute to the overall harmony of the piece.
4. Personalizing with Identifiers or Tags
For lanyards intended for holding identification cards or keys, consider adding personalized identifiers or tags. This can include attaching an ID badge holder, incorporating a personalized tag, or integrating a functional attachment mechanism to accommodate keys or access cards. Personalizing the lanyard for its intended use adds practical value and customization tailored to the wearer's needs.
5. Evaluating Overall Presentation
Take a step back to evaluate the overall presentation of the finished lanyard project. Assess its visual appeal, functionality, and alignment with the initial design vision. Ensure that the lanyard exudes a professional and polished appearance, reflecting the creator's dedication to craftsmanship and attention to detail.
By meticulously attending to these critical finishing steps, the lanyard project culminates in a refined and visually captivating creation. The finishing phase serves as a testament to the creator's commitment to quality and craftsmanship, resulting in a lanyard that not only fulfills its practical purpose but also stands as a testament to the artistry and dedication poured into its creation.